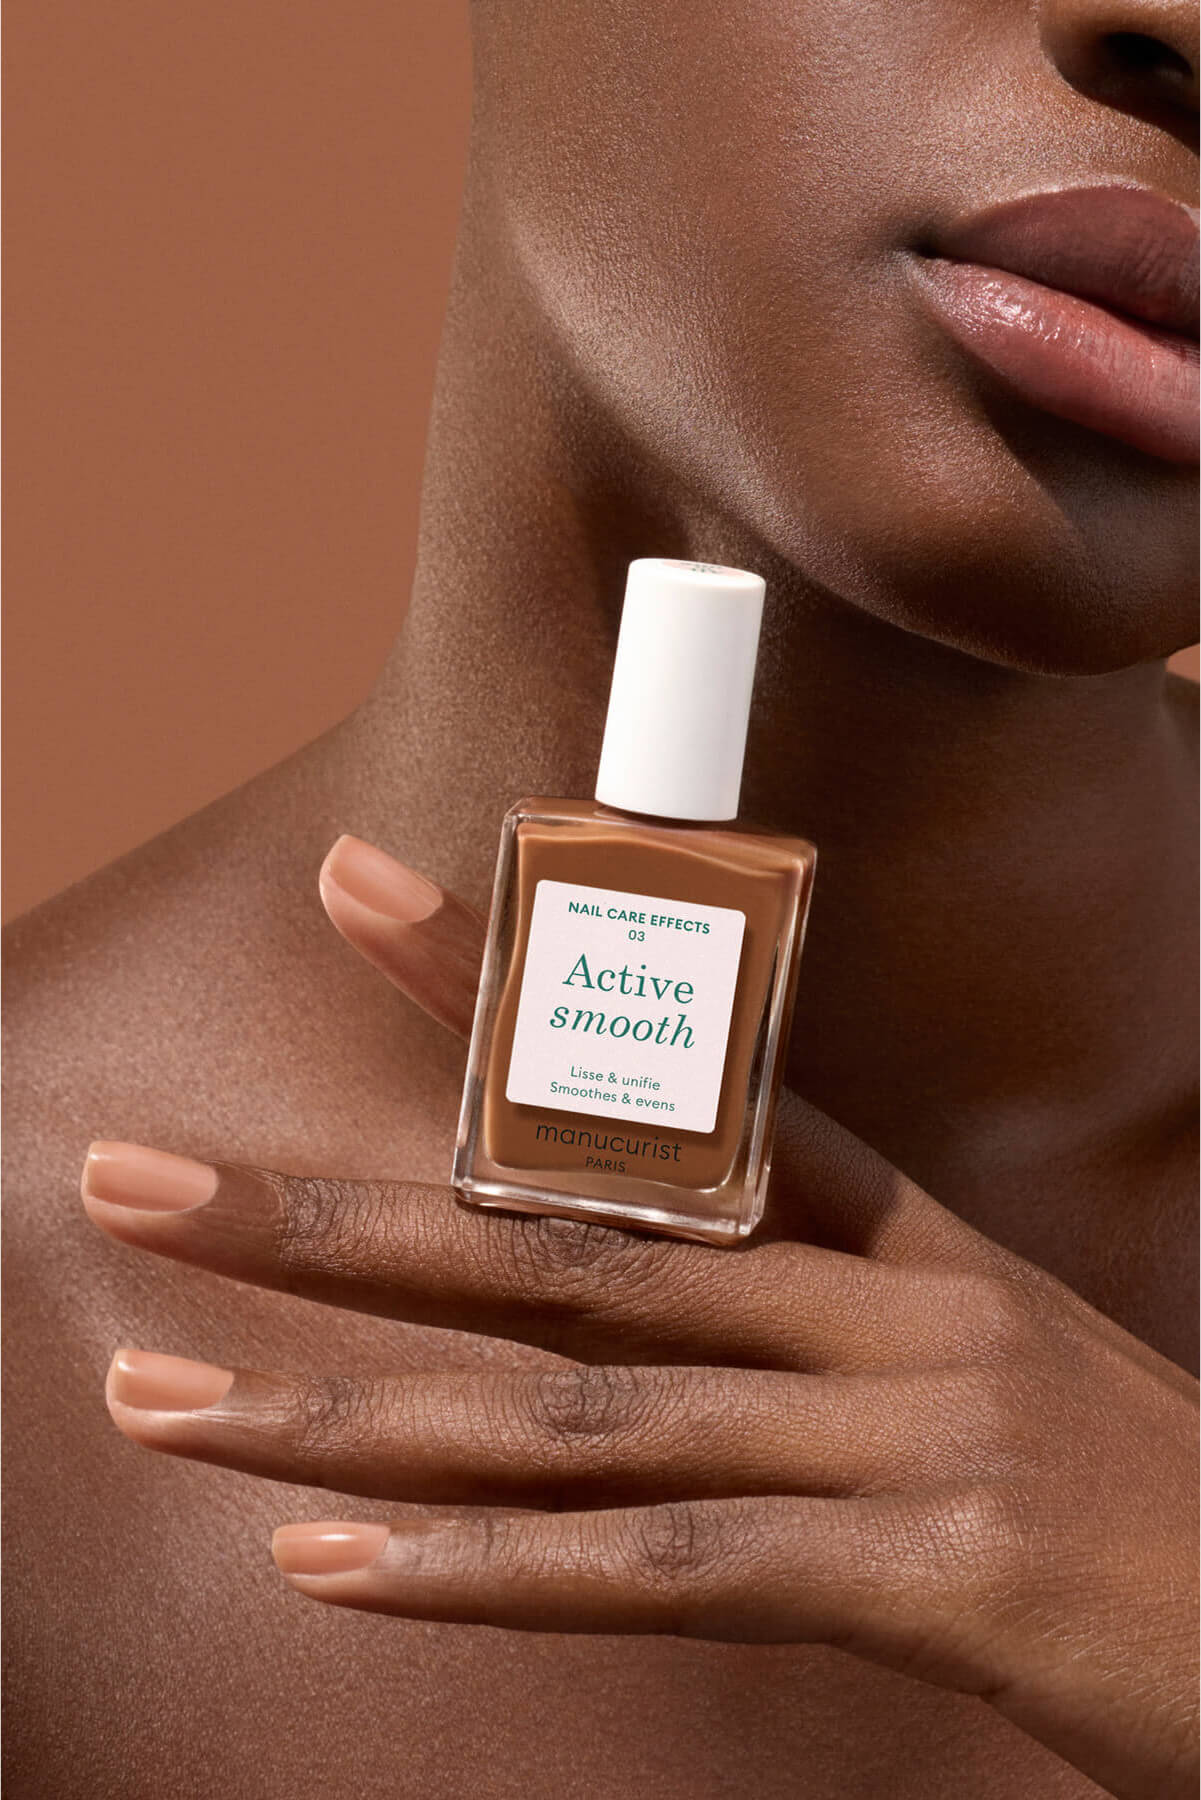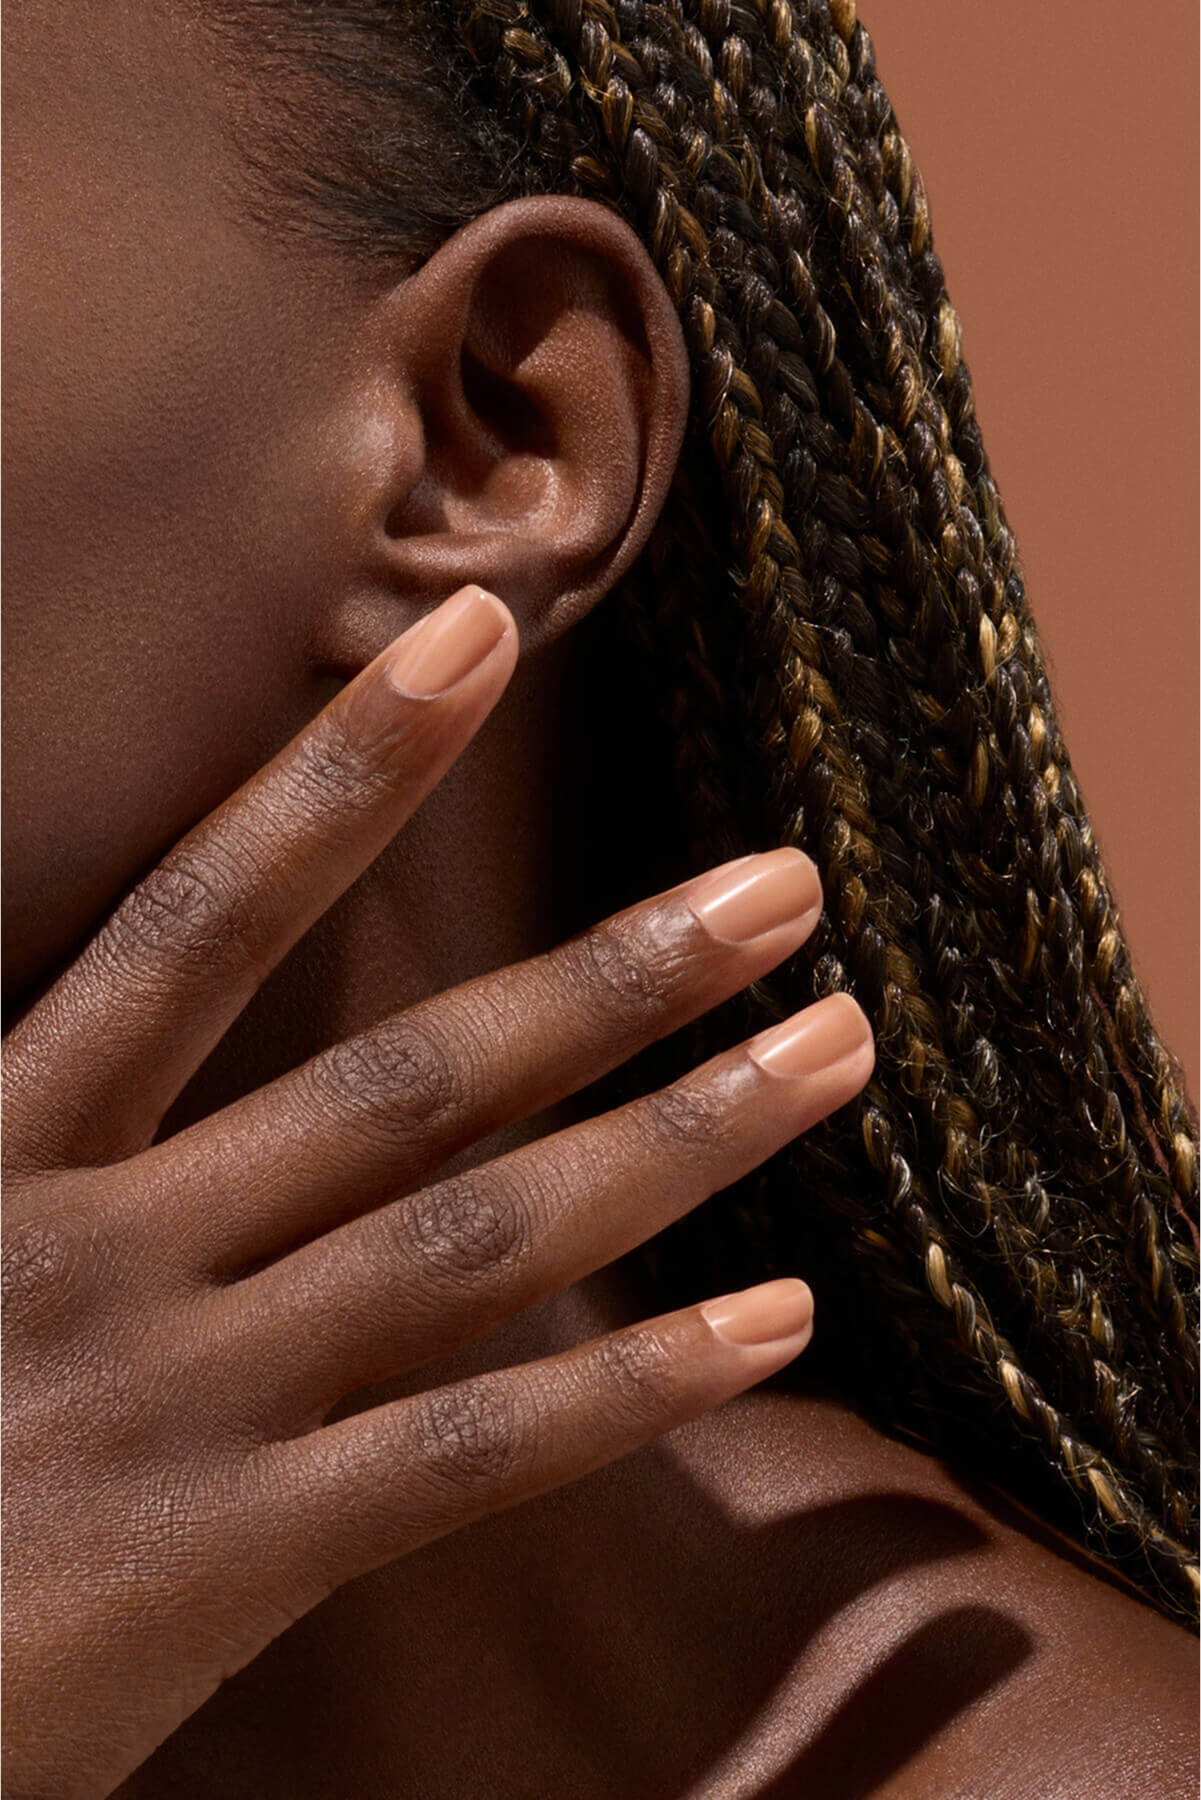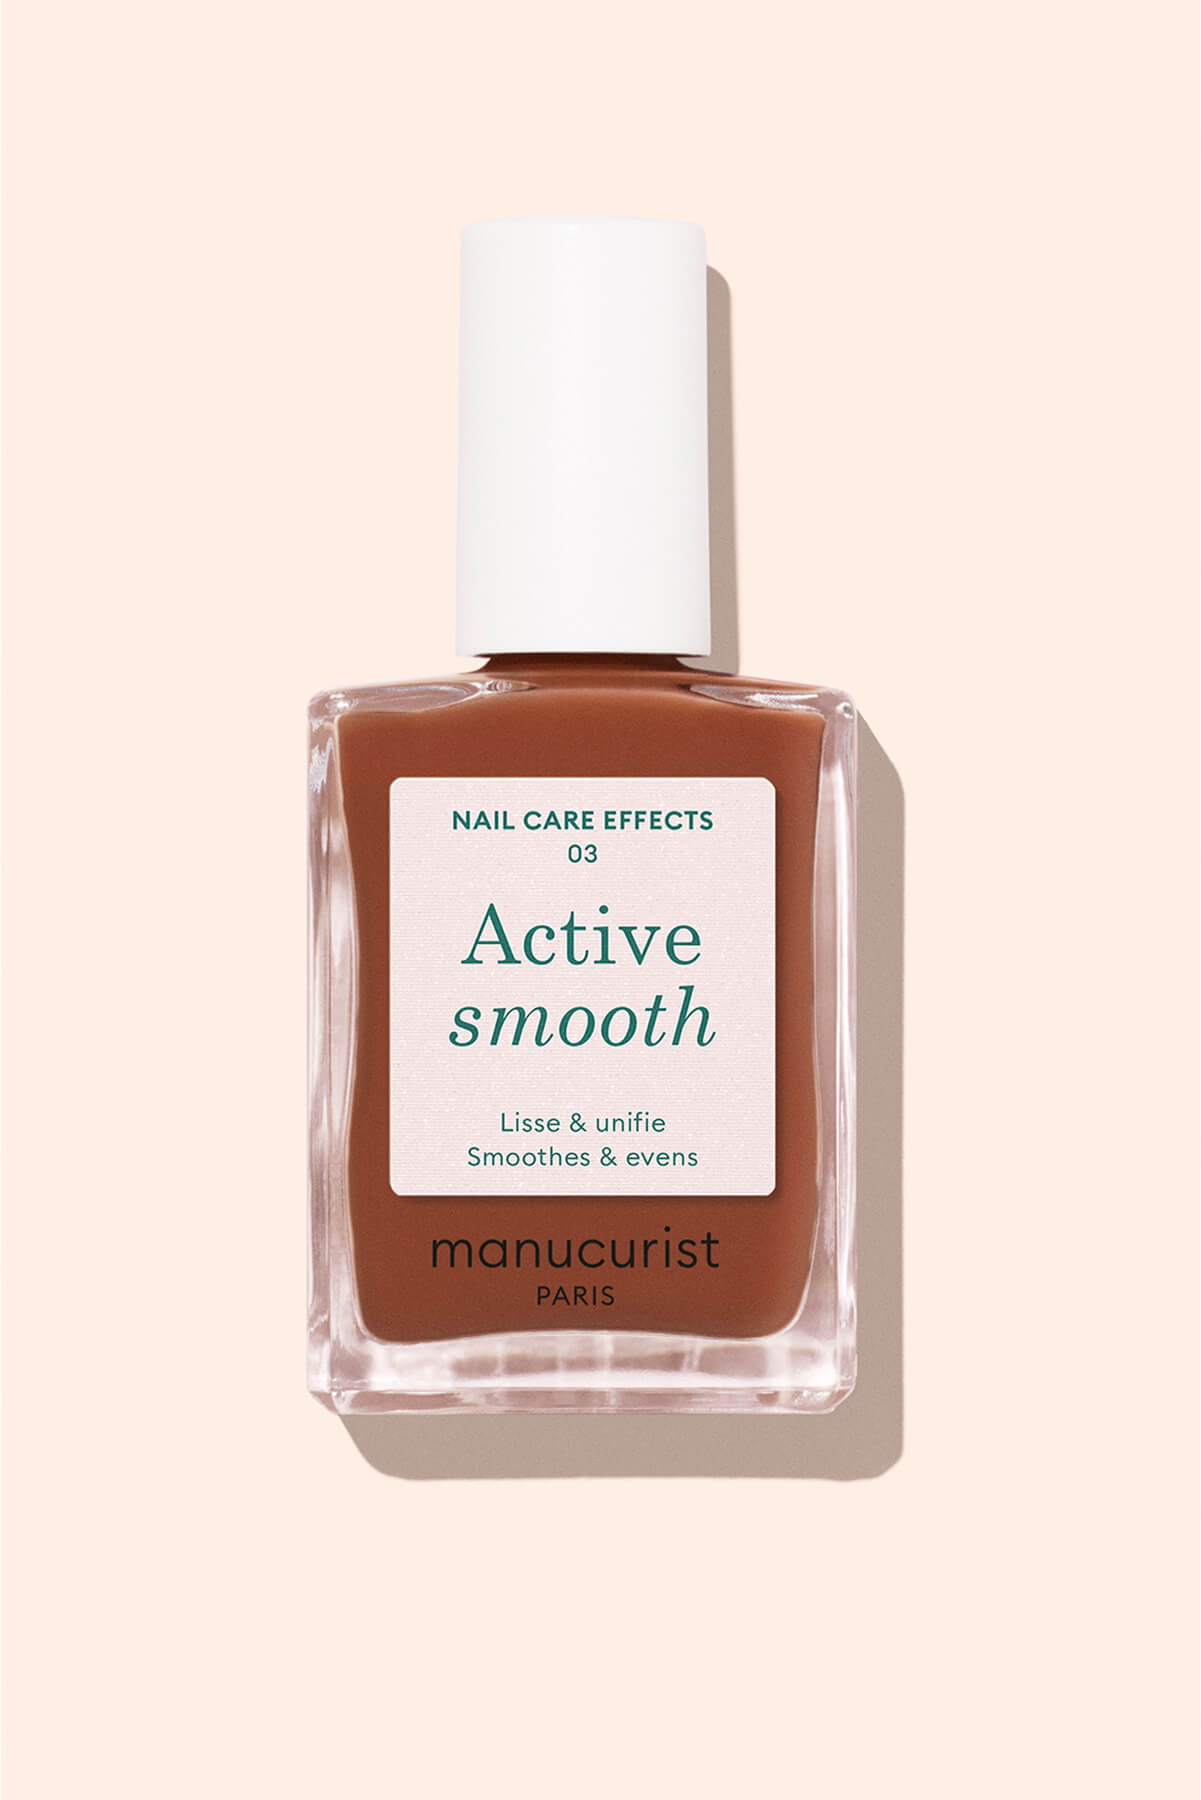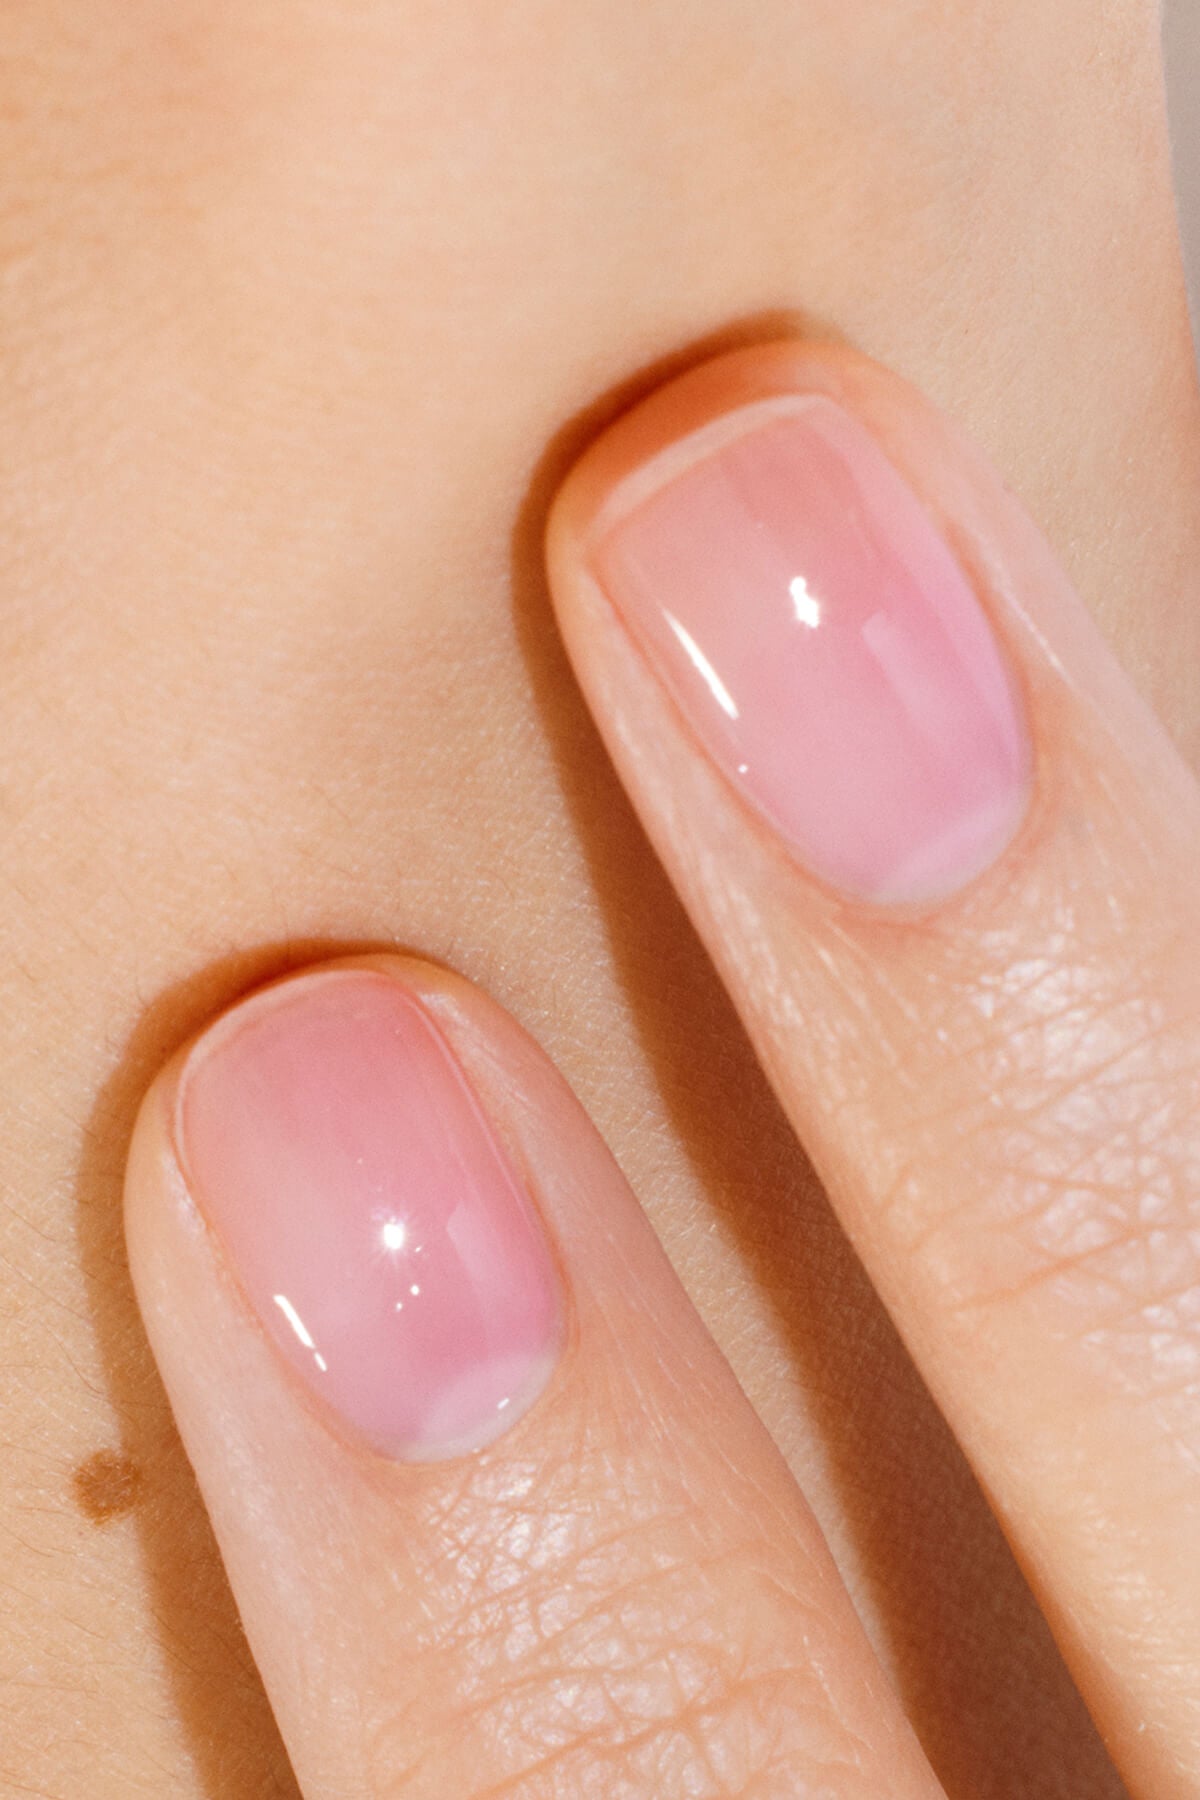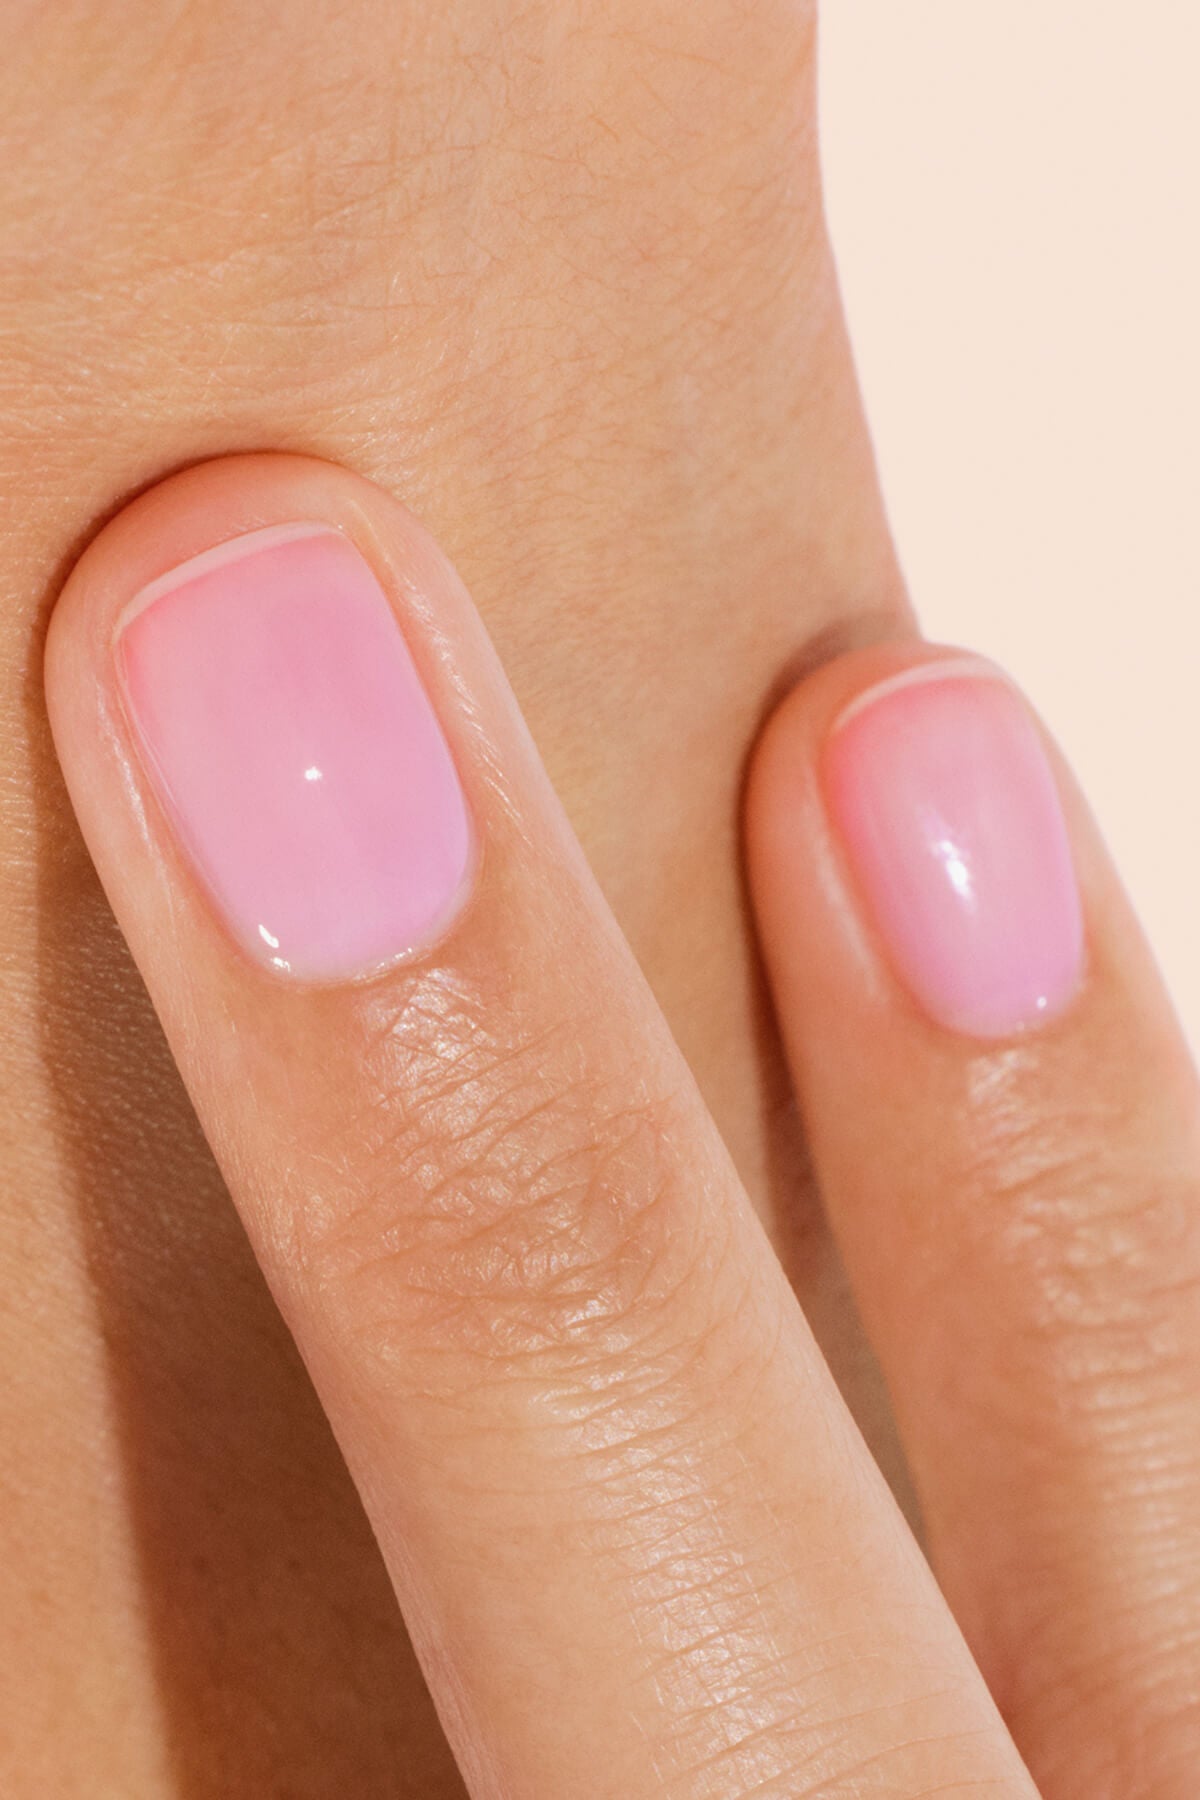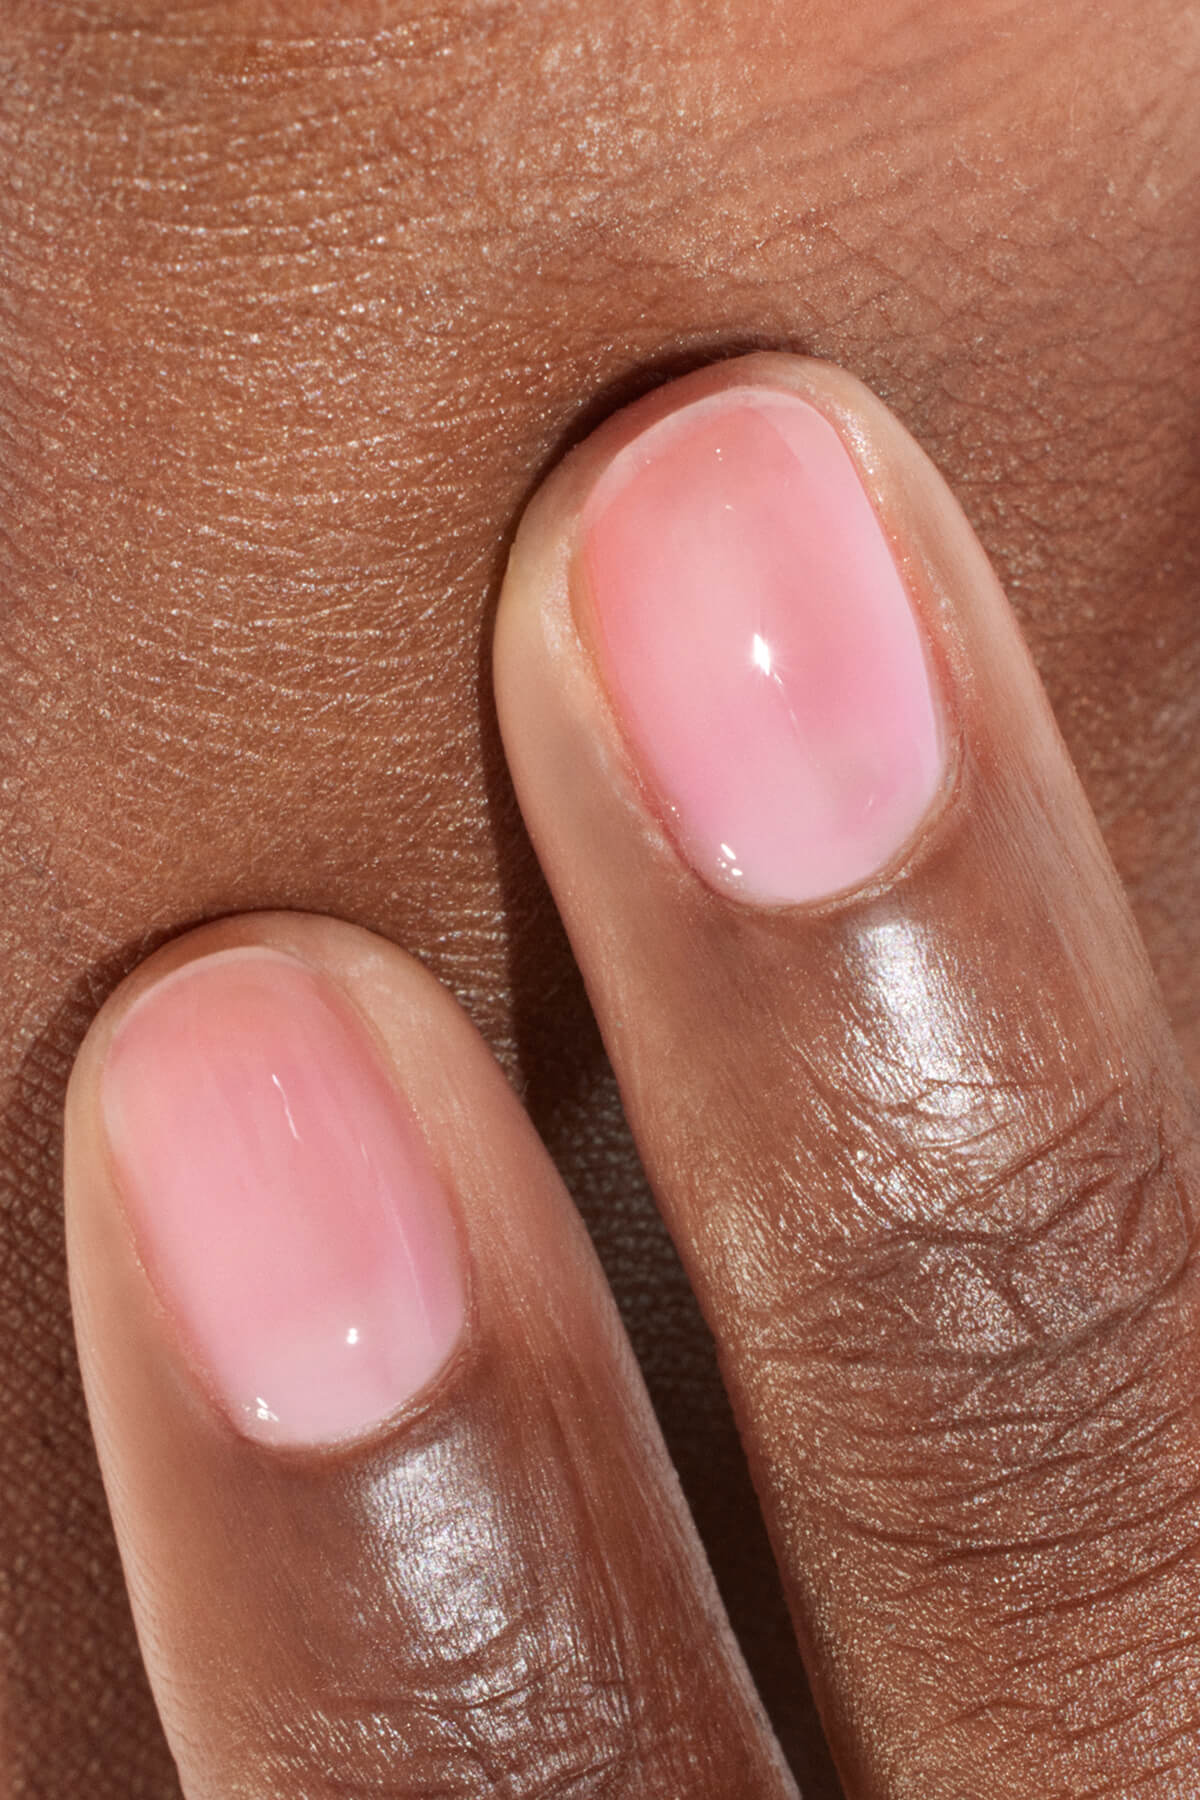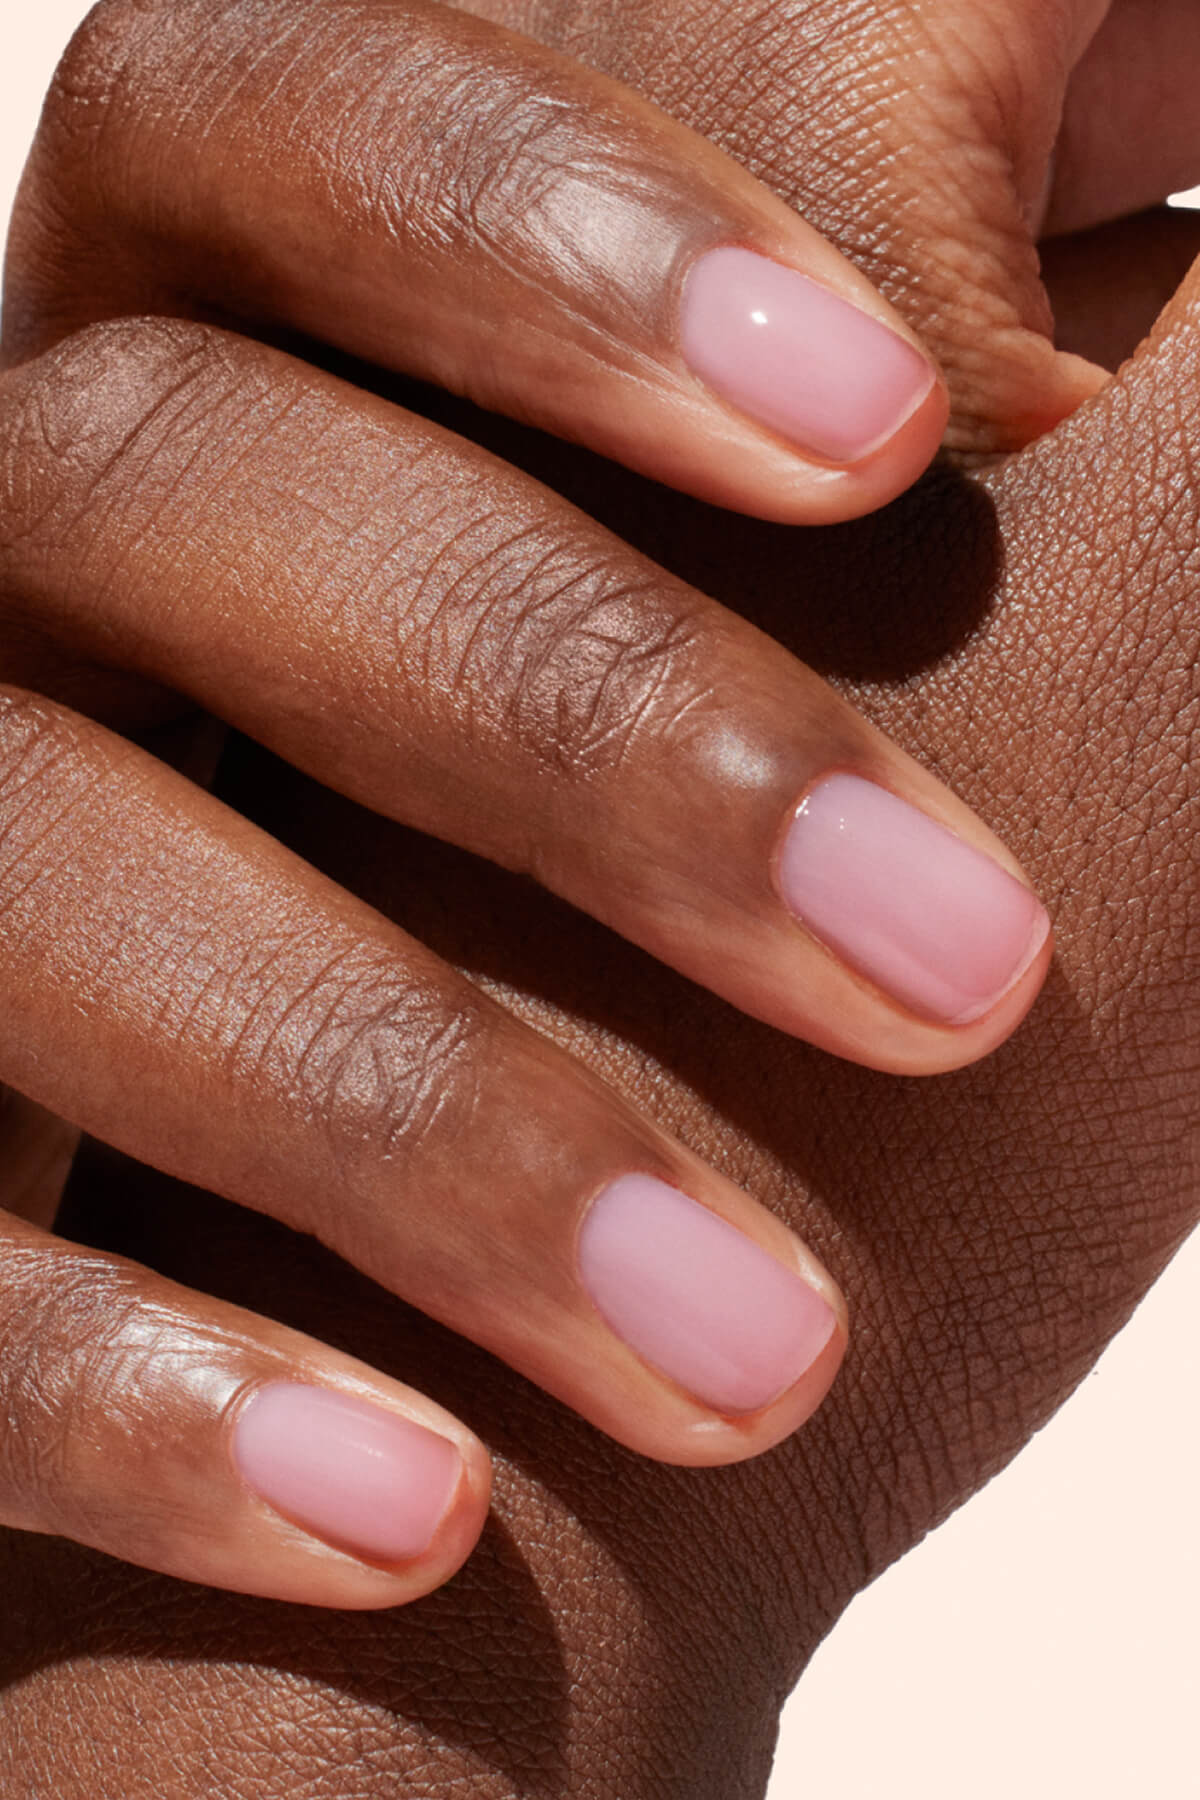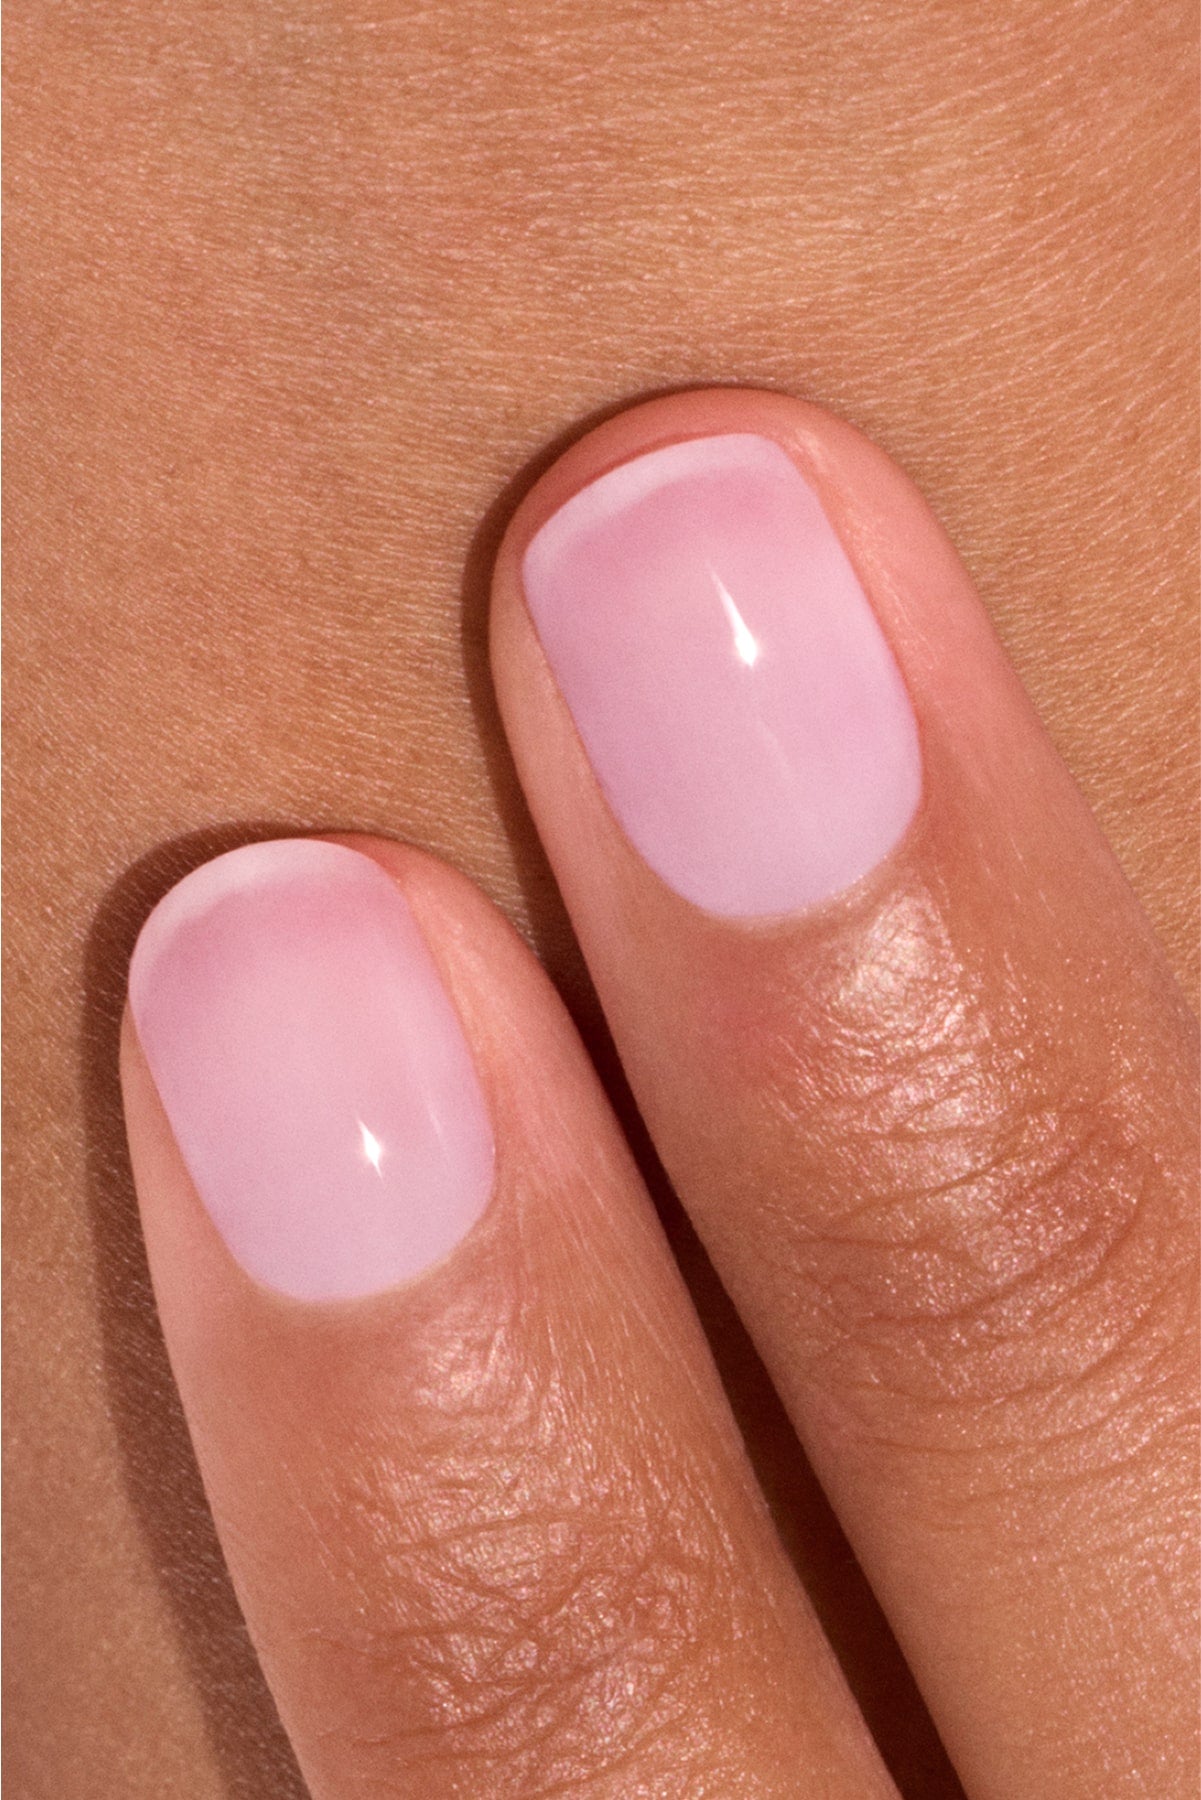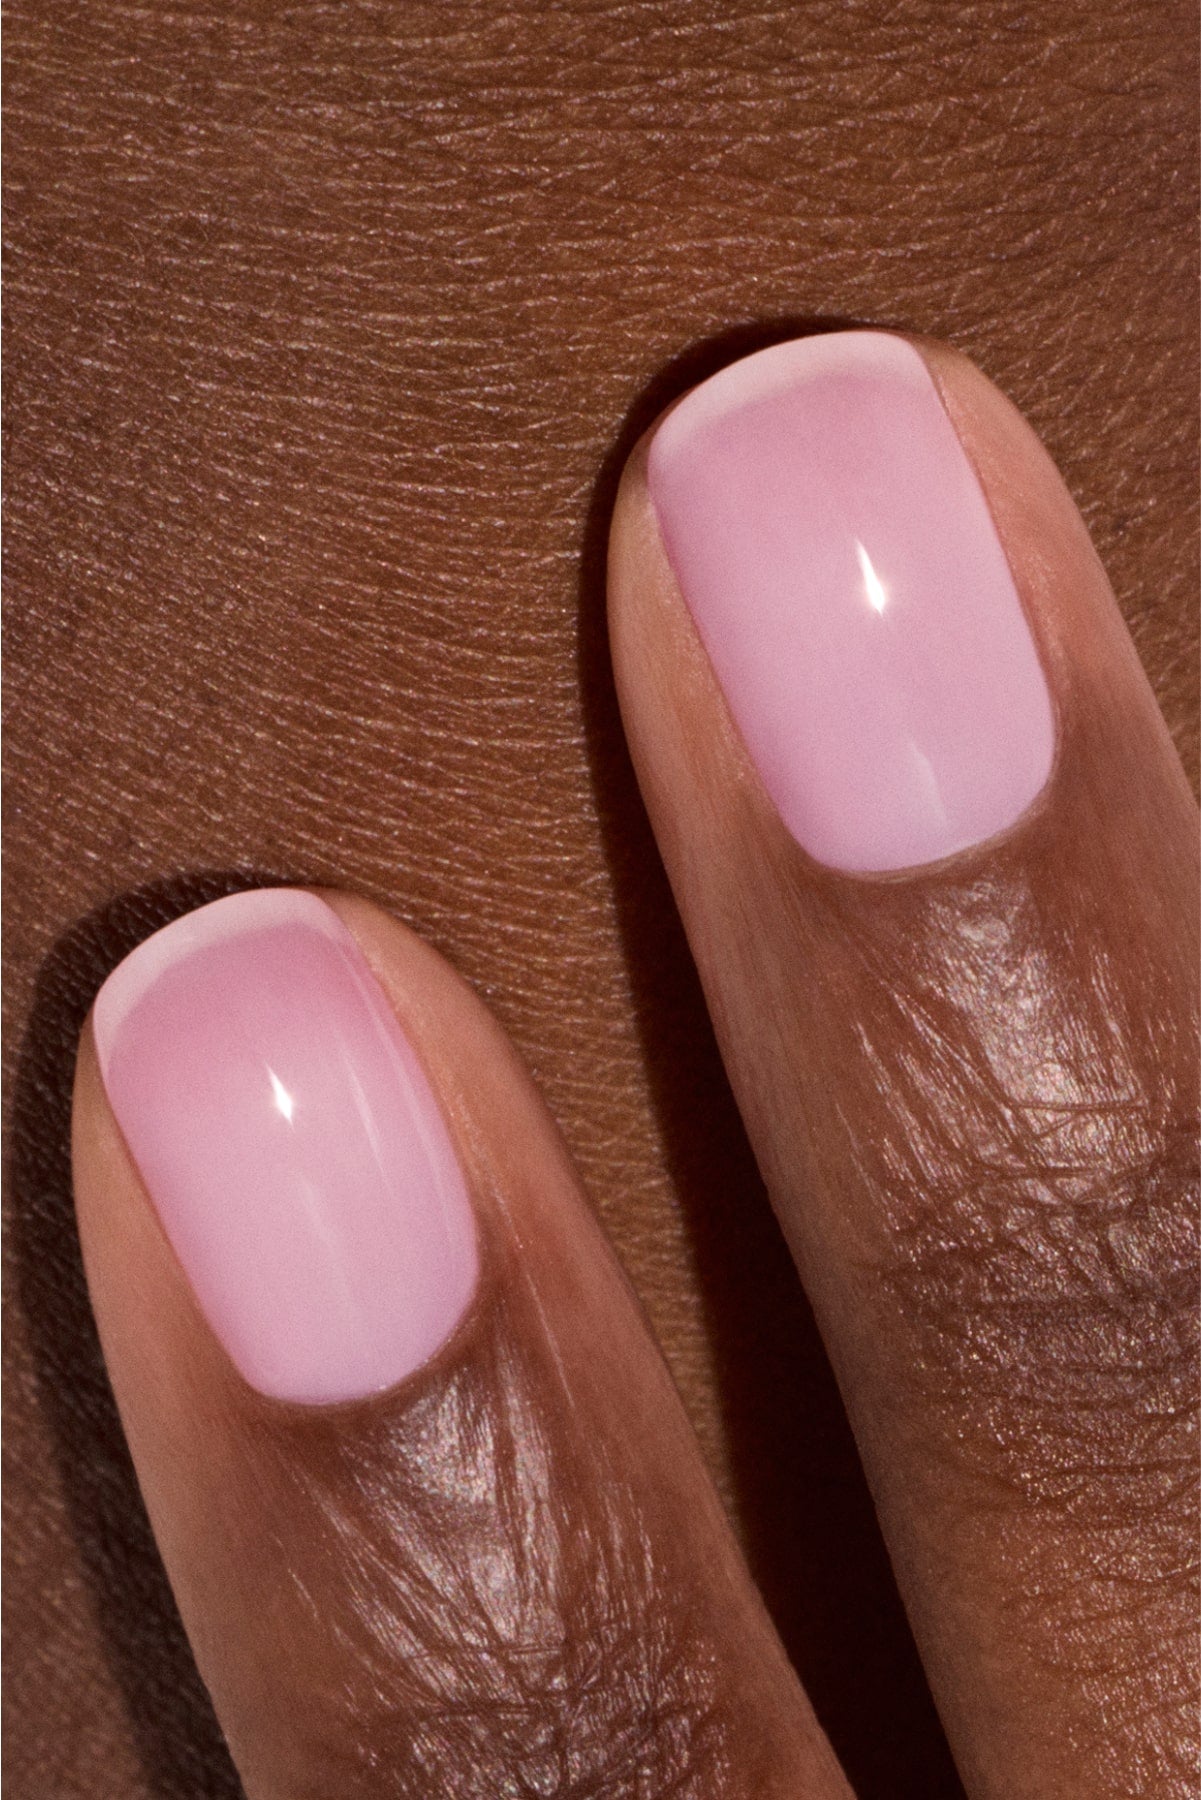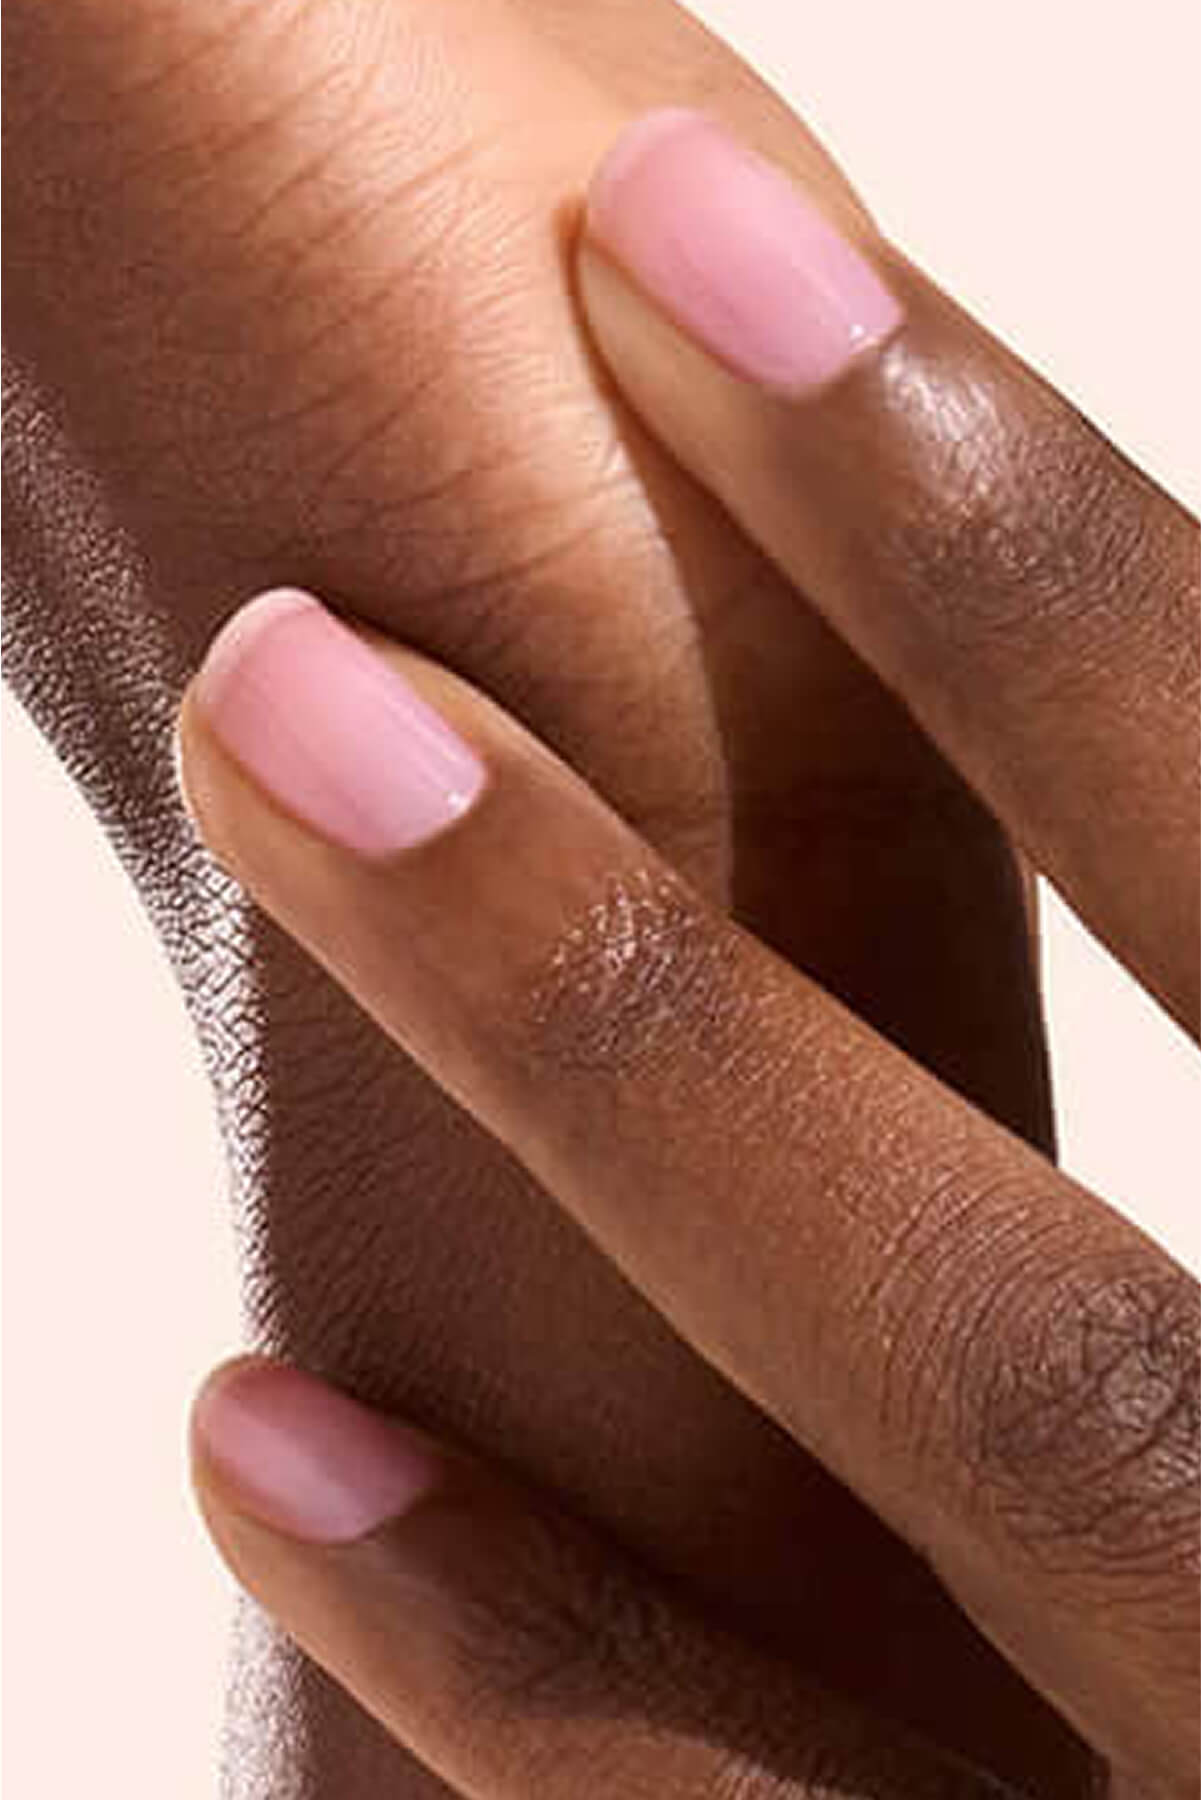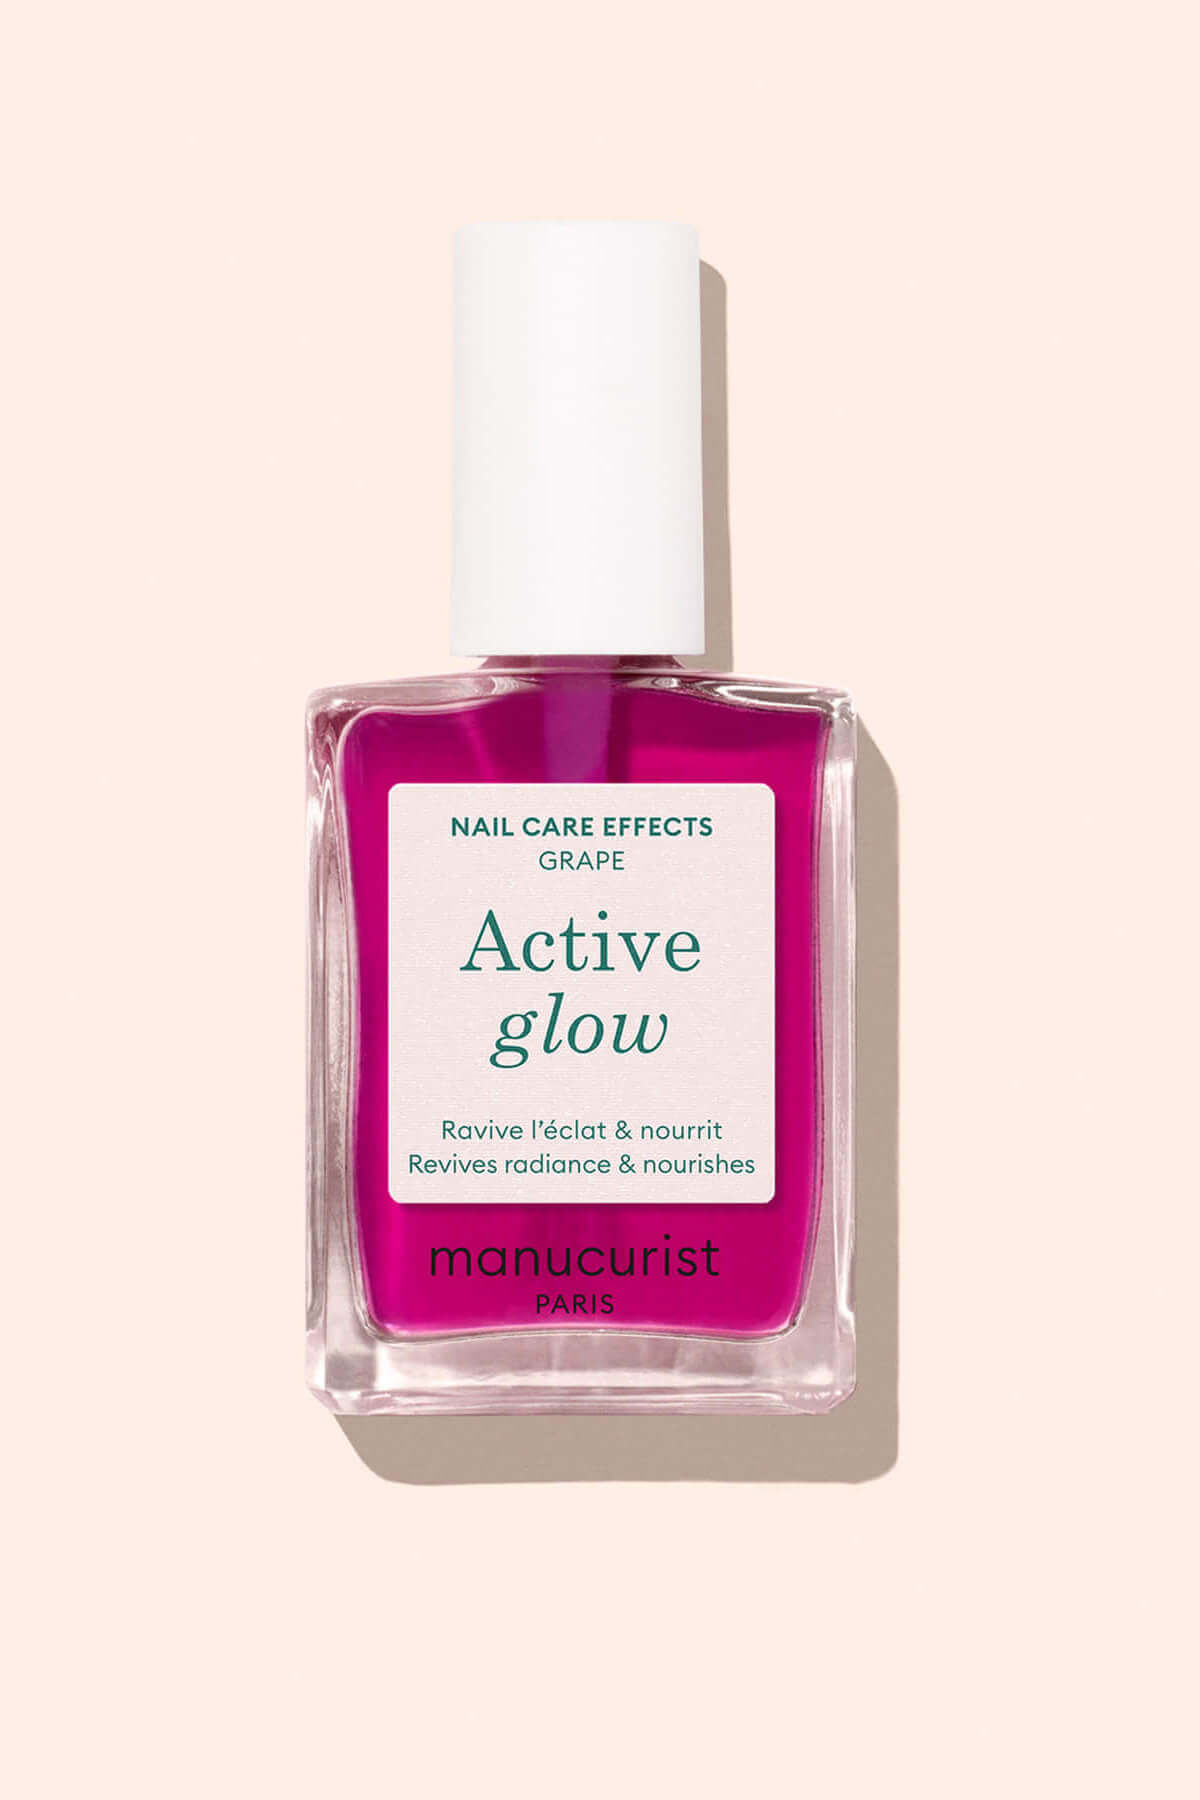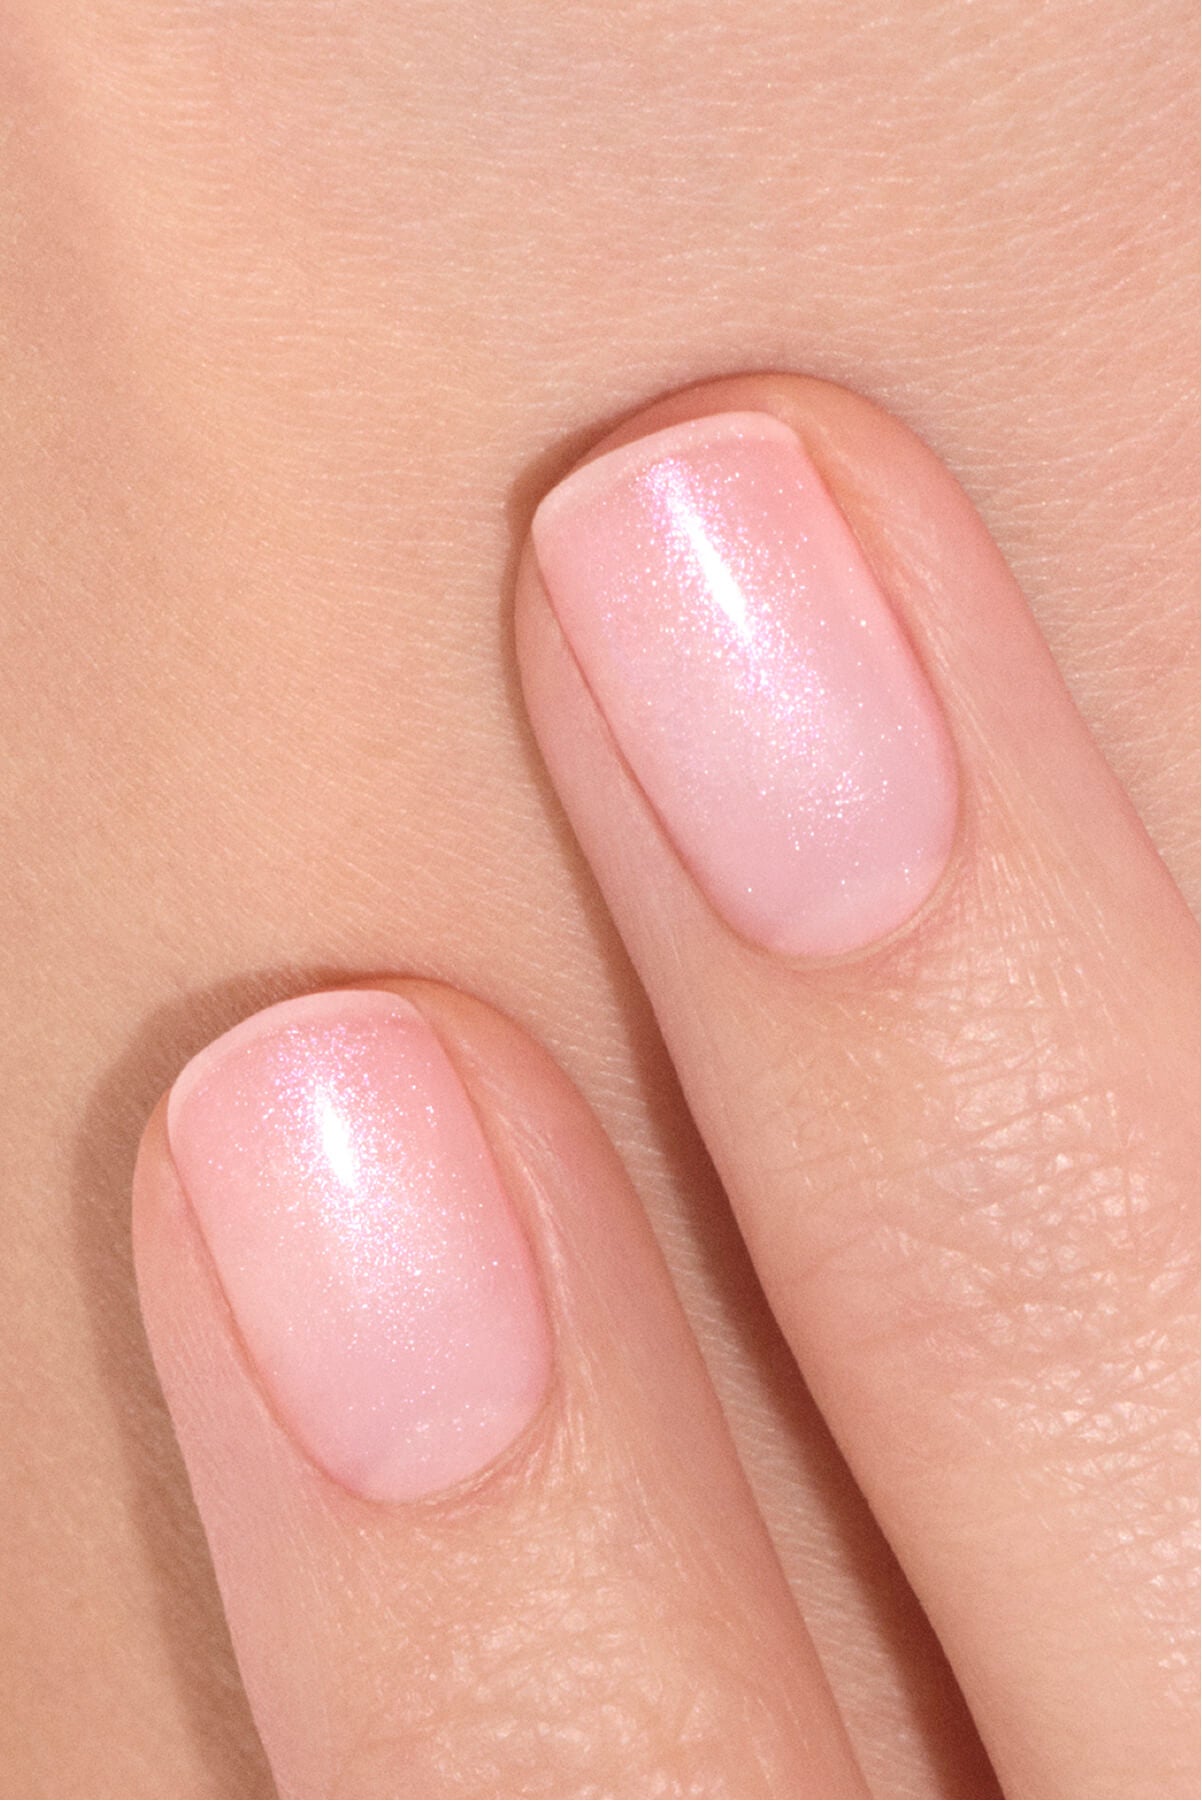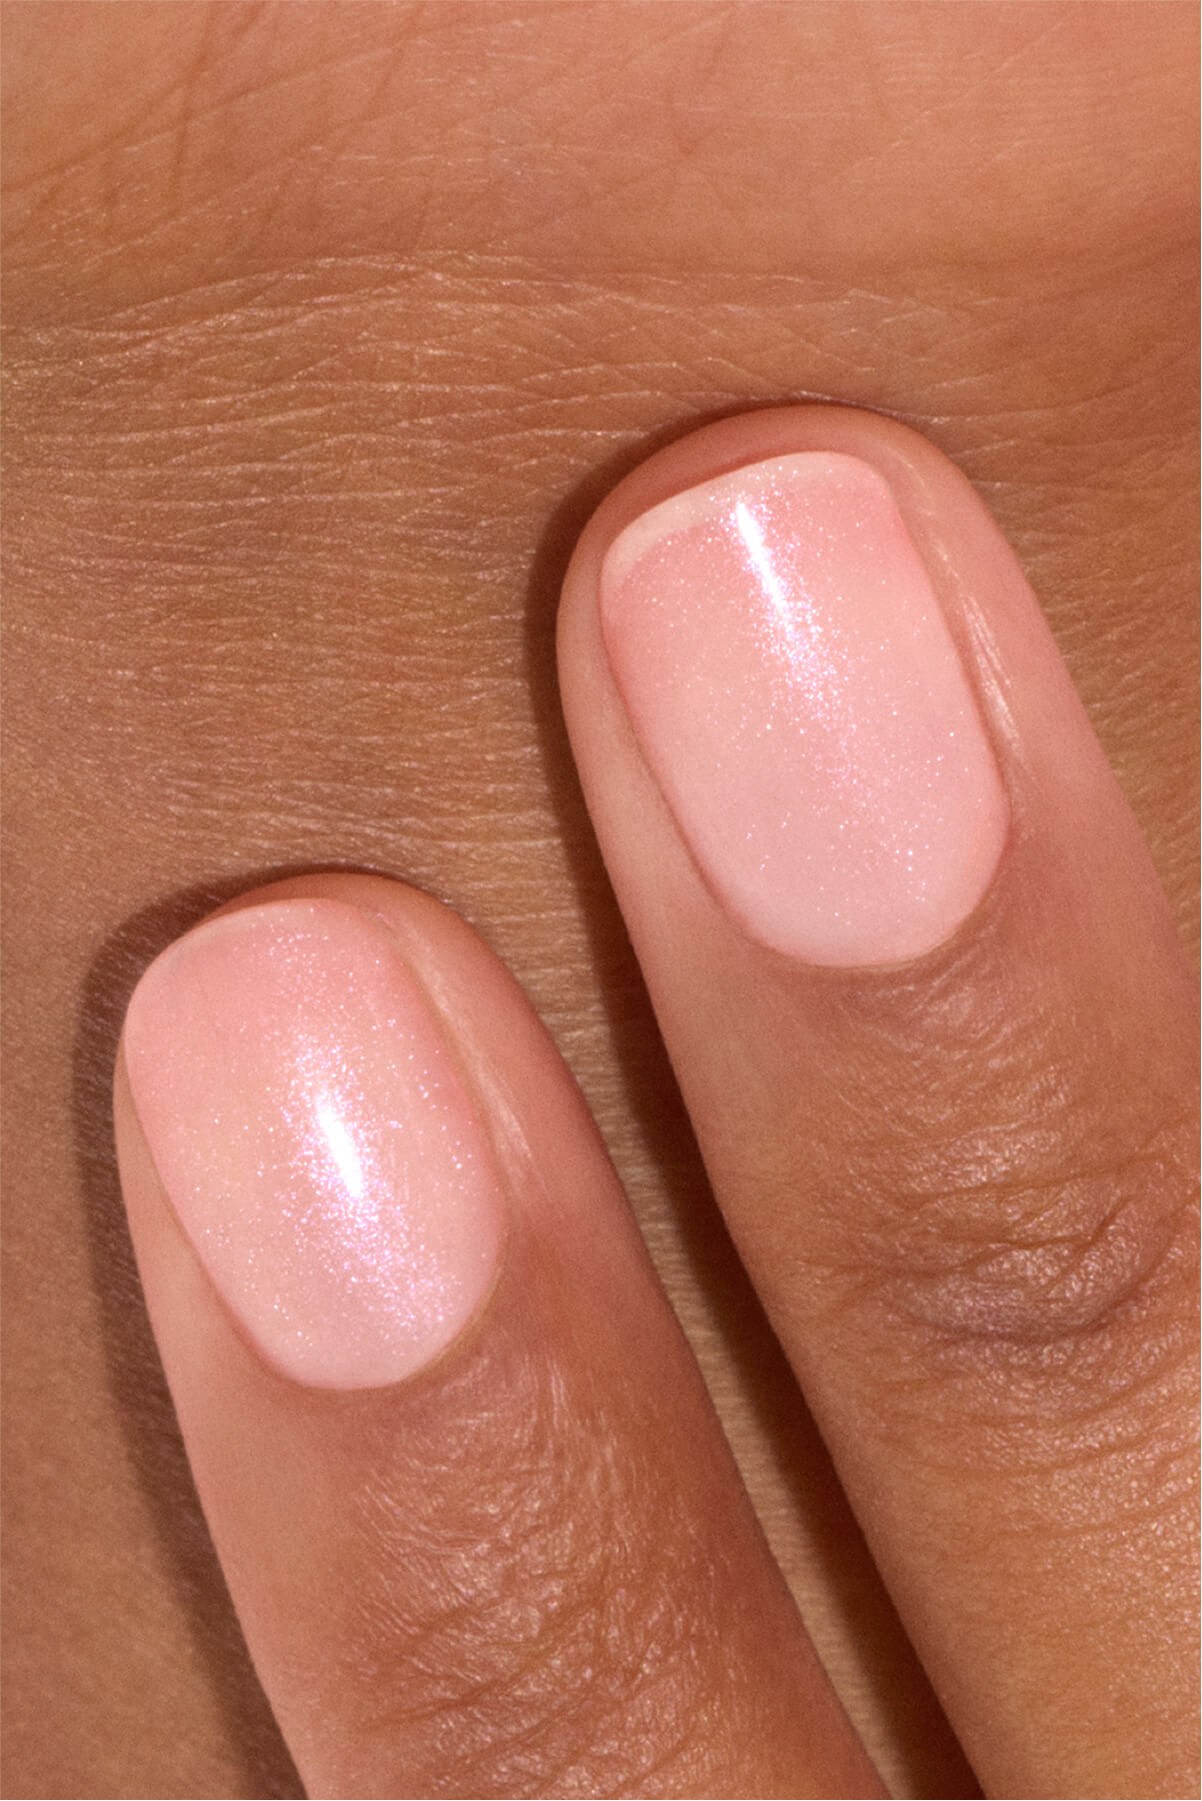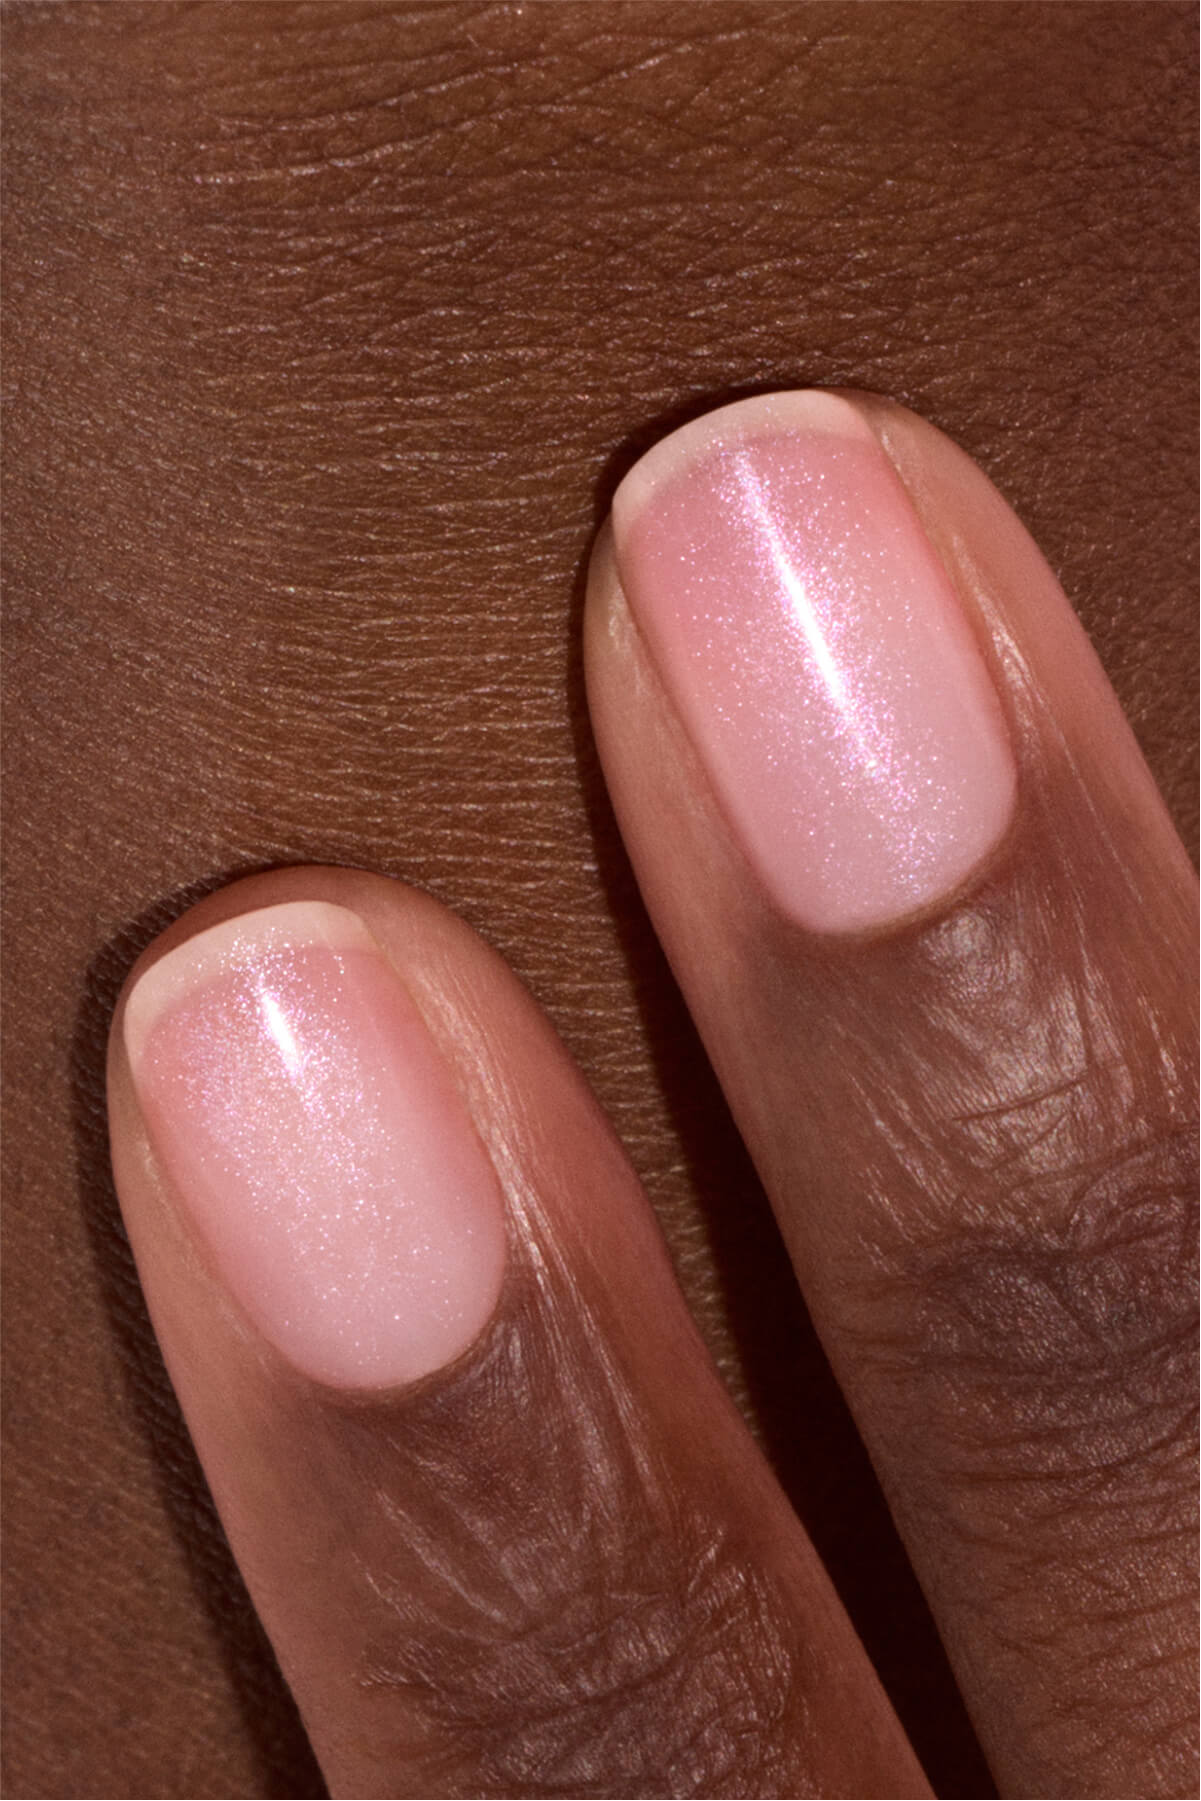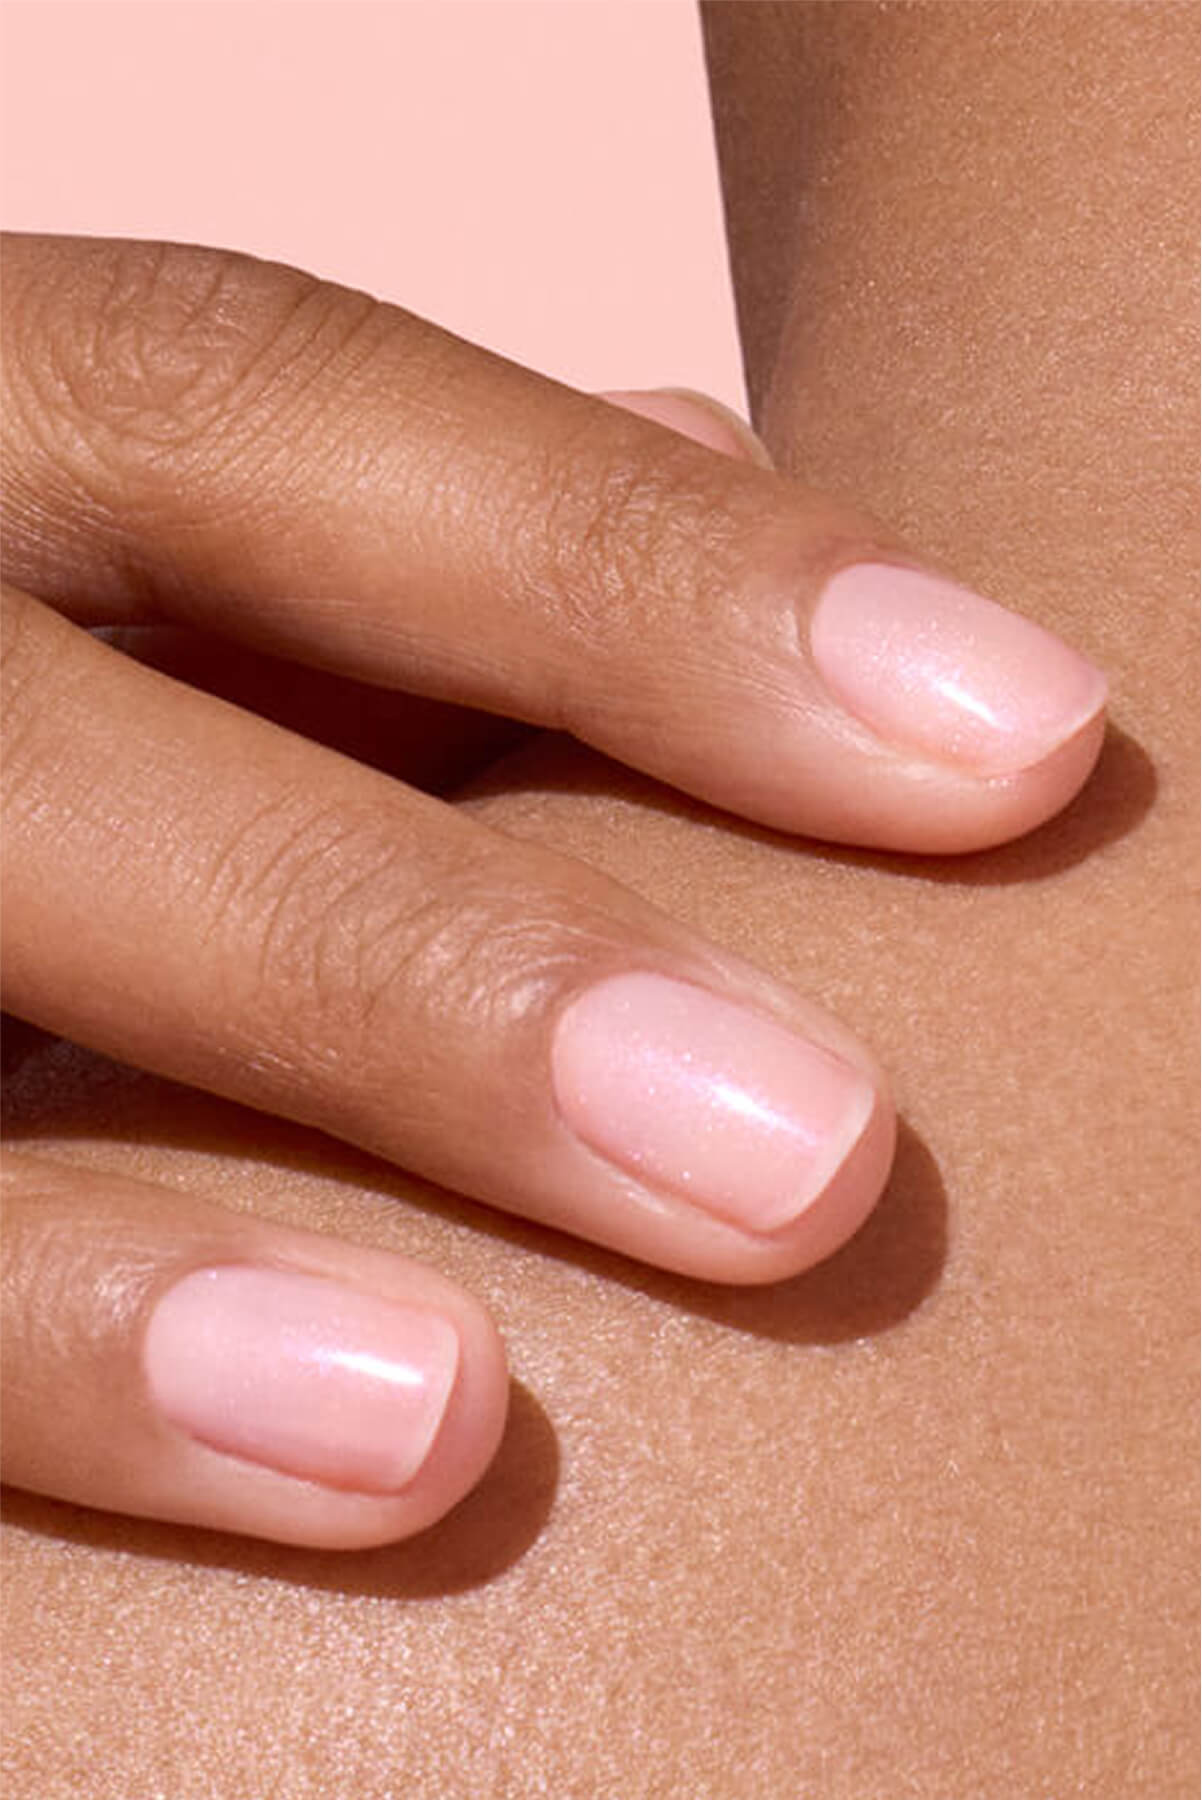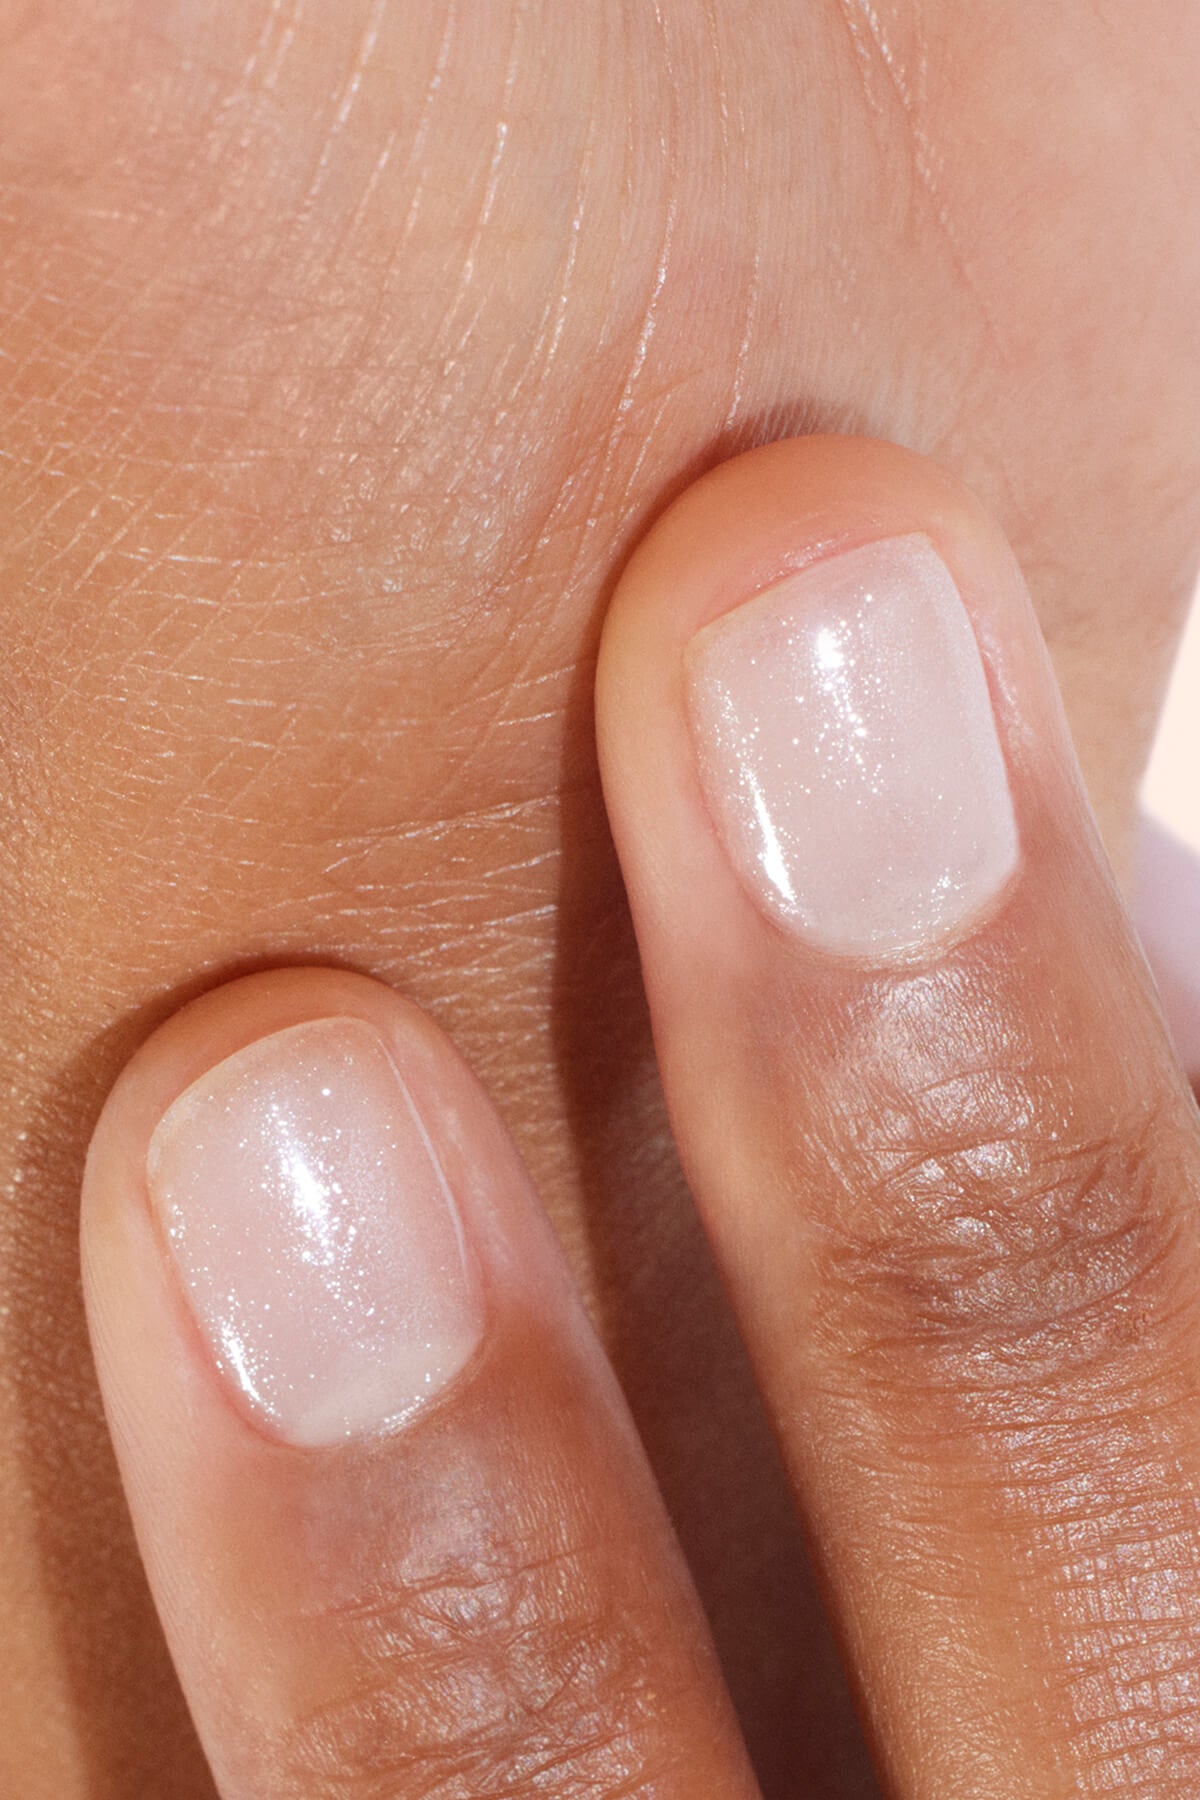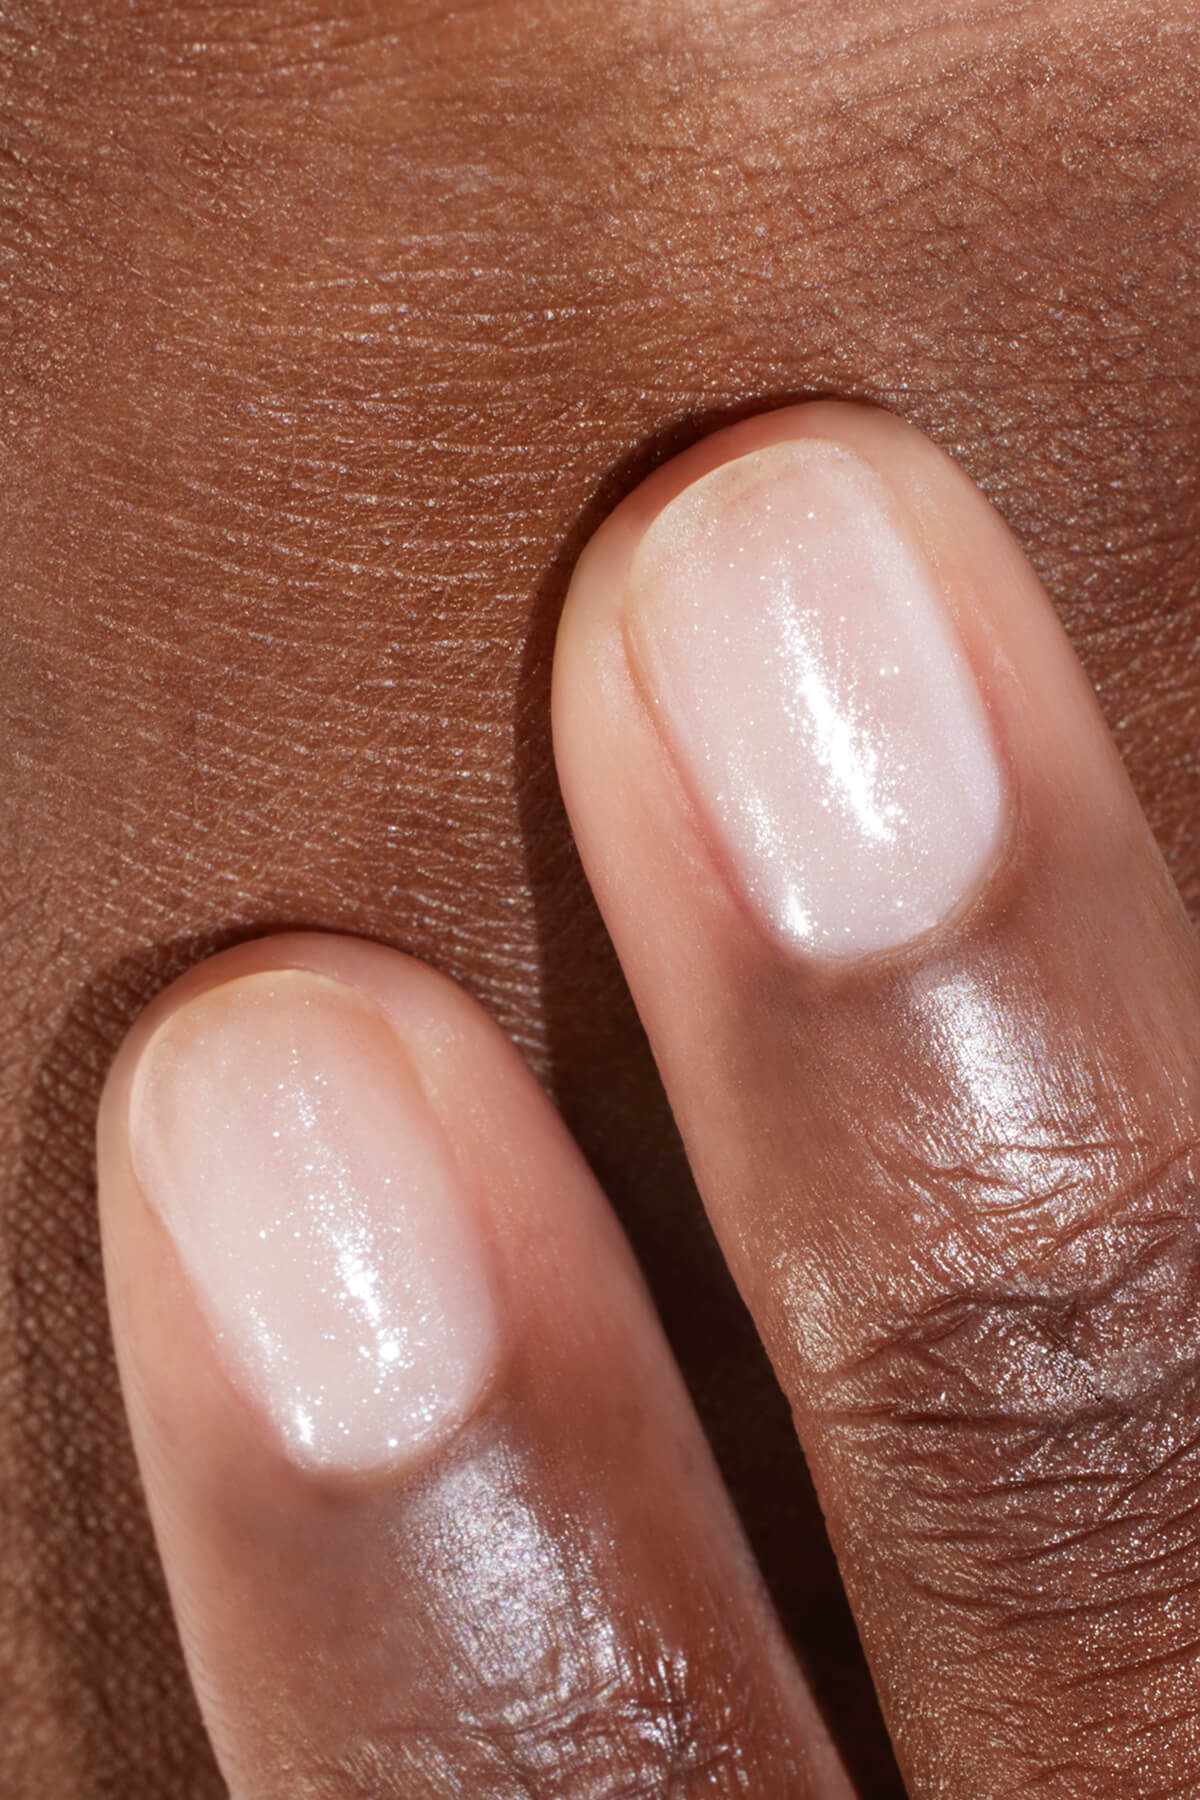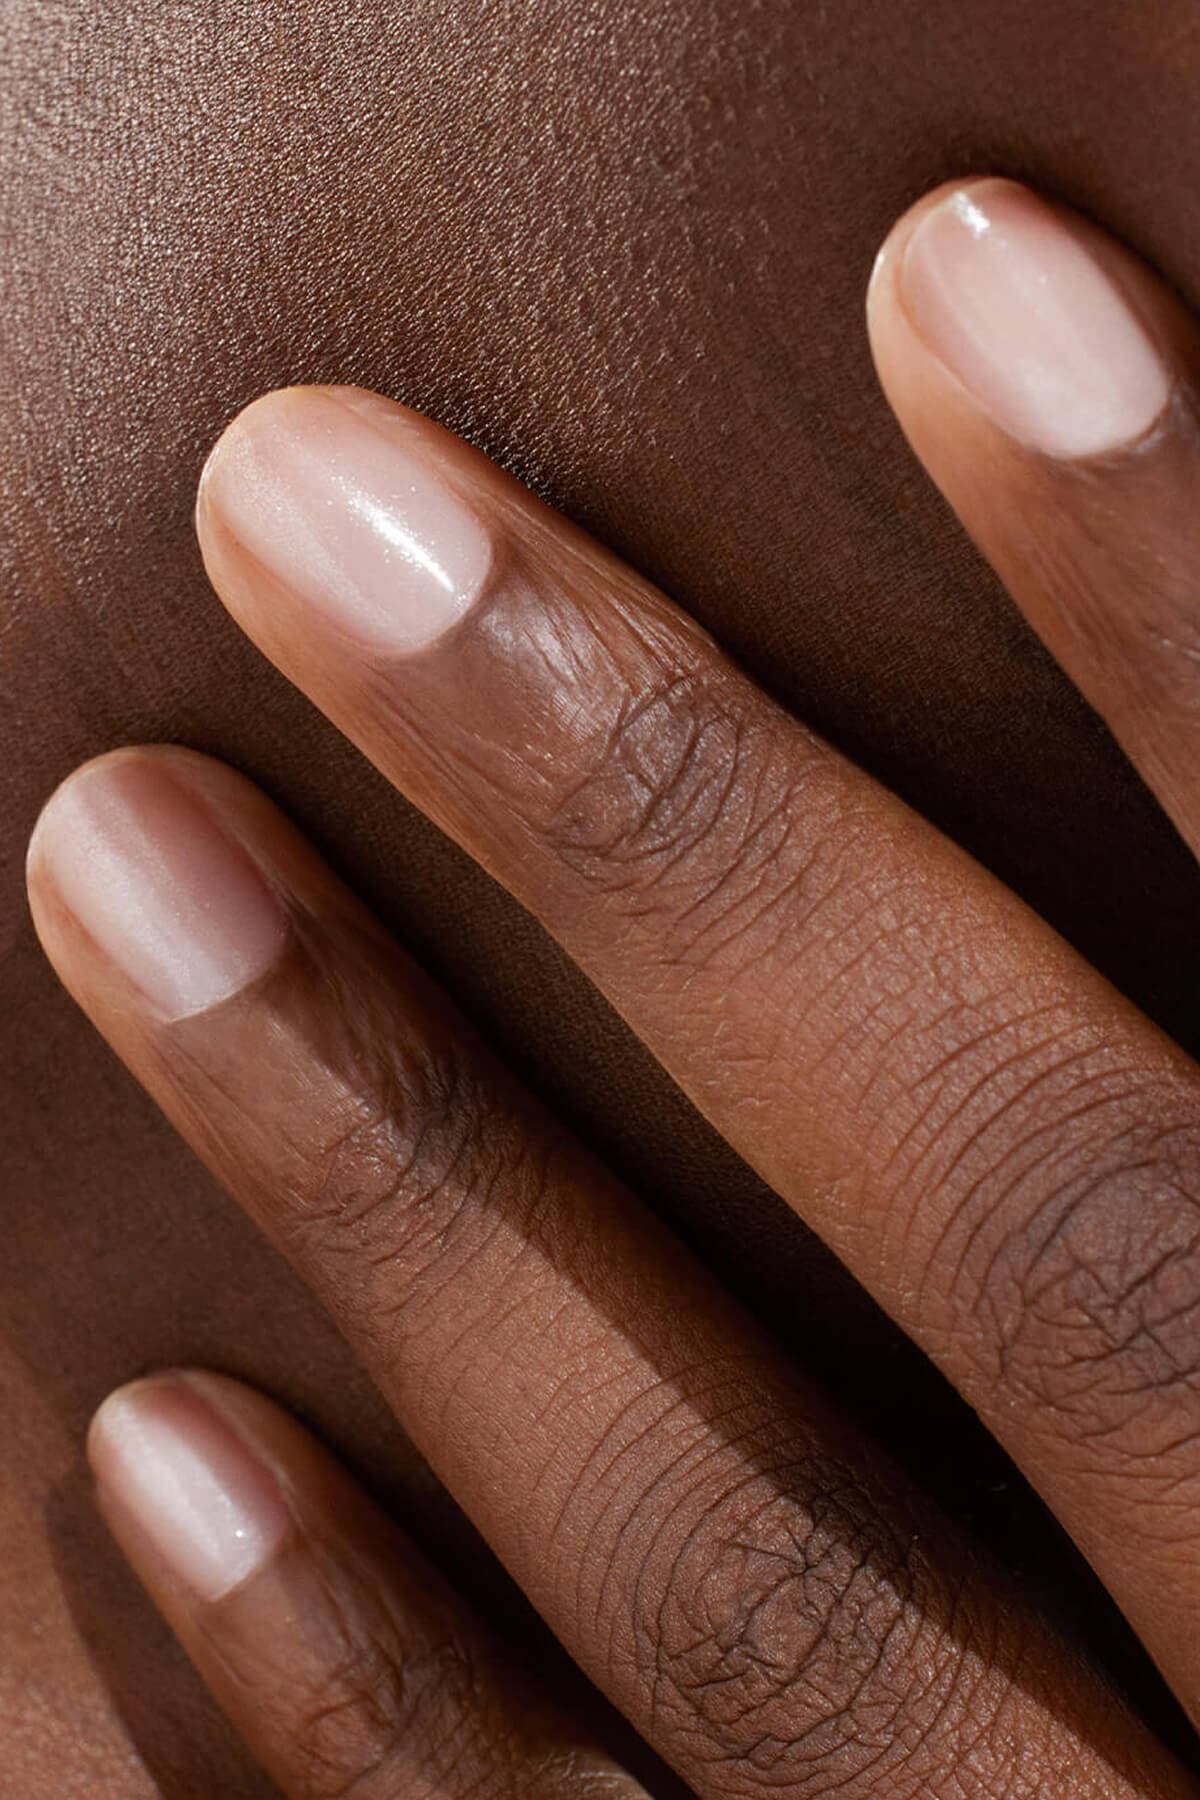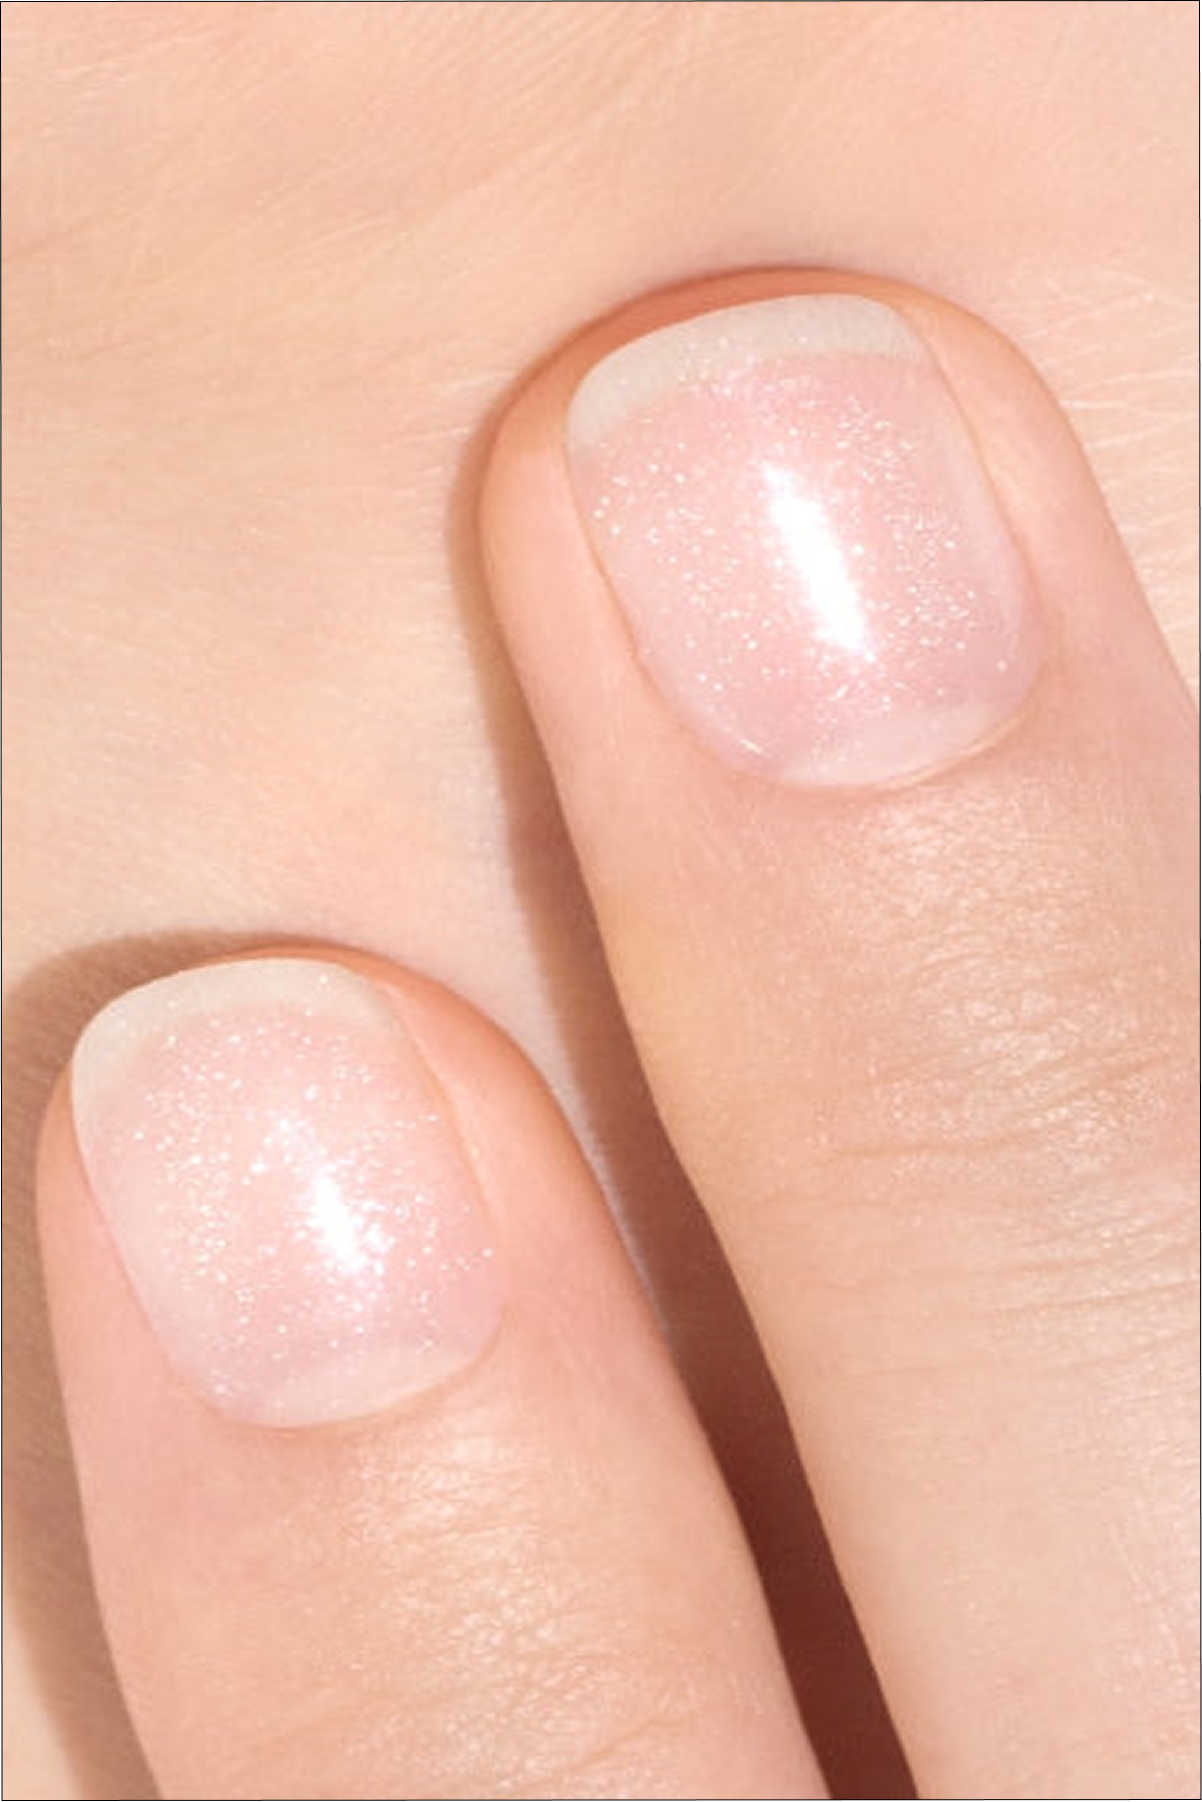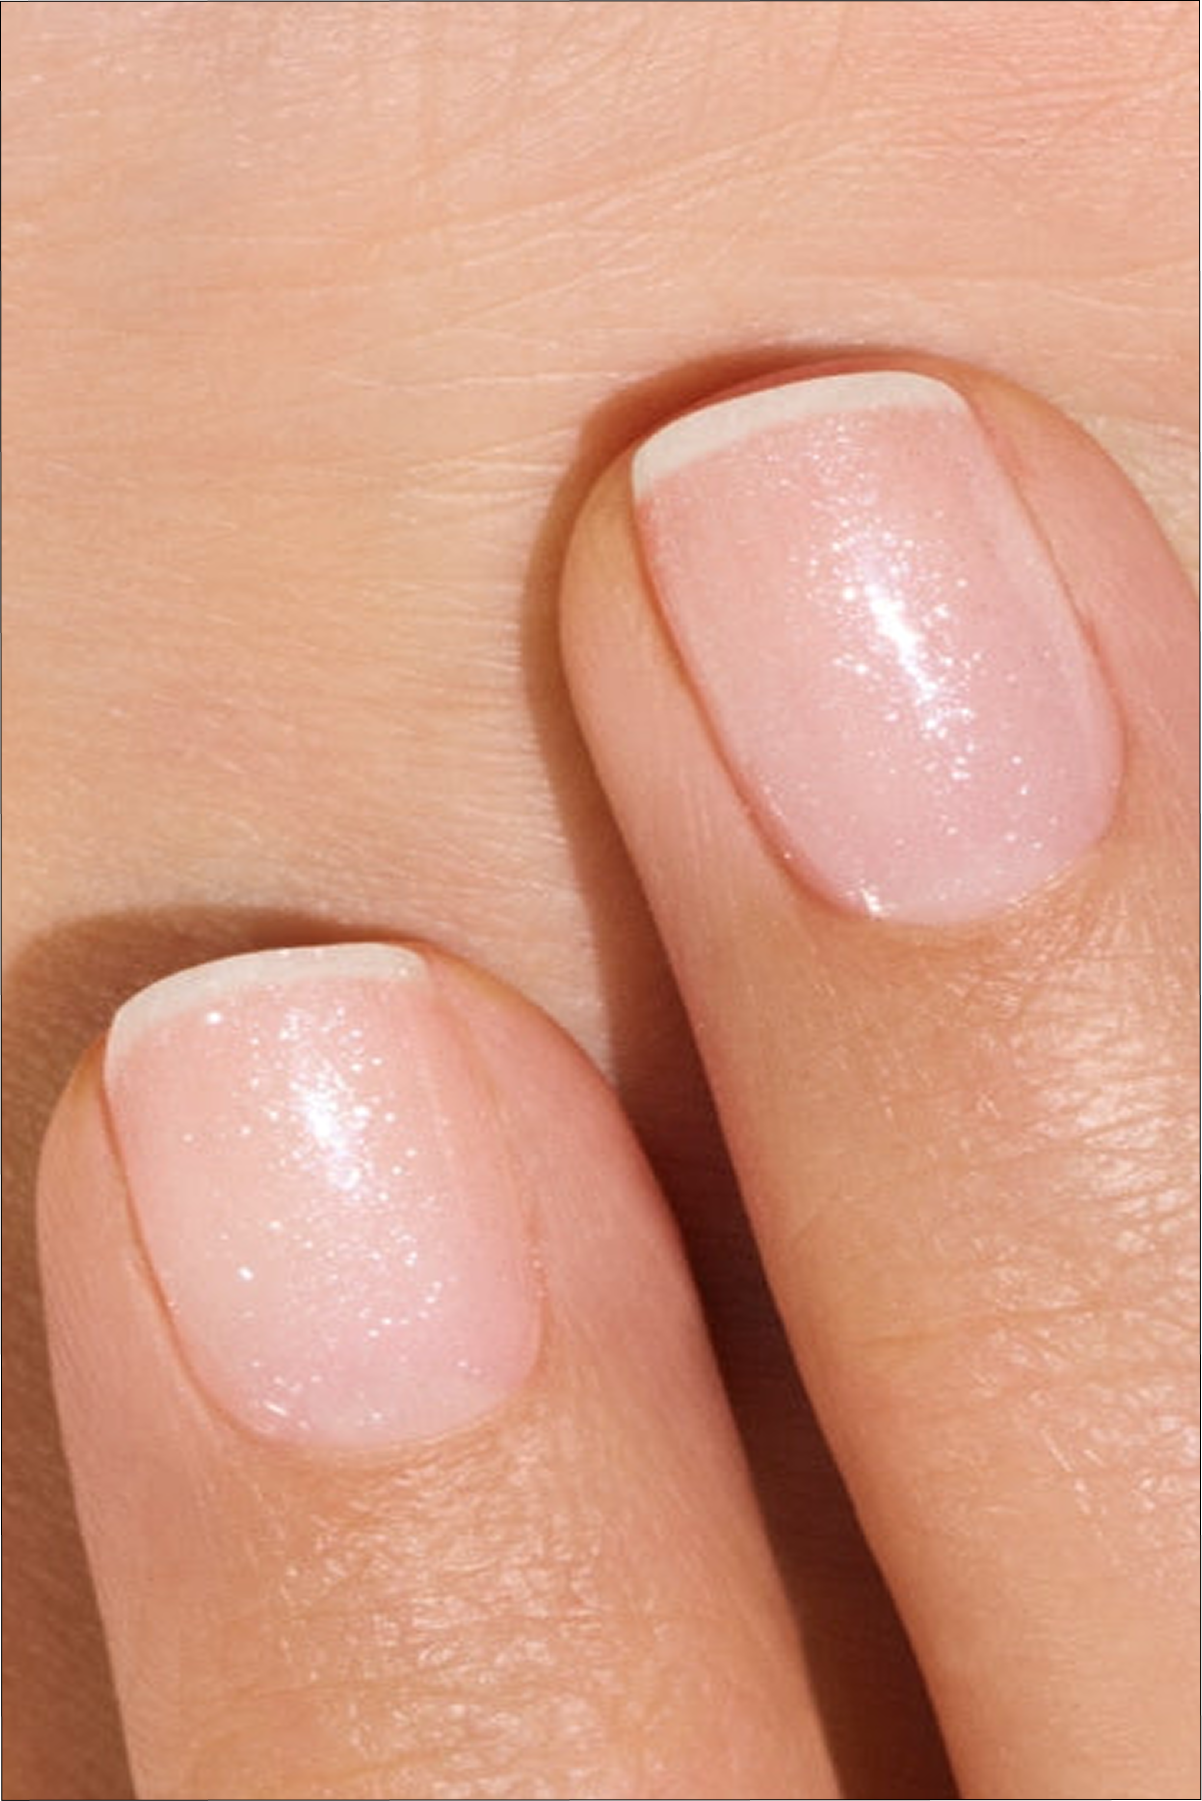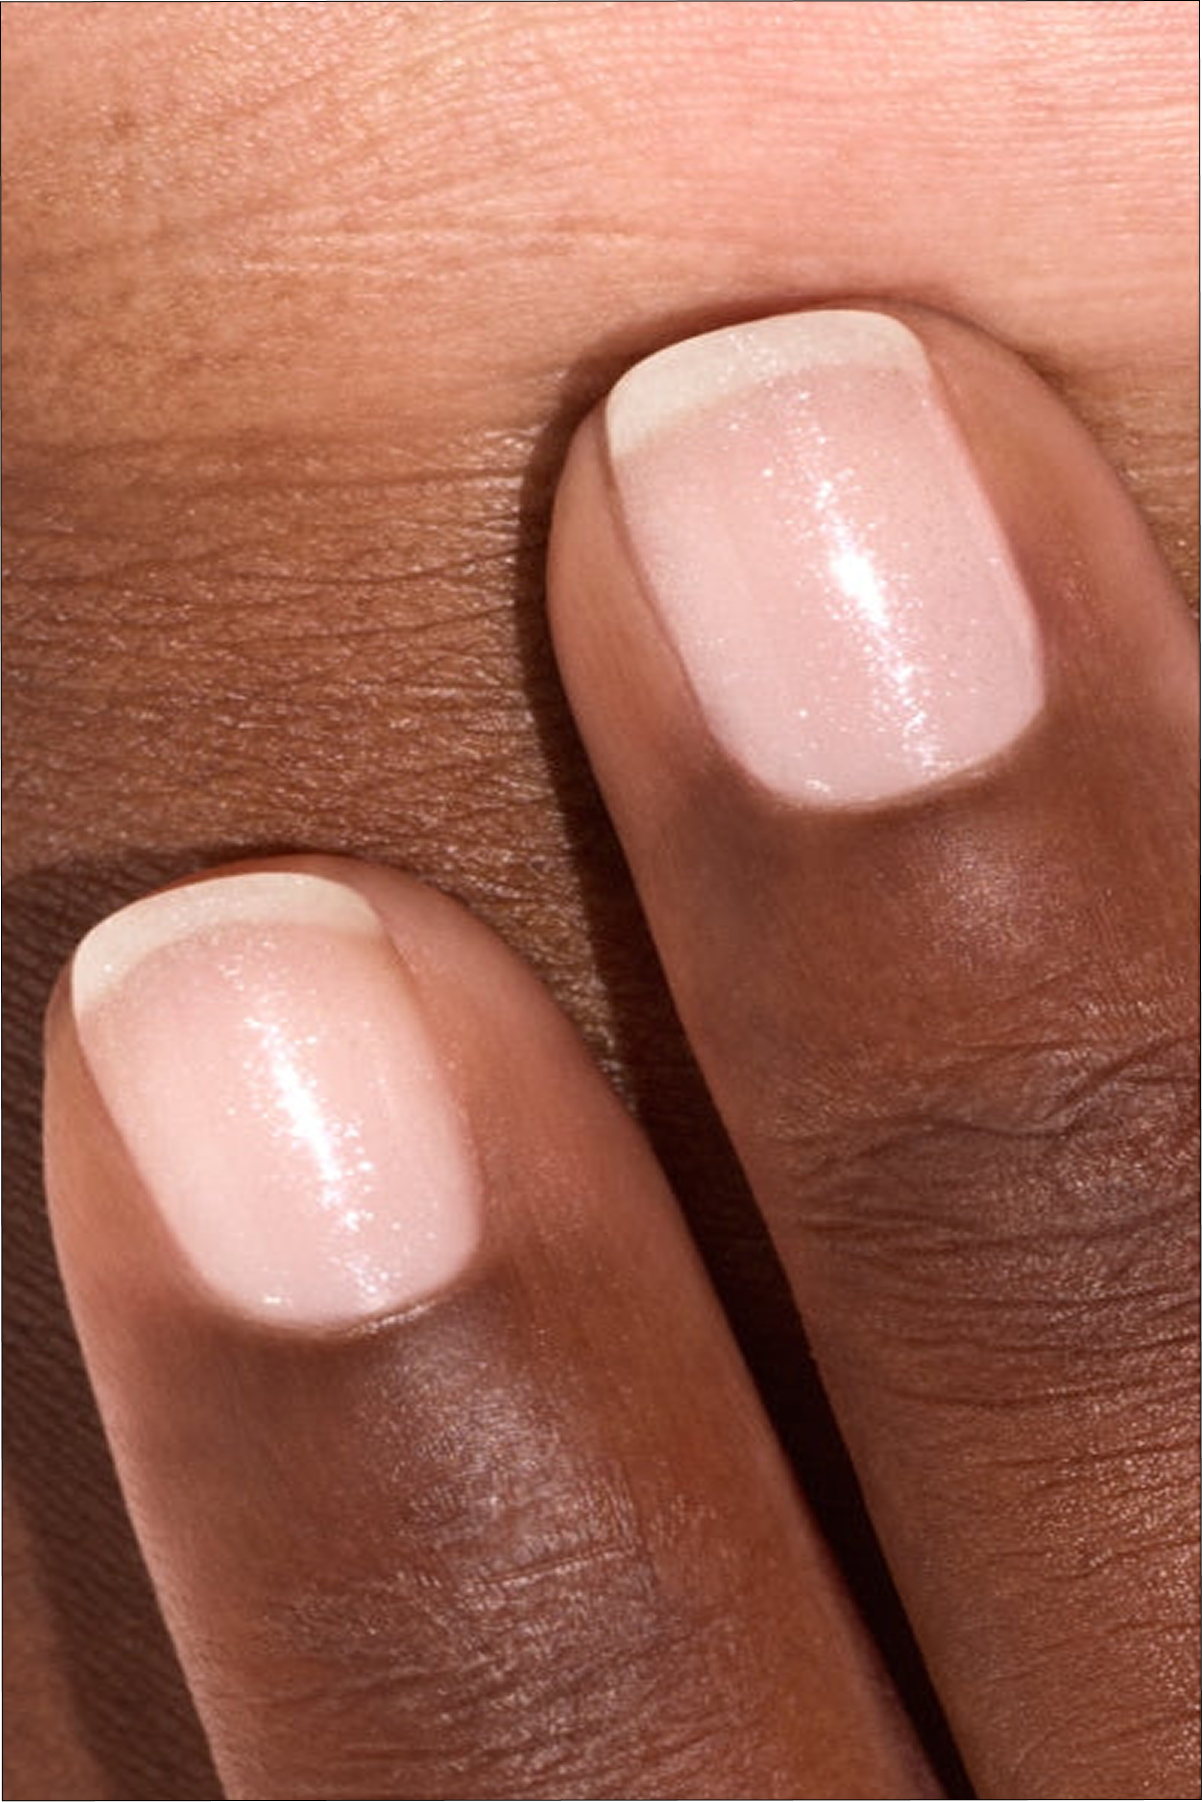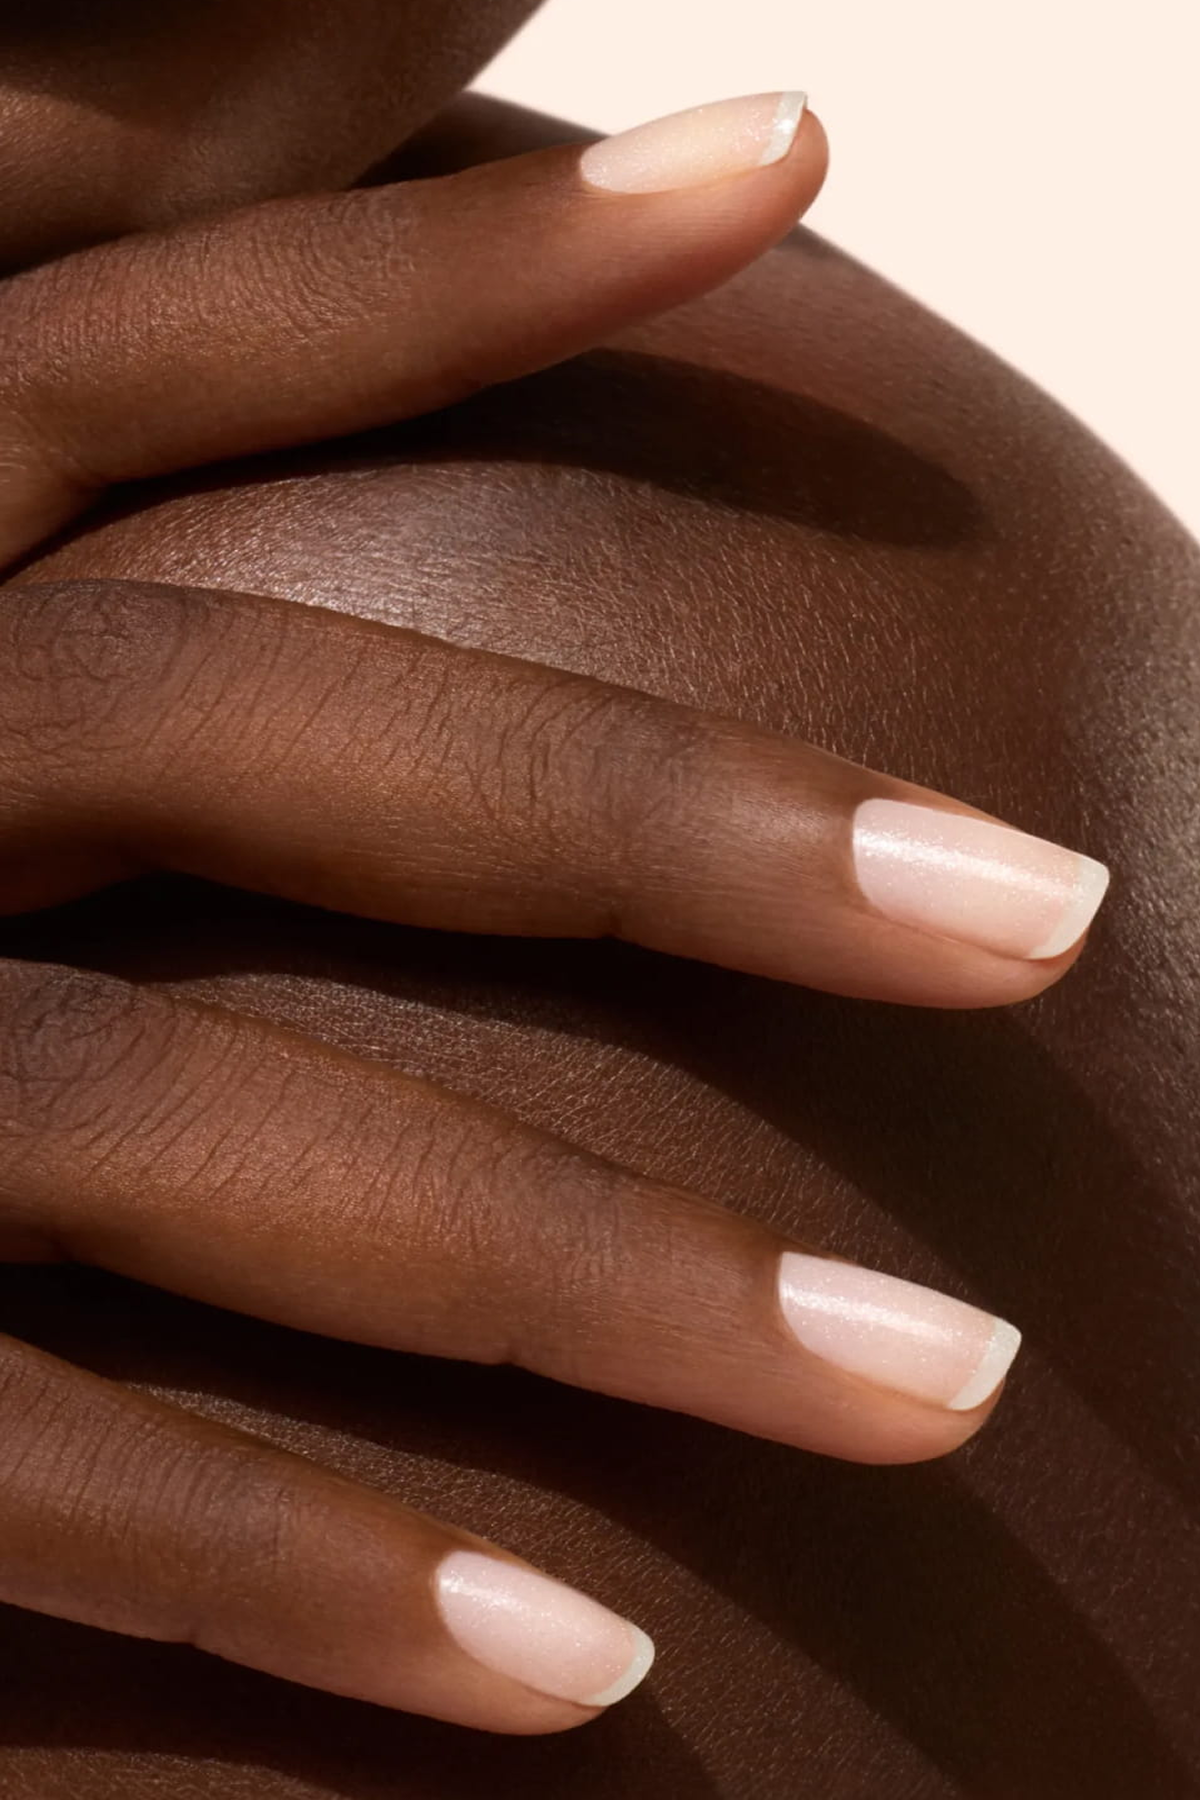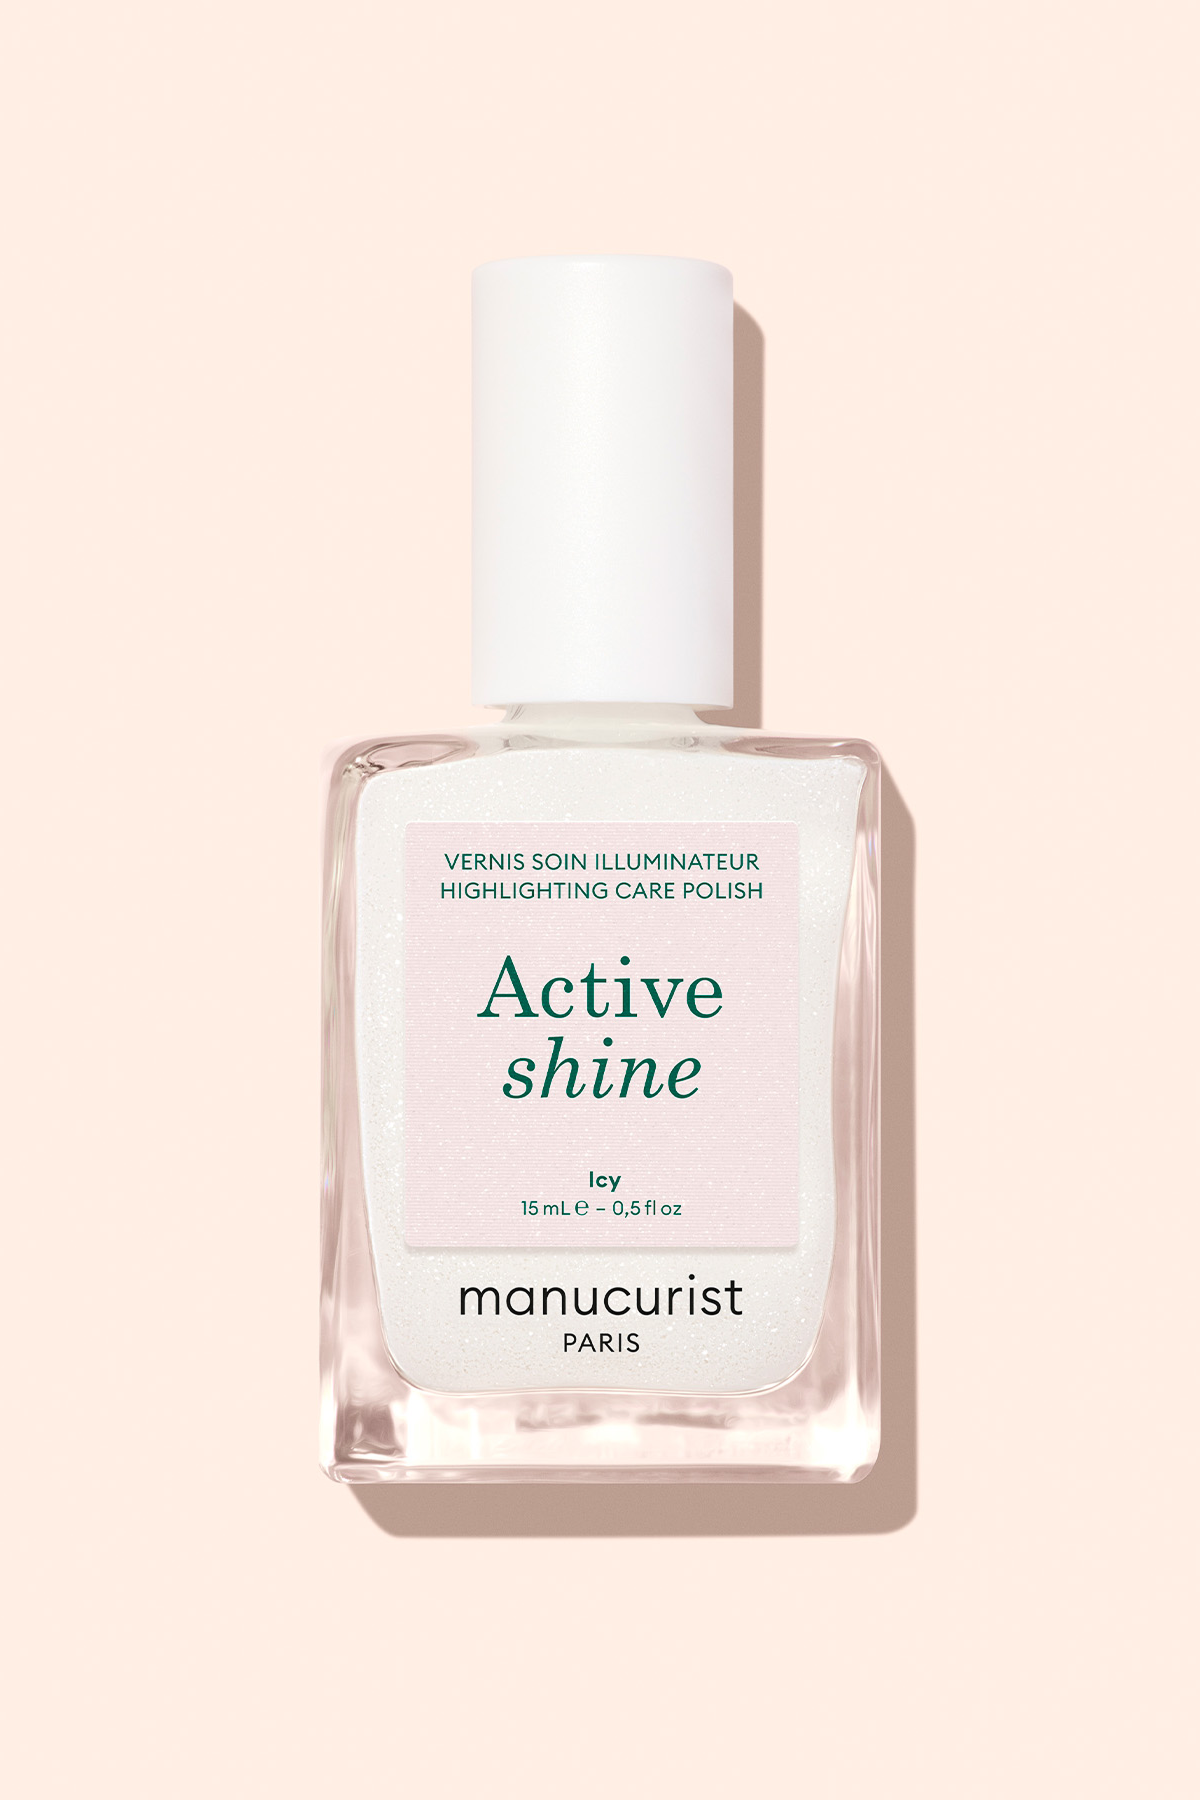


Putting classic nail polish is nothing complicated in appearance, but for the result to be up to date, there are some basic techniques to know that make all the difference, whether you're a beginner or not. Good material, careful preparation, careful application... We share our expert advice and our fetish routine, step by step, for a glowy manicure and lasting. Let's go!
Essentials: What you need for a successful varnishing
The indispensables
There is a tendency to reduce nail polishing by applying one or more layers of colour. - It's a mistake. A manicure worthy of this name must include, in addition to the colour, at least three other products :
- One base : it is a transparent varnish that is placed on bare nails and prepared, before the color, and which acts as a protective layer. This shield preserves the keratin of the nail, improves adhesion and prolongs the manicure's duration. The Base Vitamin Coat Green™ of the Manucurist Go even further. Thanks to its patented KeraHCE+ formula, enriched with vitamins C and E, it strengthens your nails under the color for perfect holding up to 7 days.
-
A top coat : it's the finish layer which concludes the laying process by sealing the color and bringing the desired effect. The product range Green™ of the Manucurist offers different top costs:
- Top Coat Sunshine for one glossy gel effect Without a lamp.
- Top Coat Mat for one matt finish.
- Top Coat Pailleté for one gold finish with silver, as you wish.
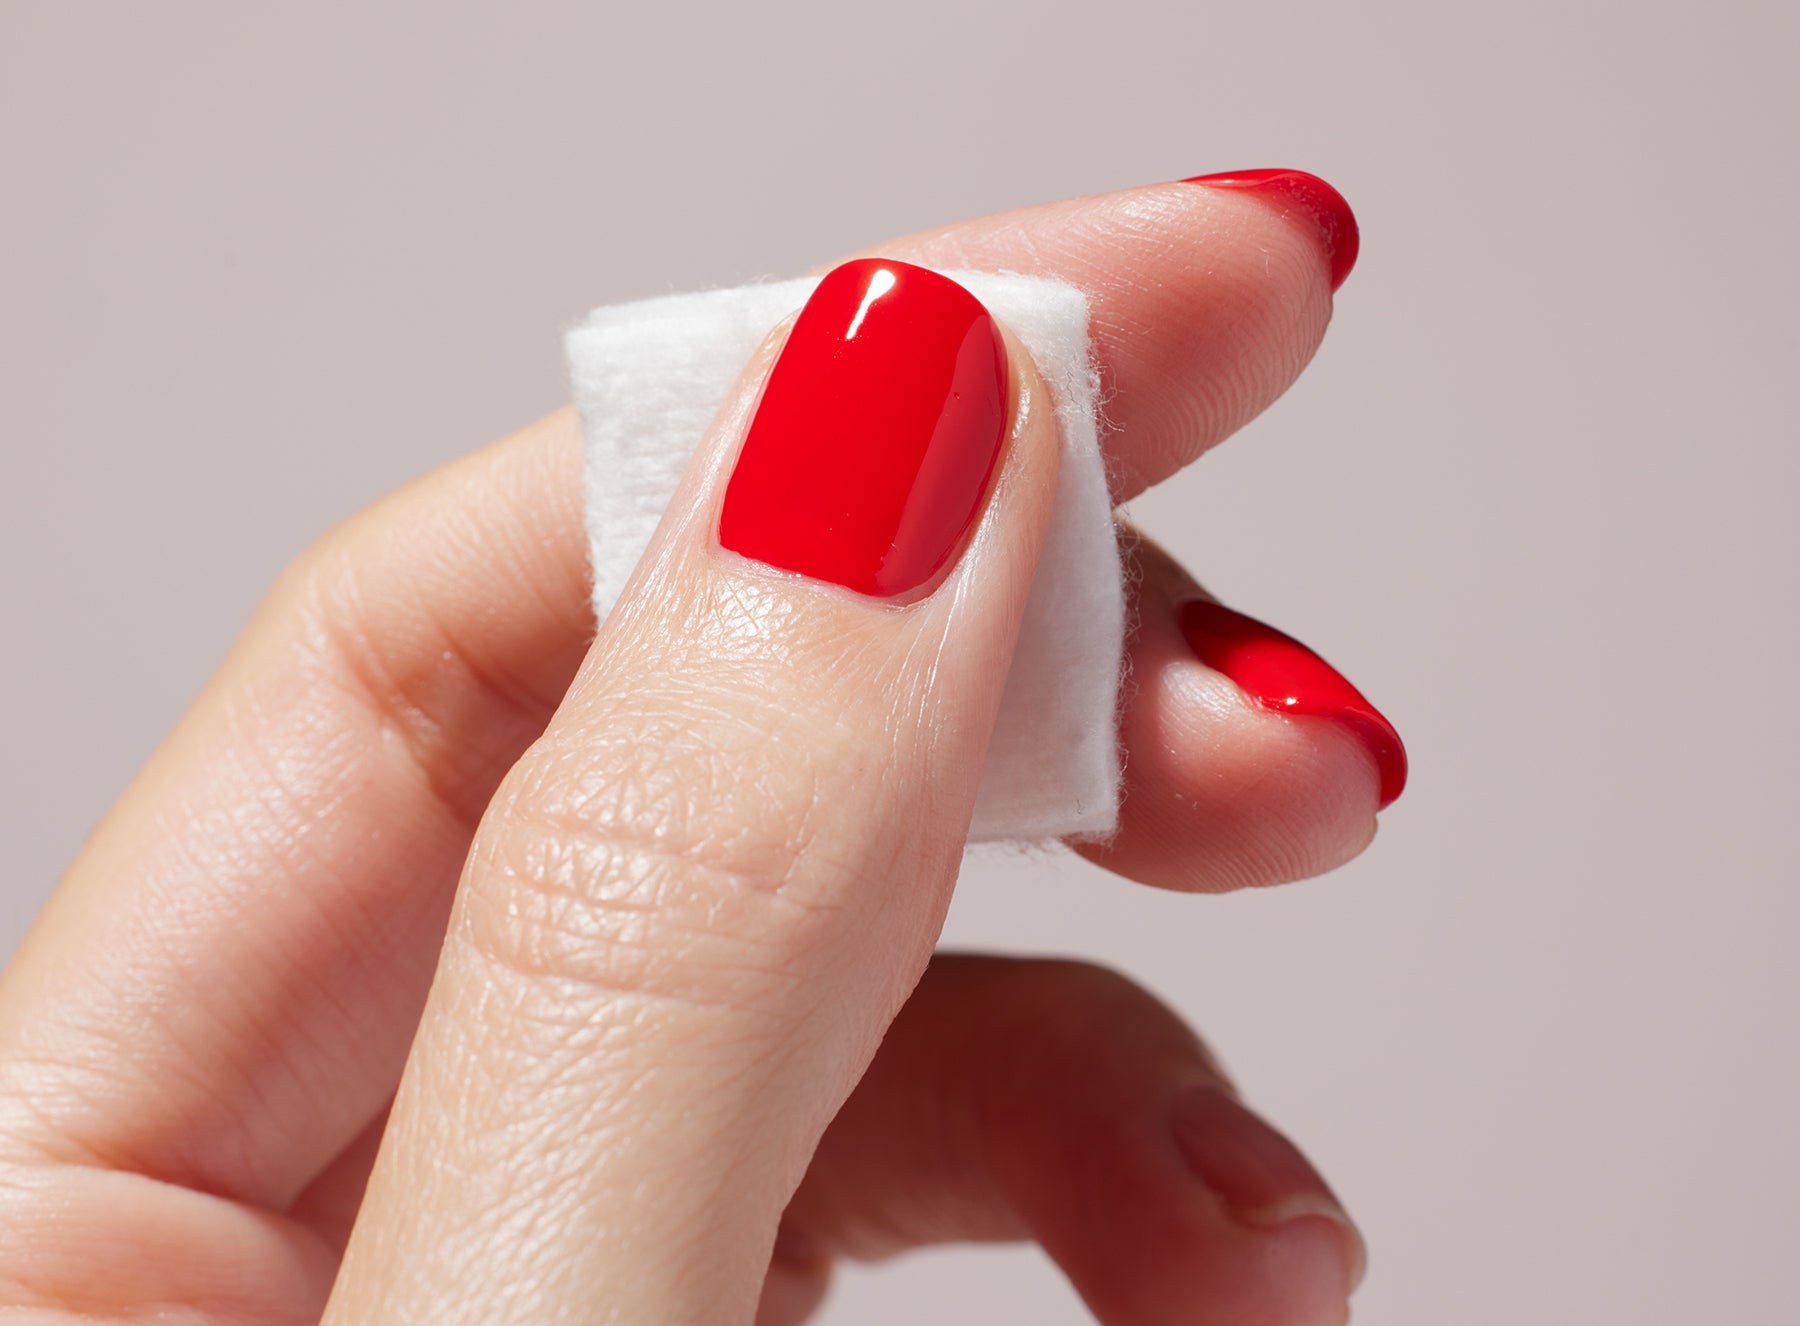
- A soft solvent without acetone : very useful for degreasing the nail before the application of the varnish, correct any spills and of course remove the varnish without attacking nail. With the new Sweet Dissolve Manucurist, the deposit is done smoothly in 30 seconds. Enriched with panthenol and C & E vitamins, it strengthens the nail fiber over the course of its use.


This trio is essential, but the perfect kit doesn't stop there. Other accessories allow to optimize manicure:
- Nothing better than a preparation set with a nail file, emollient, cuticle shoot and a preparation file. When you experience the benefits of nail prepYou can't do without it!
- One Degreaser to remove the nail from any residues, fatty bodies and dust, before laying the base coat coat. Teasing : the Degreaser Green™ evolves and will be available as of September 2026 in spray version, with a vitamin formula. Stay tuned!
- One Dissolvant correcting pen, unbeatable to erase small blunders with surgical precision. Much more efficient than cotton-tip ;-)


Which varnish to choose to start?
For a first try, you will be sure to put on a classic nail polish which dries in the open air. Compared to semi-permanent varnish which must be dried under UV or LED lamp, the installation routine is simpler and accessible, with the advantage of being easy to catch in case of a missed!
With the nail polish Green™, you benefit from a vegan and bio-based formula up to 83% which dries without UV lamp in 1 minute, offers perfect hold up to 7 days and withdraws smoothly, without acetone. Cherry on the cake: the palette of varnishes Green™ displays a choice of more than 100 colours Fall!
On the texture side, you should start with a opaque nail polish Instead of a semi-transparent varnish. With opaque colours, brush marks are less visible and the rendering is often more uniform.
Prepare your nails well before laying
The golden rule of any successful long-wear manicure? One careful preparation to perform as a routine of nail care must. The protocol to follow is as follows:
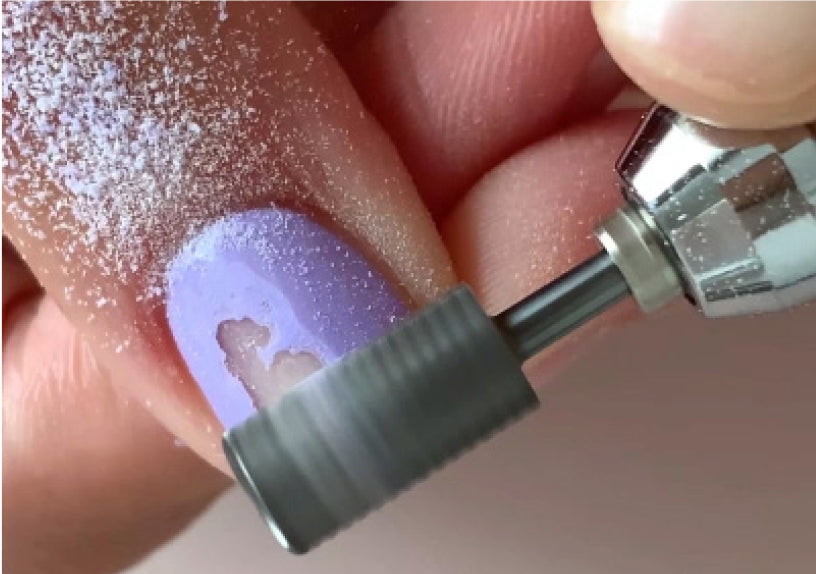
1. Gently clean : first remove the residues from your old manicure and start again on a perfectly clean basis.
2. Limer and harmonization of form : draw using the nail file the desired shape (square, oval, almond...) by always liming in the same direction, from the outer edge to the center, without going back and forth to avoid duplication.
3. Chouching cuticles : apply a drop ofemollient on the round edge to soften the small skins. Leave it to the user and then gently push them away with the cuticle shoot. This gesture removes the plate and offers a clear outline, reducing the risk of scales and varnish peeling.
4. Undoing the surface : matify the plate with the preparation file, handled delicately. This allows to open the keratin scales, favouring better adhesion of the varnish layers.
5. Degrease : finish by cleaning each nail with a degreasing or mild solvent to remove fatty bodies and impurities that can generate bubbles.

Limer, repel, mattify, degrease: the mantra of the perfect nail prep!
Apply nail polish step by step
Now that your nails are ready, place to the pleasure of color! The following are the key steps in the application and the various actions to be taken:
1. Start with place a thin base coat coat. Allow to dry in the open air until the texture is no longer sticky to the touch.
2. Then we move on to the first layer of colour. Apply a thin layer according to the technique of the 3 strokes: a brush stroke in the center, then one on each side. Remove the material from the base of the nail to the free edge and avoid overflowing over the skin. Let the air dry.
3. To increase the shade and cover the nail well, apply the second layer of colour using the same technique.
4. Seal your masterpiece and customize the rendering with a thin layer of top coat of your choice.
5. A blunder, a blush? Don't panic! Clear imperfections with a corrector pen or a cotton swab soaked in solvent.
Tip : to avoid ruining your beautiful fresh manicure, wait a few hours before searching your bag, grab your keys or put your hands under water. Even if it is dry on the surface, the nail polish remains unstable in depth and needs time to become sufficiently resistant.


Techniques to be adopted for a coating like a pro
Following the routine of writing is good, but it's not always enough to get a result worthy of a living room. Here are some pro secrets to boost your technique:
- Do not overload the brush : with a brush well covered in varnish, we think we'll cover the nail better. That's the classic mistake! By loading your brush, you can leave more easily brush marks. Your varnish, too thick, will go drying less well and longer, and risk of frying at least contact.
- Prefer finesse Two thin layers are better than a thick layer. Express drying, uniform application and controlled color intensity, you have everything to gain.
- Mastering your gesture : place the varnish with the brush tip at the base of the nail, just above the cuticle. Then spread the product in the direction of shoot to the free edge of a slow, fluid and continuous gesture, without touching the skin following the 3 traits. Avoid bumps and do not add any material to correct a less well covered area. Wait for the next layer to adjust the color or thickness.
- Stabilize your hand : Place the hand that receives the varnish well flat on a table and tie the wrist of the hand that applies the varnish to limit tremors. Our trick? The Mani Helper, an ergonomic adapter that offers a perfect grip of the cap and facilitates brush control. A real happiness!
- Correct accurately : not always obvious to apply its varnish without blush, especially at the beginning. The Dissolvant correcting pen or, failing this, a cotton-tip slightly soaked in solvent helps to correct the edges without damaging the rest of the nail polish.

Fine layers, fluid and controlled gesture, corrected defects: the perfect manicure is within your reach!
How long does it take to dry the varnish properly?
Between each step, agree on a 2 to 3 minutes break. The drying time depends on the temperature of your room and the thickness of your layers. The ideal is to settle in a well ventilated and temperate place (around 20 to 22°C).
Are you in a hurry? The Drying drops You're gonna save you valuable time! Apply them to the Top coat, one drop per nail, and your manicure Green™ dry in a minute, leaving your nails nourished thanks to its formula enriched with ceramides.
How can you last longer?
It is the burning question that all the beauty addicts - You're asking. Yet the secret is simple: daily hydration. For this, theGreen oil is the ideal care to nourish your cuticles intensely every night without altering your pretty color.
And don't forget to Protect your hands from external aggression. Hot water and household chemicals are the worst enemies of your nails. So, we put on gloves to do dishes or handle detergents.
Tip : a few days after the installation, take a light brush stroke on the edge of the nail, where the varnish is damaged as quickly as possible, and rekindle the shine of the manicure by applying a thin layer of top coat. Cost-saving effect guaranteed!


Errors to avoid when starting in manicure
Without experience, the following traps can quickly be found:
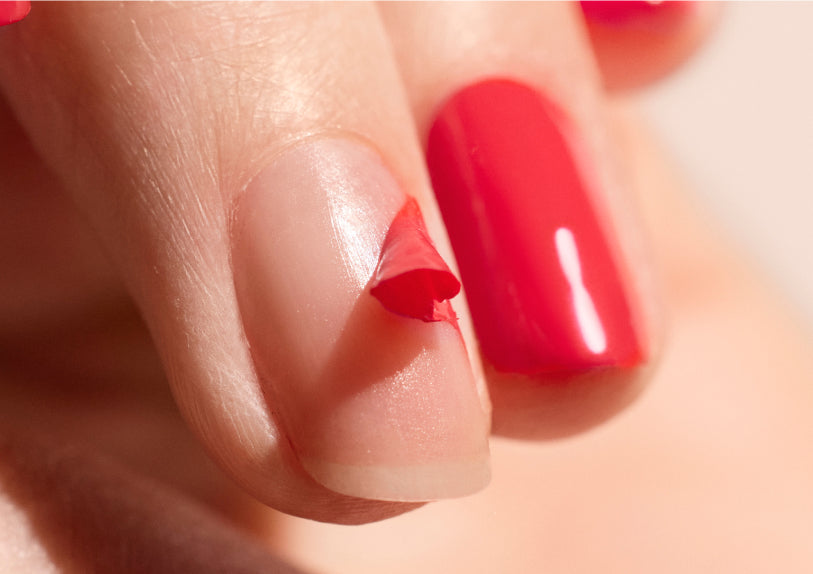
❌ Neglect nail preparation This is the number one cause of a varnish that splinters or takes off prematurely.
❌ Do not use the base coat and/or top coat One protects the nail, the other protects the color without them, forgets any hope of lasting manicure.
❌ Apply the varnish in thick layers This compromises the drying and long-lastingness of the varnish.
❌ Do not let dry long enough If you don't have the patience to wait until each layer of product drys properly, you may spoil all your efforts. Too bad, right?
With some good reflexes, a little patience and precise gestures, nail polishing at home becomes a child's play with the pleasure of getting a brilliant manicure and a result like pro. The range Green™ of the Manucurist allows you to have a complete routine of bio-sourced products that enhance and care for your nails. What to become nail addict in no time!
FAQ
How to put nail polish without overflowing?
Clean your brush on the edge of the nail polish bottle and apply the varnish in fine layers without touching the skin. Remove the material in a slow and fluid gesture from the base of the nail to the free edge, in the direction of the shoot. Start at the centre of the nail and work the sides. If you slip, the correcting pen will erase the odds in a blink of an eye.
Do we always have to put a base before the varnish?
Yes, 100 percent! It prevents coloured pigments from soaking the keratin of your nails and prolongs the hold of your manicure. With KeraHCE+ technology, the Base Coat Vitamine Green™ protects your nails while strengthening them under color.
How many coats of varnish should be applied?
In general, two are sufficient for an intense and uniform color. Some highly pigmented shades can provide a satisfactory result from the first application. The colours of translucent or semi-transparent varnishes may require more than 2 layers. It all depends on the desired rendering.
How to remove the varnish without damaging the nails?
No acetone or sanding is required to remove from the classic nail polish. For a smooth, nail-free removal, a non-acetone solvent is sufficient. To remove varnish Green™ , you have the choice between Sweet Dissolve Green™ which removes your nails in 30 seconds, theDissolvant oil recommended for fragile nails, and Magic Dip Remover, a nomadic format solvent bath that removes the varnish in 10 seconds.