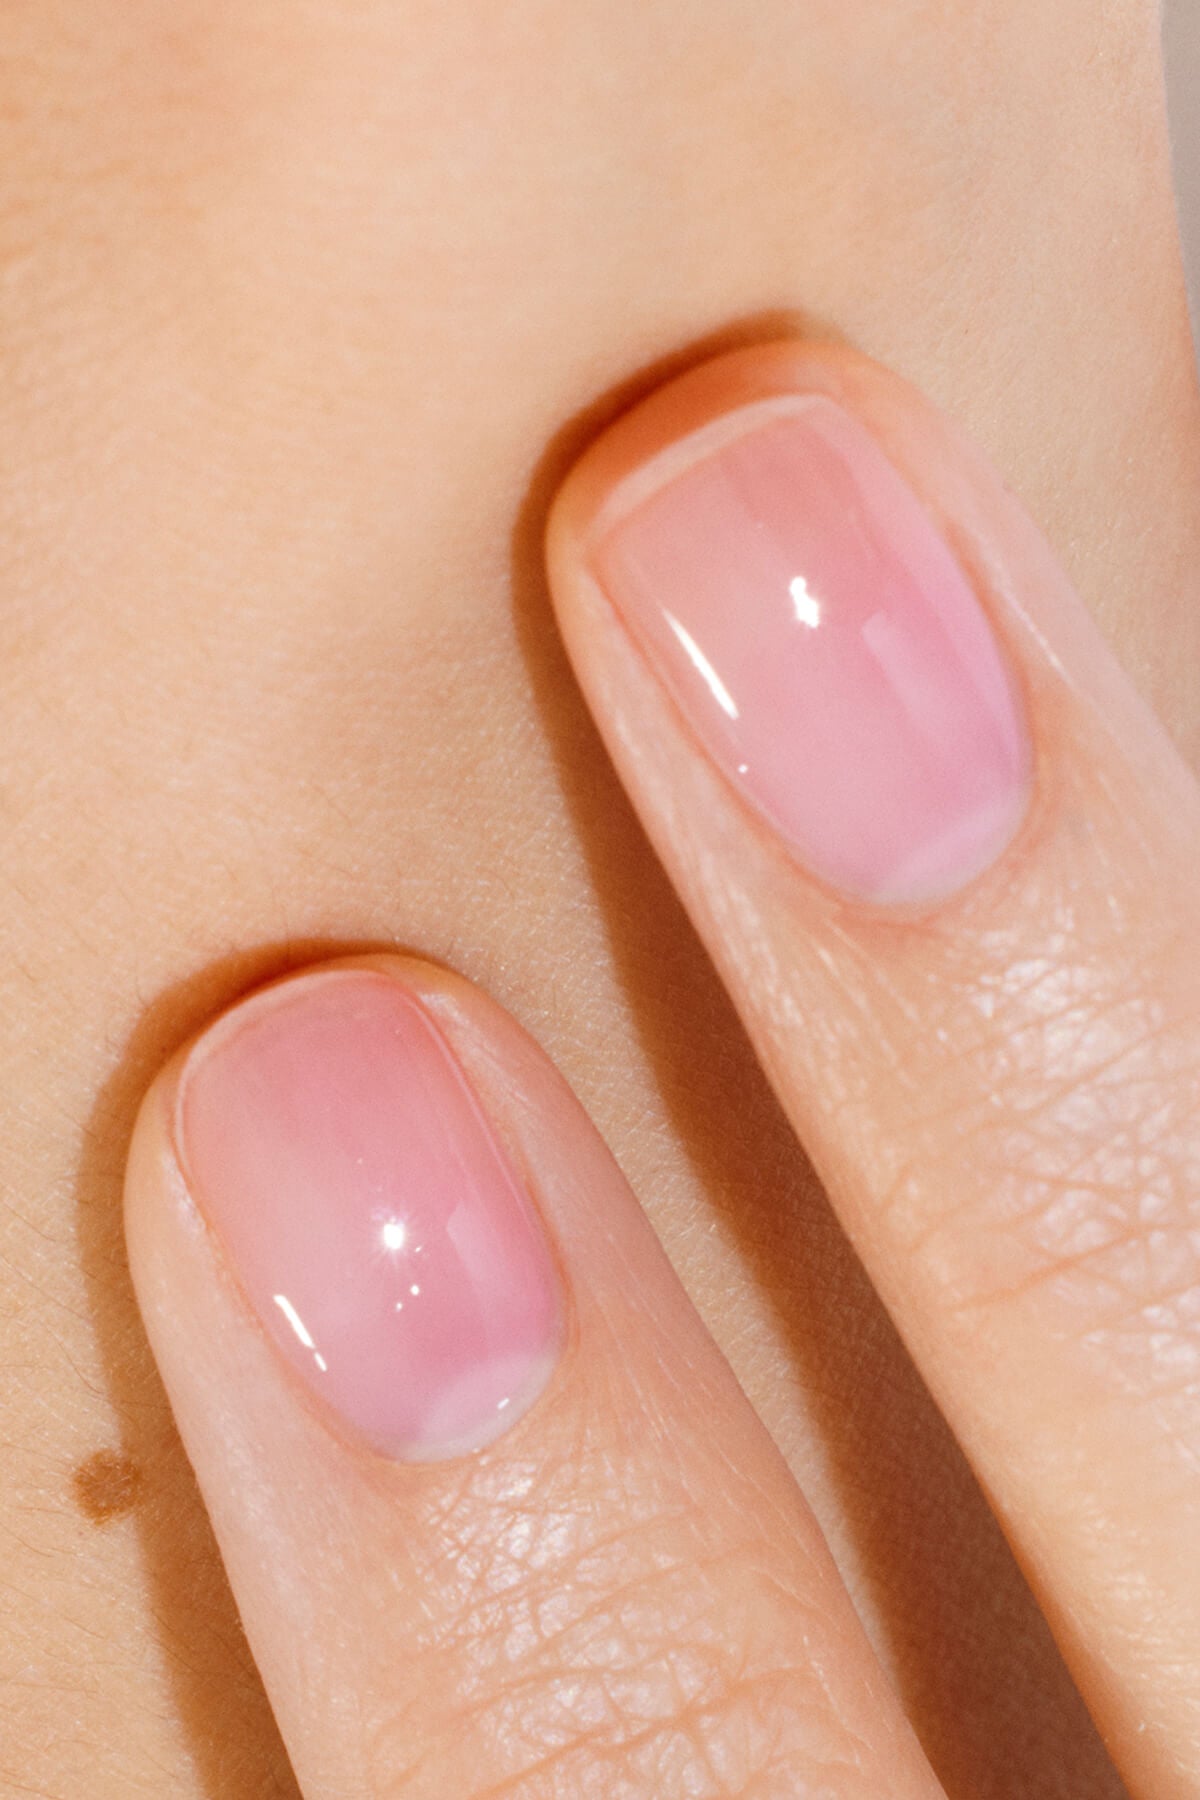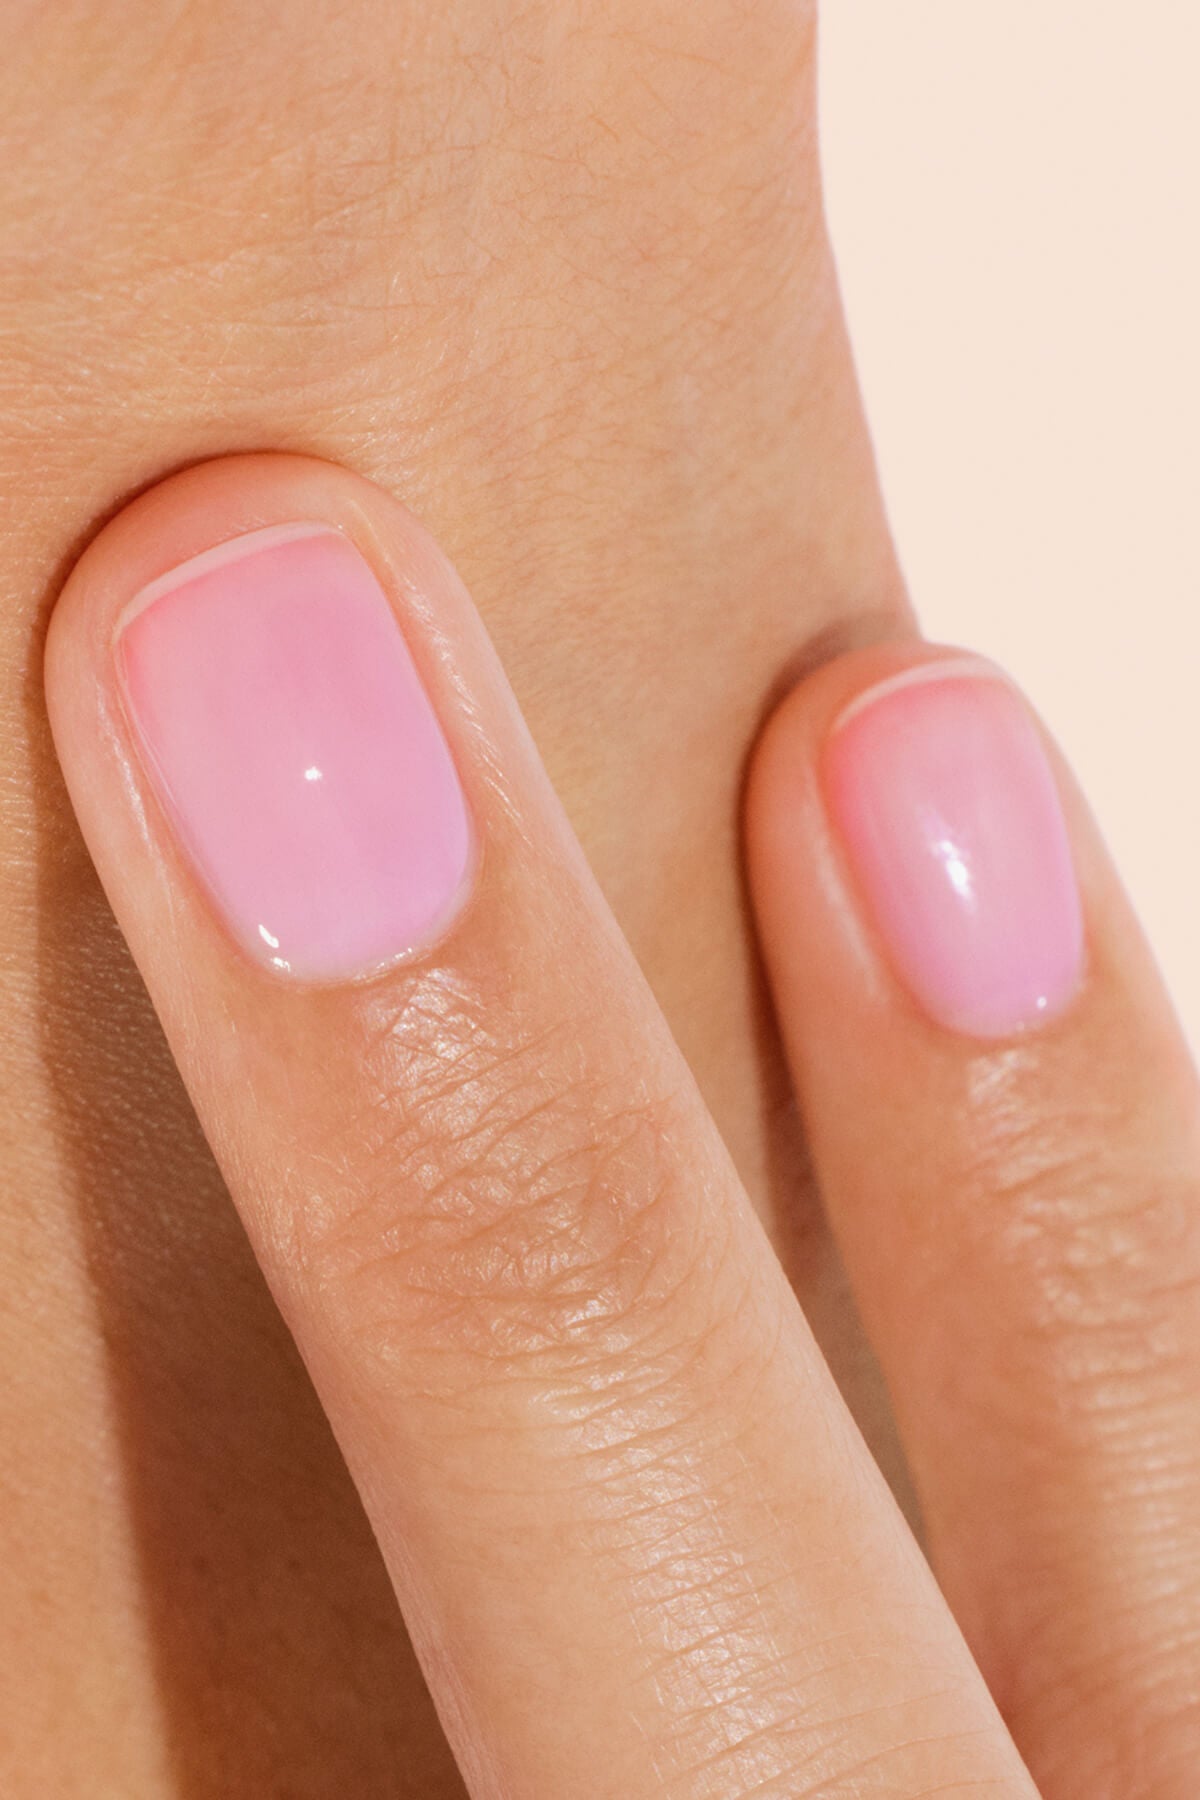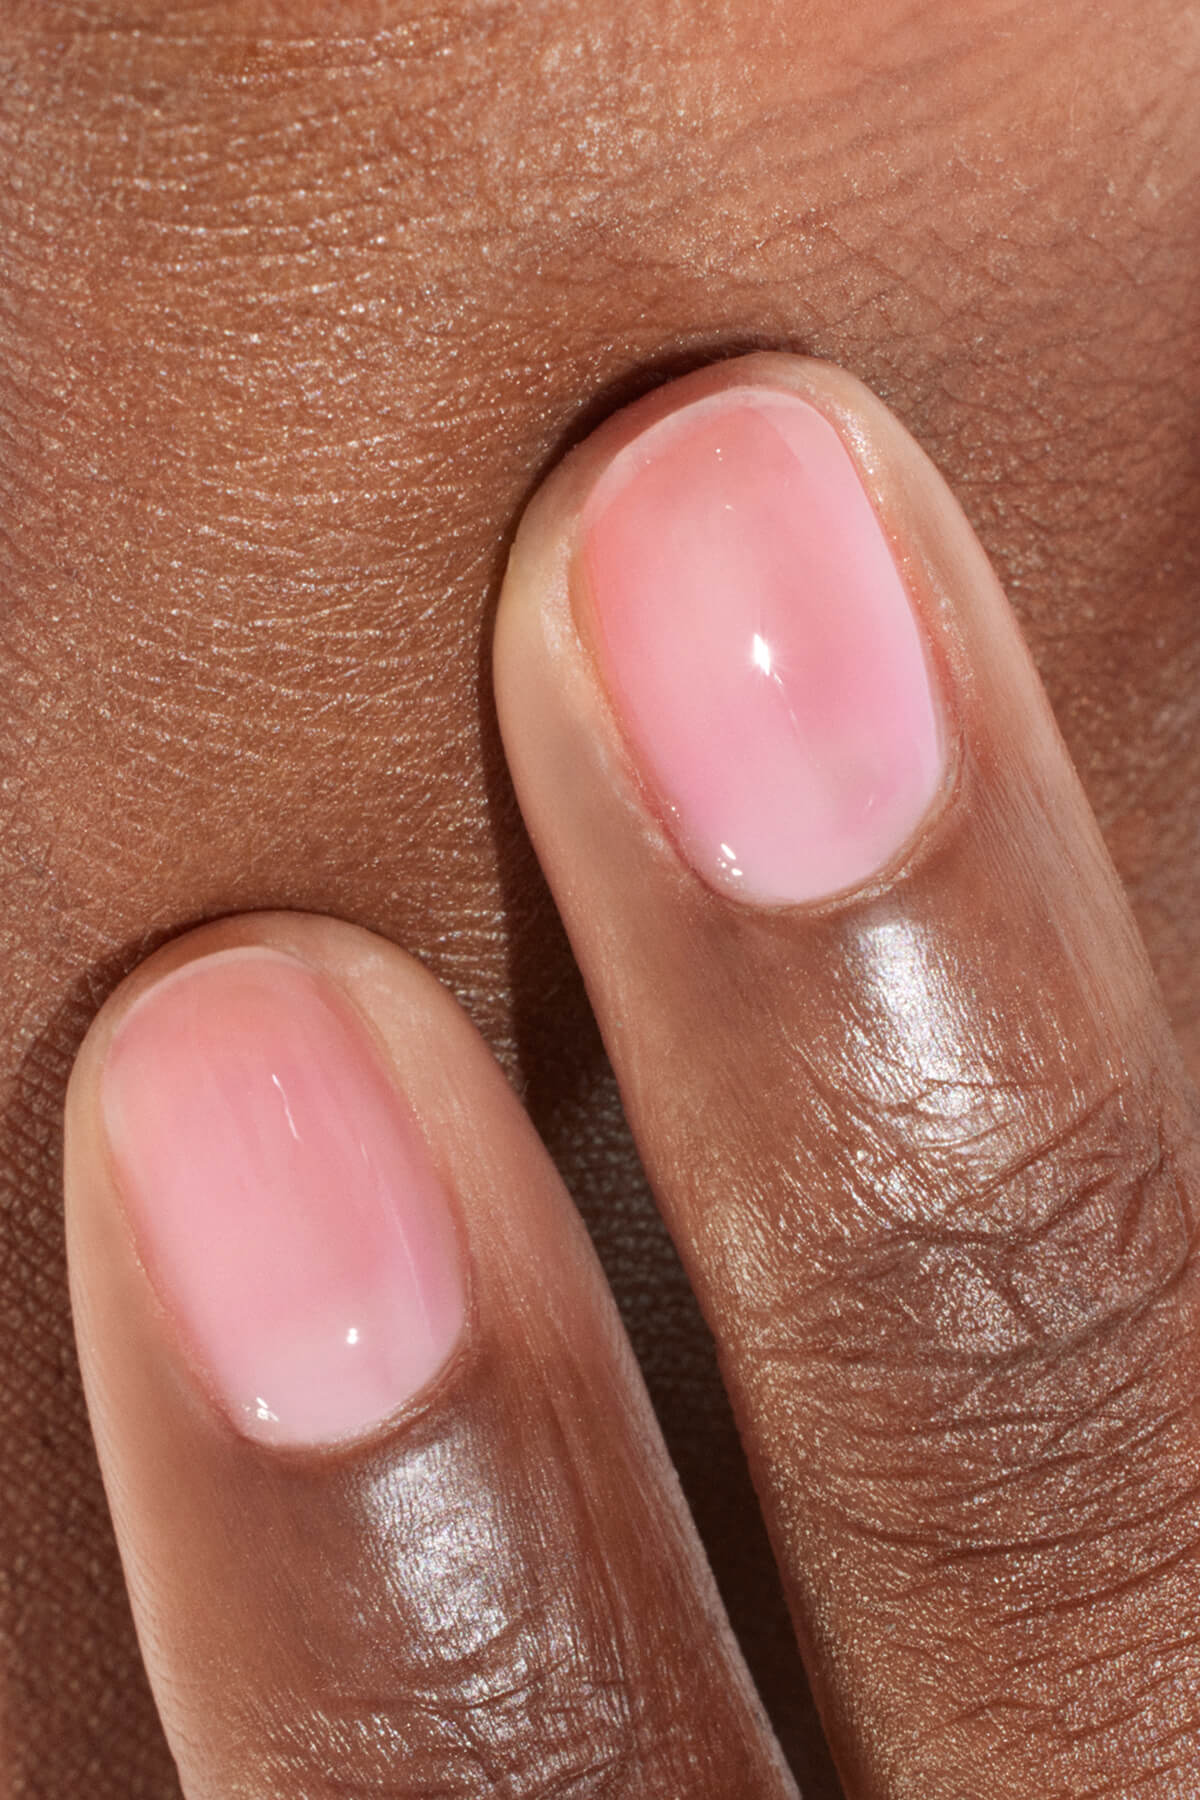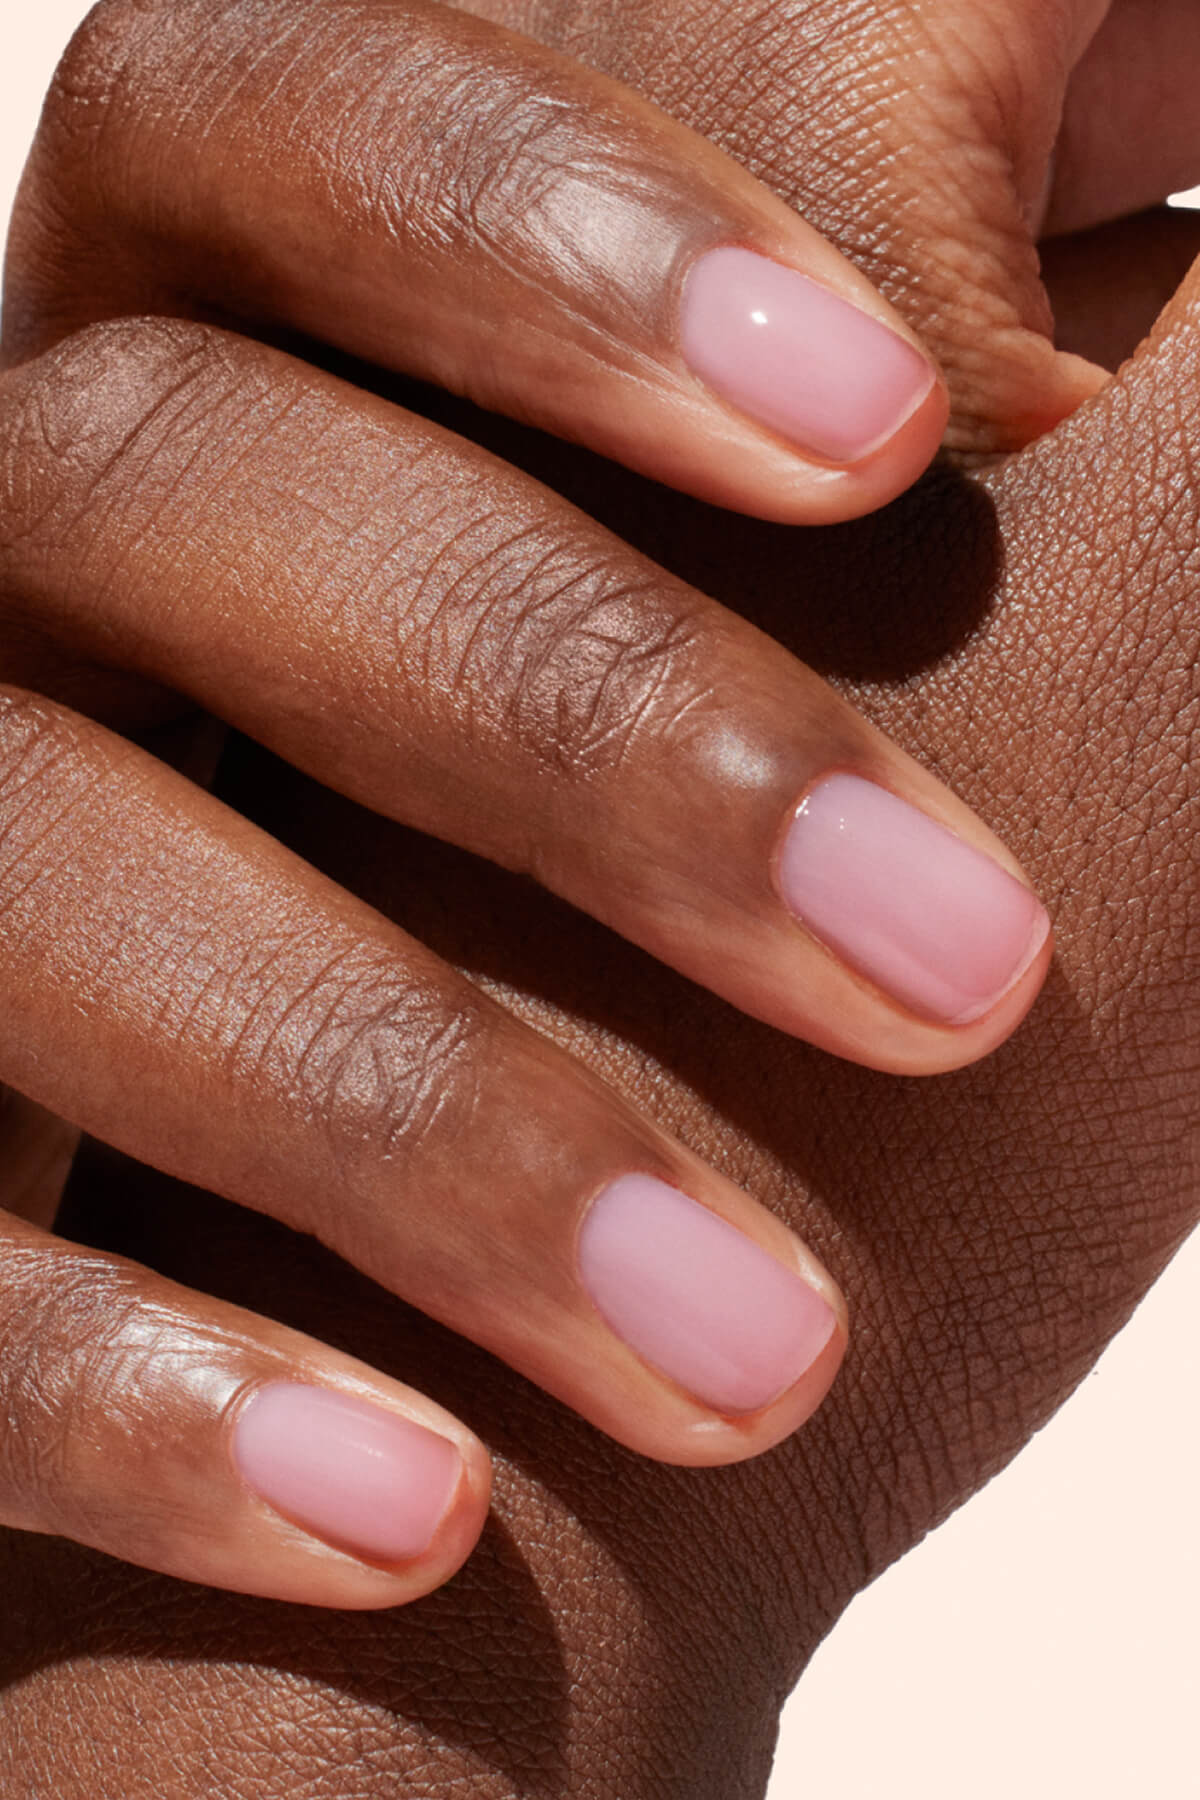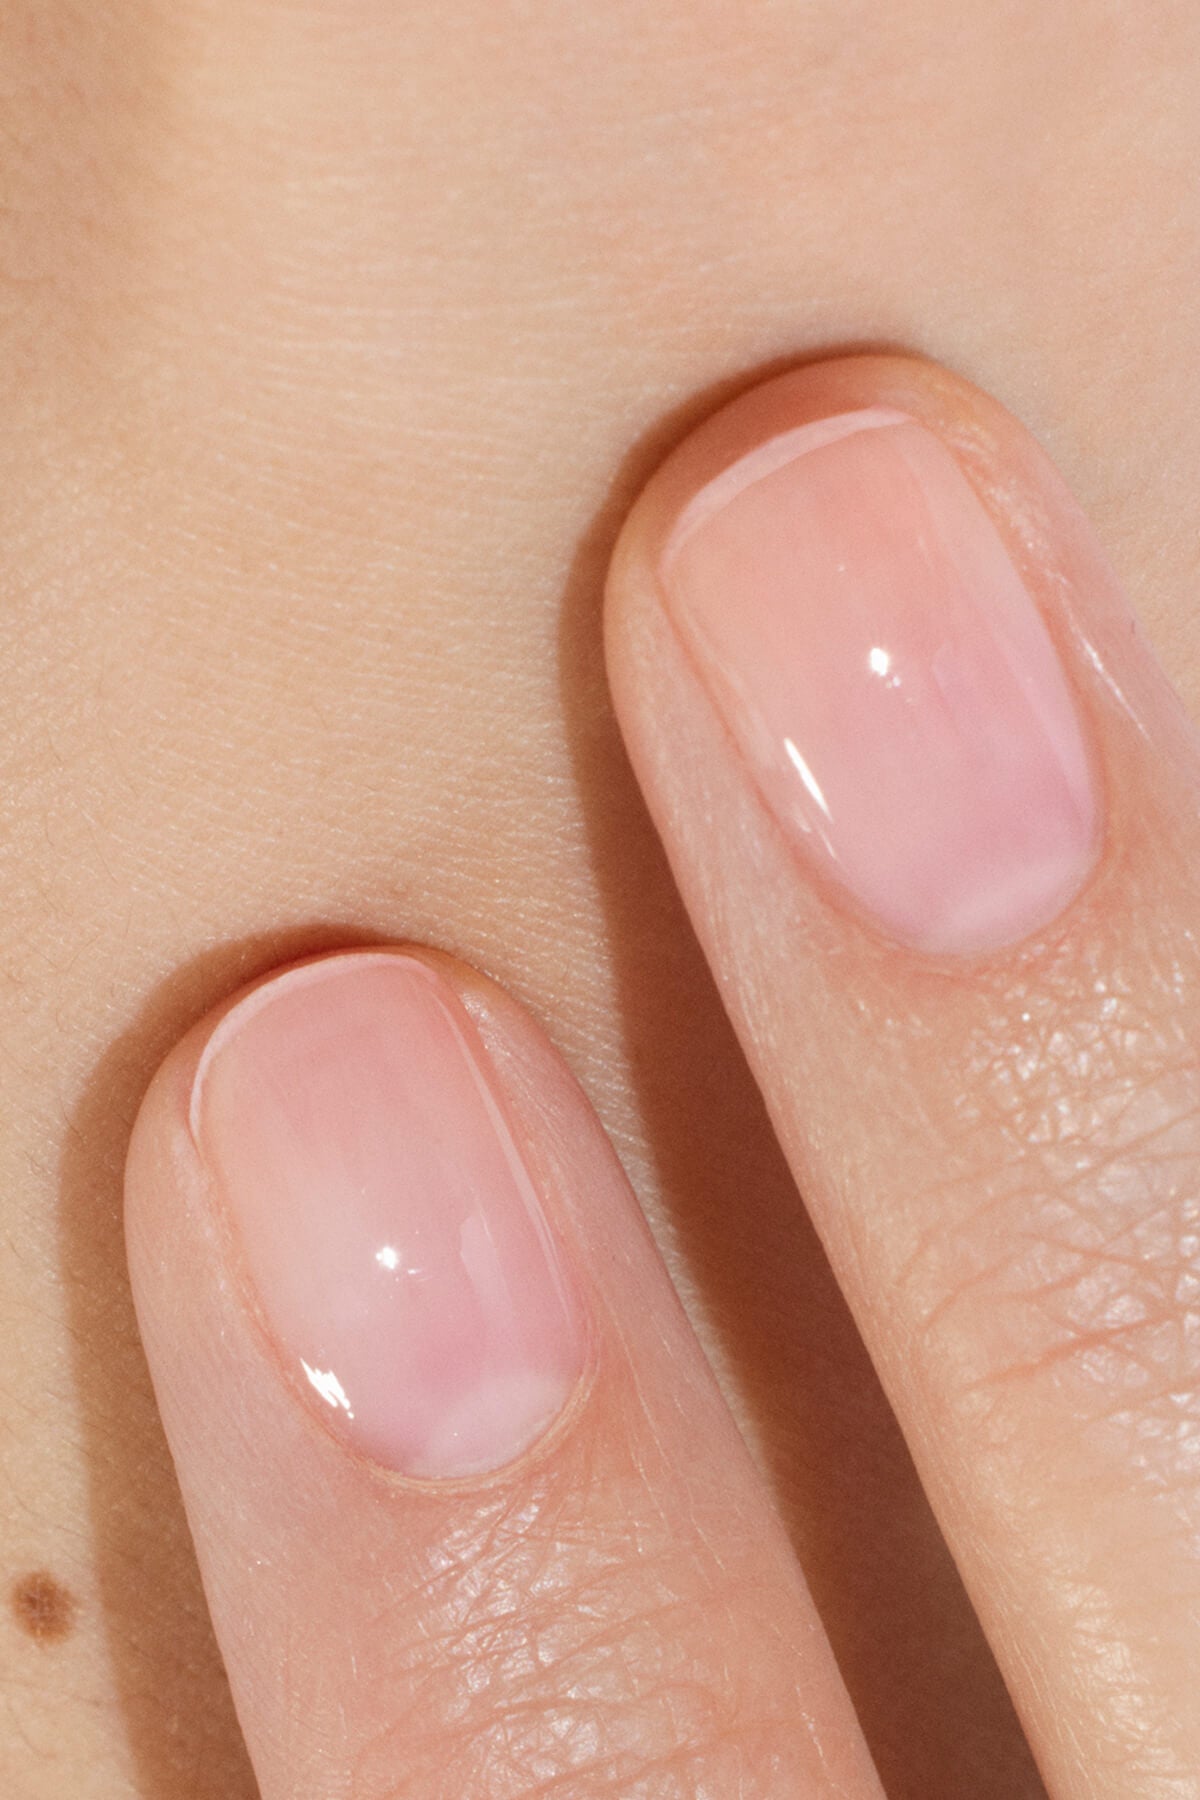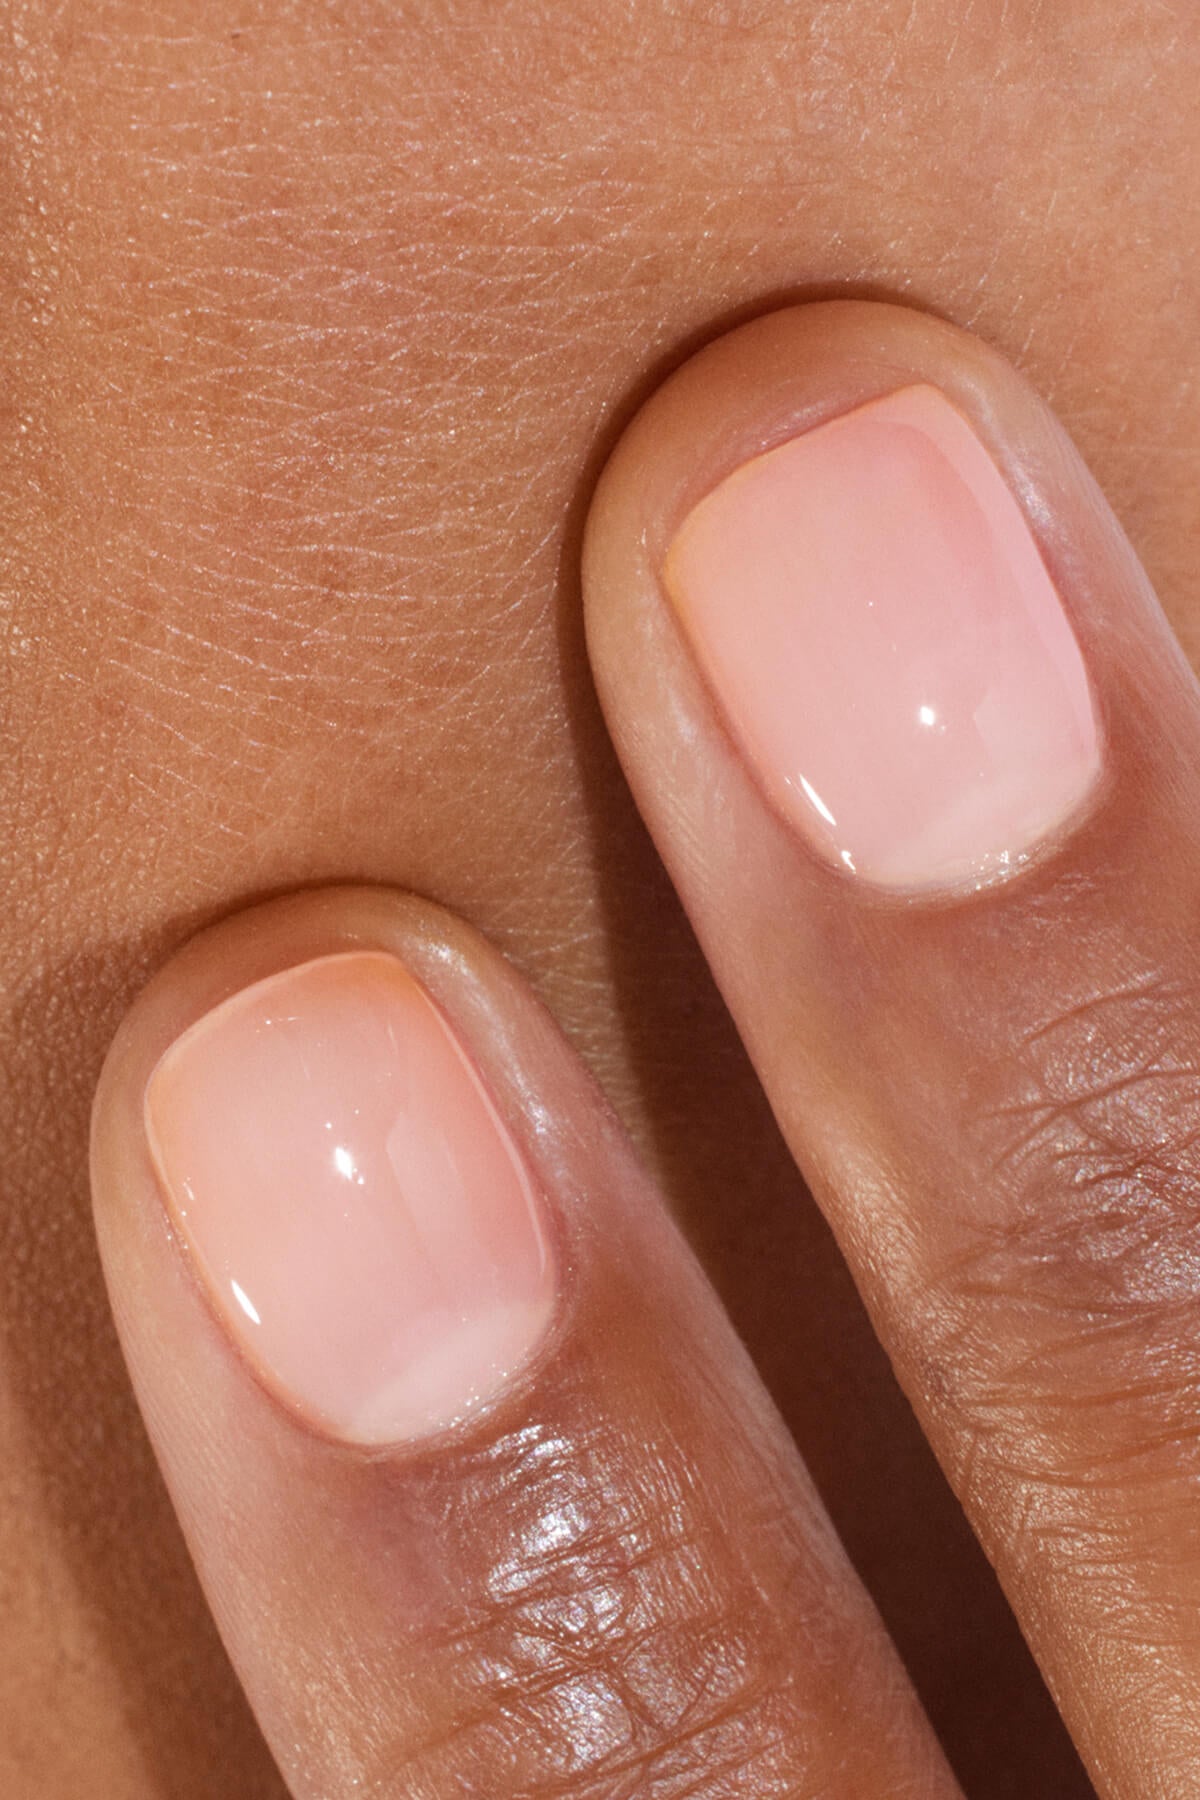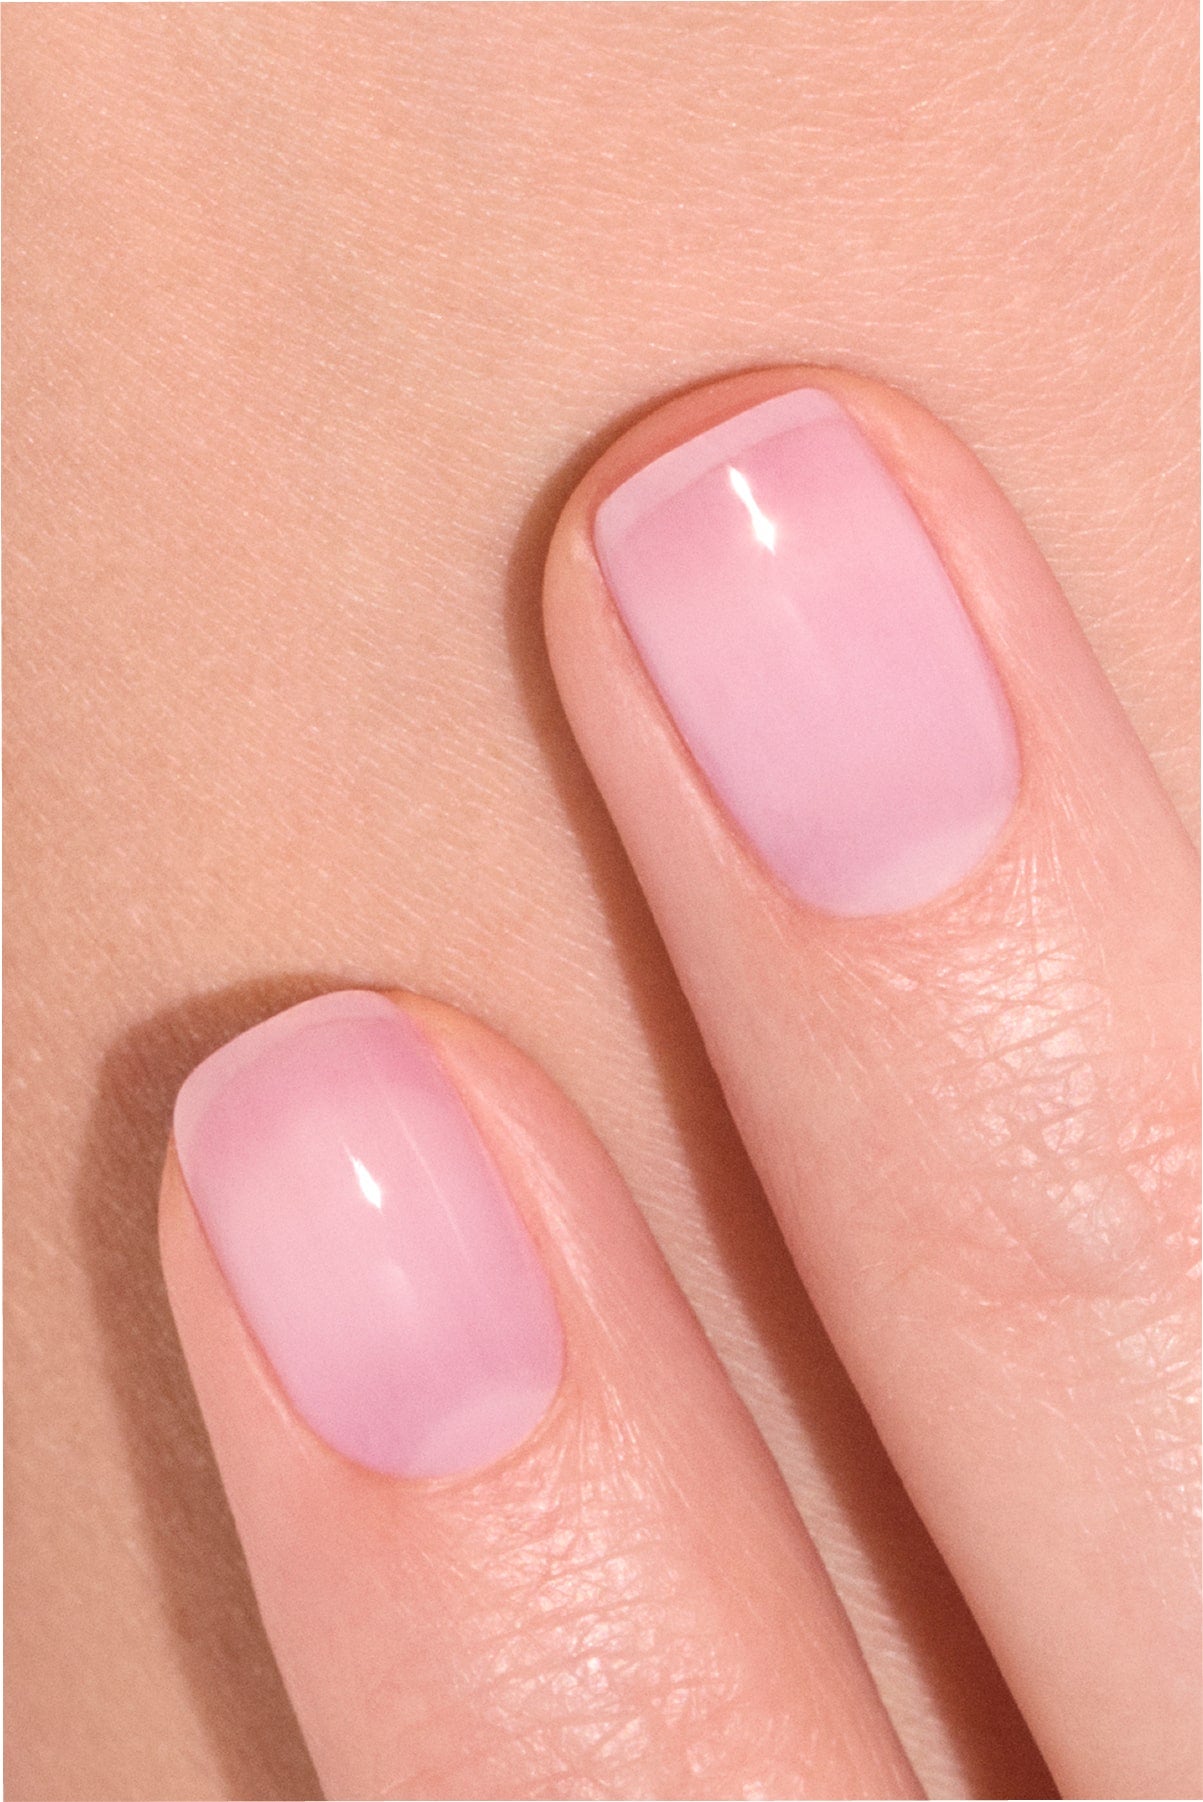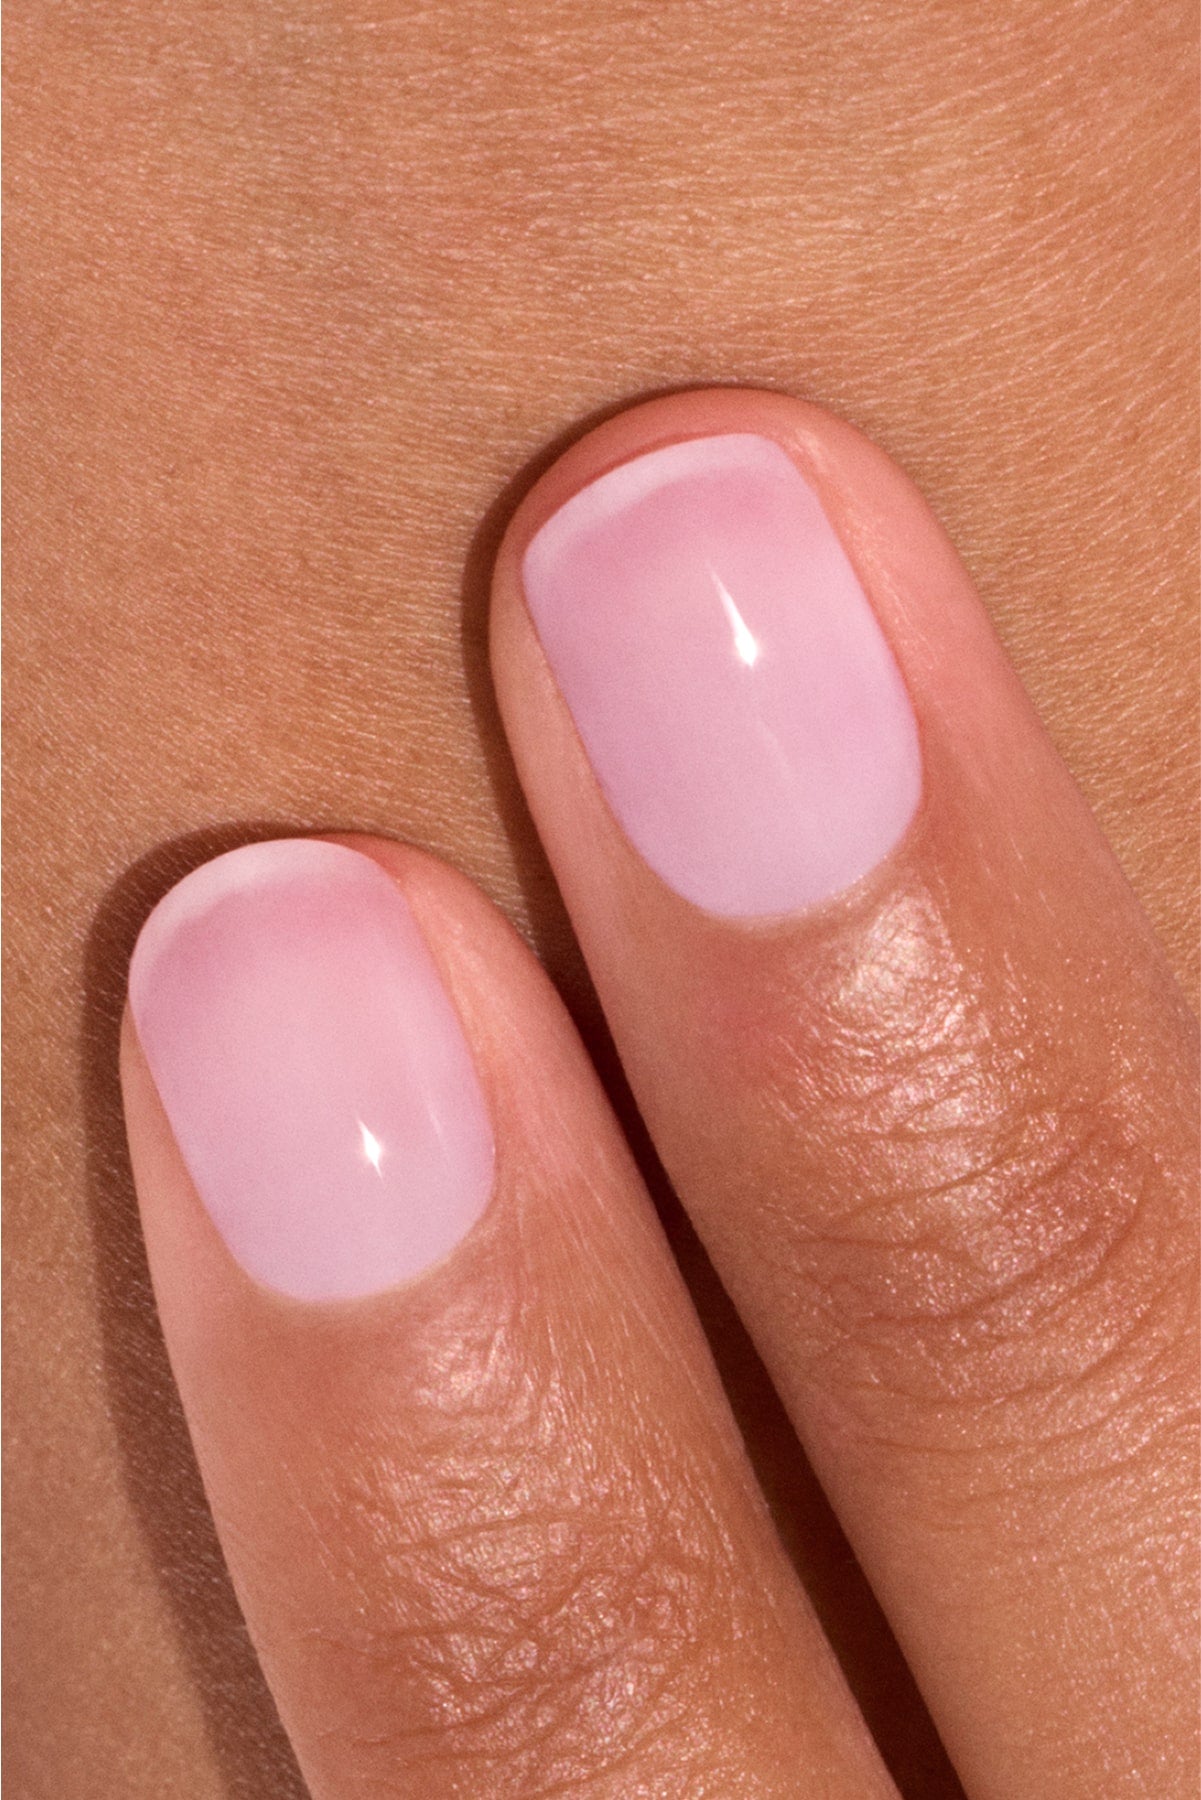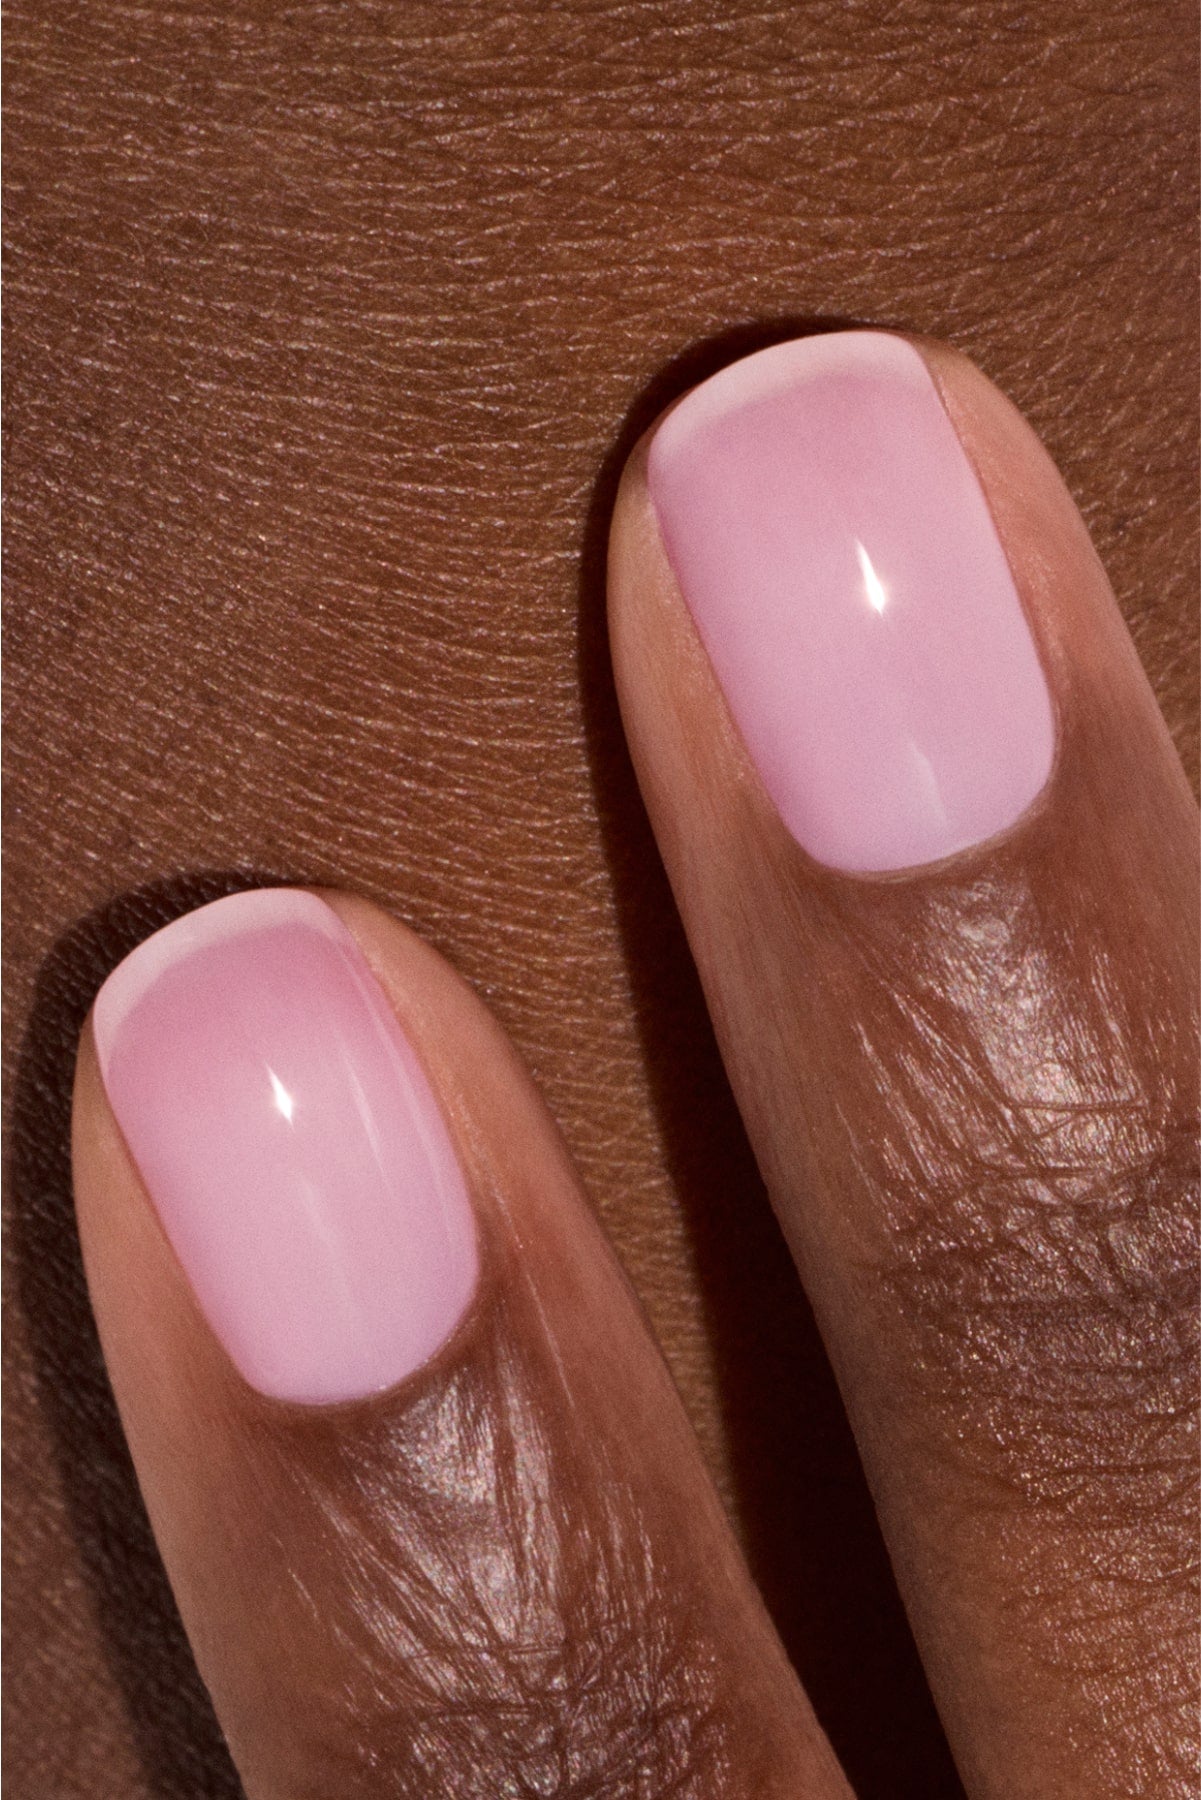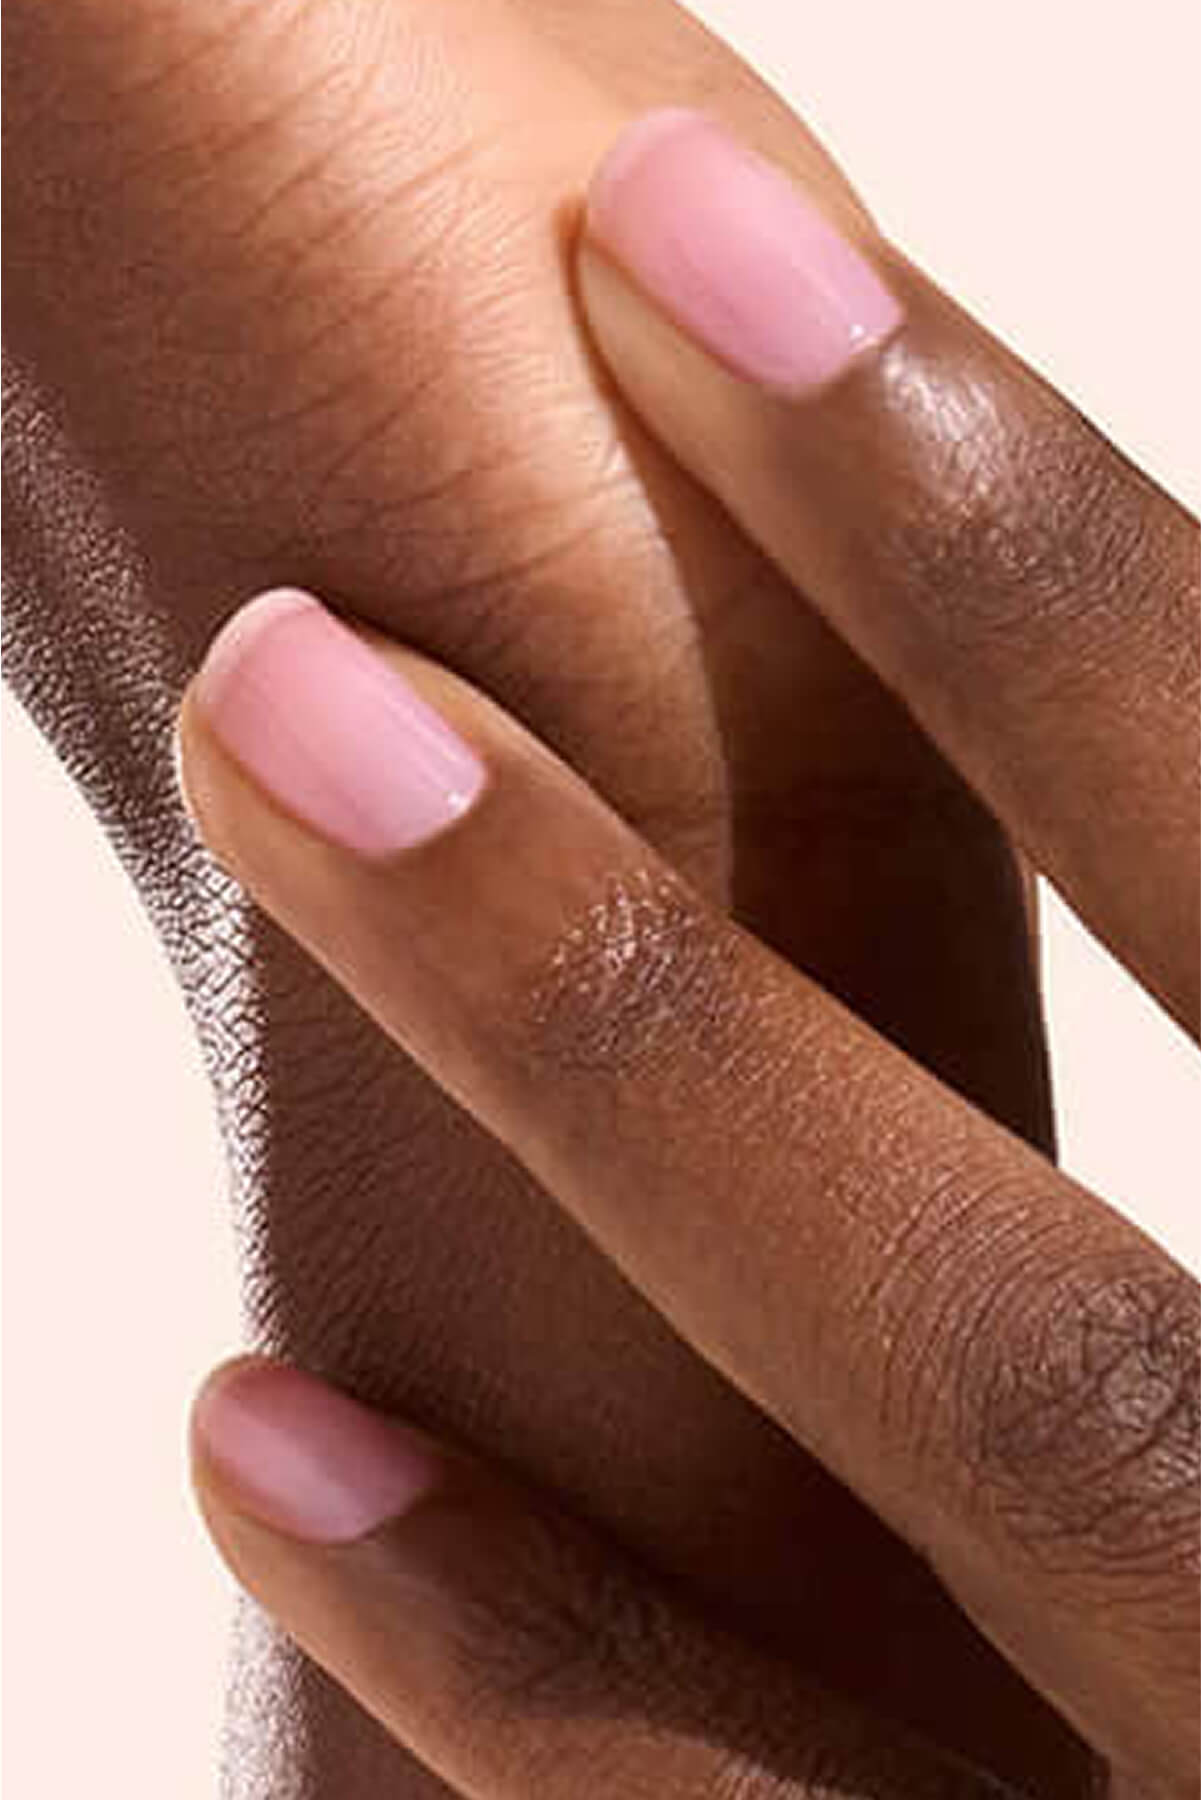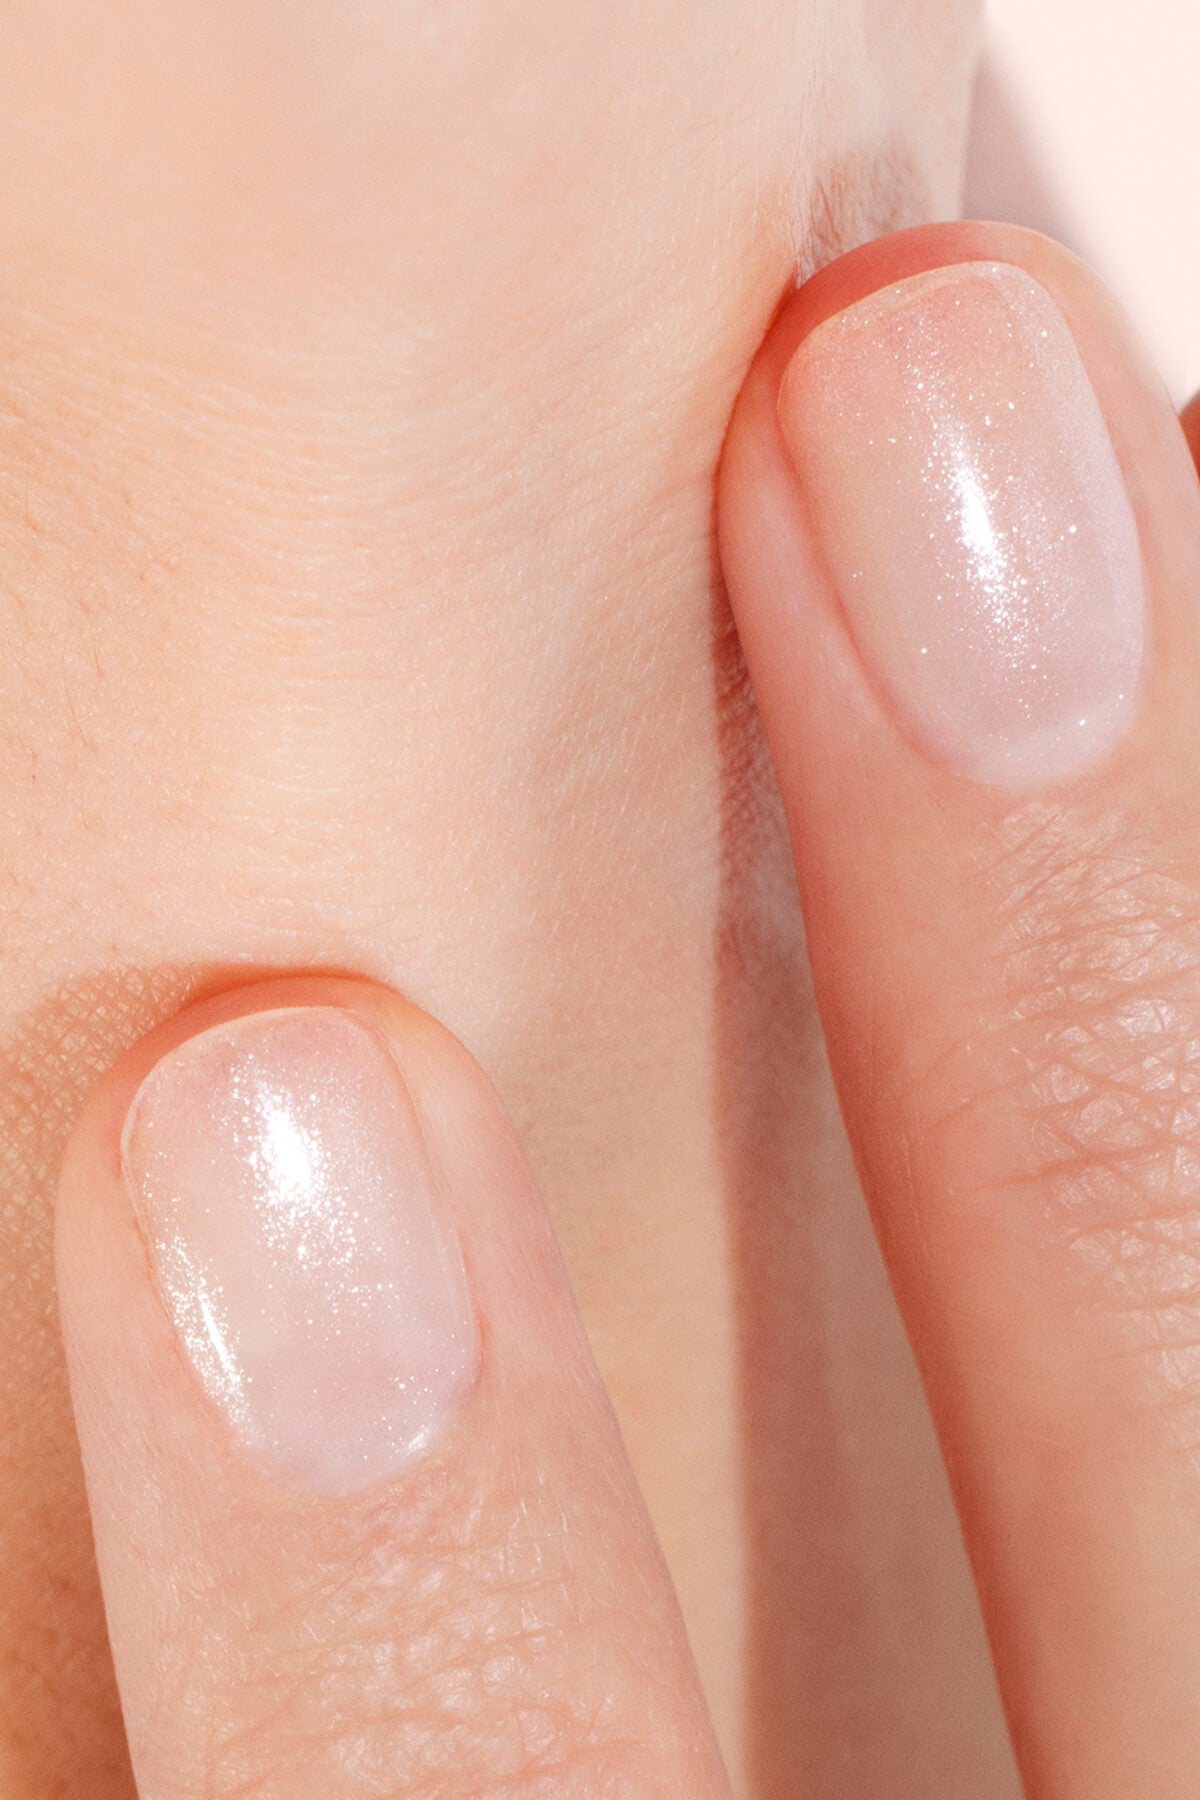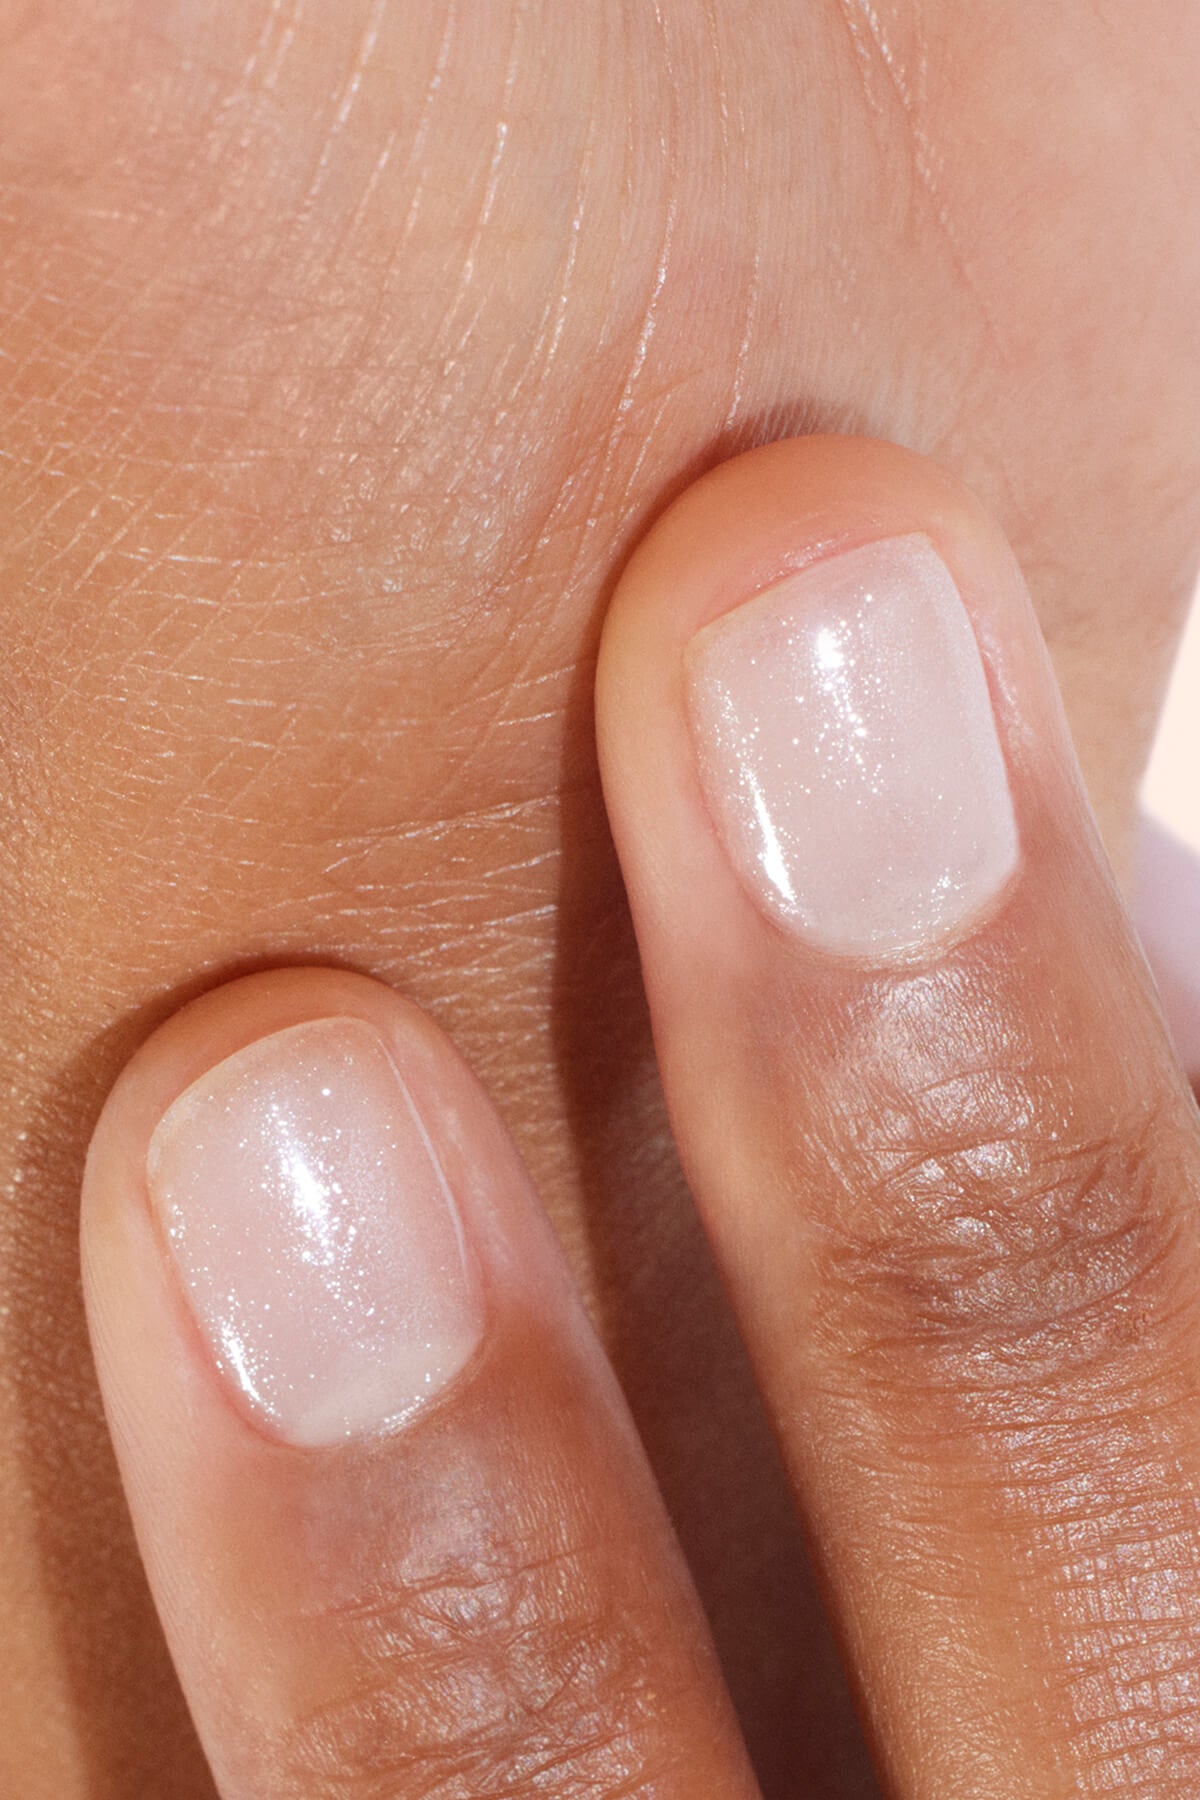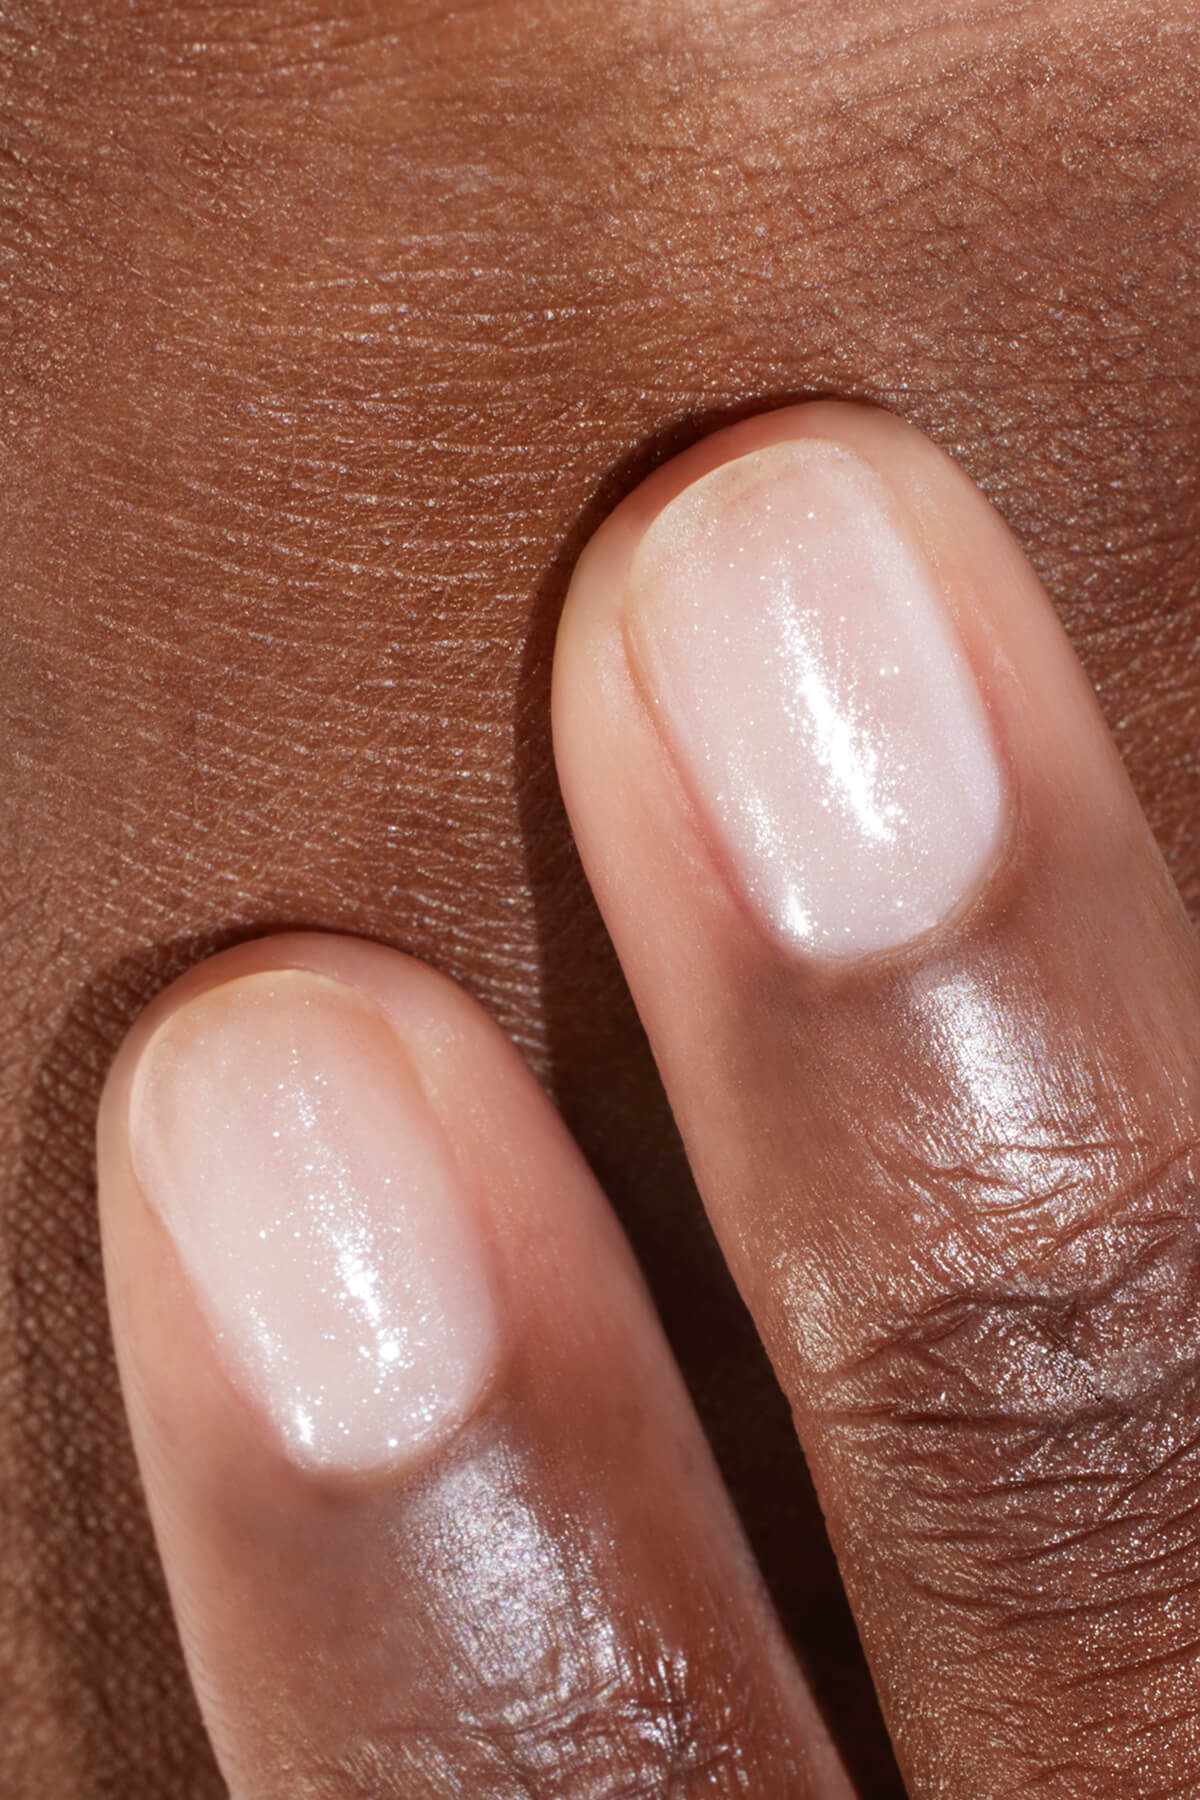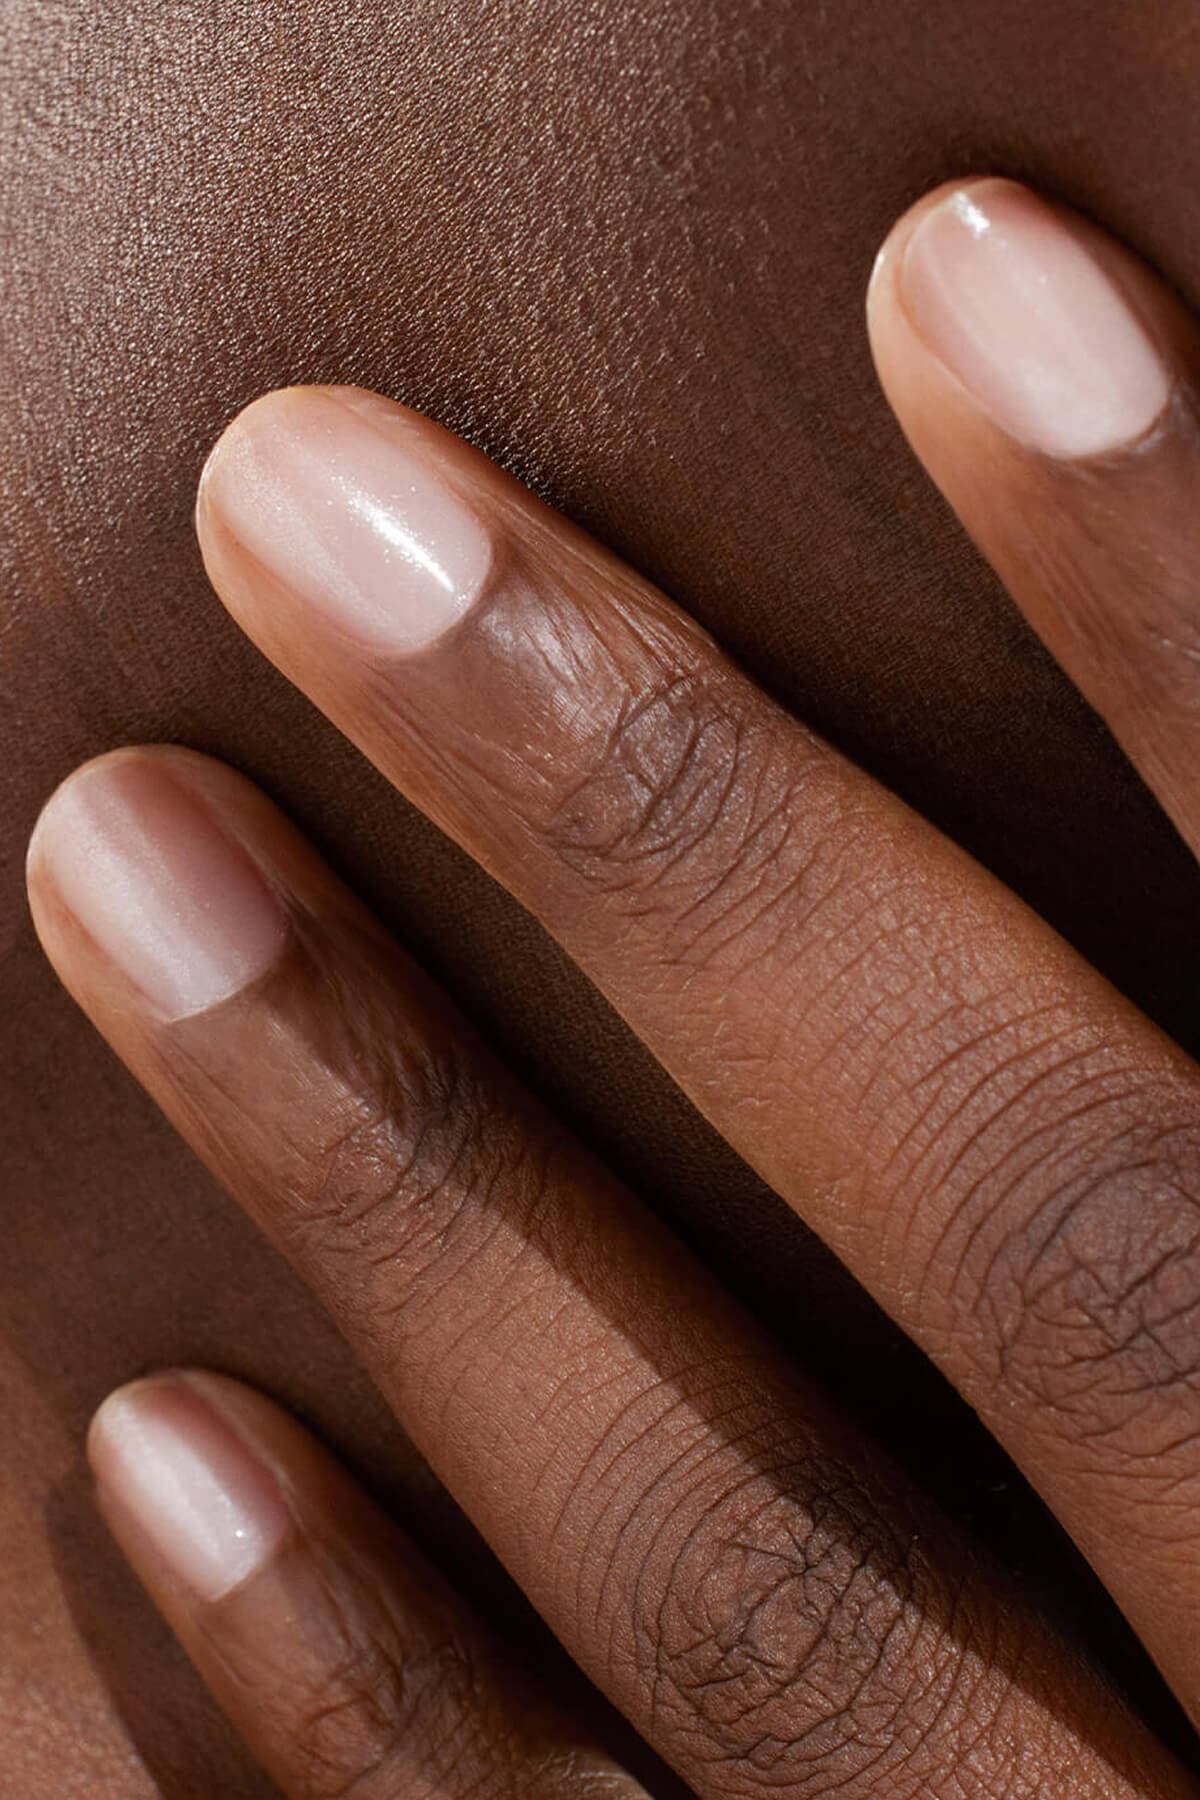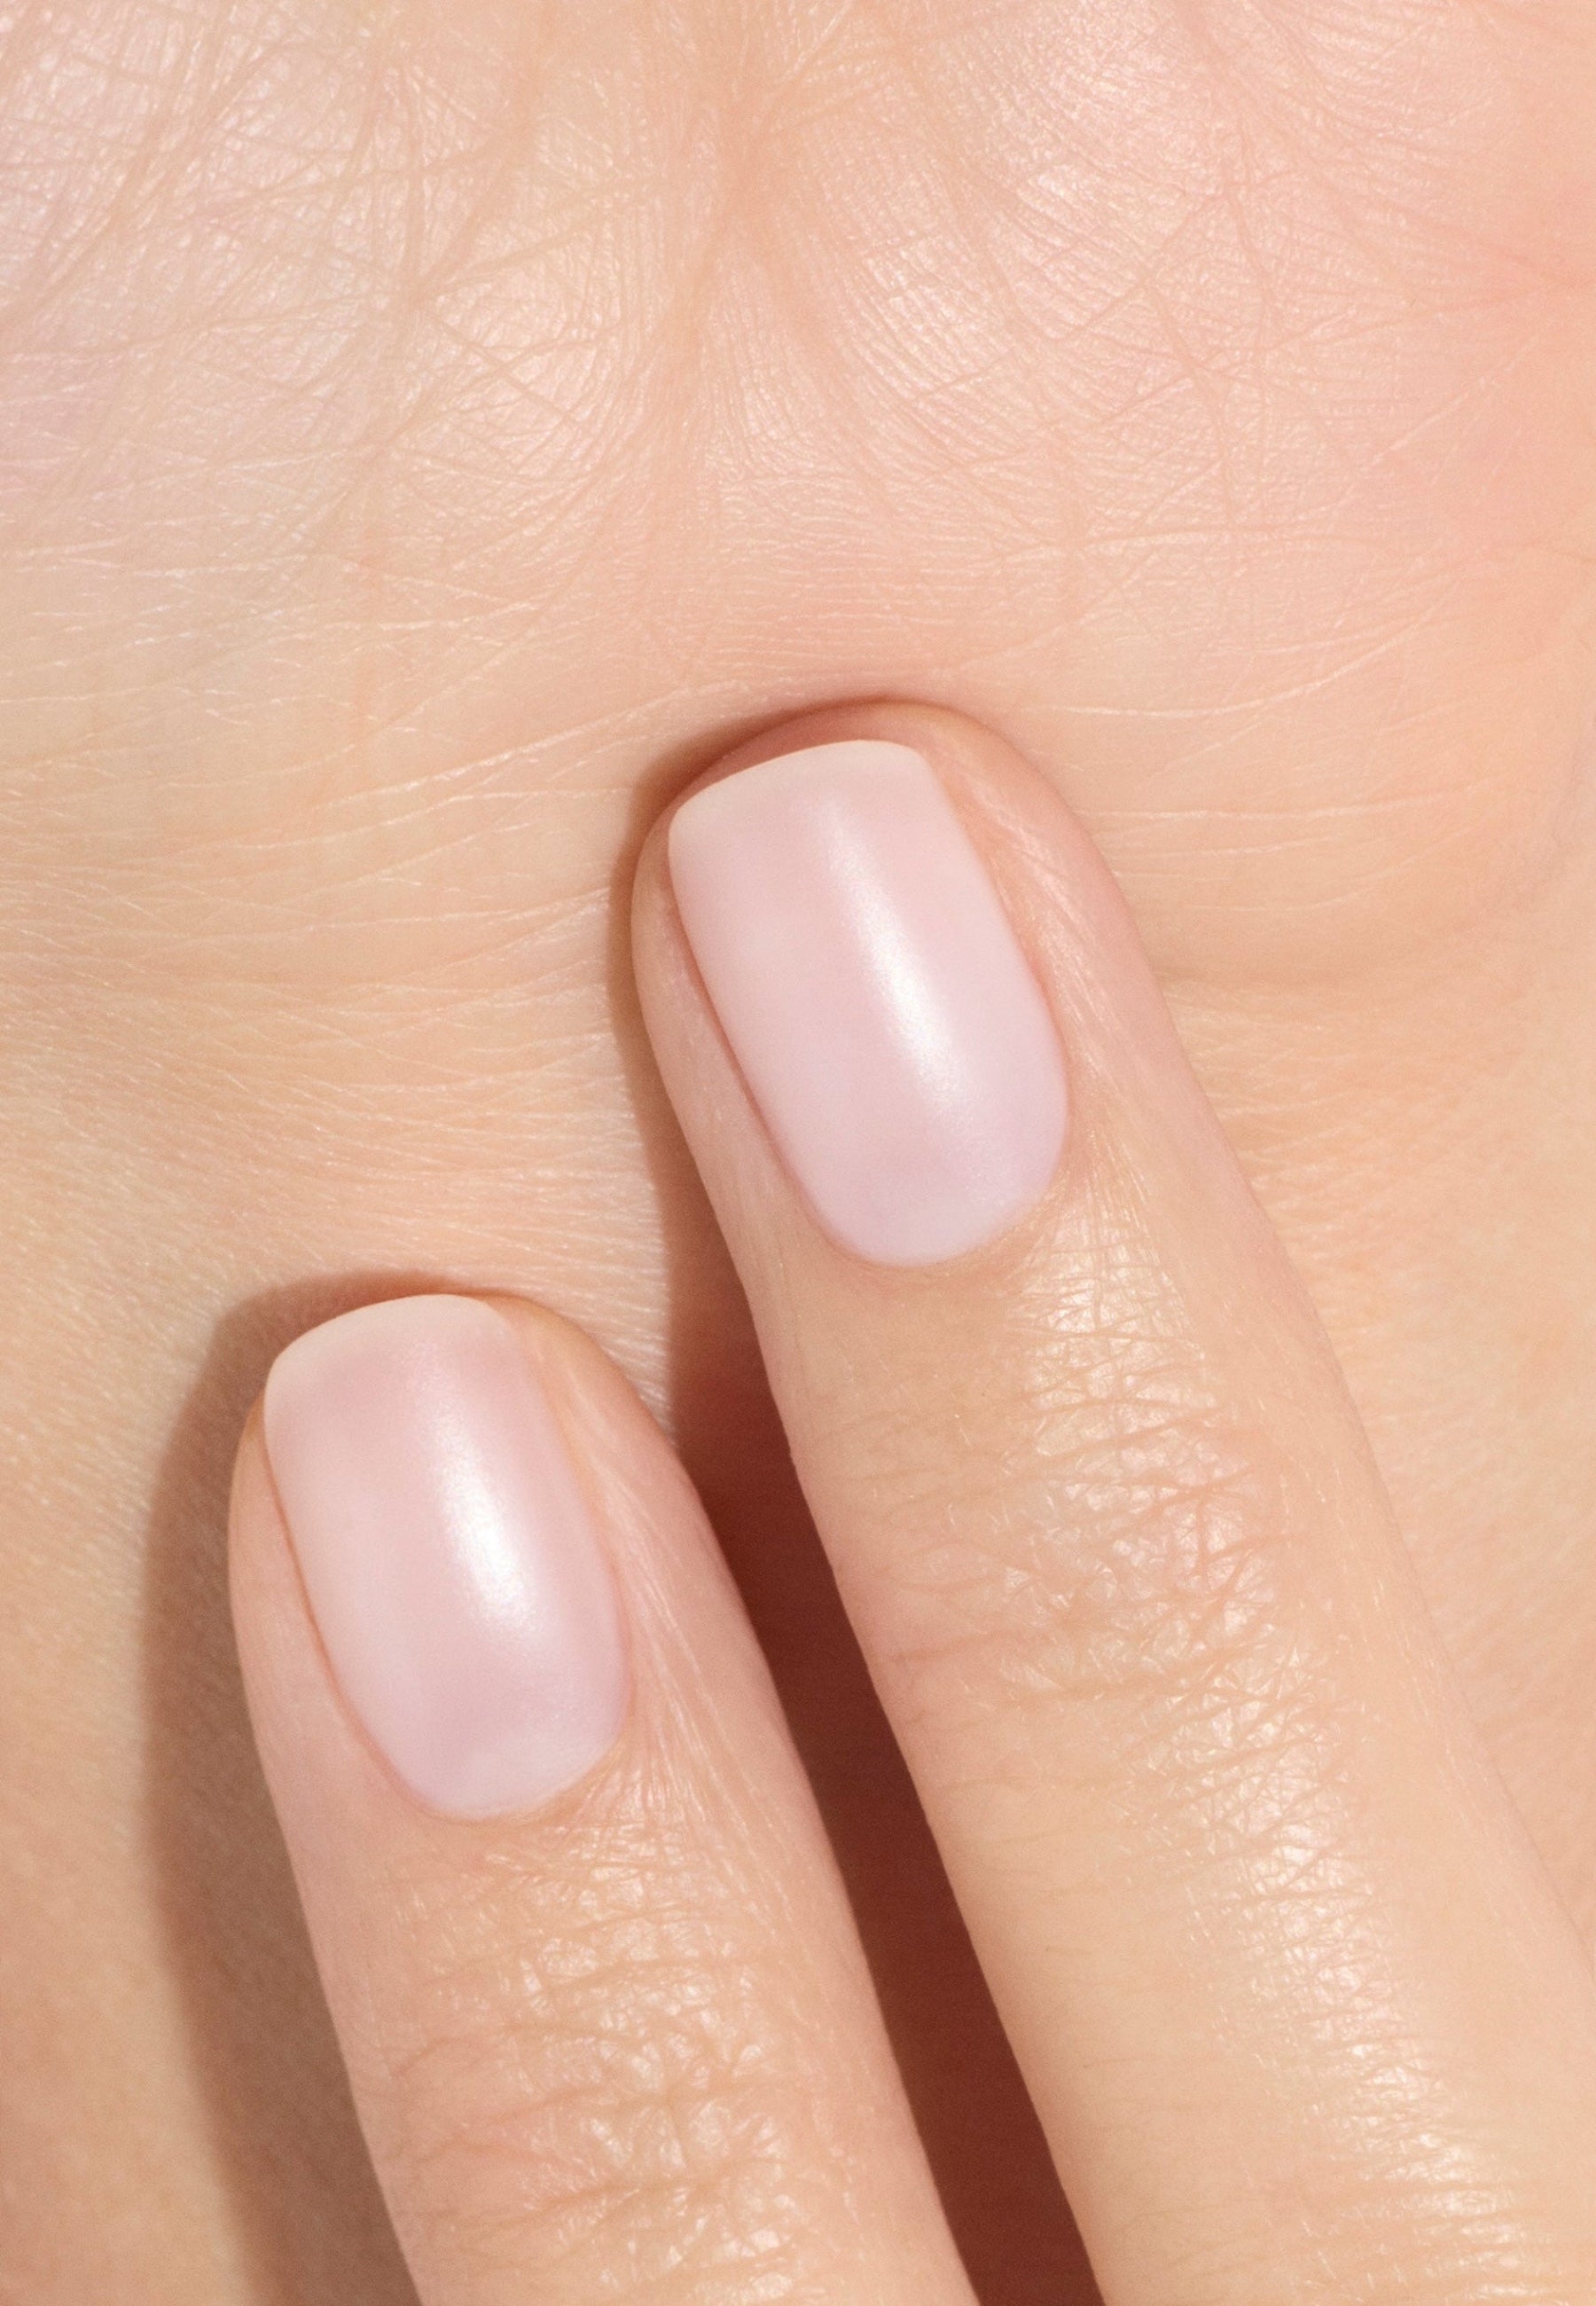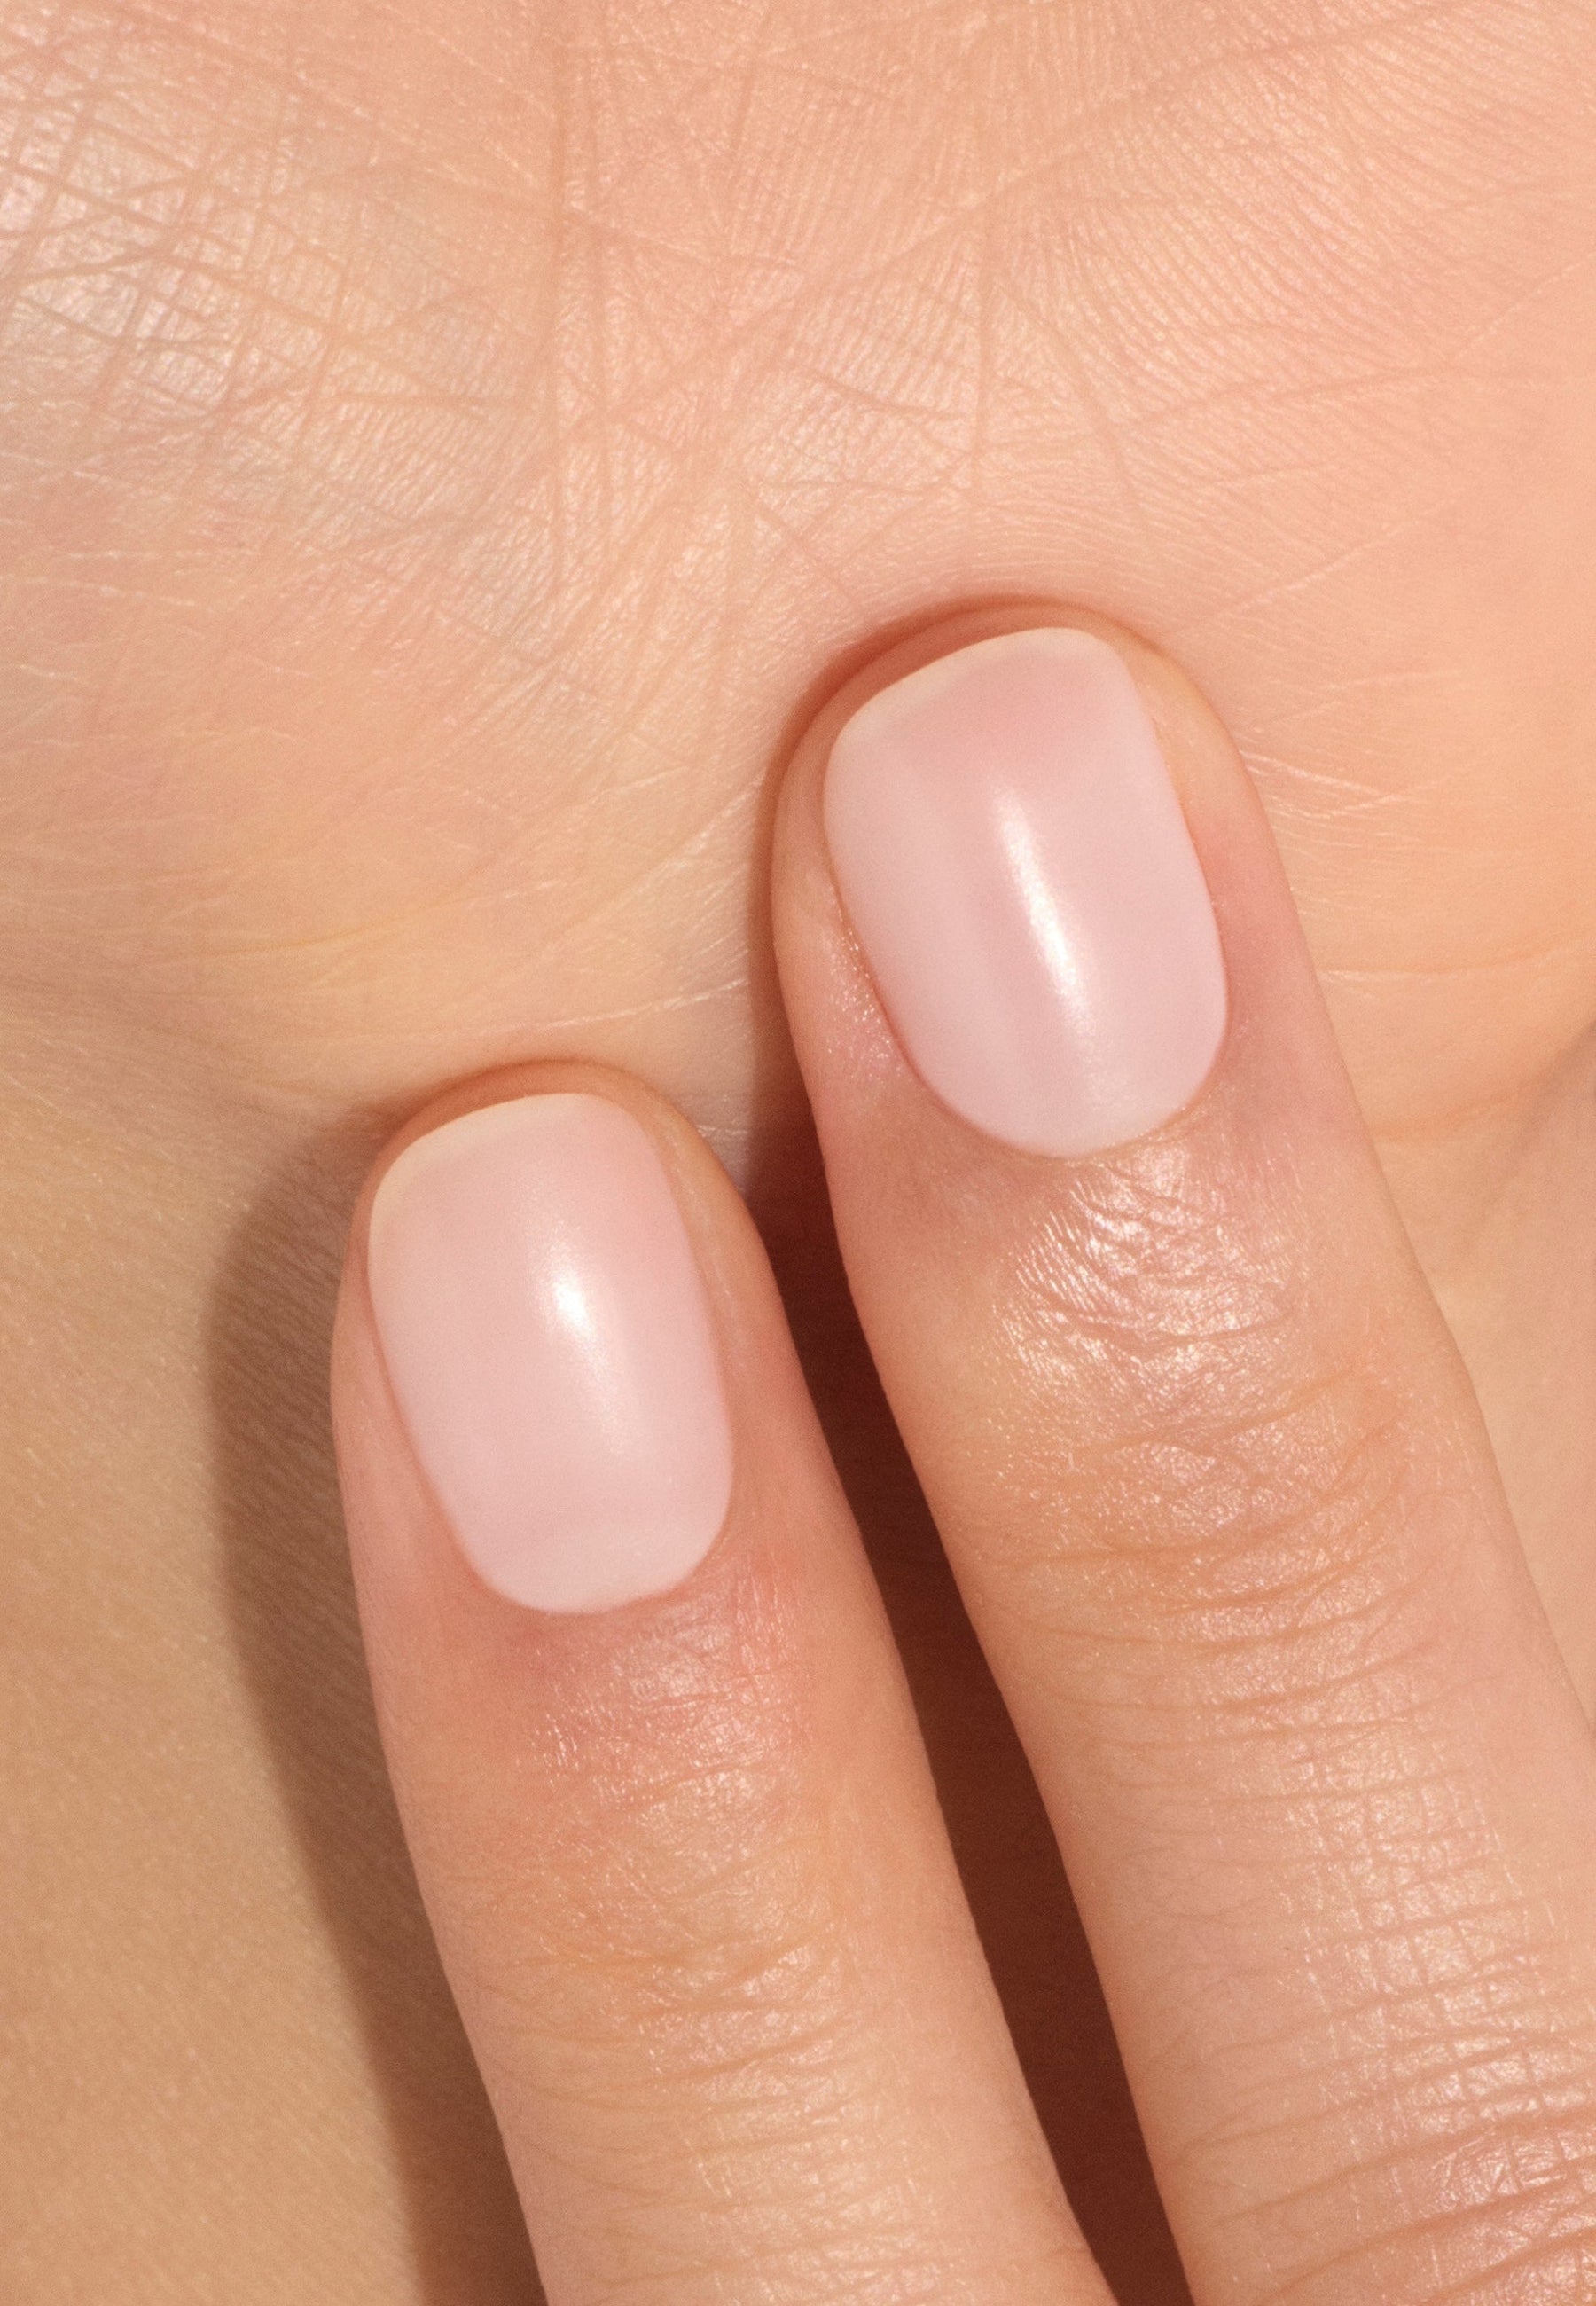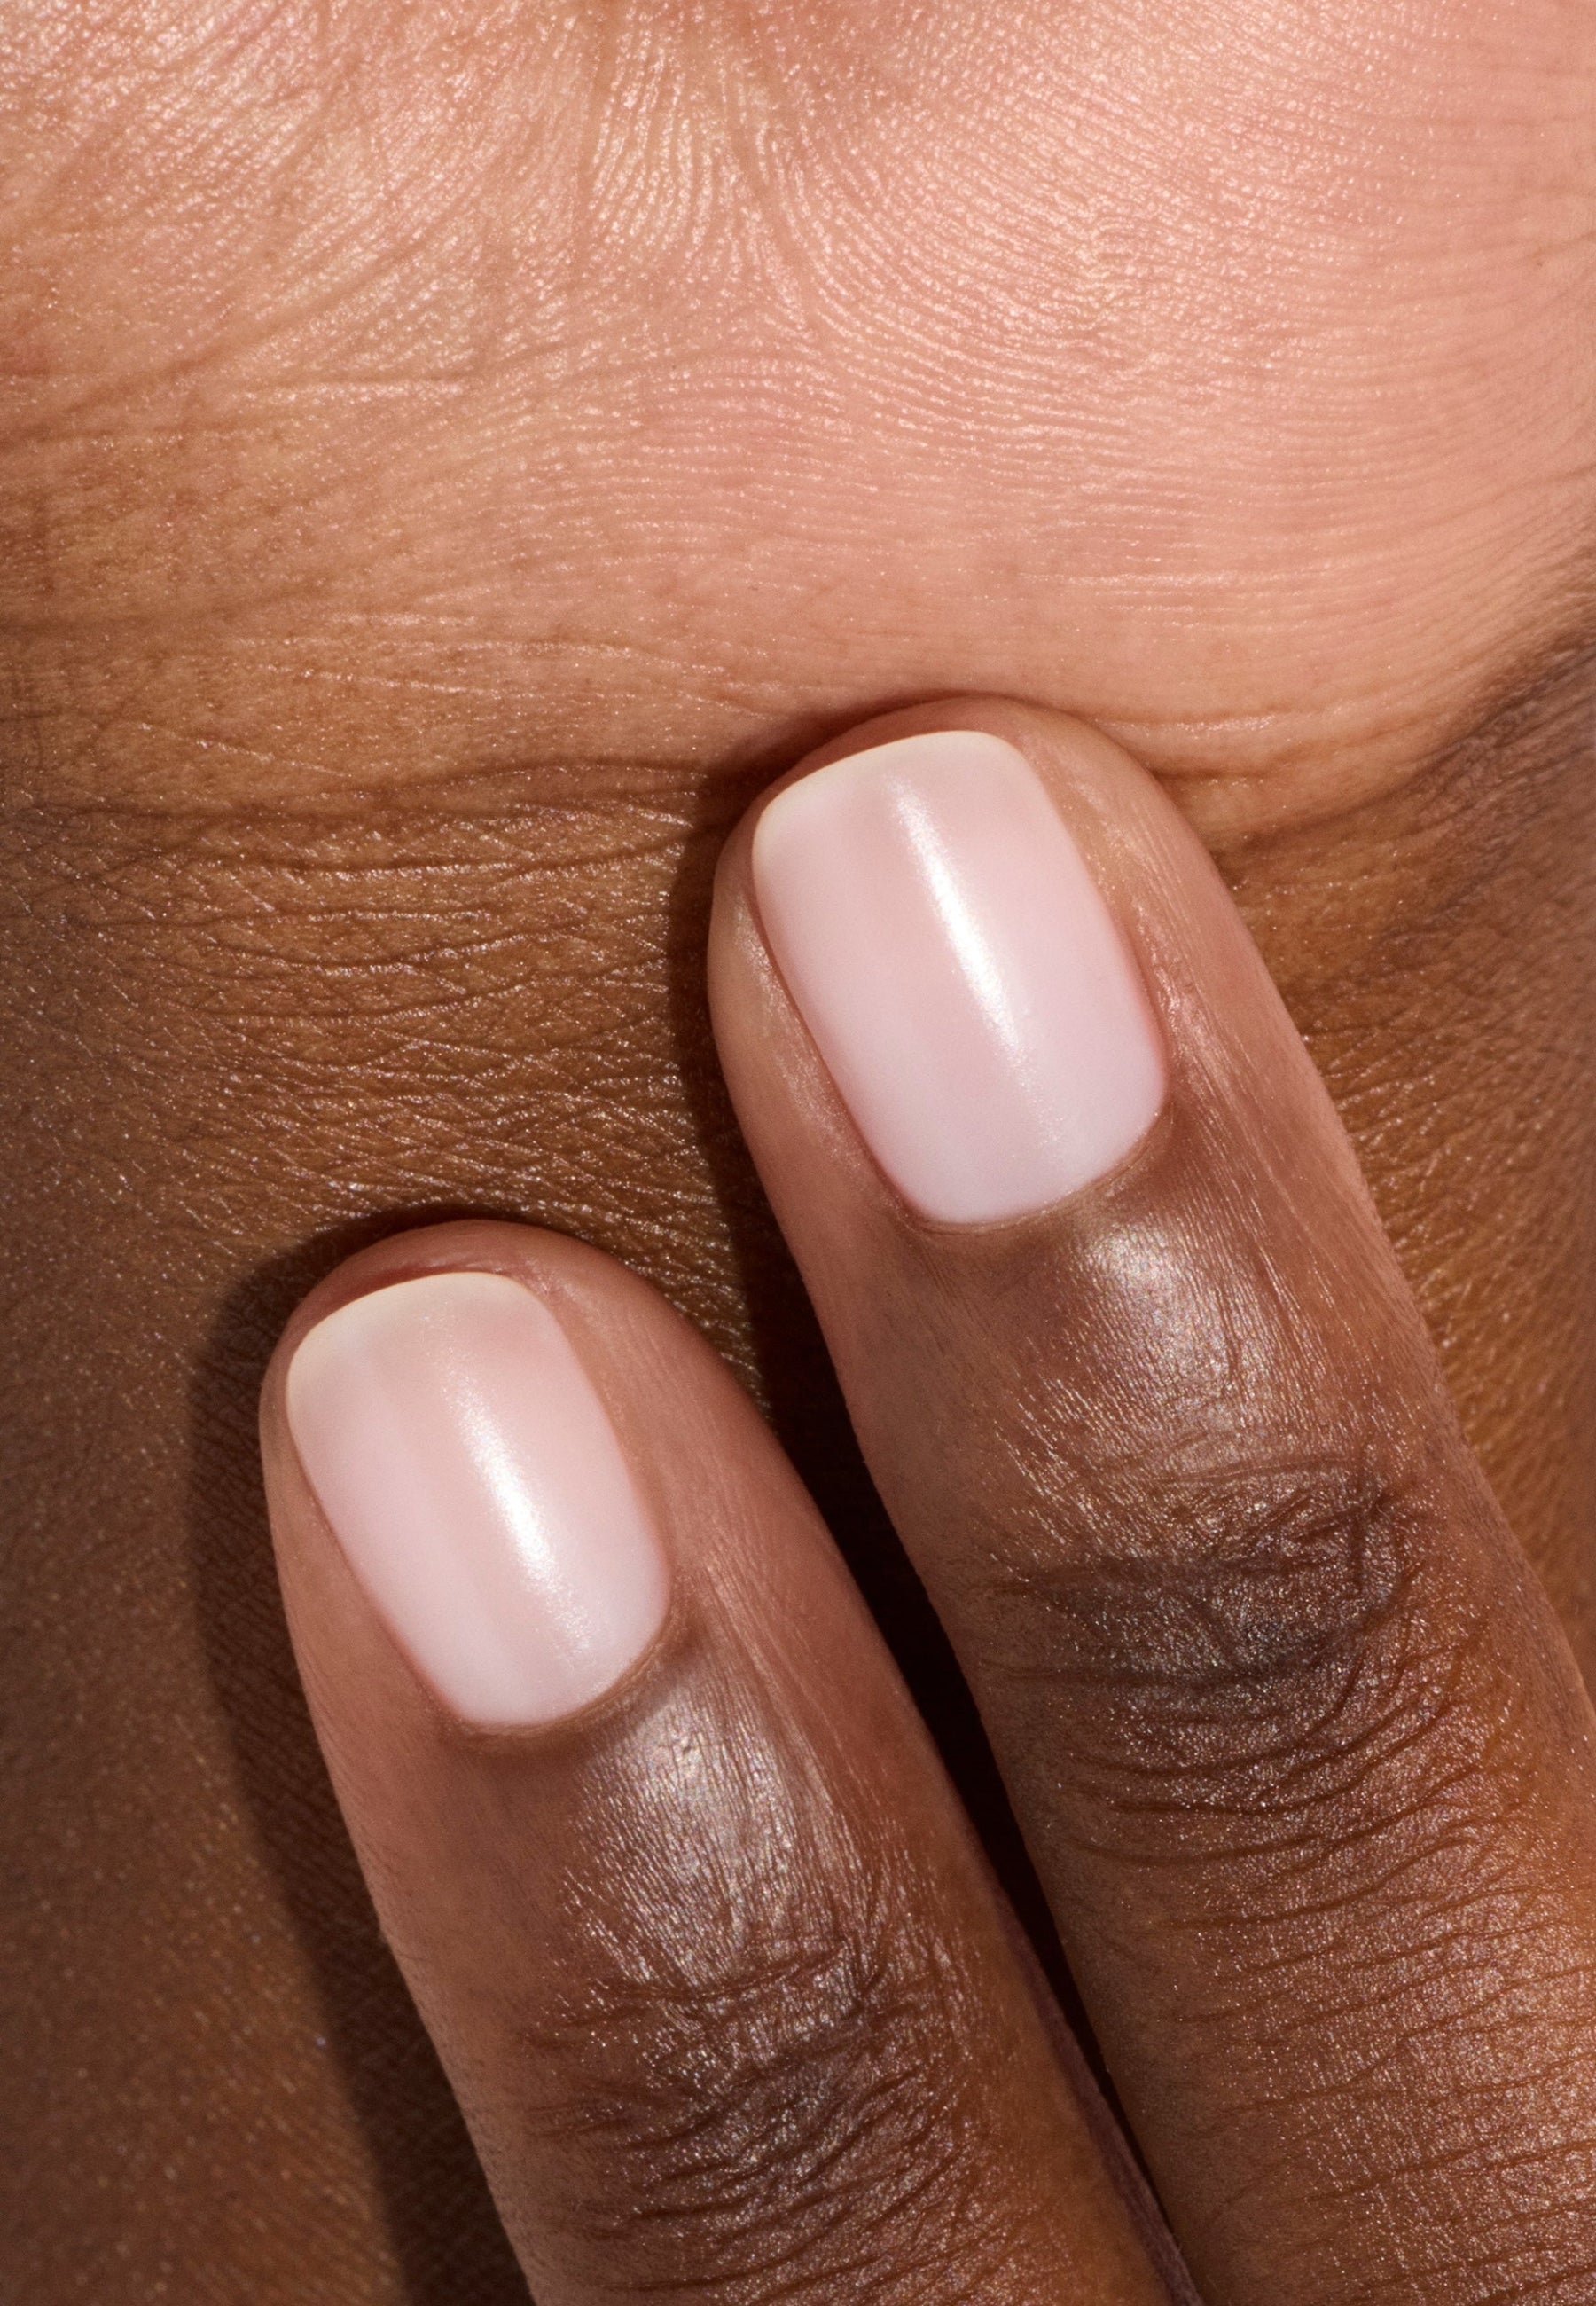


Whether you are a classic varnish team or a semi-permanent manicure fan, there is a golden rule that pros never transgress: a successful manicure always starts with a good prep nail or preparation of VF nail. Limmer, repel cuticles, polish the surface, clean nail... This simple and essential routine not only allows to sublimate the final result, but also of prolong the holding of your varnish and Keep your nails clean. So you have been prepared a complete guide for perfect nails, ready to accompany you in all your manicures.
To be noted:
- A successful manicure always starts with a good nail prep (preparation of the nail).
- The preparation improves the adhesion of the varnish, prolongs its hold and preserves the health of the nail.
- The ideal routine is in 4 steps: to sift, to repel cuticles, to depolicate the surface, to degrease.
- It is essential regardless of the varnish then placed — classic ( Green™ ) or semi-permanent ( Green Flash™ ).
Why do you have to prepare your nails before you put a varnish on?
Because a nail is a little like a virgin canvas: the more net, the more clean and durable the result. Good preparation allows you to:
- Smoothing the surface nails to facilitate the application of varnish layers
- Improve adhesion of the base coat and varnish opening the keratin scales
- Remove dead skin around the nail
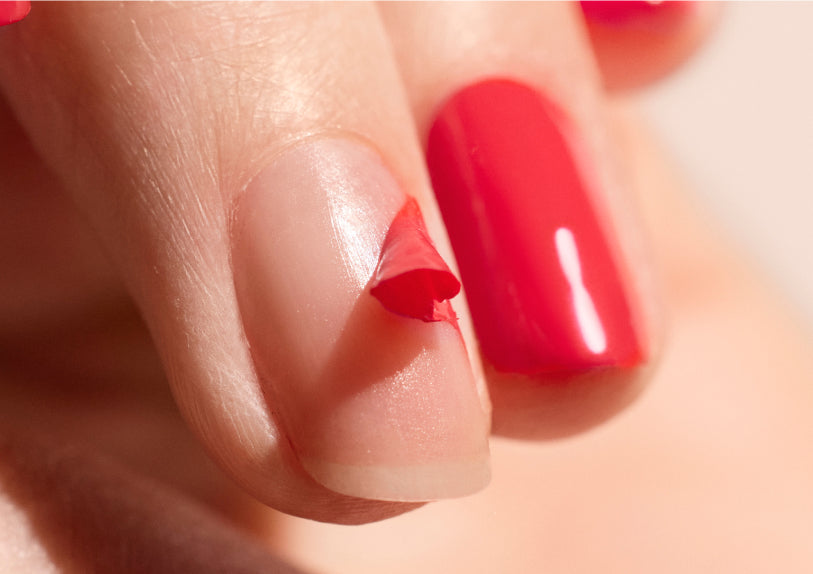
- Avoid bubbles, burrs and scales
- Preventing duplication and breakage
- Perfecting his manicure with a neat aesthetic
A necessary step not to be overlooked, whatever type of varnish is used afterwards, because the quality of the installation depends largely on the preparation!

The key to an impeccable pose? Everything's in the preparation.
The right steps to take for irreproachable preparation
Here is the ideal 4-step routine, tested, approved (and loved) by our community:
Step 1: Structure and liming without assault
First of all, we start with define the shape of nails Which suits you. Square, oval, almond or round, you don't know what shape of nail to adopt? Check out our Article to find the shape that best suits your hands. And to know how to handle the nail file well, we tell you everything in this Article. Place for practical work:
🔧 The material you need :
- The natural nail file : the classic, with its two types of grains (100/180) to shorten and give a shape.
- or Premium glass file : with its light design, it is easy to take in hand and its fine grain of 180 is perfect for normal to fragile nails. Cleanable with soapy water or spray cleaning solution, it is more durable than conventional files.
- or Fragile nail file : with a fine grain 180/240 and a central cushion, this file has been specially designed for gently trim sensitive, soft or brittle nails.
👉 The gestures to make : Hold the file perpendicular to the nail and leave from the outer edge to go towards the center always in the same direction. Then do the same on the other side of the nail. Finish by slitting the edge (top of the nail) to harmonize the shape.
Precise gestures for sublimated nails from the first step.
💡 Important : it is recommended that a unidirectional image, in other words always line in the same direction, to respect the Keratin layers. If you have fragile nails, line the underside of the ridge to avoid duplication.
Step 2: Smoothly repellent and repel cuticles
The cuticles are these small skins that border the nail and protect the matrix. If left in the state, they create irregularities that can hinder the application of varnishes or even prevent adhesion of the varnish. It is therefore important to push them back to have a contour of the net nail ensuring that they are not damaged to protect their shield function from infection and other external germs. How do you do it?
🔧 The material you need :
- A few drops Effluent Effective
- One steel cuticles or glass cuticles or box stick
- One crayon (optional)
By taking care of your cuticles, you guarantee the good hold of the varnish while protecting the løongle matrix.
👉 The gestures to make : start with soften cuticles Applying a drop of Efficacy Emollient to the base of each nail you leave acting 2 minutes. Gently push the cuticles using the round tip of a cuticle or box stick, in the opposite direction of the nail shoot and without going back and forth to avoid attacking the plate. Clear the dead little skins and, if necessary, cut them gently with the cravings. Be careful, we only cut what is over and not too close to the edge!
💡Professional tip : Make this gesture once a week to keep sharp contours and avoid small, rebellious skins.
Now that the contours are impeccable, it's time to look after the surface of your nails.
Step 3: Smooth and depolicate the surface without weakening
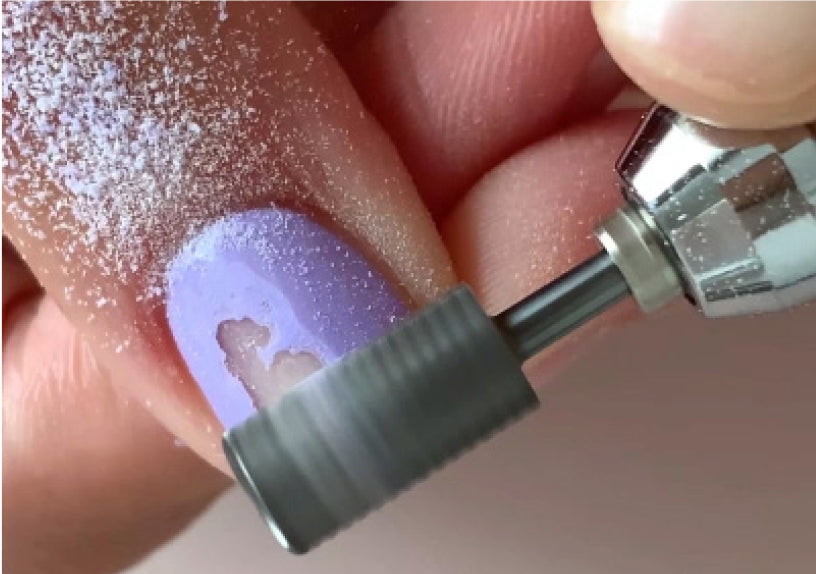
The nails are entitled to their little scrub! This step allows forunify the surface, erase the striations and optimize the adhesion of the varnish. This polishing allows the keratin scales to be opened, which facilitates the hook of the base coat and ensures a better hold of the varnish.
🔧 The material you need :
- The preparation file, a magical tool whose texture sponges gently eliminates small irregularities on the nail surface.
👉 The gestures to make : slightly depolish the nail plate, always in the direction of shoot of lingle (from base to edge) and not more than once every two weeks to avoid weakening keratin. Use fine grain (on the logo side) for nails of hands and strong grain (on the opposite side) for nails of feet.
Unify the surface, optimize adhesion, enhance rendering.
Step 4: Clean and degrease for long-lasting wear
Last step: remove all impurities, residues of fat and other dust produced by previous operations which could affect the installation of the coatings to be followed. Anyway, we're cleaning up!
🔧 The material you need :
- A dust brush
- Green Degreasing (if you put a Green™ varnish after)
- Sweet Dissolvent Green Flash (if you put a Green Flash™ varnish after)
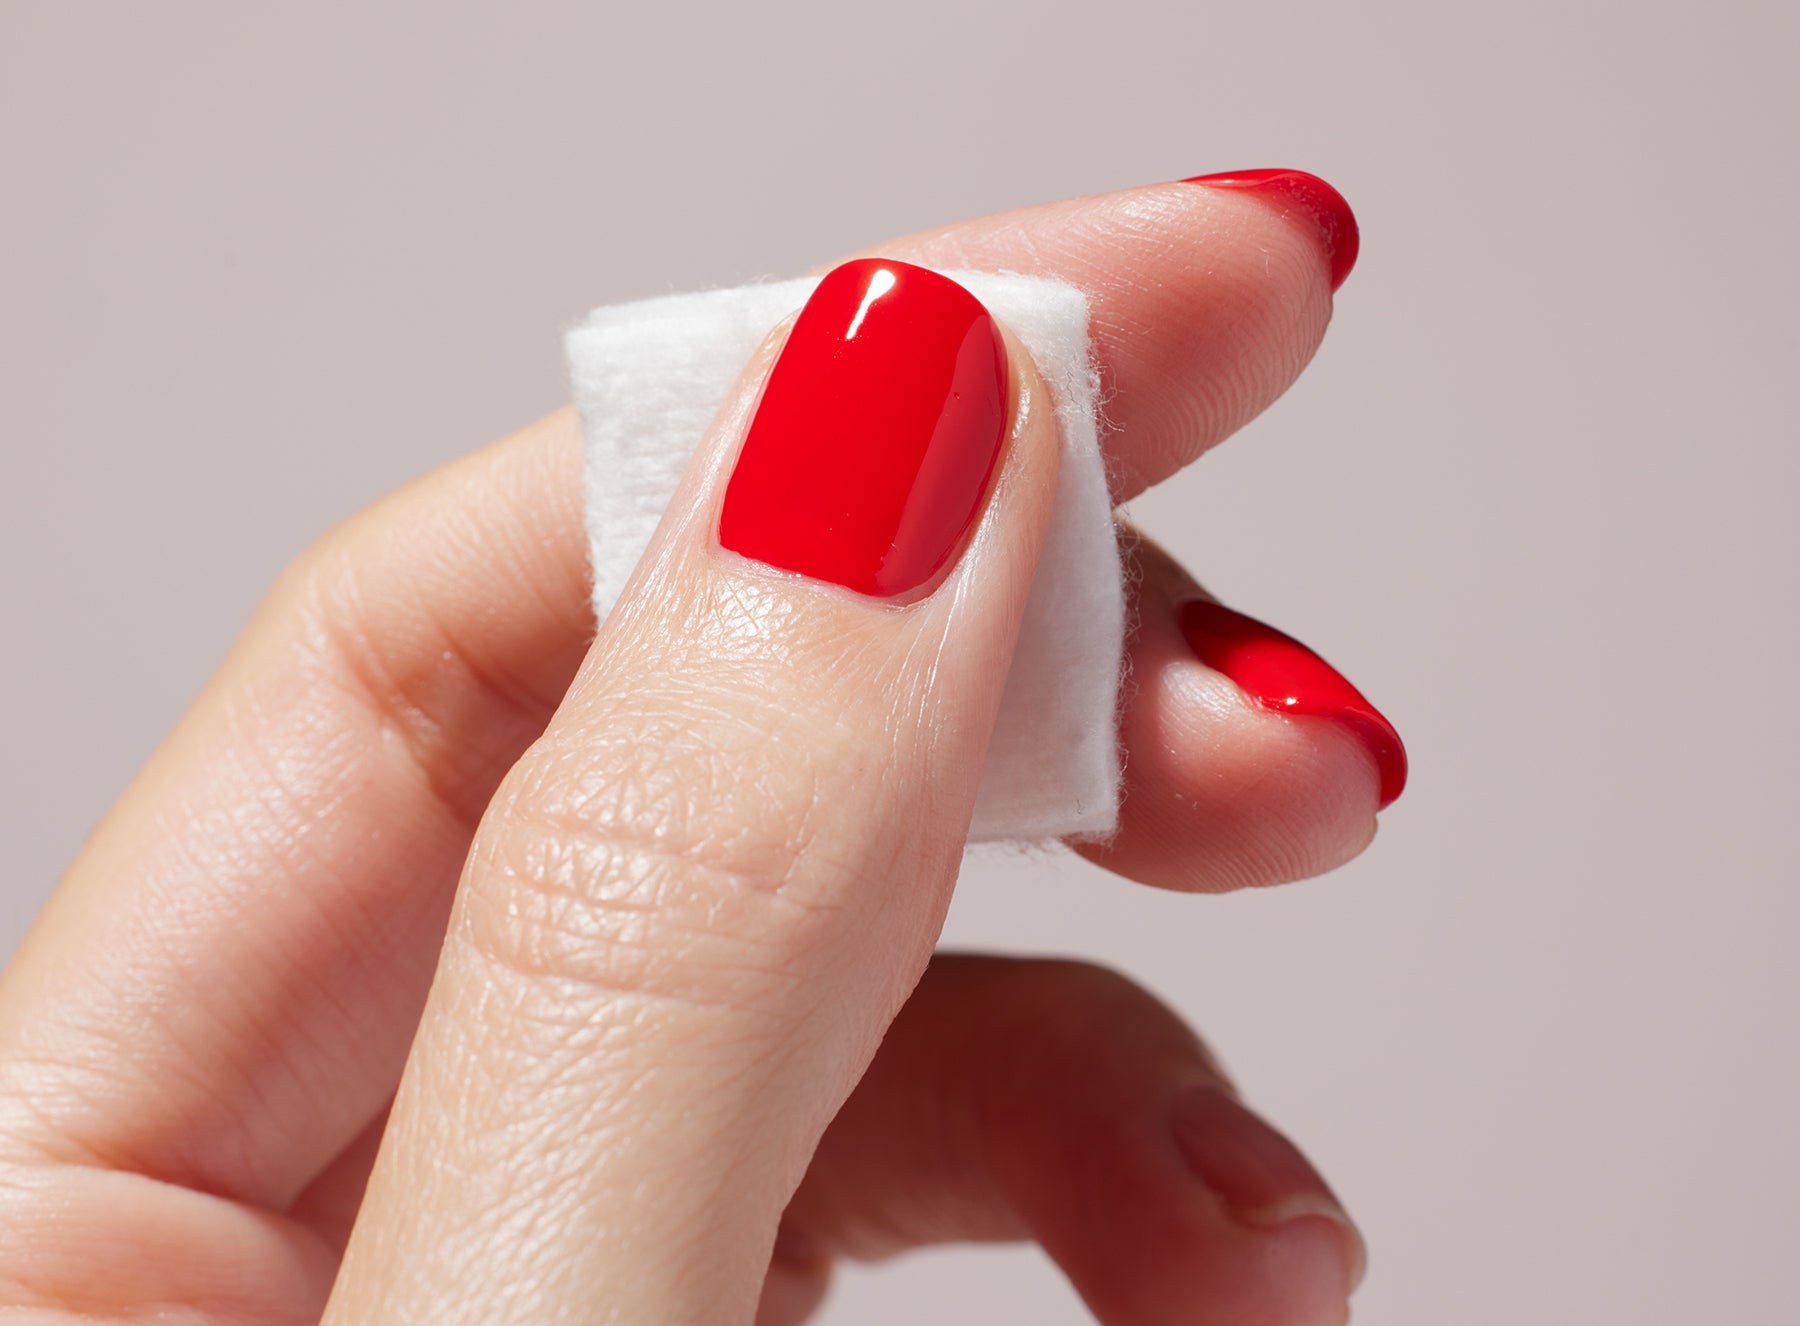
👉 The gestures to make : Pass a little brush stroke dust on each nail until they are perfectly clean. Then soak a cotton with a little degreaser or dissolved soft, depending on the type of varnish envisaged, for thoroughly clean without drying nails.
Good to know: a dissolvent without acetone It plays a double role, degreases the nail before laying and also allows, later, a smooth deposit.
To sum up:
- A good preparation smoothes the surface and opens the keratin scales, which improves the adhesion of the base coat and varnish.
- It removes dead skin and limits the appearance of bubbles, burrs and scalar.
- It prevents duplication and breakage.
- The result is a sharper pose, prolonged hold and preserved nails.

Perfectly clean and clean nails for an impeccable hold.
Find all the necessary tools of this routine prep nail in our Nagle Preparation Set, your best ally for a brilliant manicure that you can keep for a long time.

A complete set to prepare your nails like a pro with white file, emollient, lime preparation and shoot-cuticles.
If you wish, you can customize the Preparation Set by adding the Dust Brush or the Pliers to suit your needs.
Thus prepared, your nails are ready for the laying of a new color. That you choose a nail polish Green™ , one semi-permanent varnish Green Flash™ or d semi-permanent varnish kit, with the essentials combined in a single simple routine that makes all the difference. To be adopted urgently!
To sum up:
- Limmer: with a file adapted to the nature of the nail (grain 100/180 for normal nails, 180/240 for fragile nails), always in the same direction (single-directional image), from the outer edge to the centre.
- Push cuticles: soften with the Emollient Effective (2 min of laying), then gently push back to the shoot or box stick, without going back and forth — once a week.
- Unfrosted surface: with the preparation file, in the direction of hurling (base towards edge), not more than once every 2 weeks to avoid weakening keratin.
- Degrease: remove dust with brush, then clean with Green Degreaser (before varnish Green™ ) or the Sweet Dissolvent Green Flash (before Green Flash™ ).
-
All these essentials are gathered in the Nagle Preparation Set.