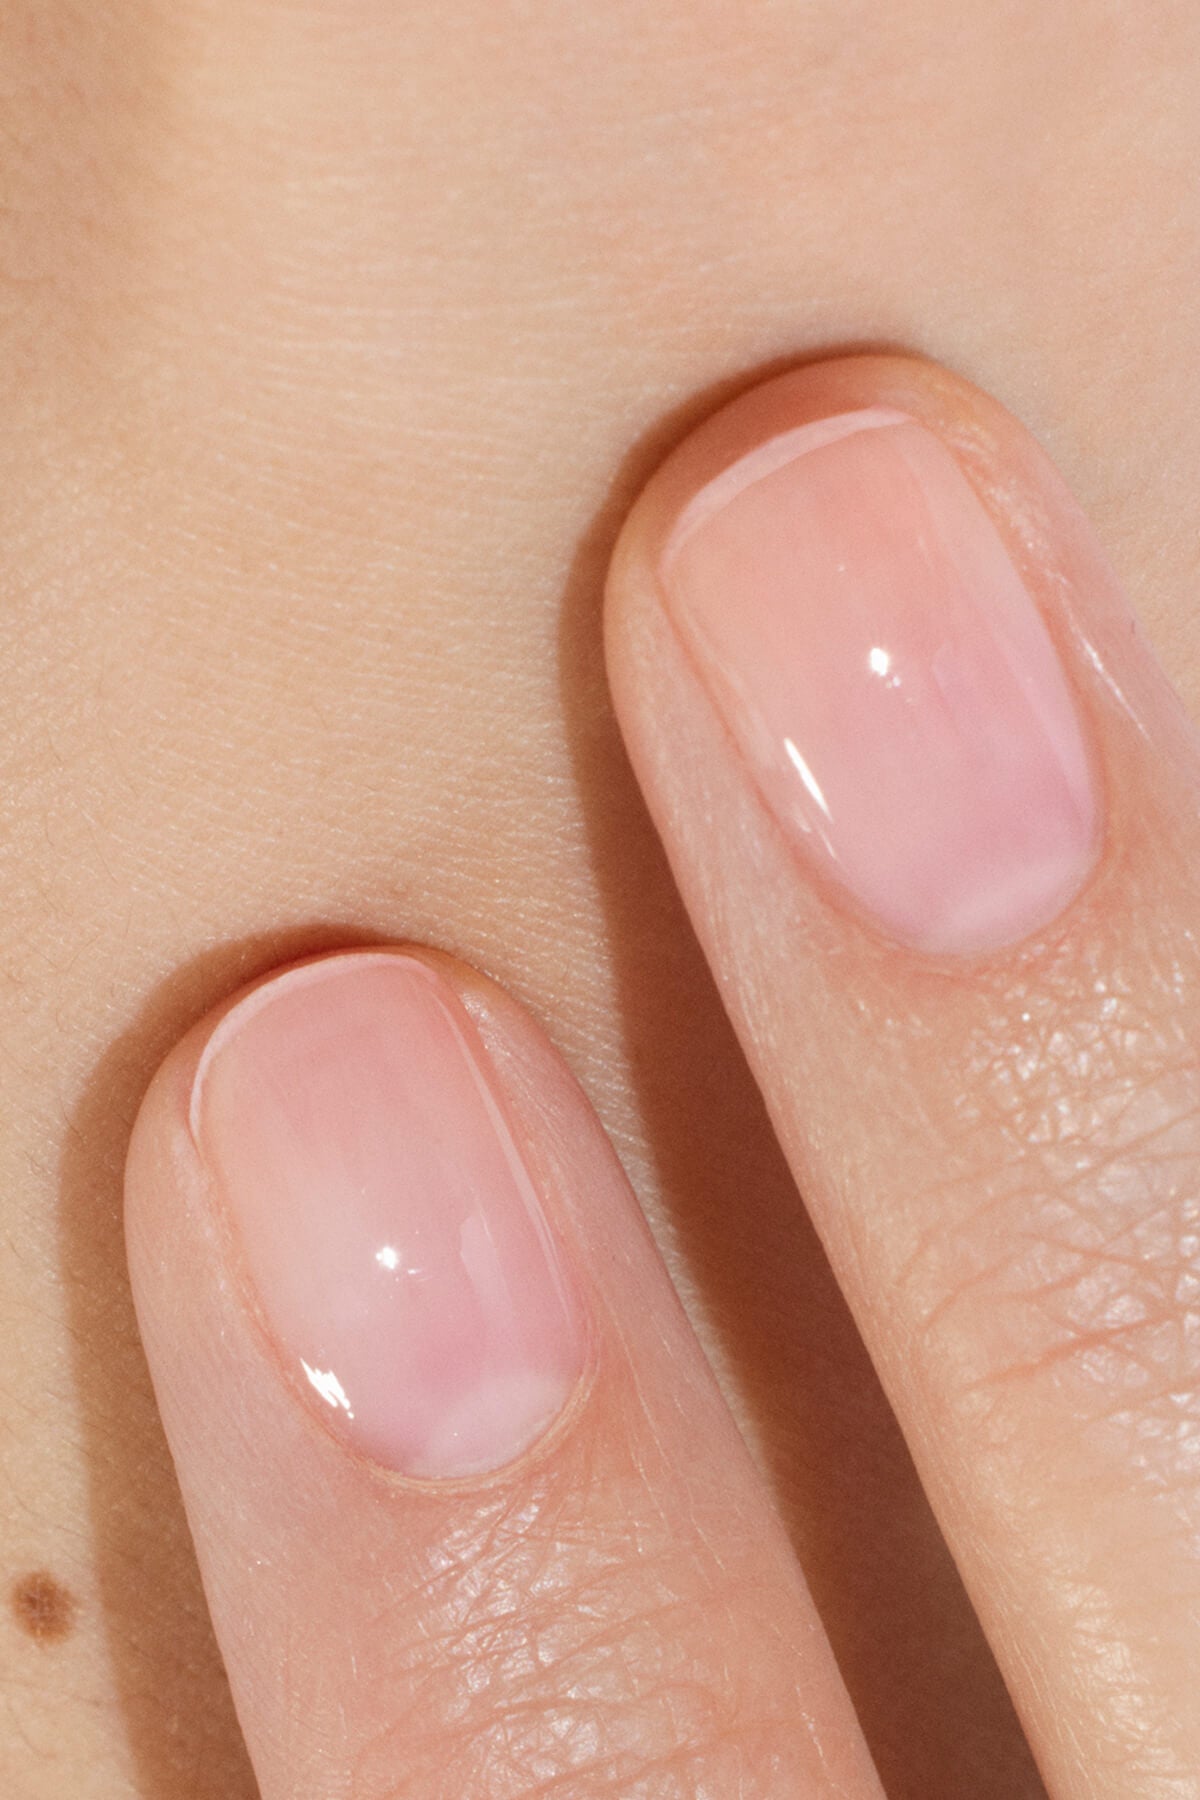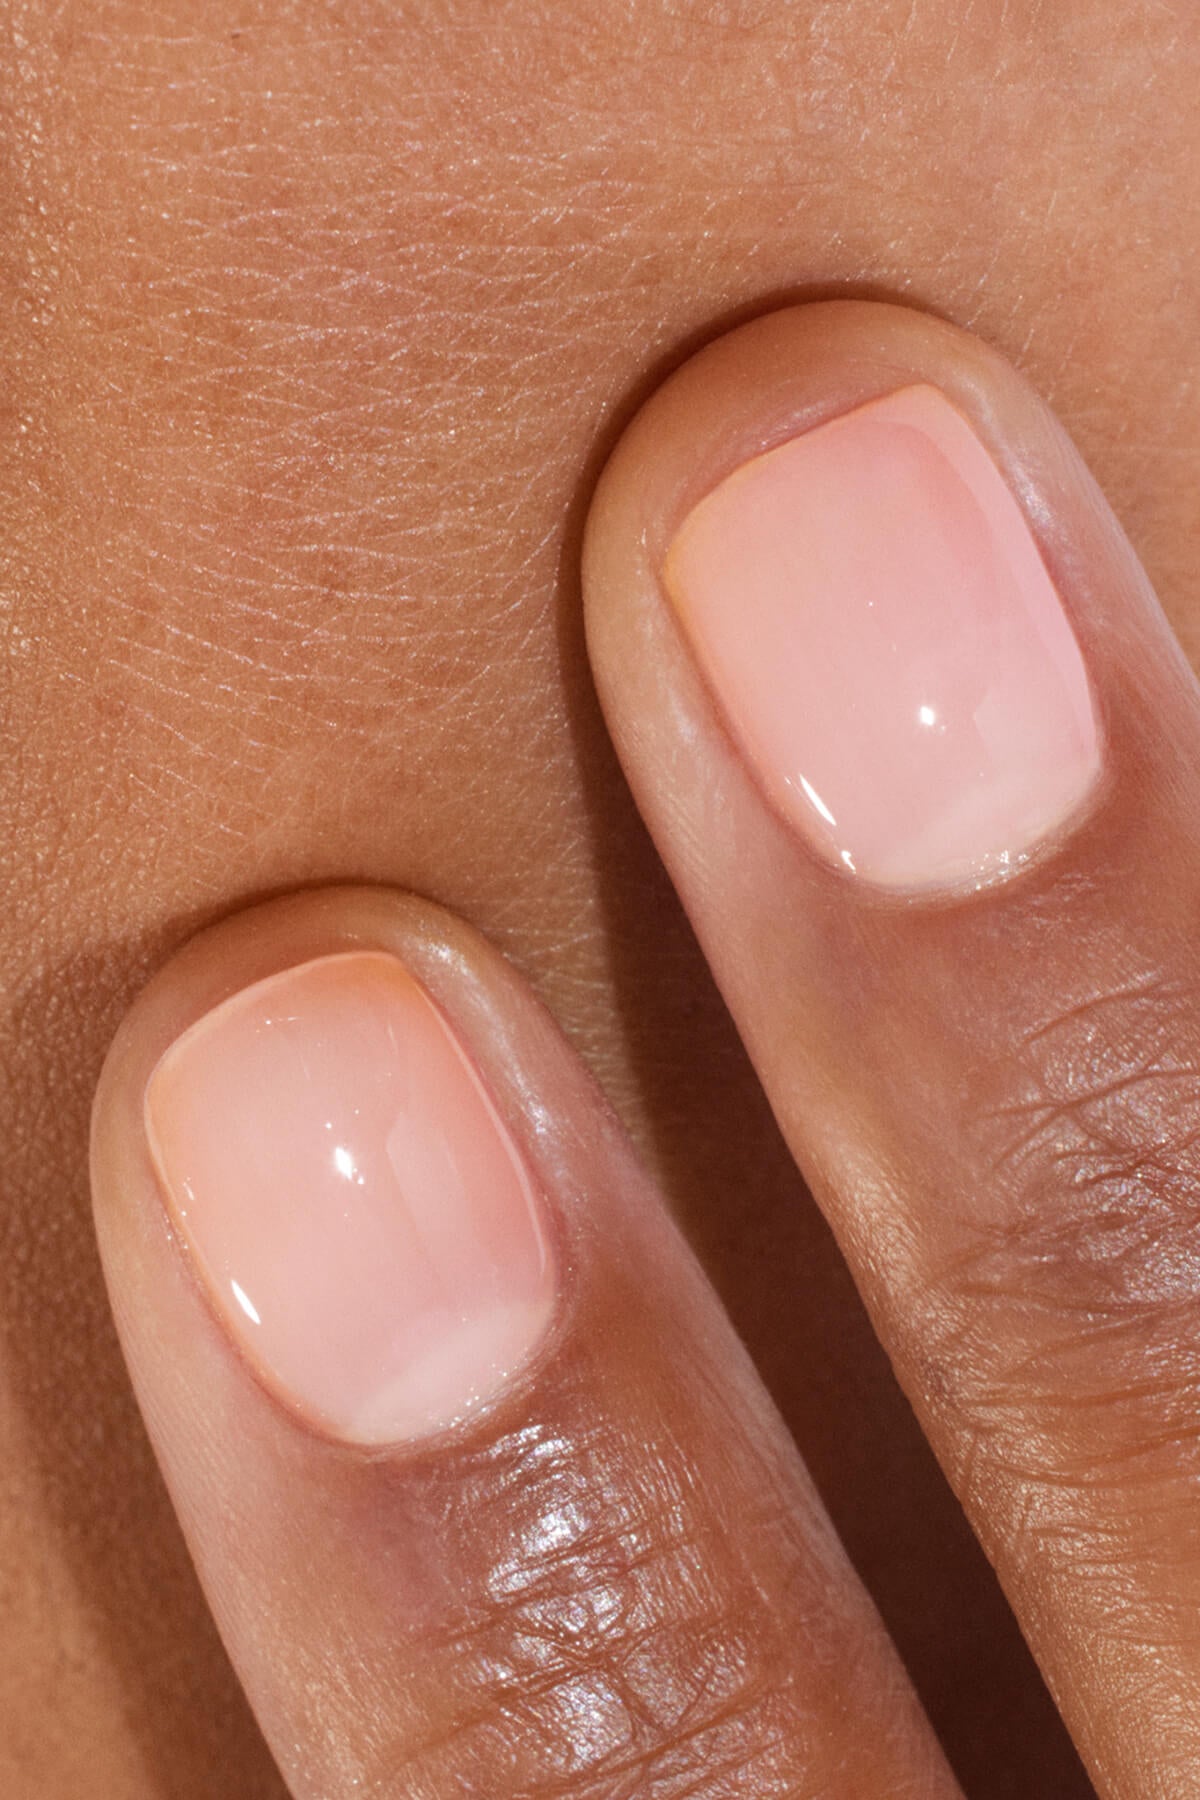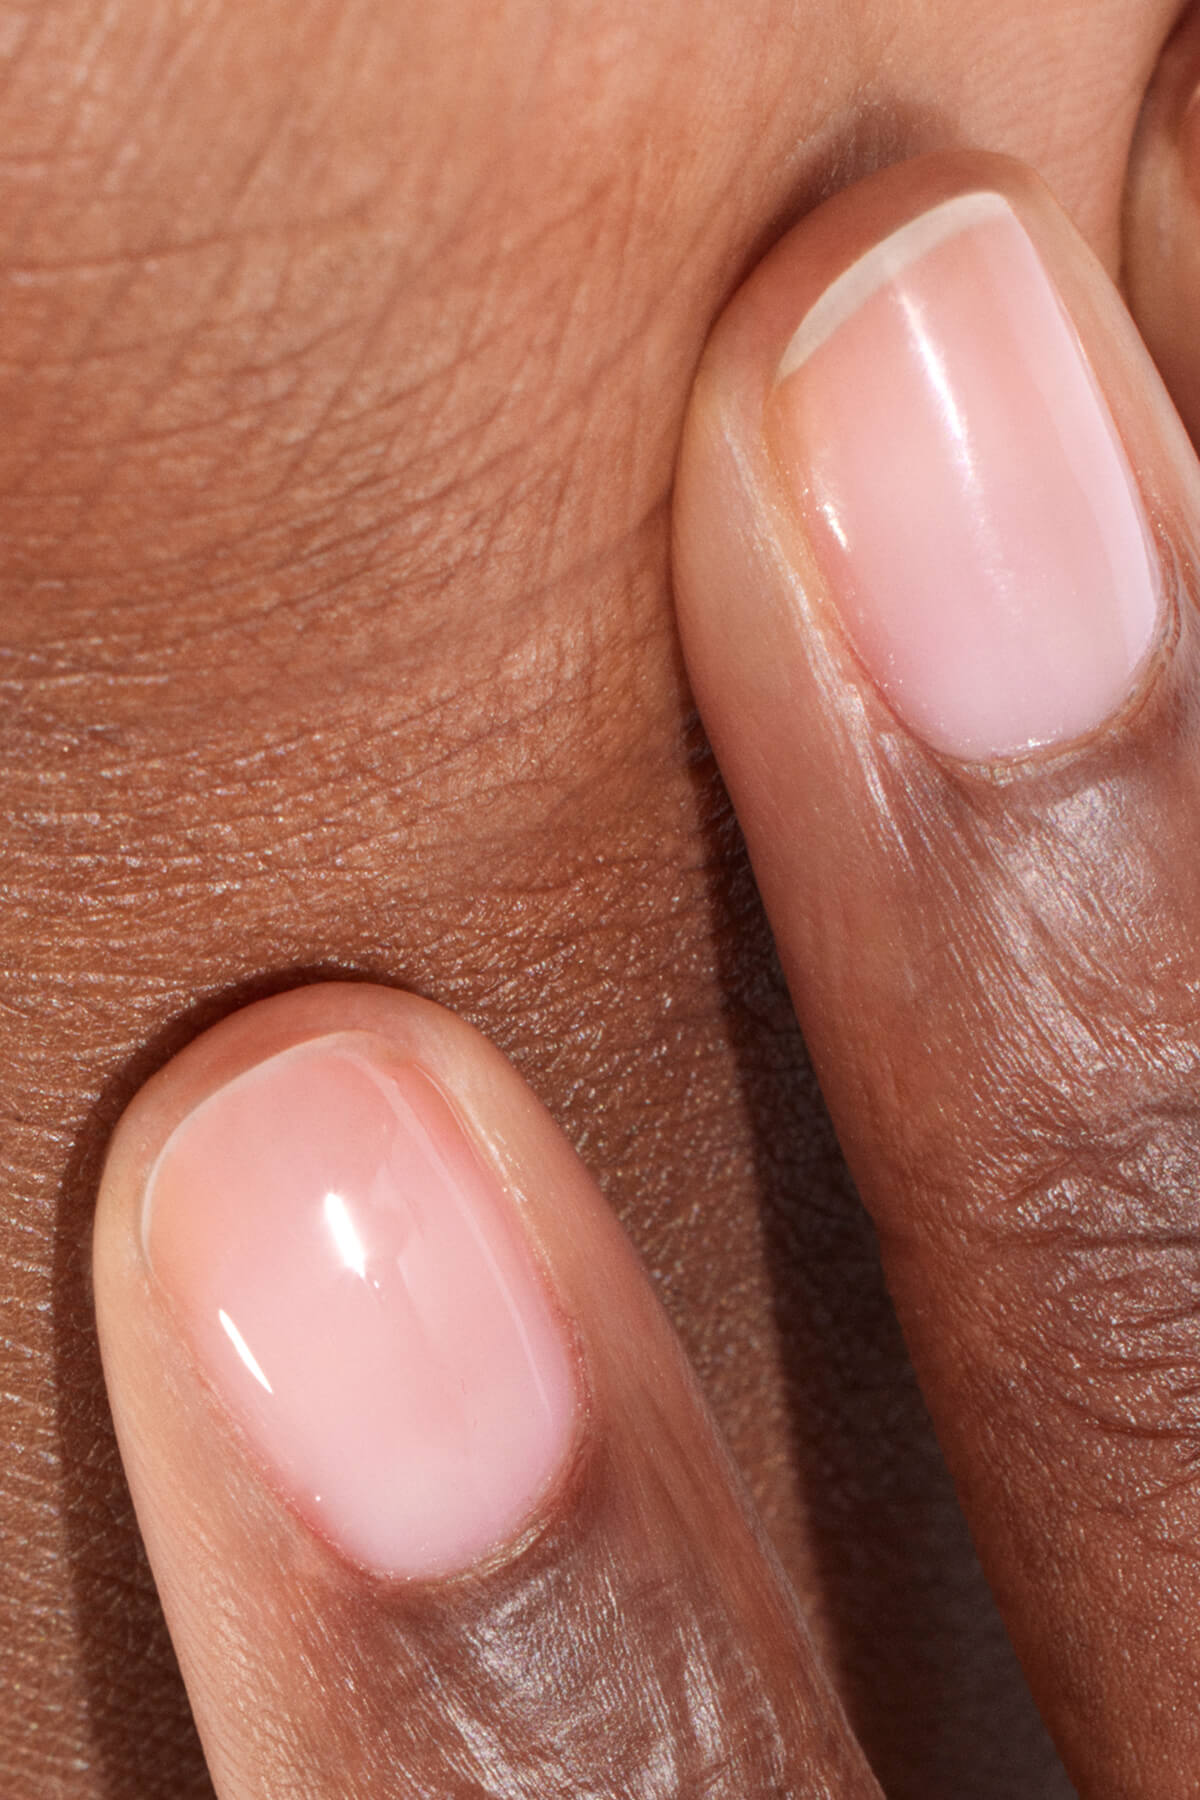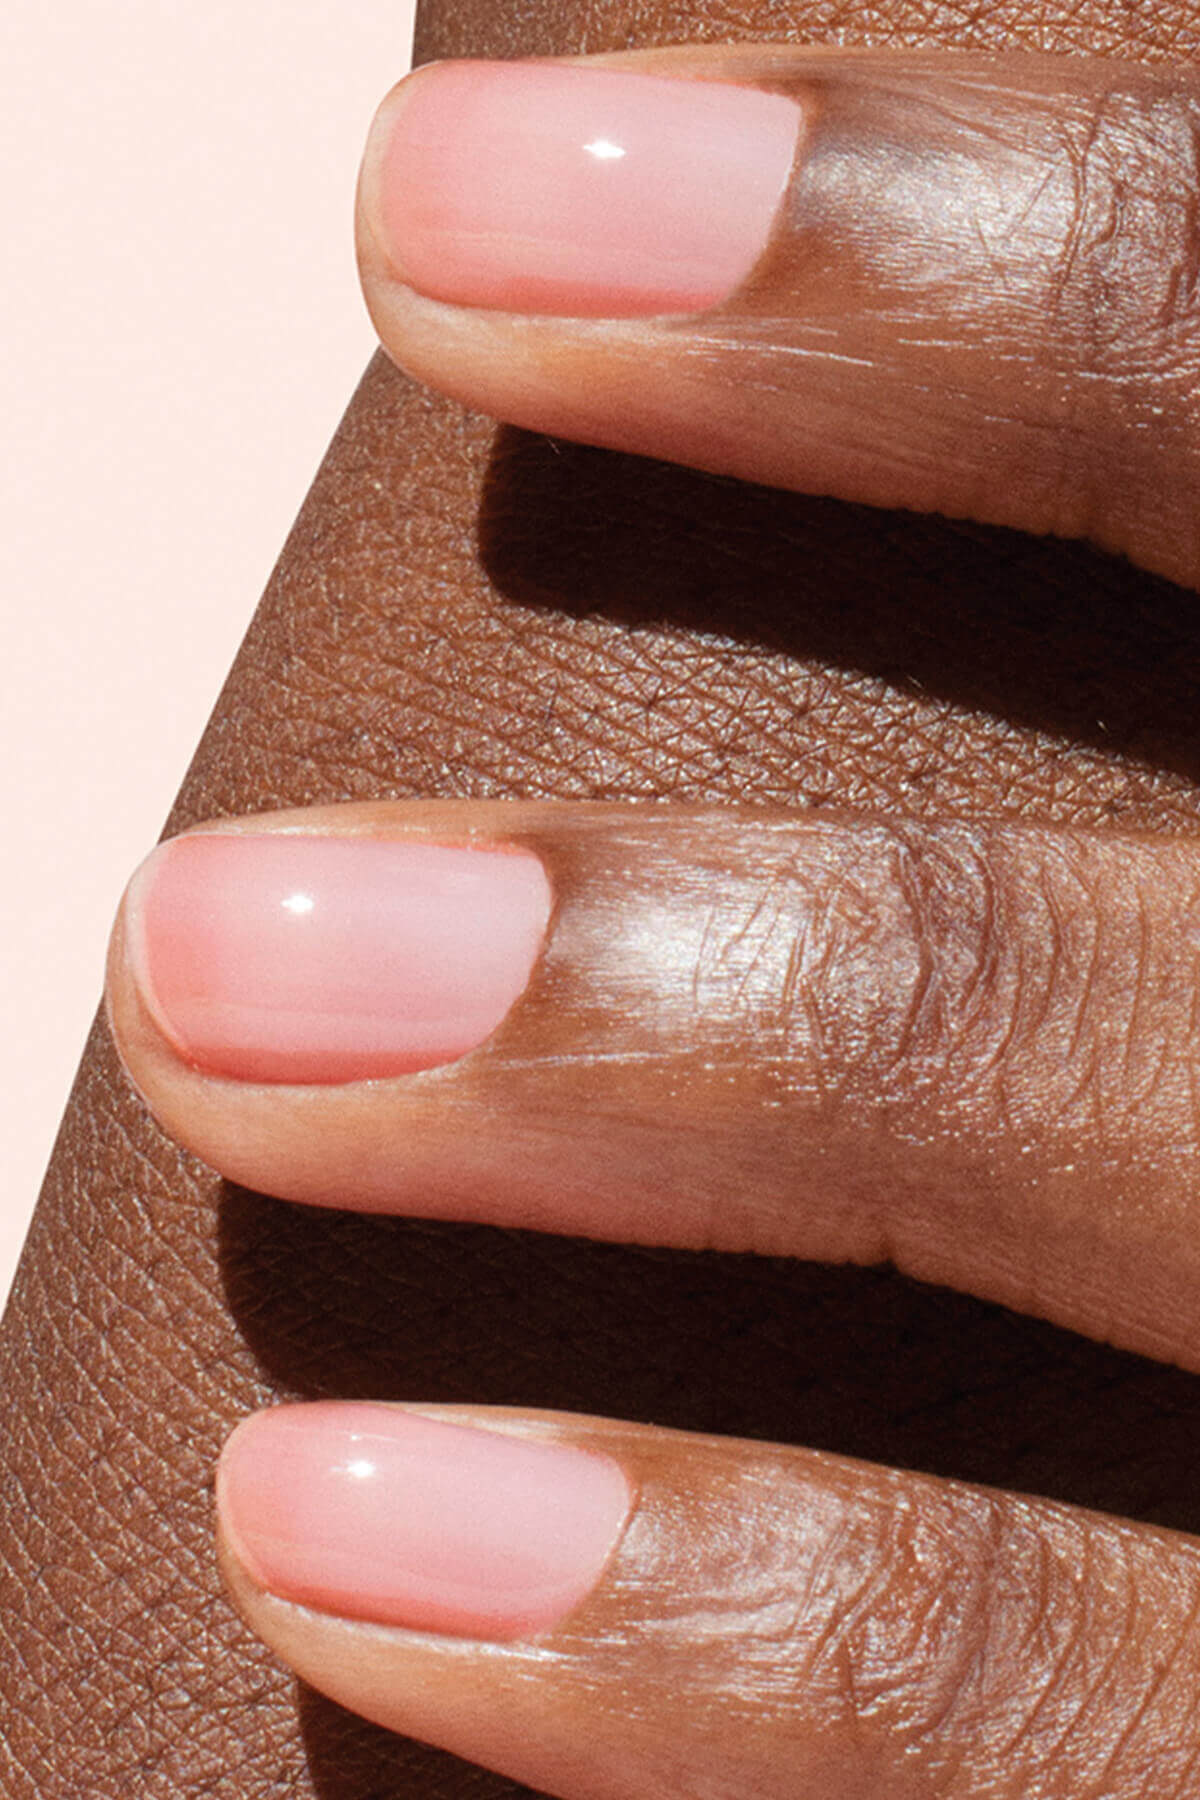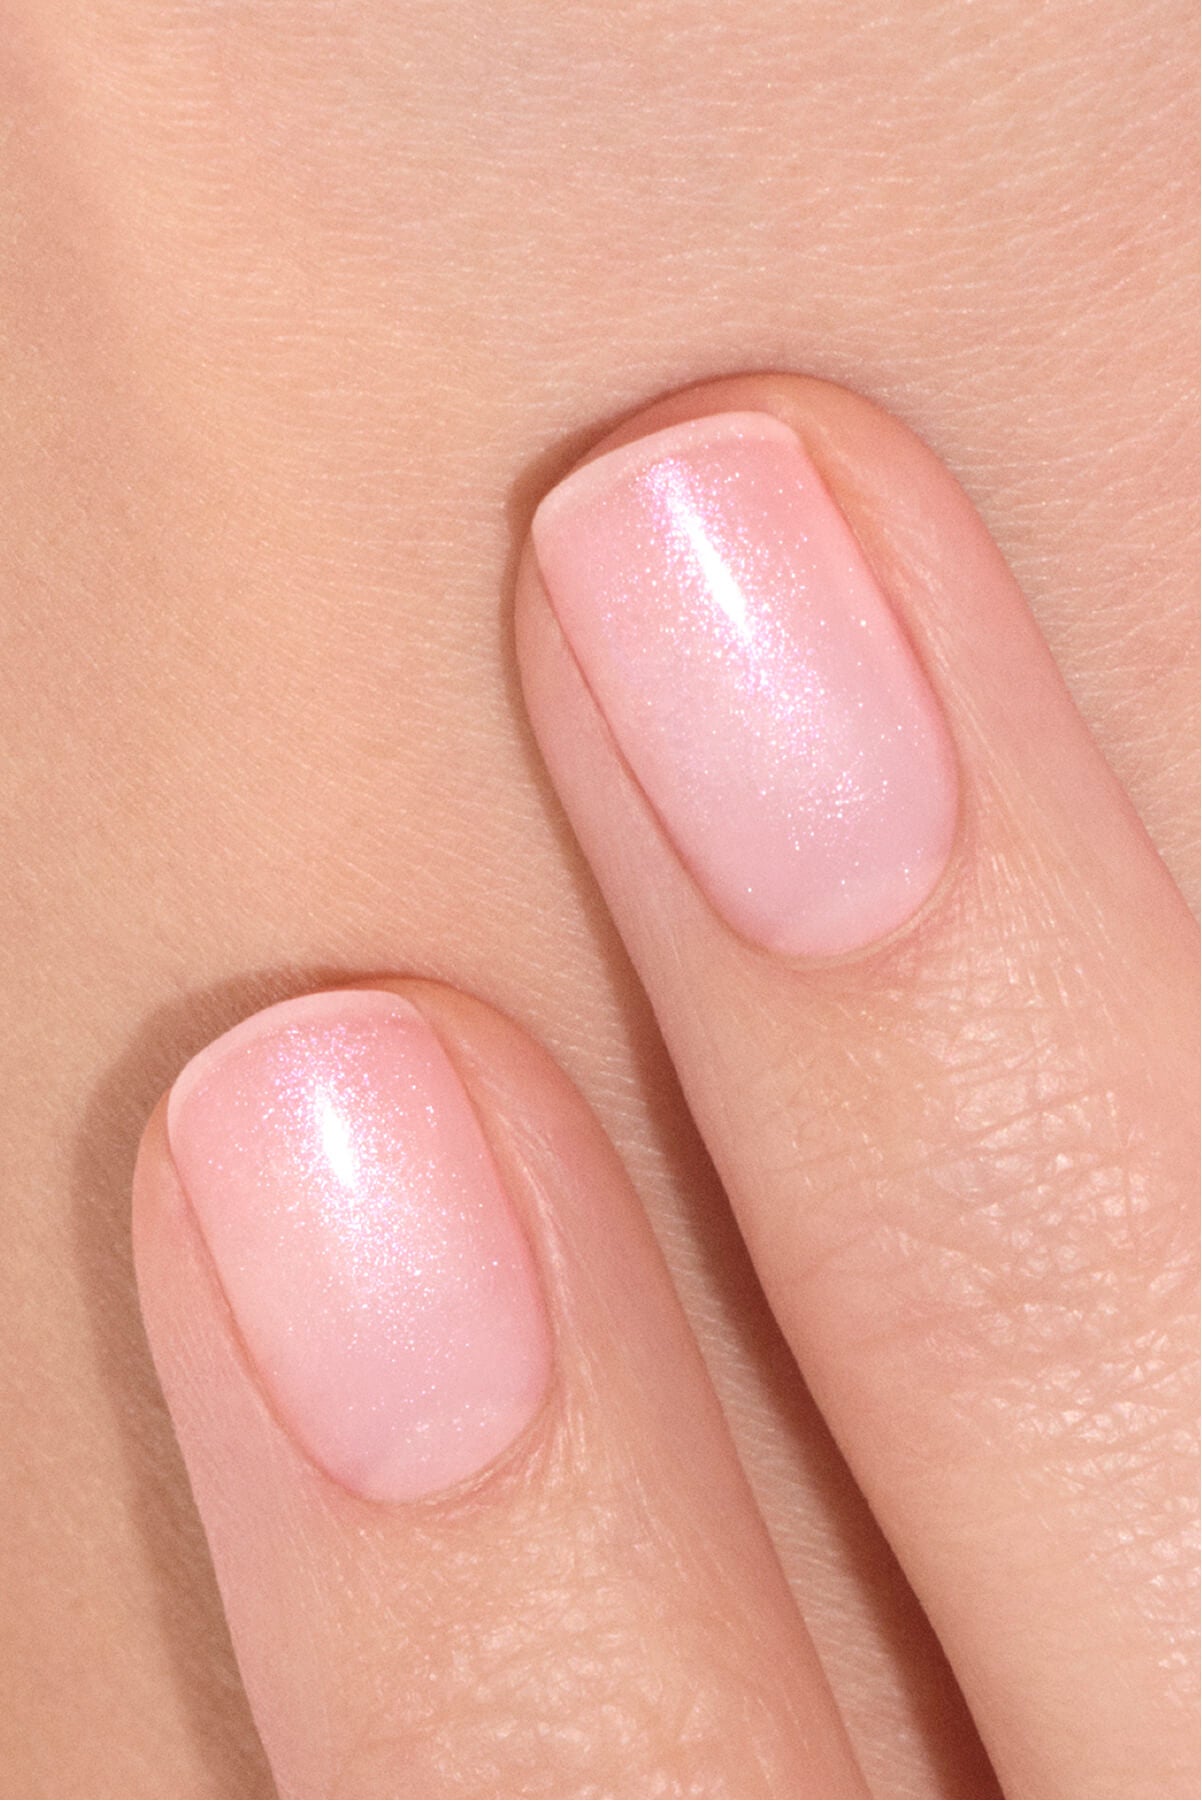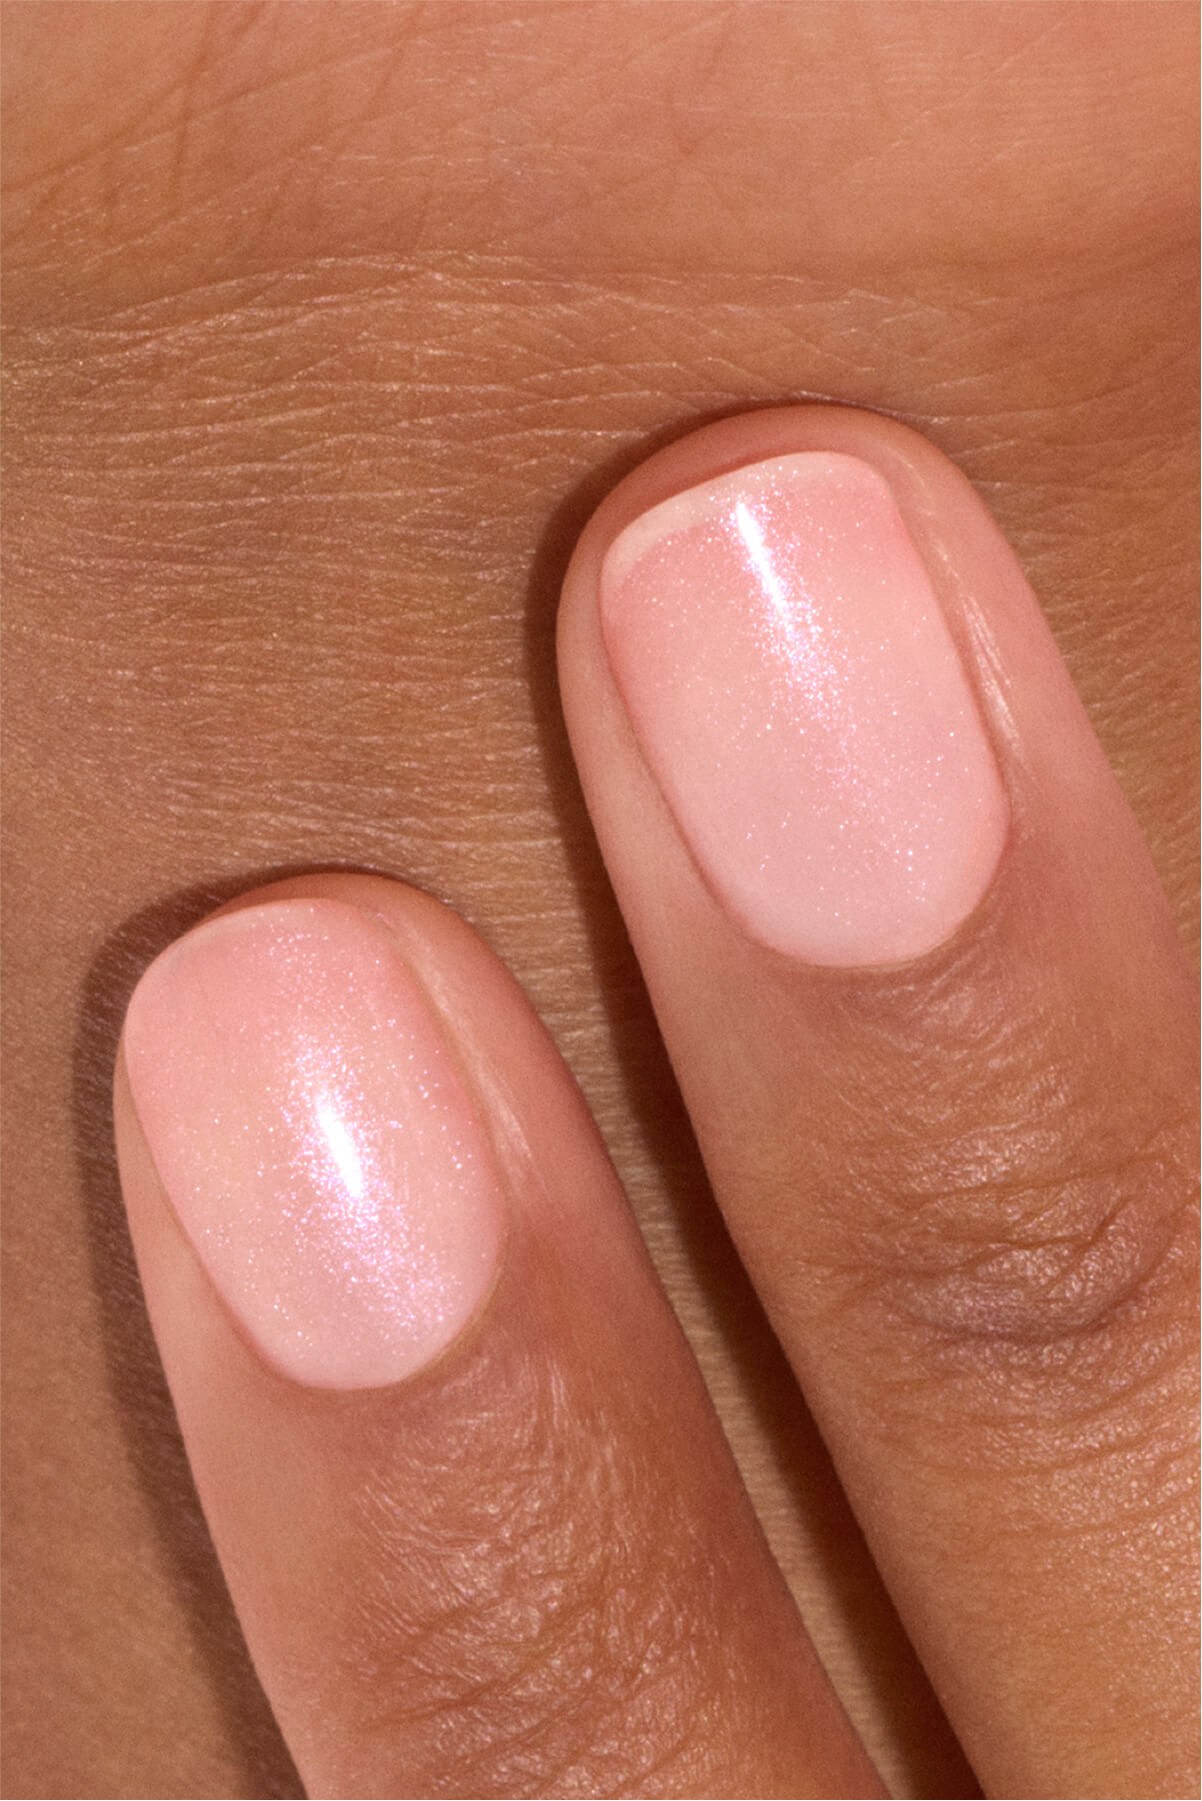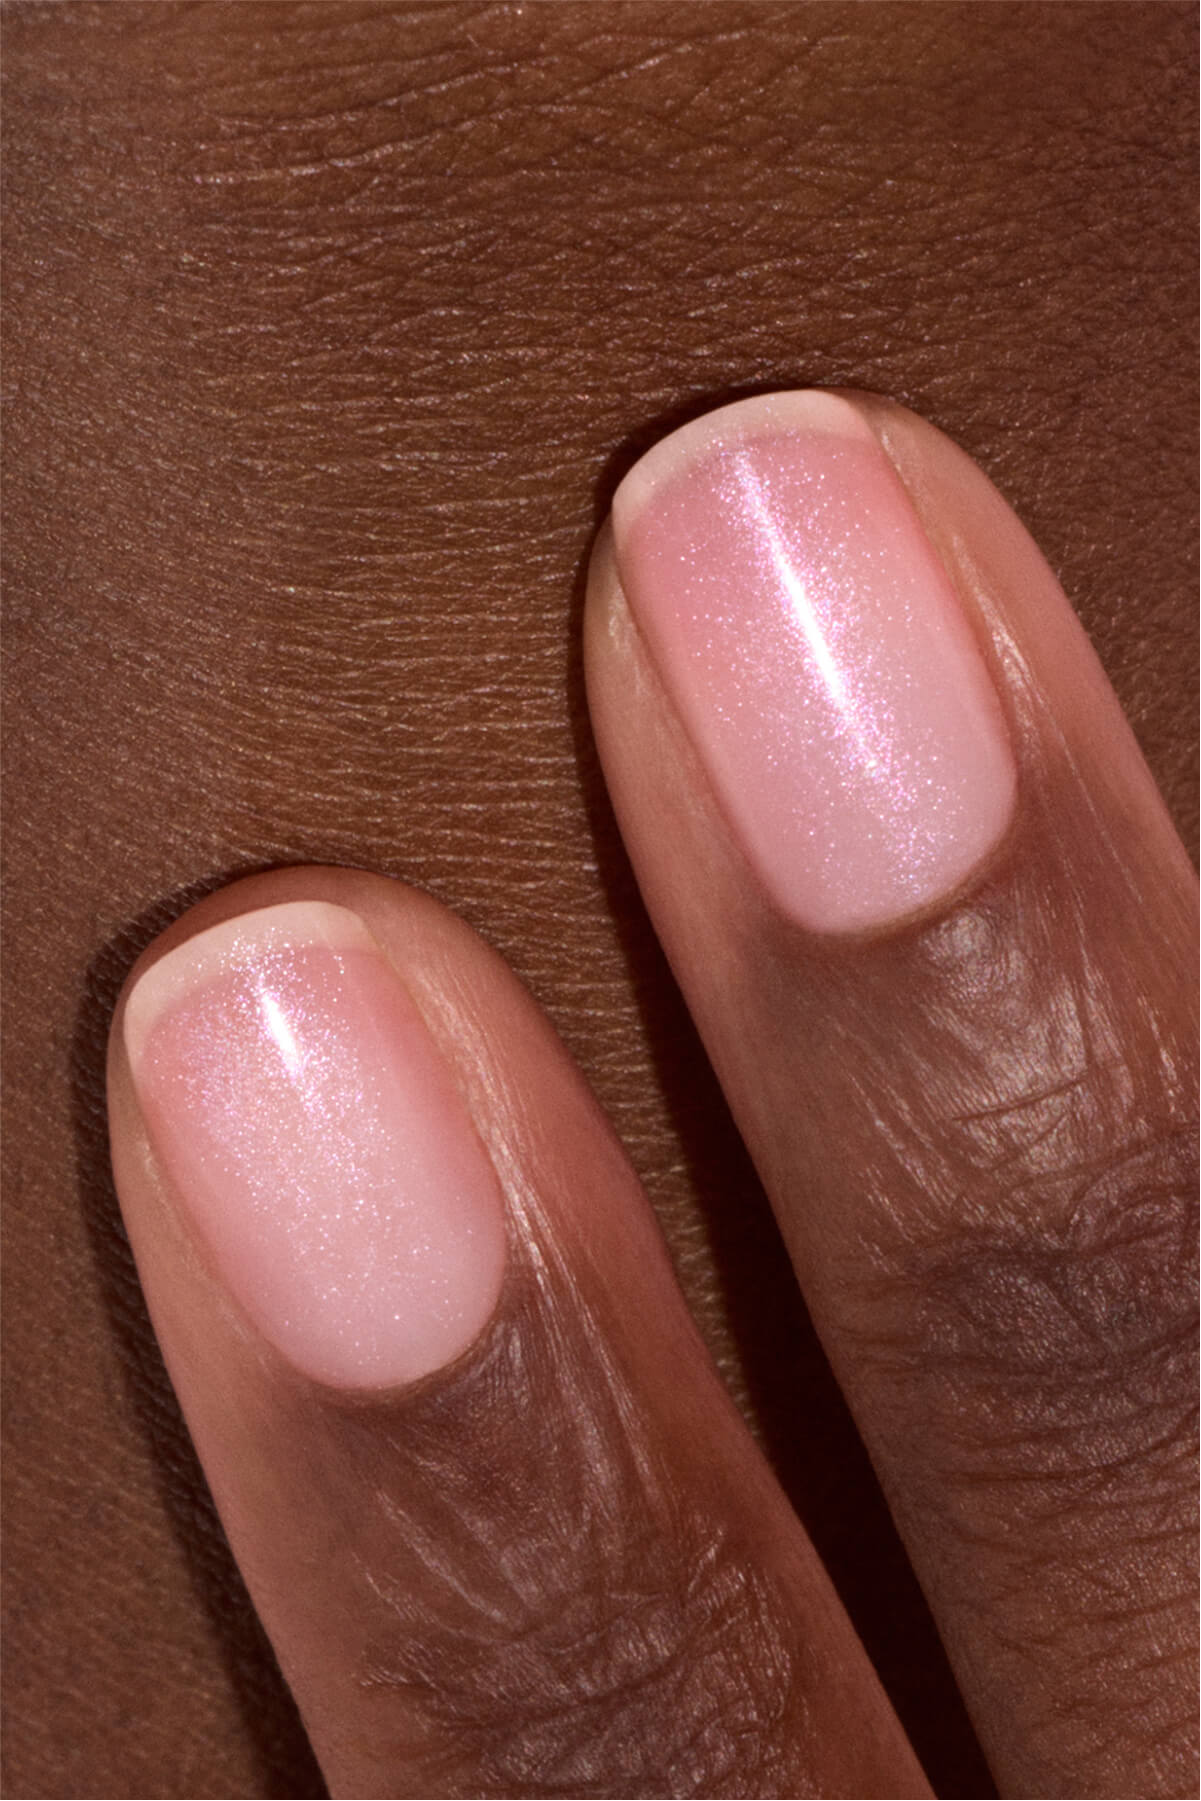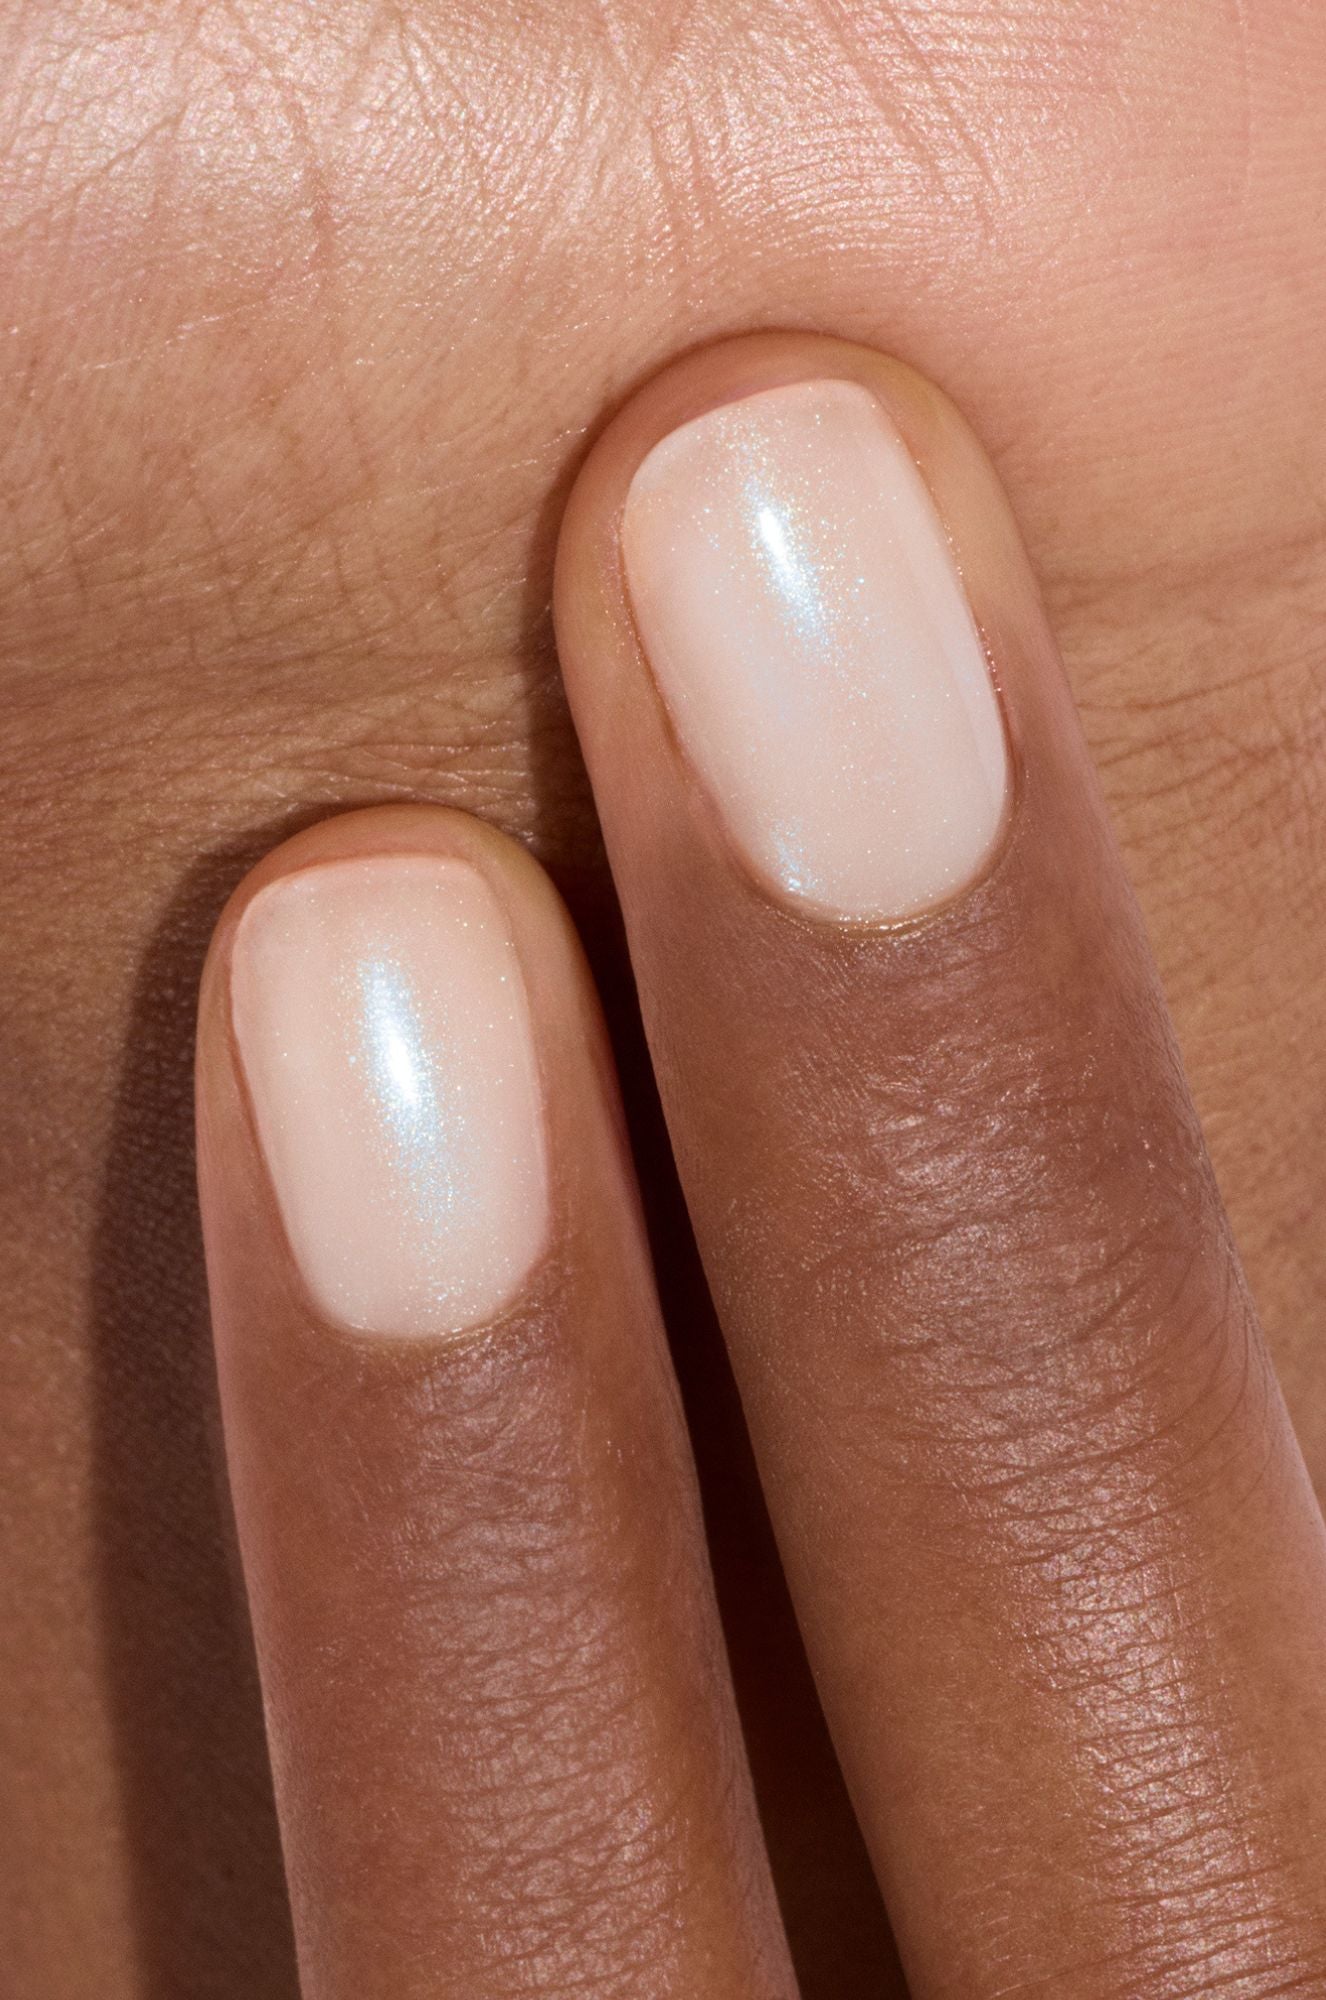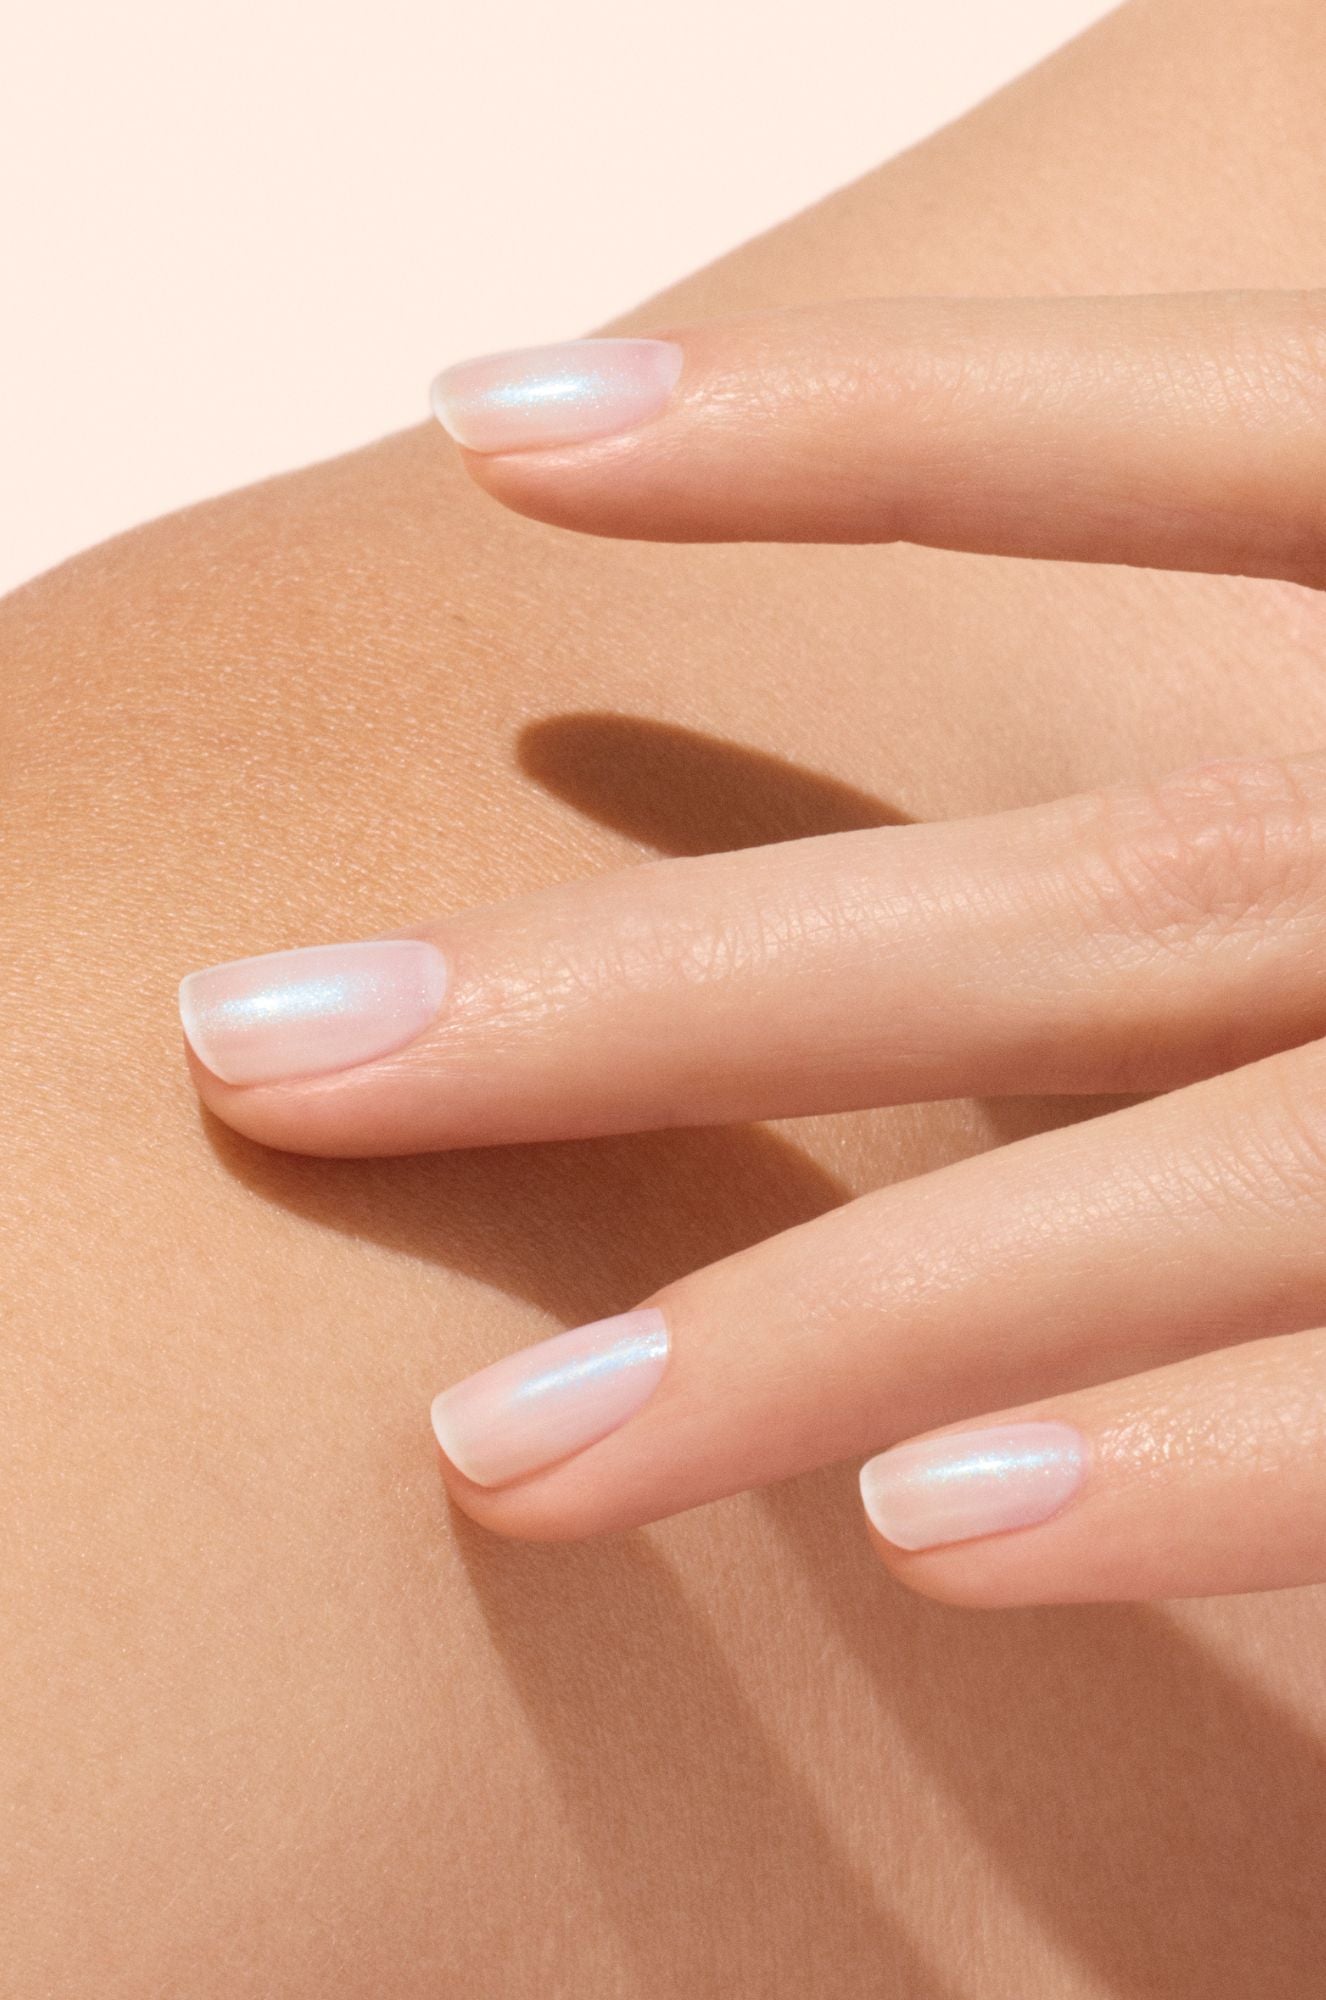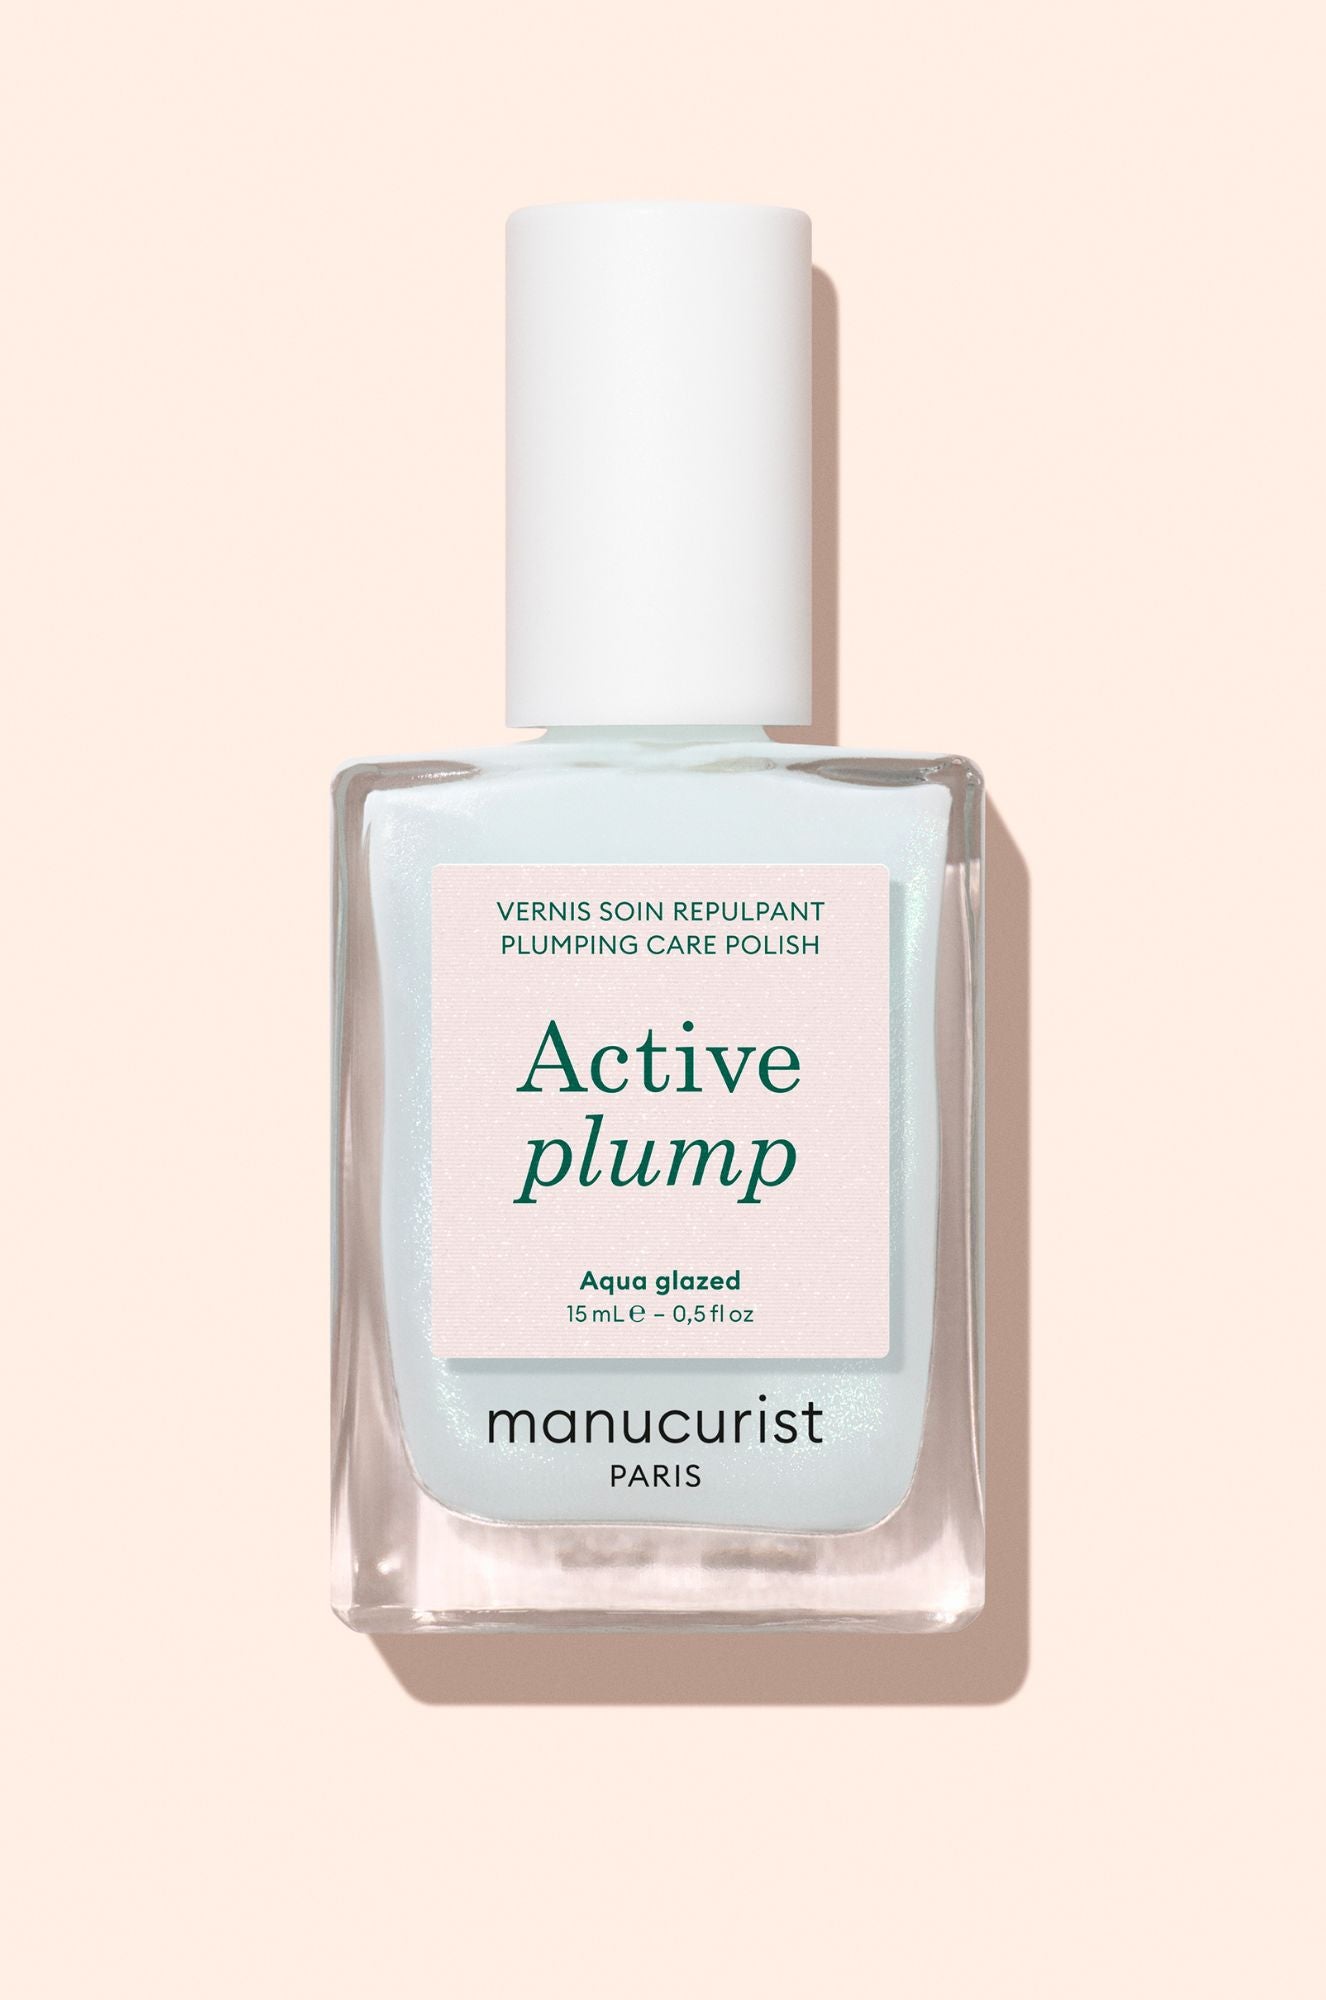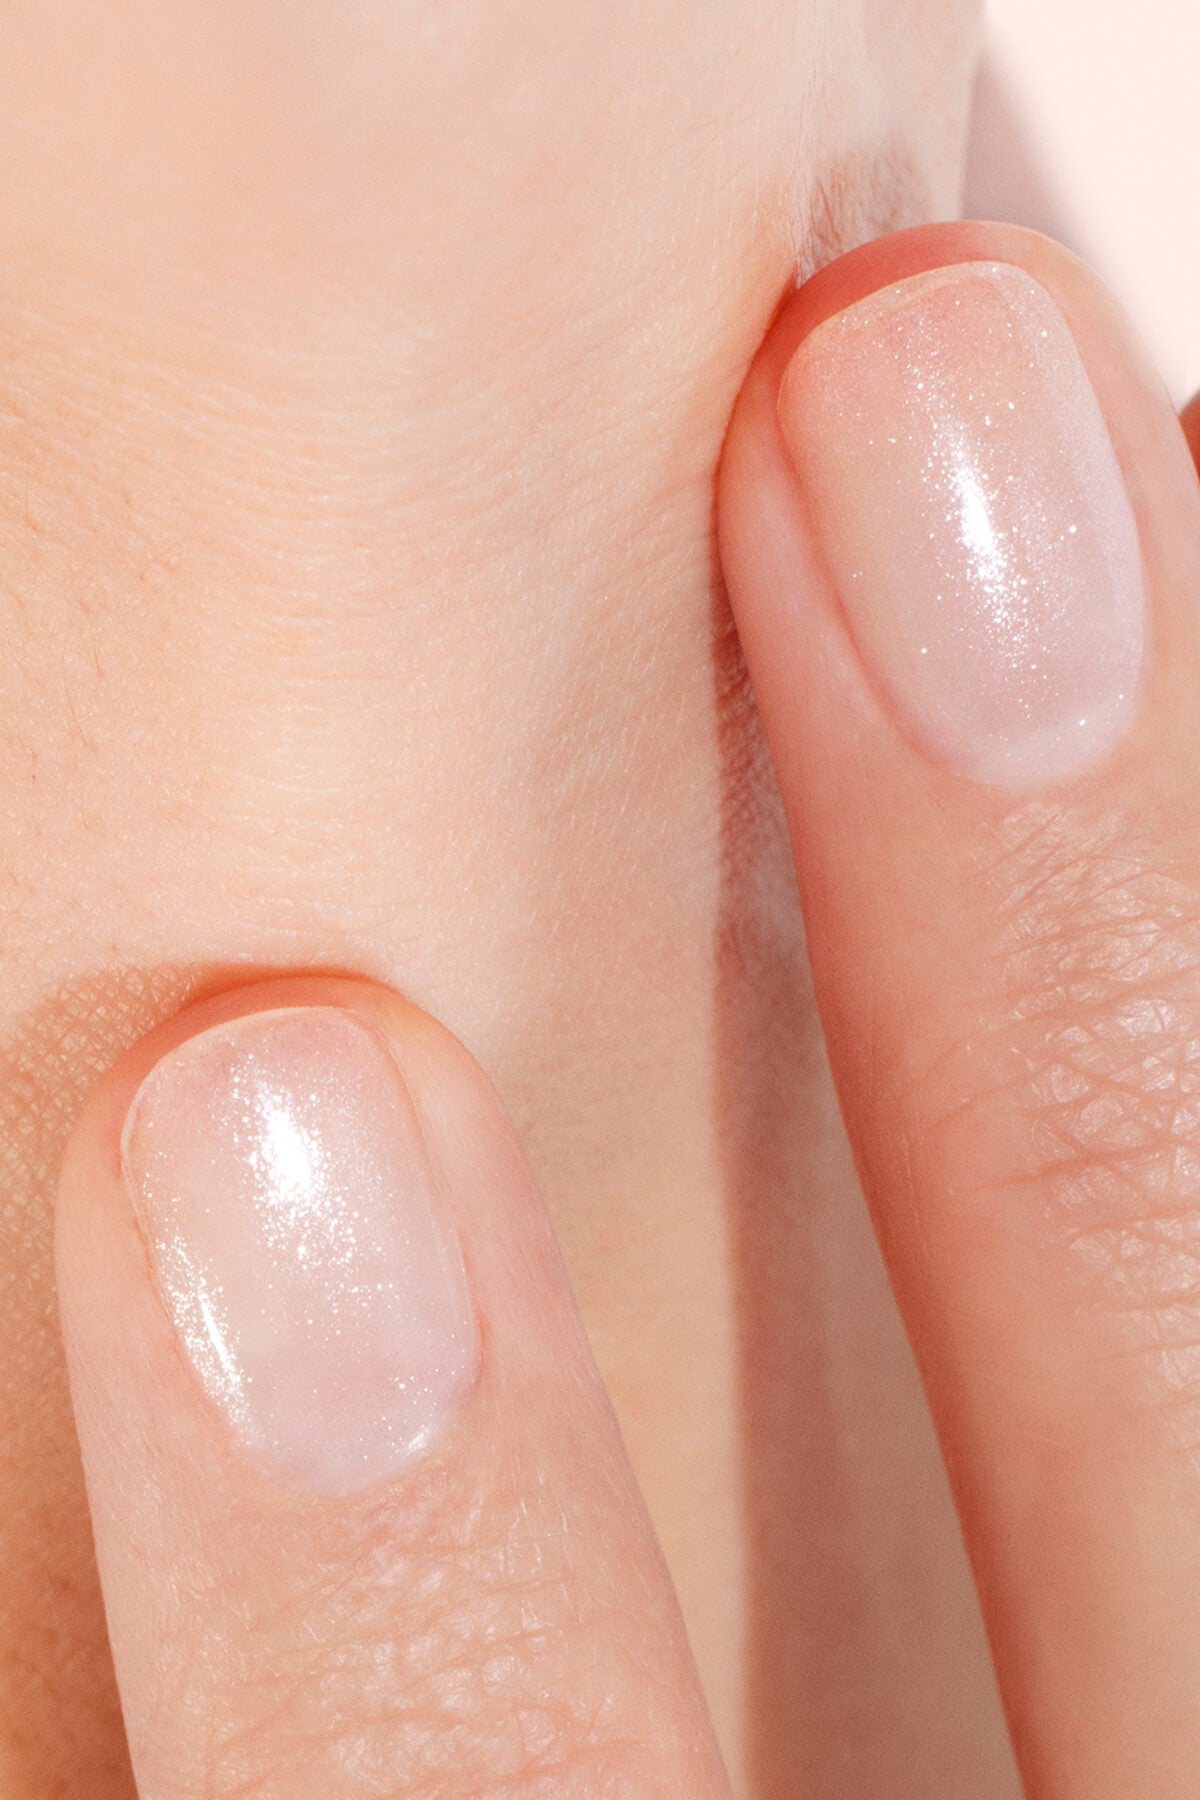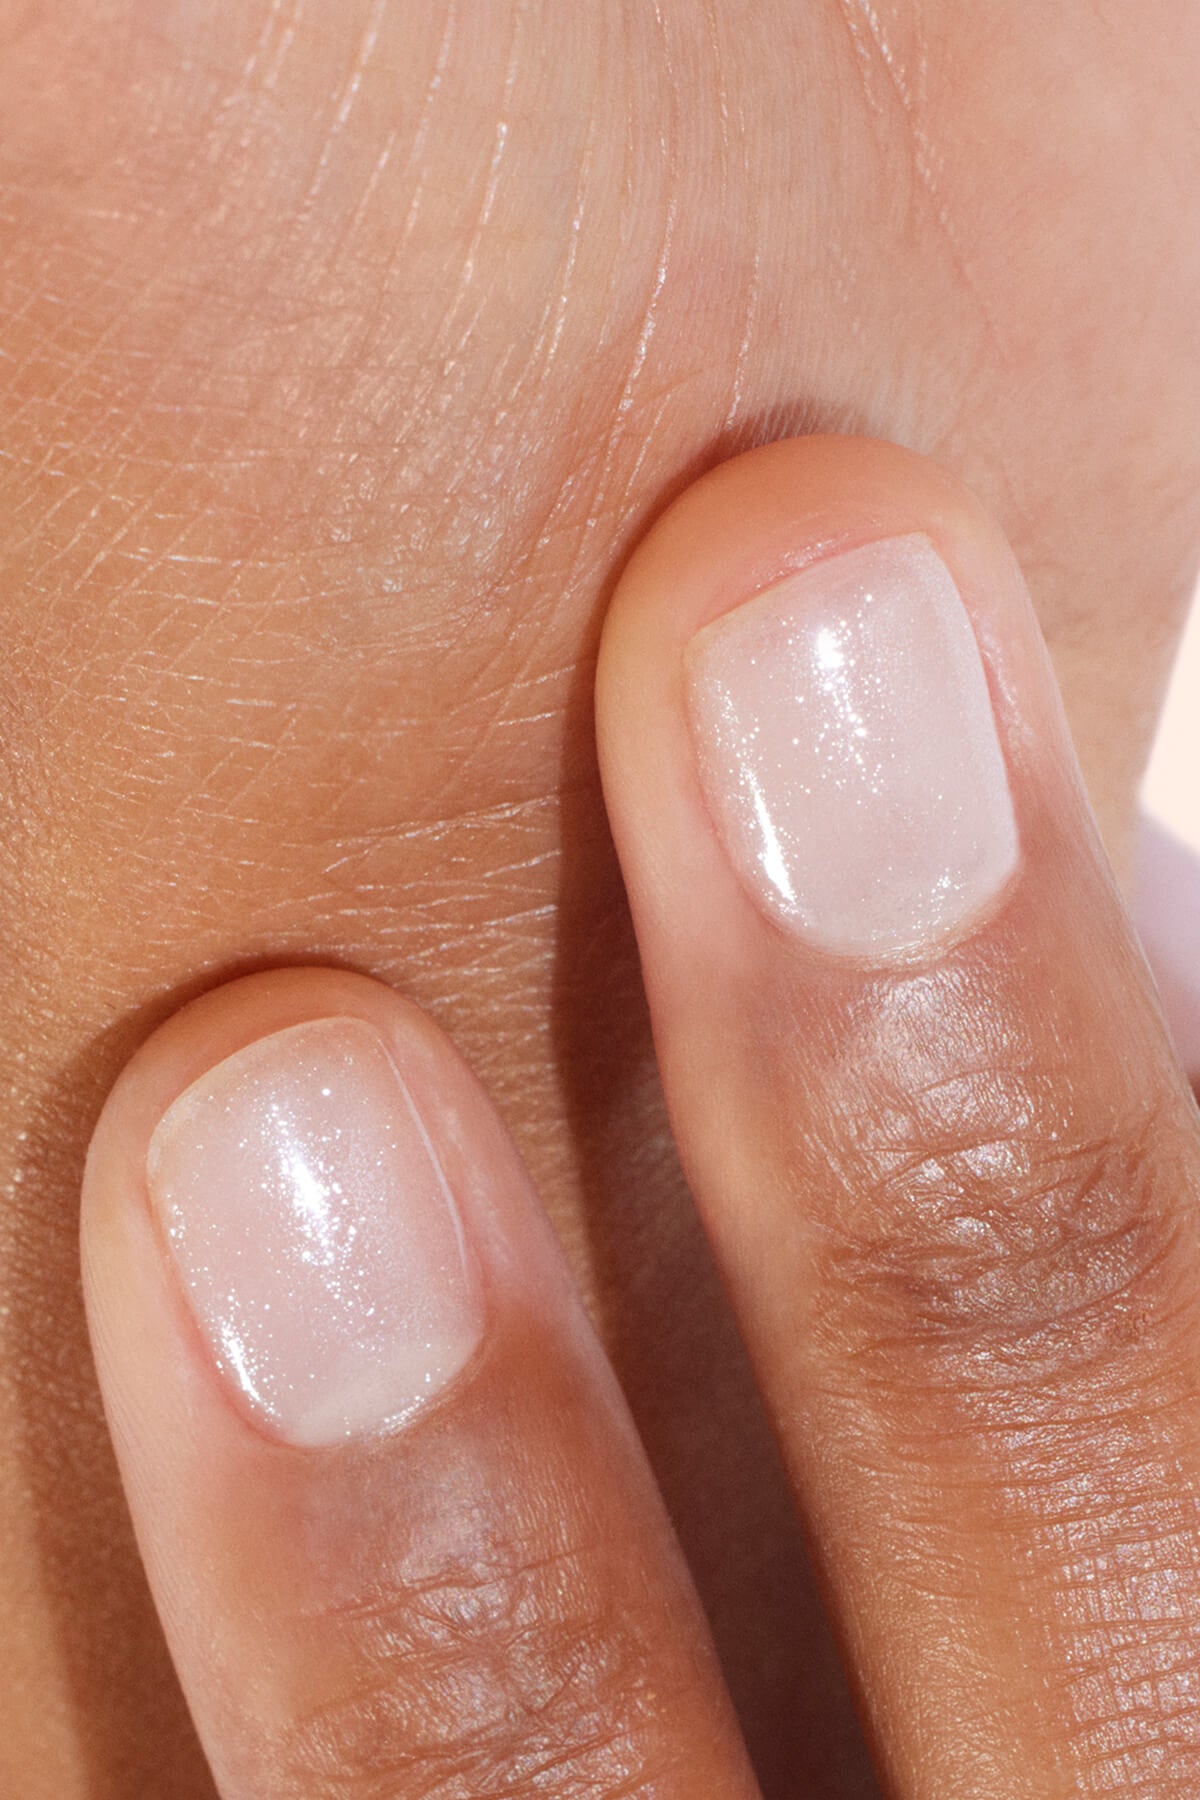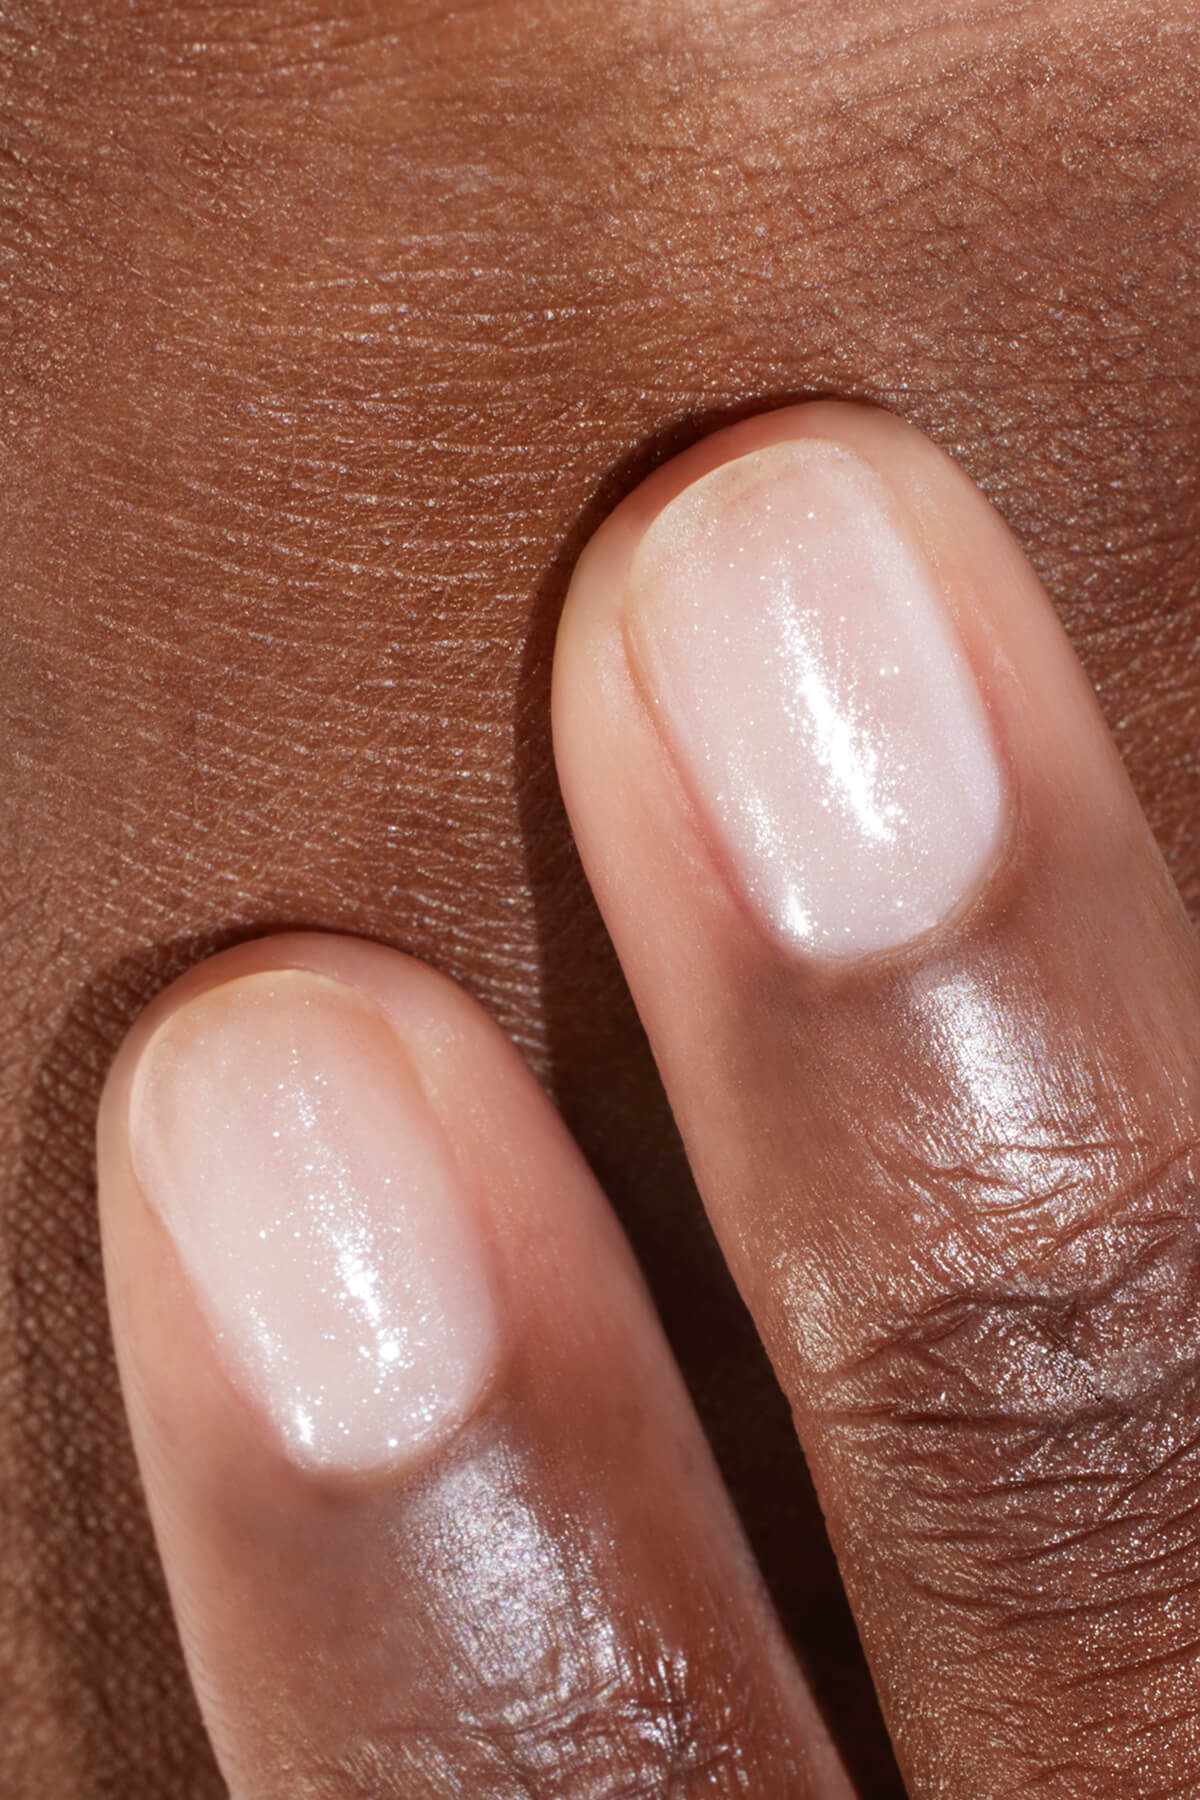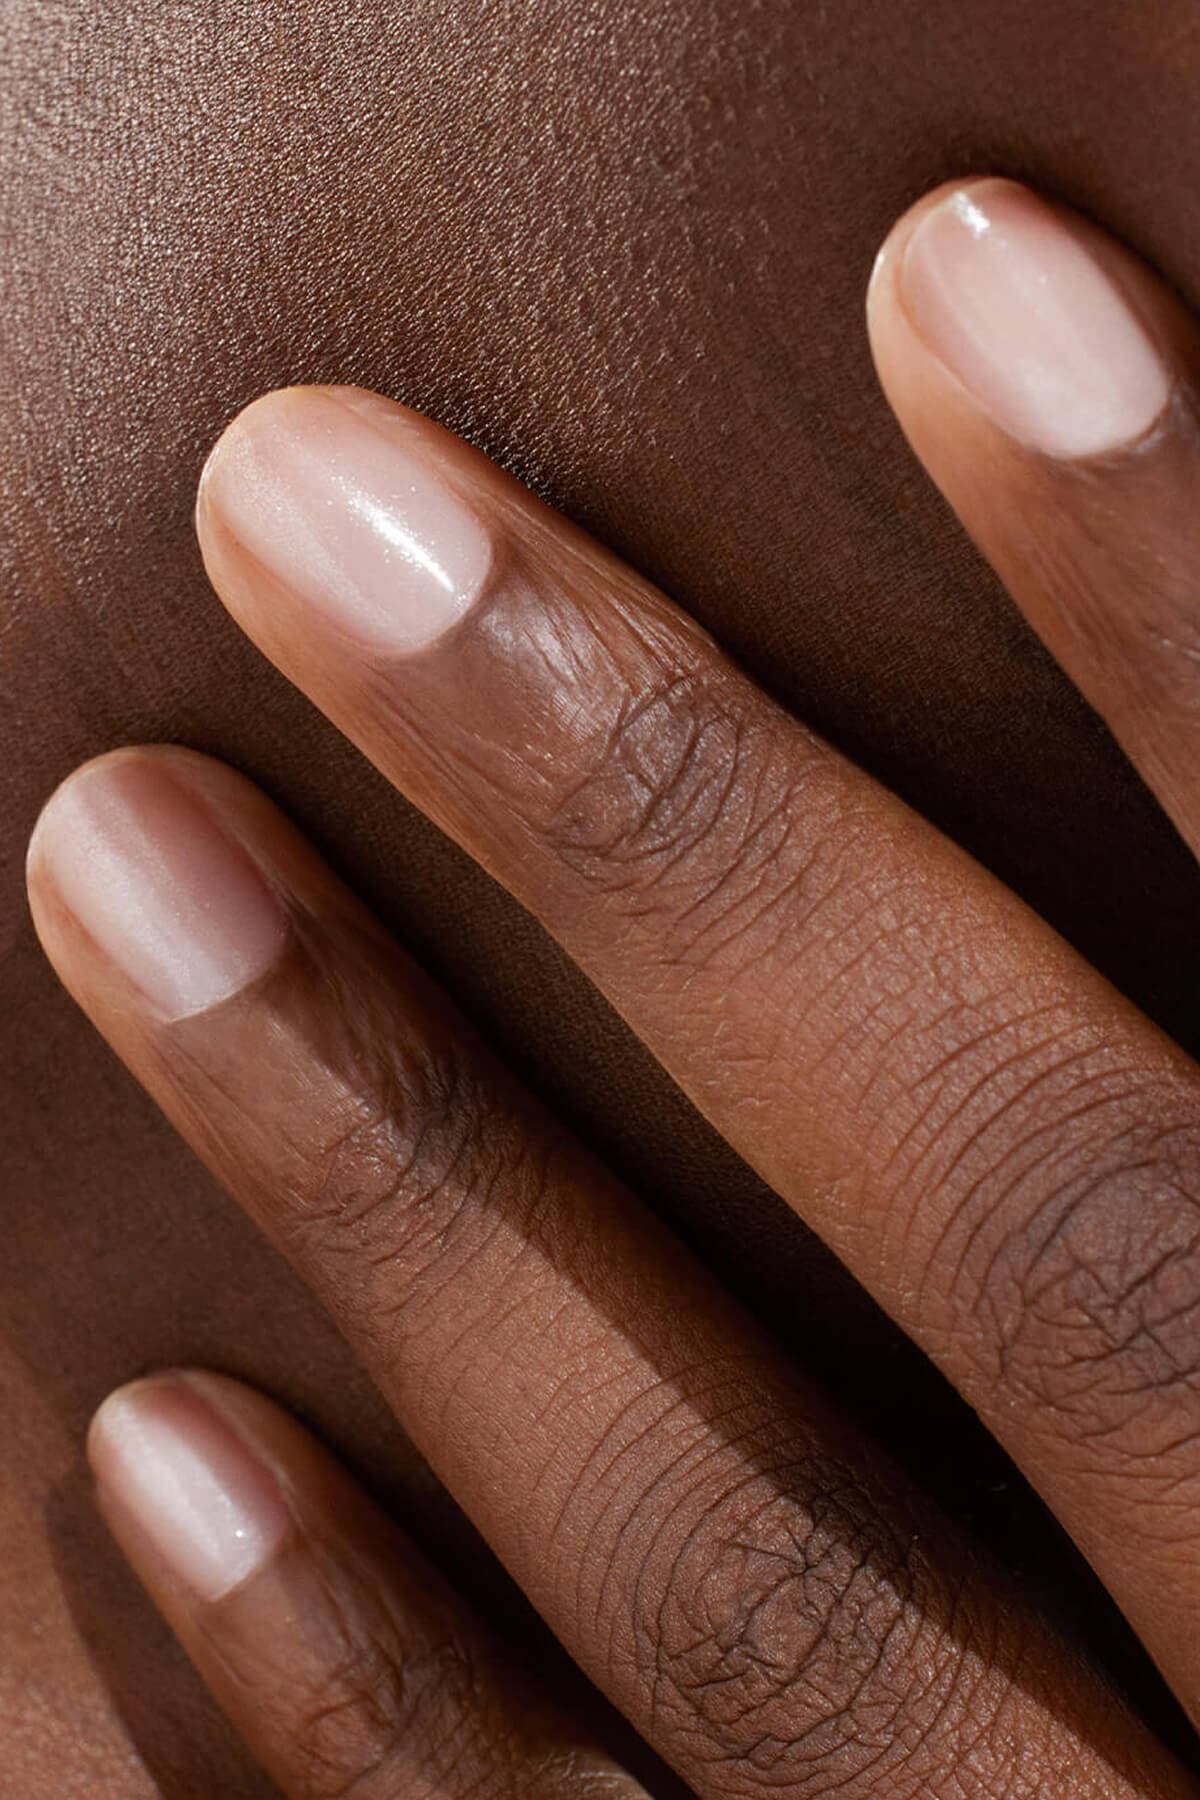


Want a shiny manicure that lasts, without going through an institute? Good news: semi-permanent varnish invites you to the house. Thanks to the New generation formulas and to DIY manicure kits, the coating becomes a step in its own right. beauty routines. So you've been concocted a complete guide to help you apply your varnish like a pro. You can settle down, we'll tell you everything!
To be retained :
- Some semi-permanent varnish formulas allow a shiny and long-lasting manicure without going into institute.
- DIY kits make the installation accessible to all.
- Requires careful nail preparation for a lasting and uniform result.
Why preparation is essential for perfect manicure
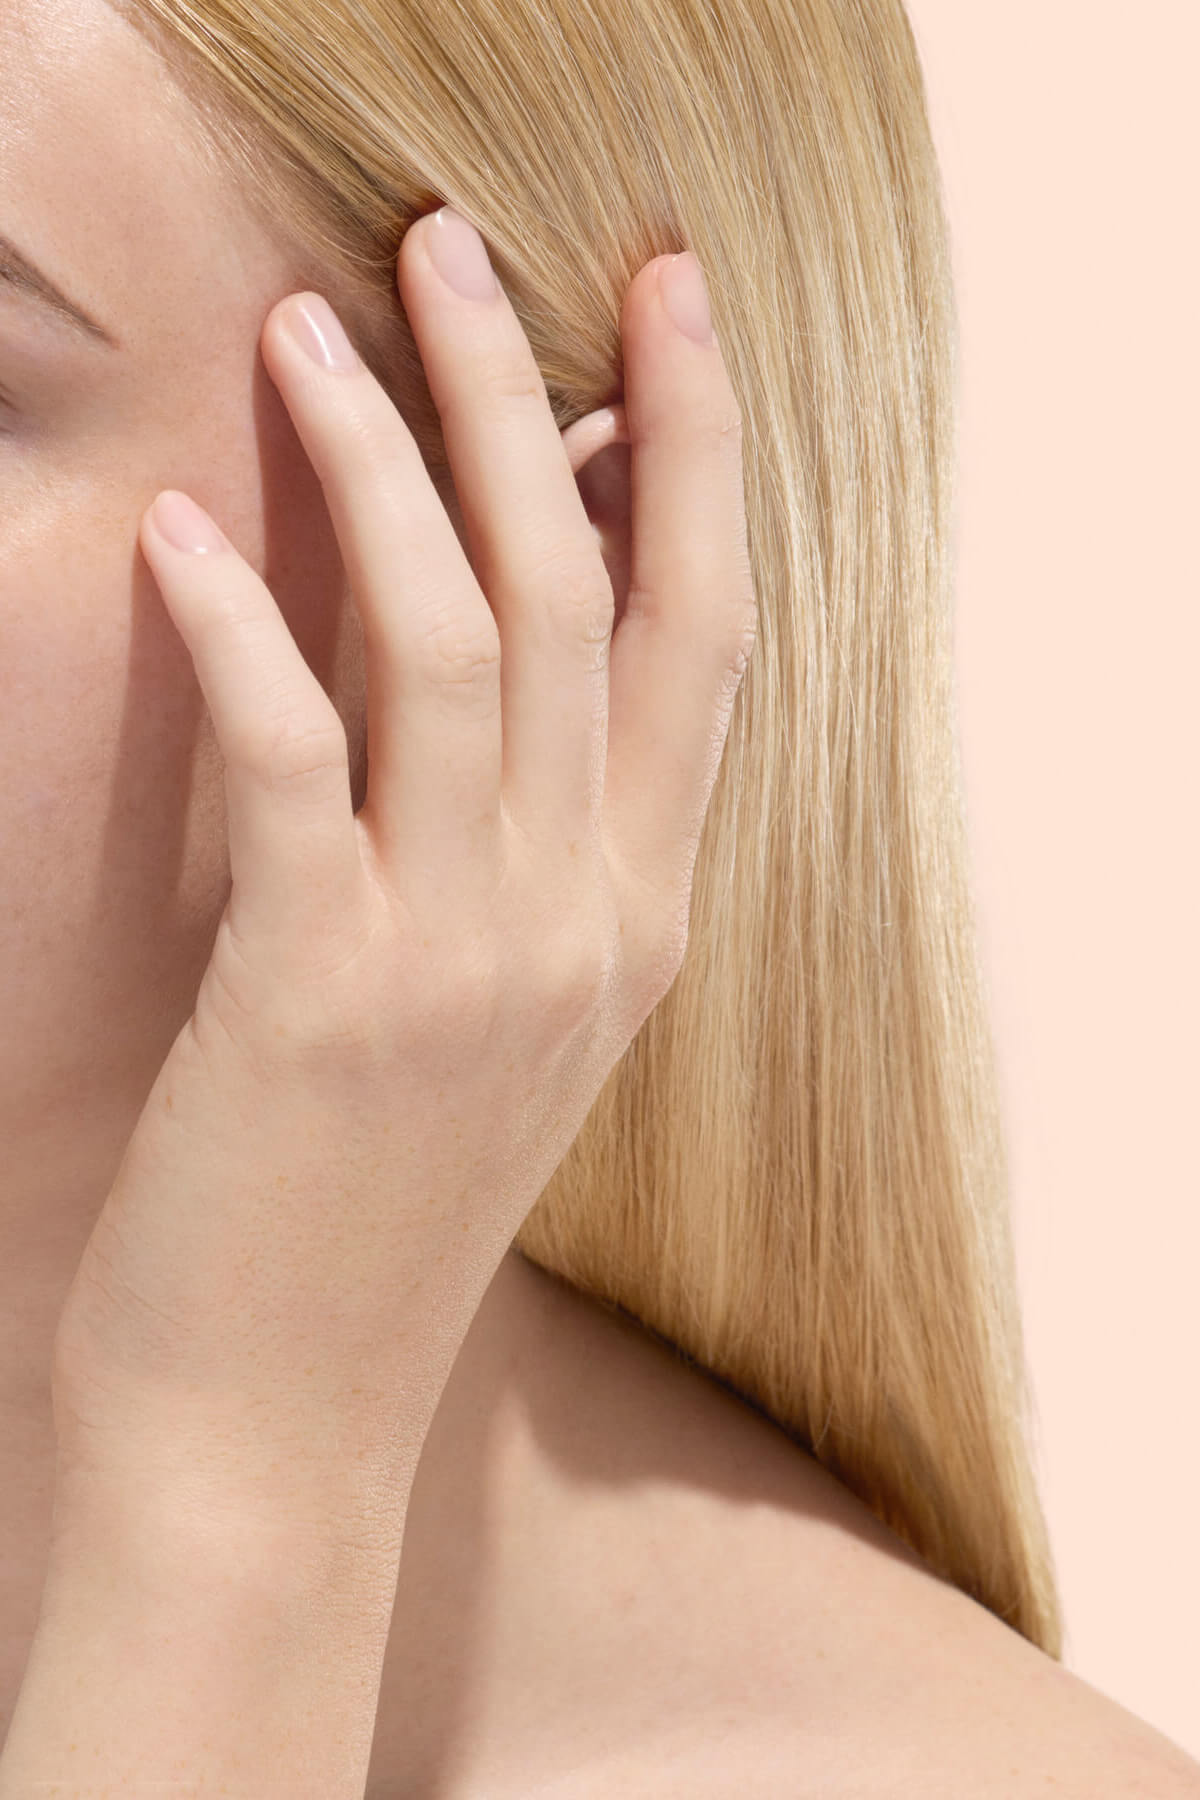
It is never enough to say: a good nail preparation is the secret of an impeccable manicure whatever type of varnish you choose: classic varnish, semi-permanent varnish or fake nails. A little like a well-cleaned and hydrated skin before makeup, well-prepared nails guarantee a uniform result and optimal holding. The main steps are as follows:
Step 1: Line and structure your nails
Start your prep nail by sizing your nails for the shorten and equalize them using a natural nail file. Choose the shape of the nails that suits you best: square, oval or almondYou're the one who chooses. Line the edge of the nail by following a circle arc to shorten the nail and then model the desired shape. What matters is getting a net and regular base.
Step 2: Take care of its cuticles
Continue your prep nail by taking a few minutes to pamper your cuticles. A few drops of emollient for soften the small skins, a cuticle shoot or a box stick for the gently push back and hop, your nails find a net and clean contour. A good thing done that simplifies the laying and avoids the possibility of seeing its varnish scalar after a few days.
Step 3: Clean and degrease your nails
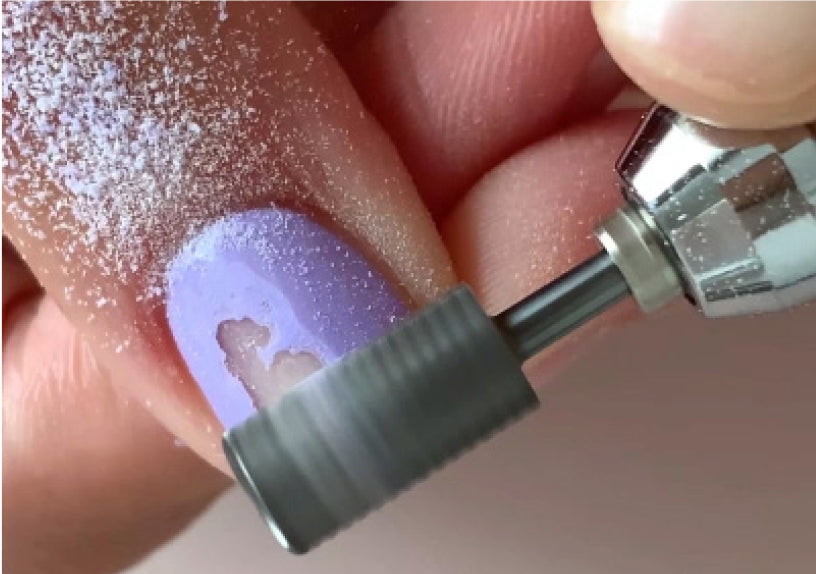
Finally, perform a light nail polishing passing a file on the surface of the nail. This gesture allows to create micro-stripes and open the keratin scales, which will encourageadhesion of the varnish. Then, degrease with a cotton soaked in soft solvent or nail degreaser. L-ongle must be clean, dry, free of oily deposits and dust.

Prepare your nails to perfection with our nail preparation set.
The installation of semi-permanent varnish in 4 layers
1. A basic layer of coat
The base coat serves as the foundation for your manicure. Applied before the varnish, it protects the natural nail and creates a uniform surface area which facilitates the installation of the gel varnish and optimizes its long hold. It shall apply in thin layer to catalyse under UV/LED lamp according to the recommended time.
With the Base Vitamin Coat Green Flash™, you benefit from the KeraHCE+ technology which combines hexanal with vitamins C and E. Thanks to this innovation Manucurist The Vitamin Coat Base strengthens the nails at each pose and creates an antioxidant and anti-dehydration shield. Result: nail is continuously reinforced under the colour and adhesion of the varnish Green Flash™ is increased, with a shine and an intense color that lasts longer. To combine the base, color, top coat and LED lamp, you can start from a semi-permanent varnish kit Green Flash™, thought for a complete pose at home.
2. Two layers of color
Pastel varnish or flamboyant red, no matter the colour, the color must apply in 2 thin layers. Here's how to apply each coat of varnish Green Flash™ :
Take a small quantity varnish at the end of the brush.
Put the nail polish in 3 brush strokes : a passage to the centre of the nail, followed by a passage on each side. It's the secret of a uniform manicure, without air bubbles or thickness, for perfect nails.
Don't forget to catalyze each coat of varnish under UV/LED lamp. Check that the first layer is completely dry before applying the next one to avoid seeing your beautiful friper varnish.
3. A layer of top coat
The top coat is the final touch and life insurance of your manicure! He's got a lot of things to do.
It serves as a finish layer with effect at choice : intense gloss or matte effect, natural finish or curved according to the type of varnish gel chosen.
He sets the color and decorations of nail art.
It improves the resistance of your manicure and protects it against scratches and other everyday incidents.
It extends the life of your manicure.
As with previous layers, apply it in fine layer and catalyze under UV/LED lamp for the time required.
Top Coat Green Flash™ or Top Coat Xtrem Flash™ Which one?
With Green Flash™ , you now have the choice between two top costs, to adapt your manicure to your rhythm of life and your desires. Same base pallet Green Flash™ with all its iconic colors, but two finishes and two different durations. We'll help you see clearly:
👉 Top Coat Green Flash™
It is placed in a thin layer and catalyzes in a few minutes under LED lamp. With the Top Coat Green Flash™ , you get a clean and shiny manicure, one natural that remains impeccable up to 12 days. An ideal choice if you like to change color often or if you are looking for an easy to put and remove manicure solution.
👉 Top Coat Xtrem Flash™
Top Coat Xtrem Flash™ It also has a thin layer but its texture is denser than the classic top coat requires some precautions:
Applying, think about it wipe your brush on the edge of the vial to avoid taking too much material that could overflow the cuticles. In case of overflow, remove excess material with a box stick before catalyzing under LED lamp.
Dry each handWithout the thumb flat 1 minute under LED lamp. Catalyze the thumb apart 1 minute under the LED lamp by placing it flat to prevent the varnish from pouring on the sides.
Follow the routine Xtrem Flash™ video with @nenapleasenails.
With the Top Coat Xtrem Flash™ , you get the intense shine and the curved effect a manicure with a gel varnish and a extra long, up to 21 days. Withdrawal is made without acetone or sanding, in peel-off with a little soft solvent. In short, the best option when you want a long-lasting manicure, glowy at will, without having to sacrifice your nails at the time of withdrawal.
Maintain and protect nails after manicure
A nice manicure, it's a good one! Once finished, take care of it.
Once the installation is complete and the top coat is dry, apply a oil for cuticles such as Green Oil to feed nails and cuticles. Renew this treatment every day, as long as your semi-permanent manicure lasts.
Massage your nails with a moisturizing treatment such as the Serum Complete to maintain their flexibility. Its exclusive formula based on water and enriched with vegetable glycerin, panthenol and chestnut extracts, hydrates and regenerates the nail in depth.

Moisturized and nourished nails, this is the secret of a long-lasting manicure.
To summarize :
- Prepare nails : sift, repel cuticles, depolishing and degreasing.
- Base coat + 2 layers of color + top coat: put in a thin layer and catalyze under lamp LED/UV.
- Catalyser each layer the time it takes to avoid bubbles or friping.
- Maintain after installation: oil for cuticles and moisturizing treatment to prolong the holding.
How to remove the semi-permanent varnish gently?
Today, the removal of semi-permanent varnish is no longer necessarily synonymous with aggressive sanding and damaged nails. The new bio-based varnishes are formulated so that they can be deposited smoothly and without damage to your nails. This is how it goes with Green Flash™ :
Step 1: Prepare the material
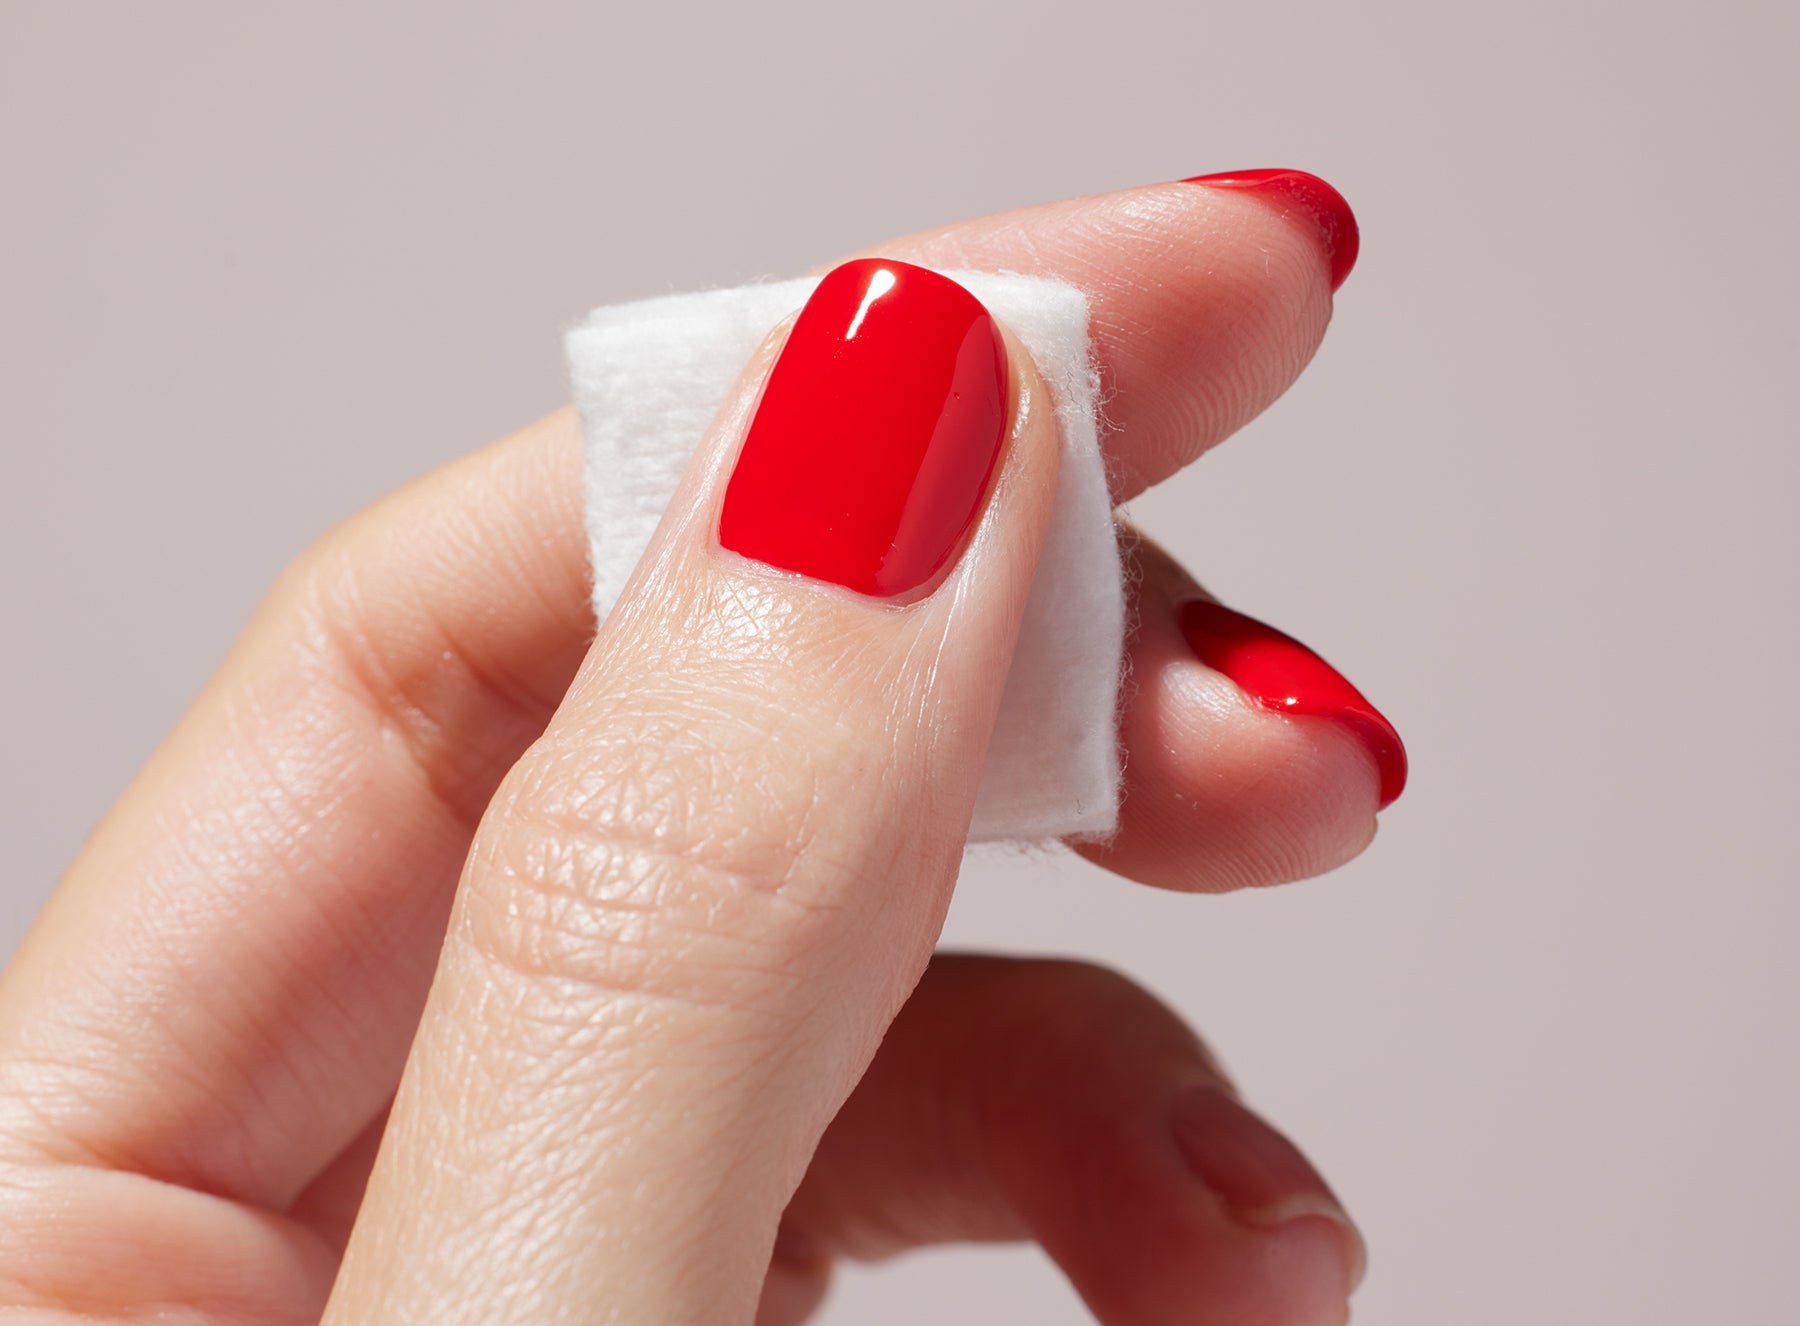
Prepare a 10 squares of cotton cellulose or cotton makeup removers adapted to the size of your nails. Avoid bulk cotton or ball that tends to siftilocher and hang the varnish. Generously soak each cotton remover with the Sweet solvent without acetone Green Flash™, designed to allow a quick and efficient removal of the Green Flash™ varnish, without drying the nail thanks to its formula enriched with castor oil.
Step 2: soften the varnish with a soft method
Put a cotton remover directly on each nail and attach it with a special pull-off clip to keep the solvent in contact with the varnish. If you do not have drop clips, form aluminum papillots around each nail.
Important : respect the recommended installation time according to the chosen routine. With a Green Flash™ varnish, this time depends on the top coat you have chosen:
- with the Top Coat Green Flash™ , the varnish layer takes off in 1 to 2 minutes only.
- with the Top Coat Xrem FlashTM, count about 10 minutes to remove the varnish.

Just a few minutes to remove your Green Flash™ varnish in peel-off.
Step 3: Remove the varnish gently
Remove clamps, or aluminum papillottes, and cottons to discover the result. The incomparable asset of the Green Flash™ routine is the peel-off withdrawal : under the action of the solvent, the varnish layer rises in a blink of an eye without leaving any residue.
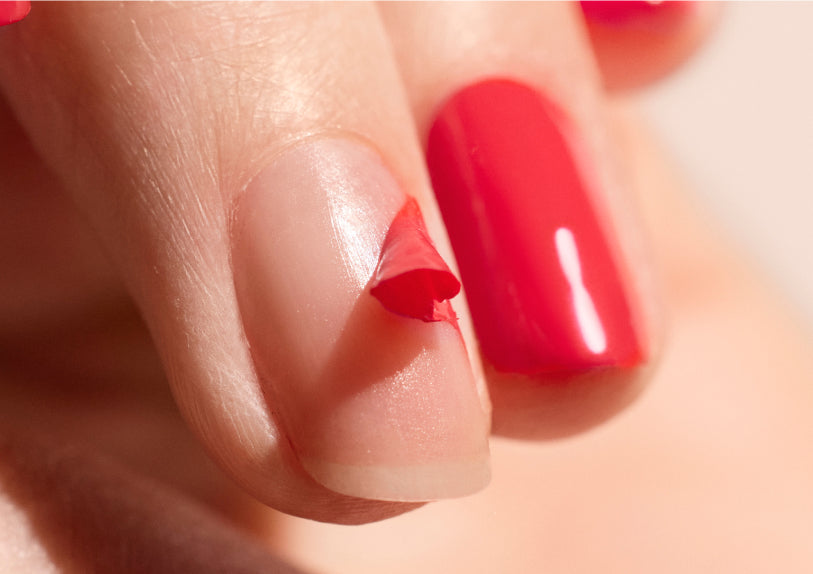
If the varnish is resistant in a place (inadequate or not properly applied), lift the residue with a box stick without forcing. If necessary, re-slip a cotton soaked in solvent onto the nail for a few moments.
With the right semi-permanent products, accessible manicure techniques and a little training, you can get a look worthy of professional manicure. In version Green Flash™ or Xtrem Flash™ , the routine Manucurist allows you to enjoy a 100% pleasure beauty break, with the key, satisfaction of a resistant and shiny manicure as never before and a gentle removal that does not weaken your nails. We love it!