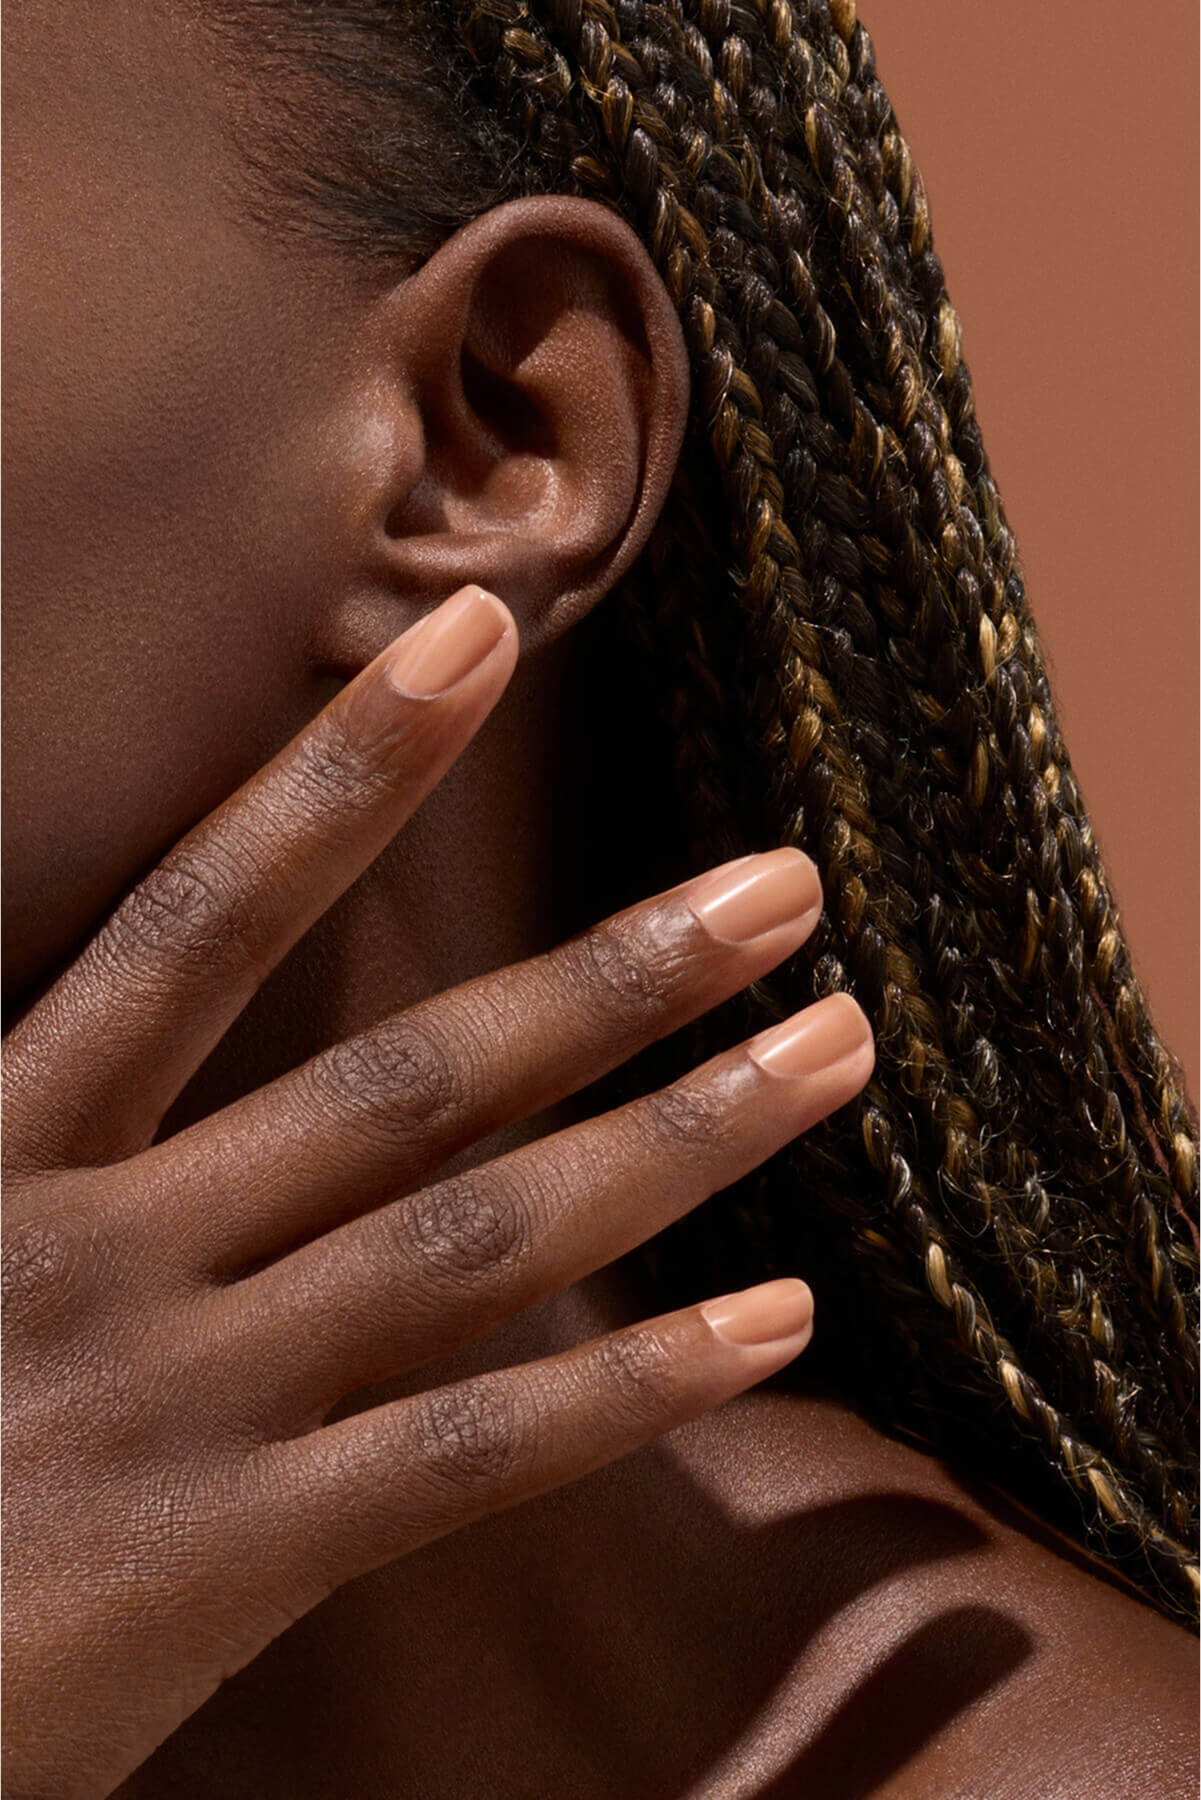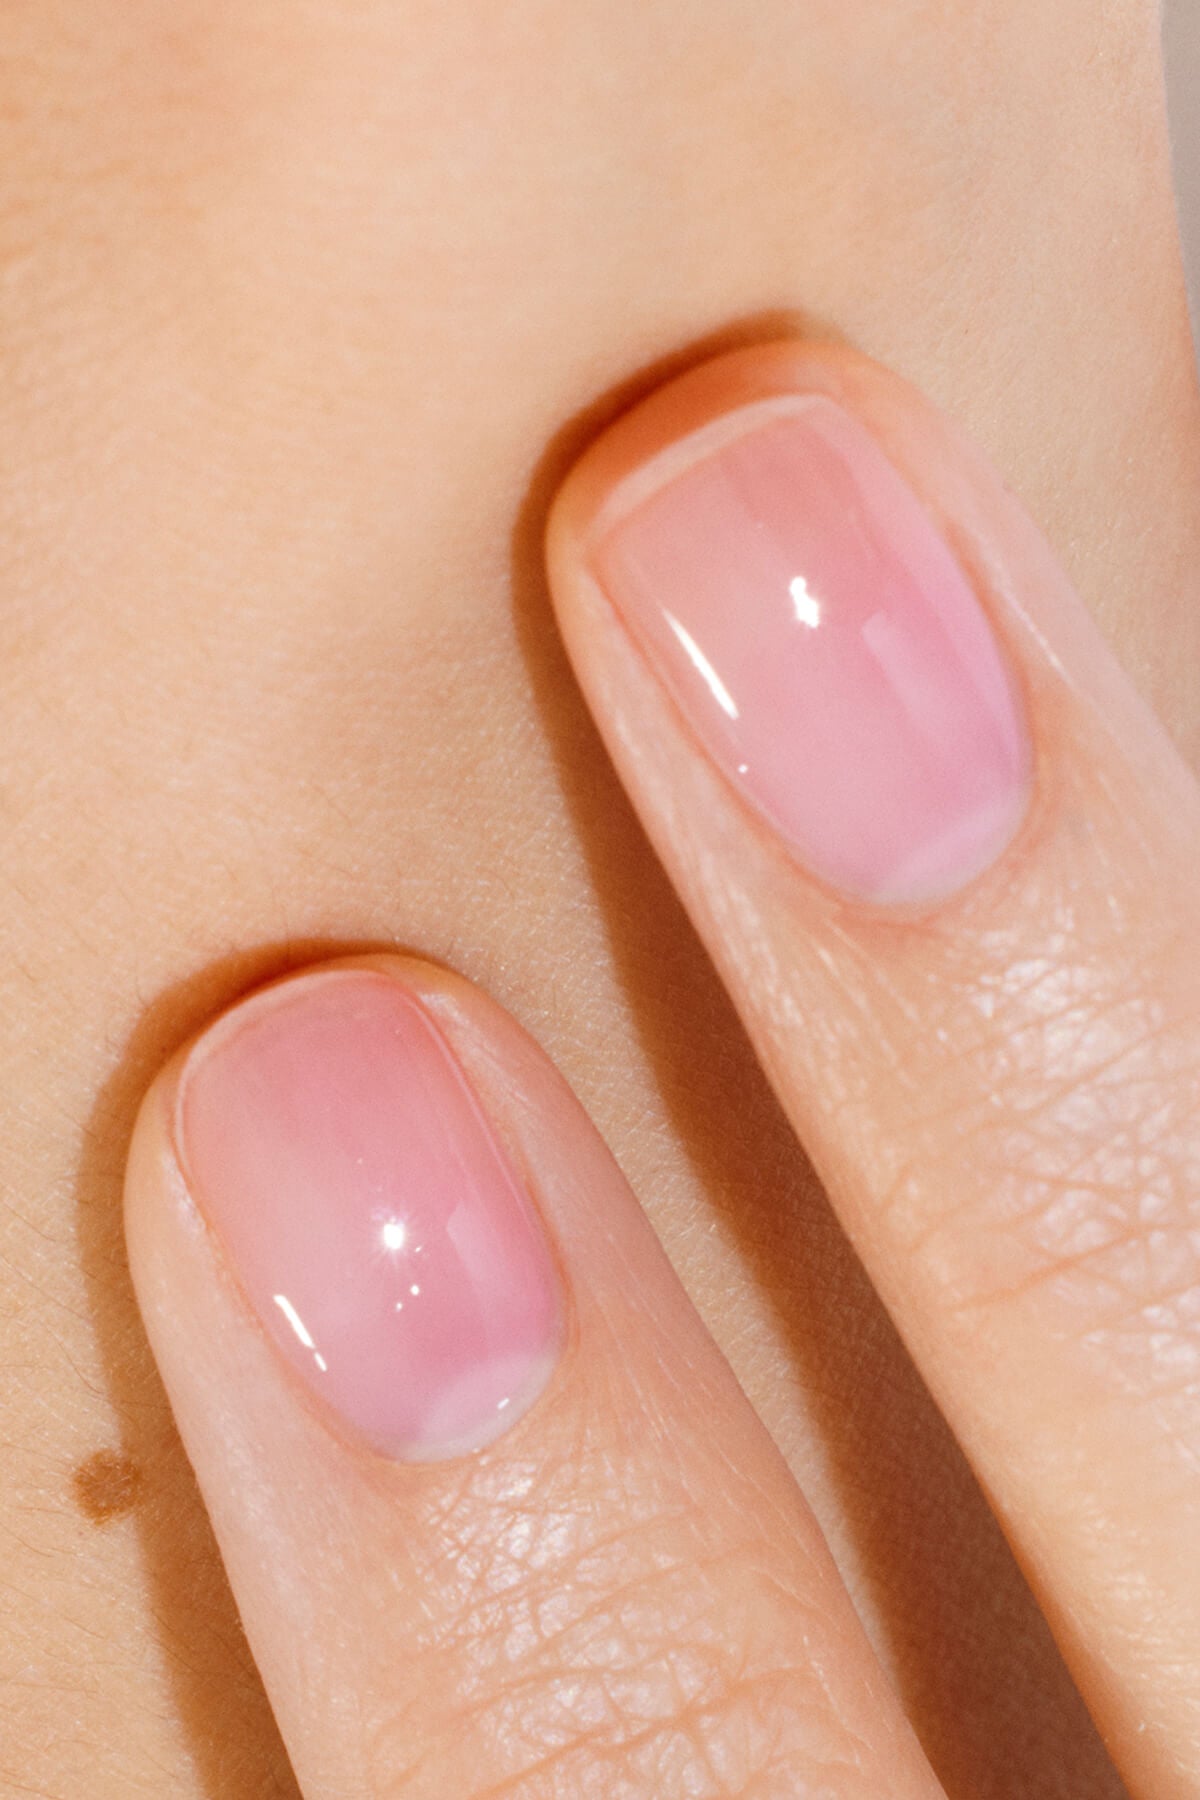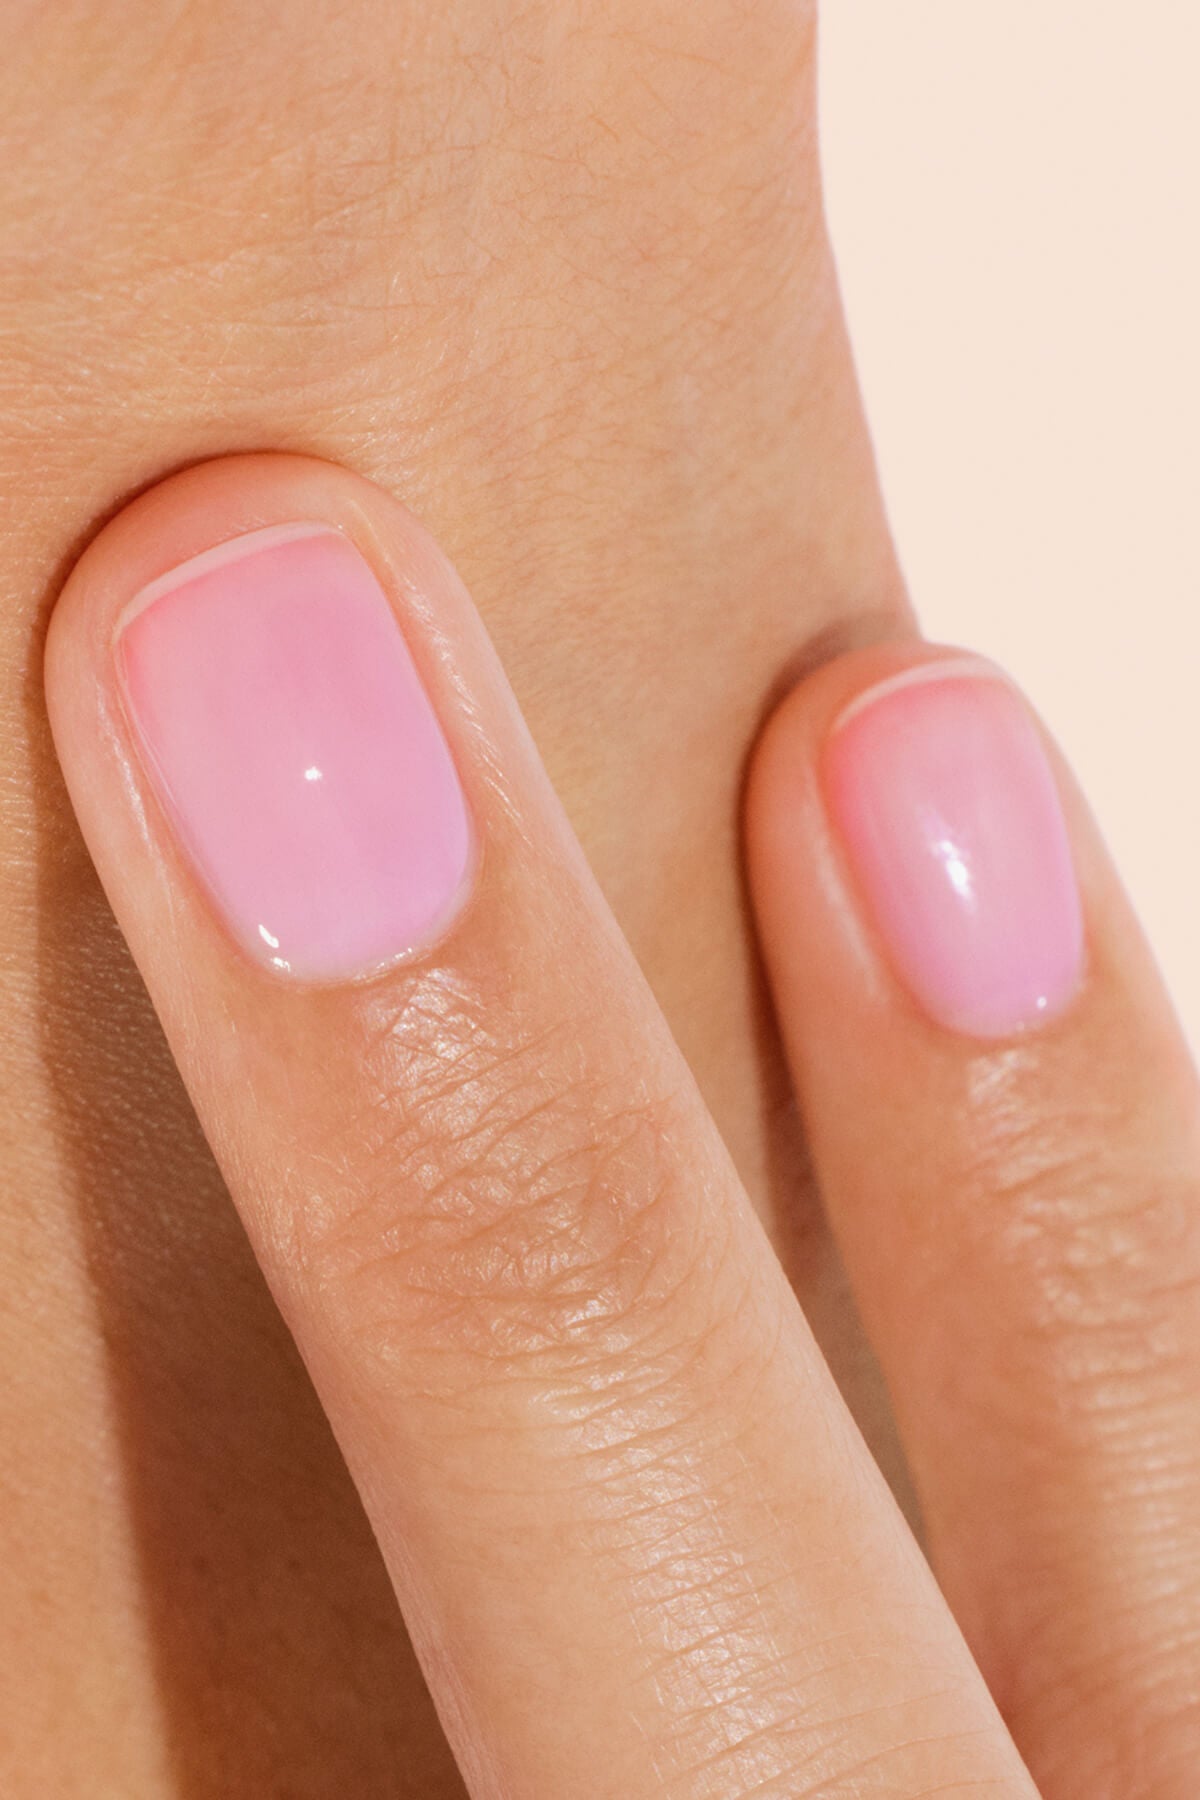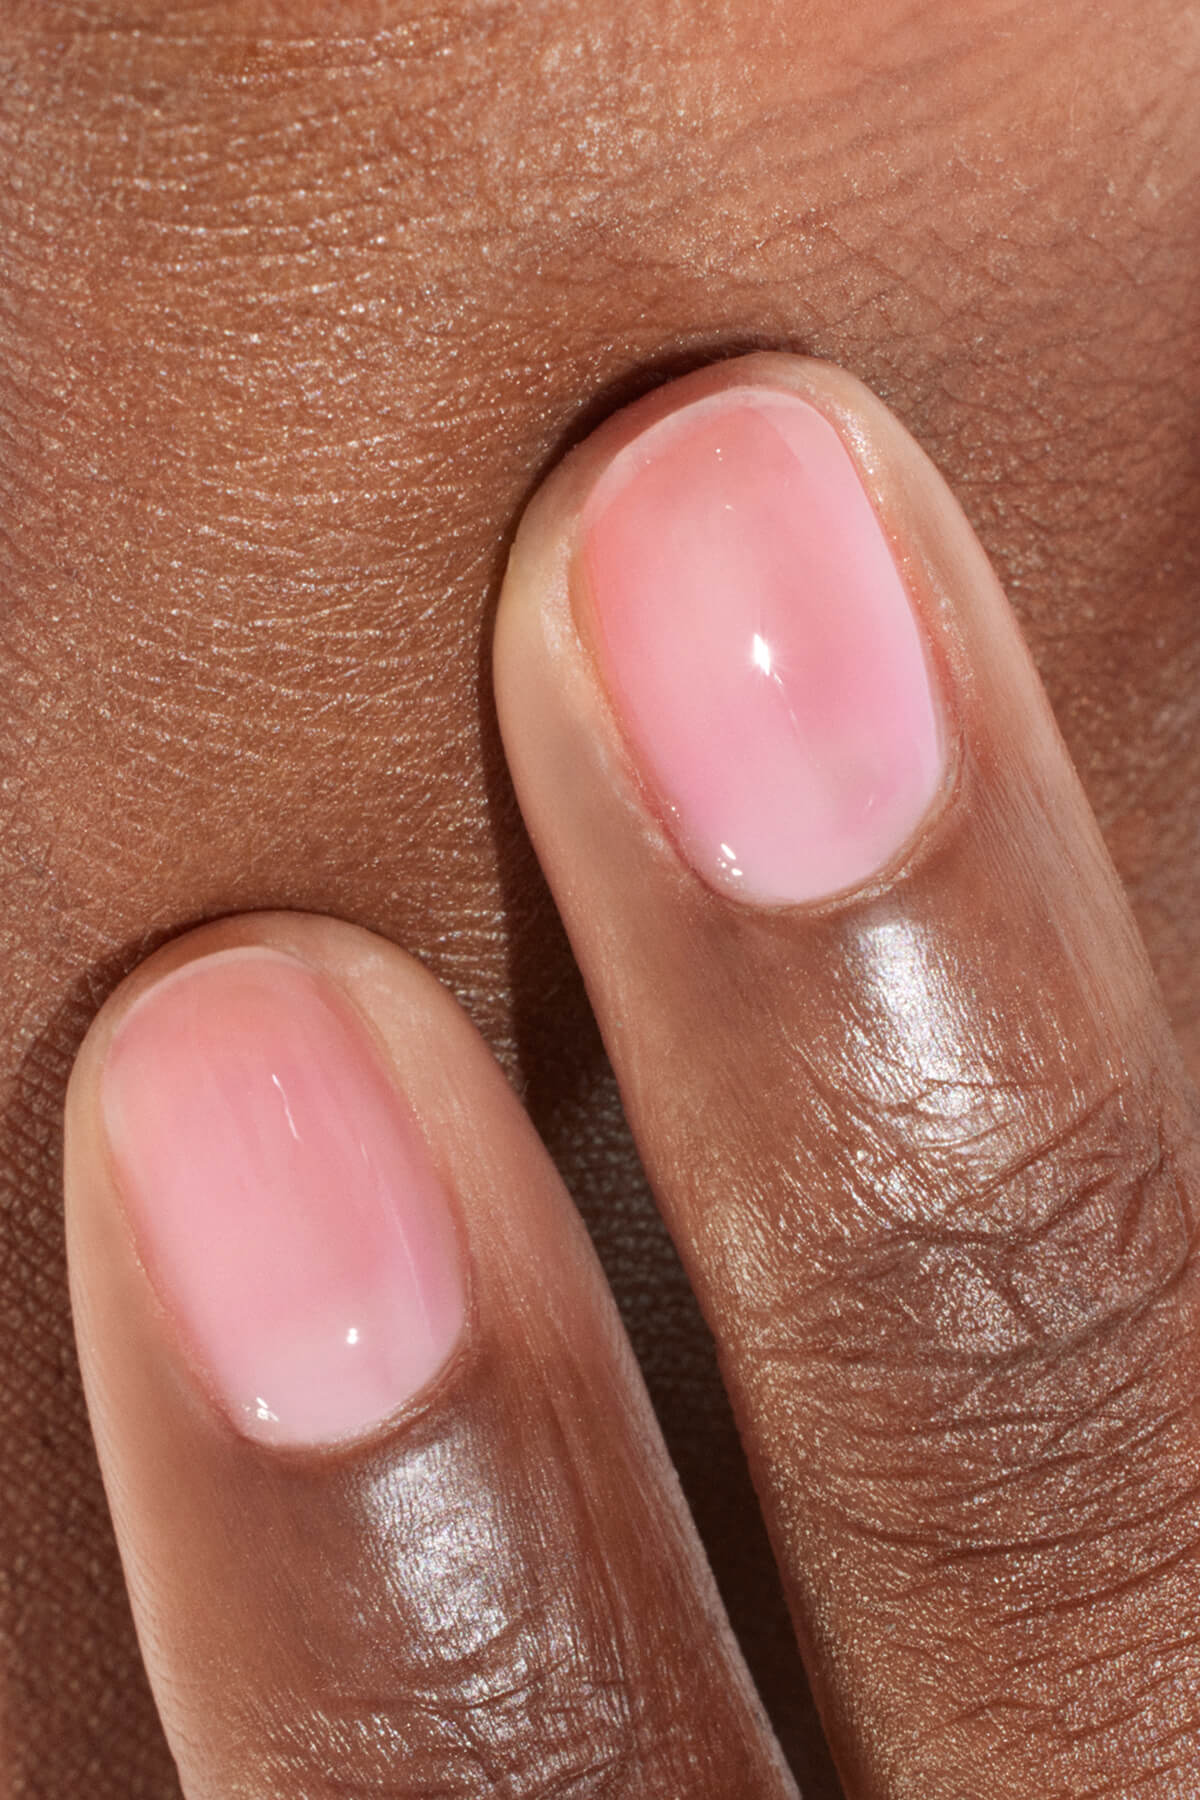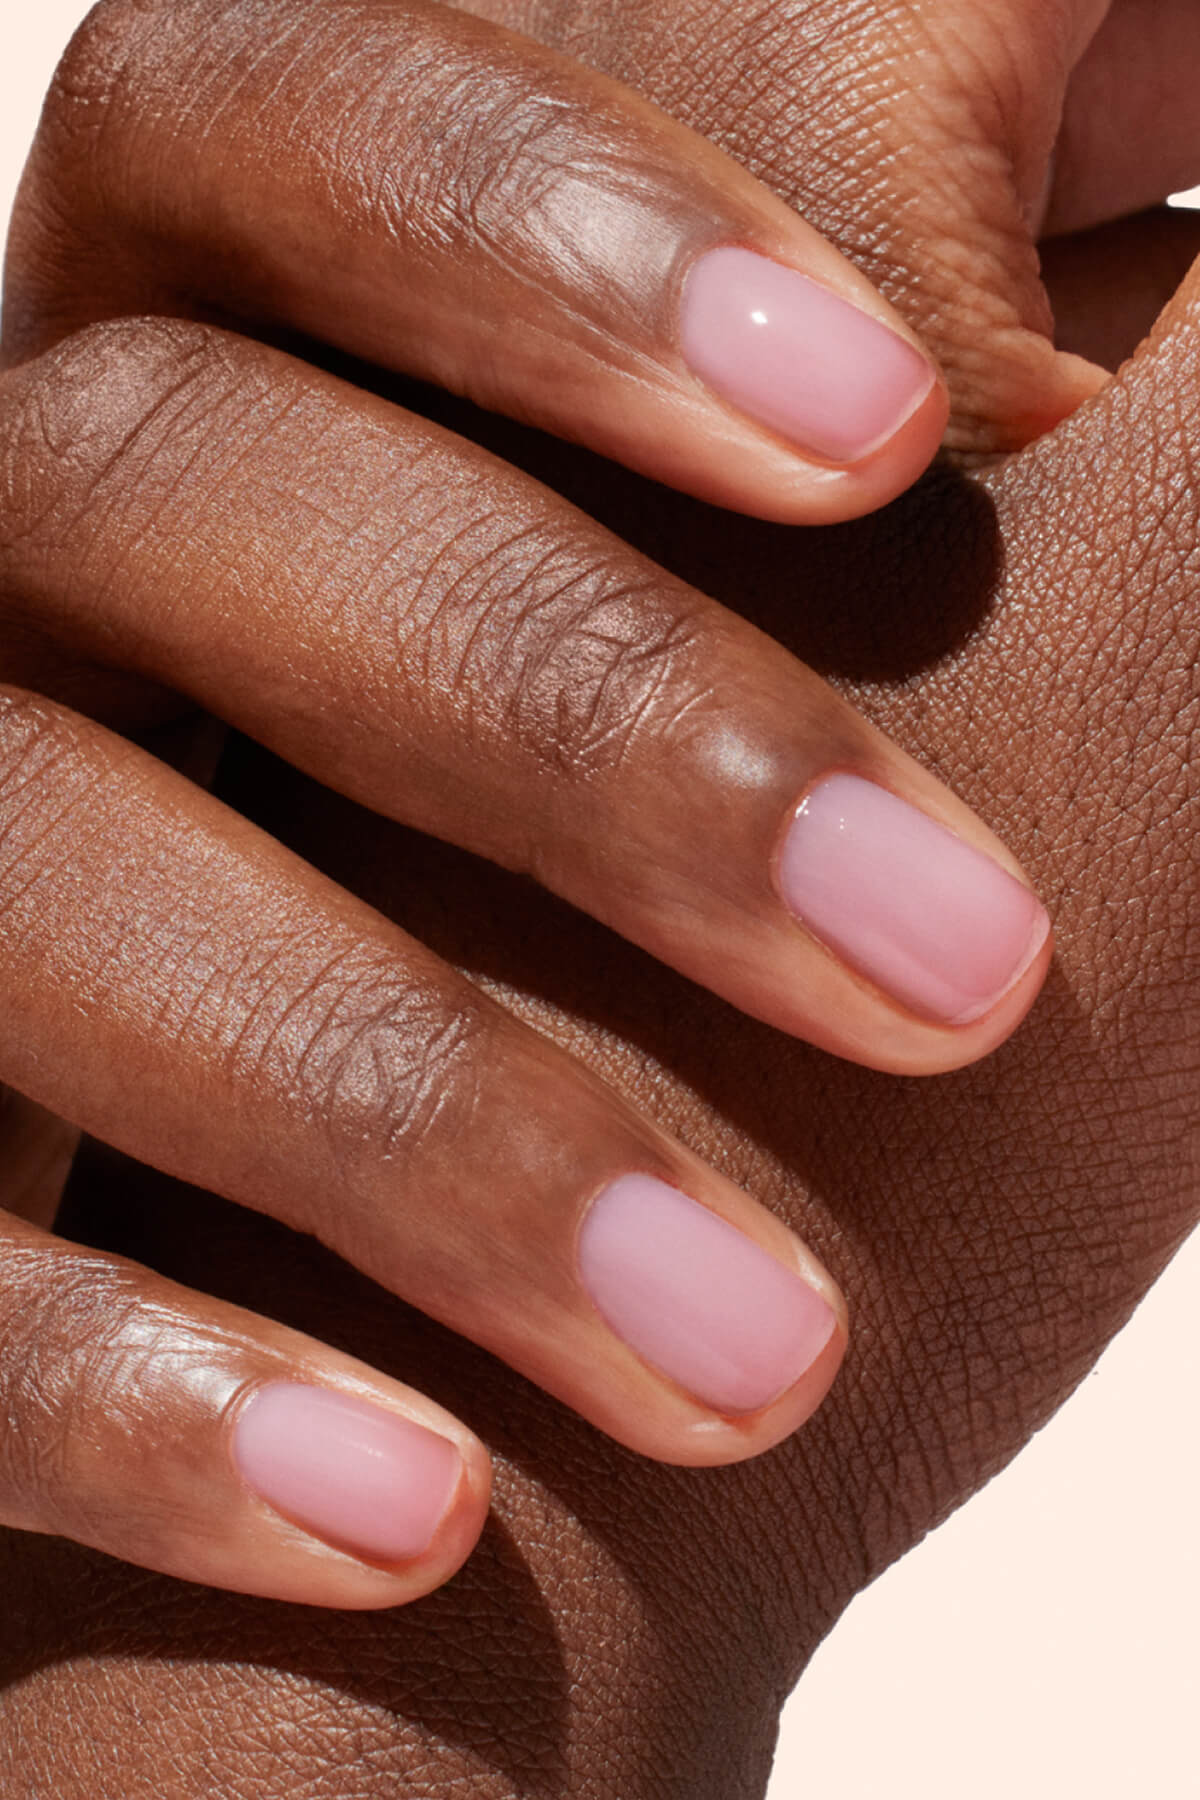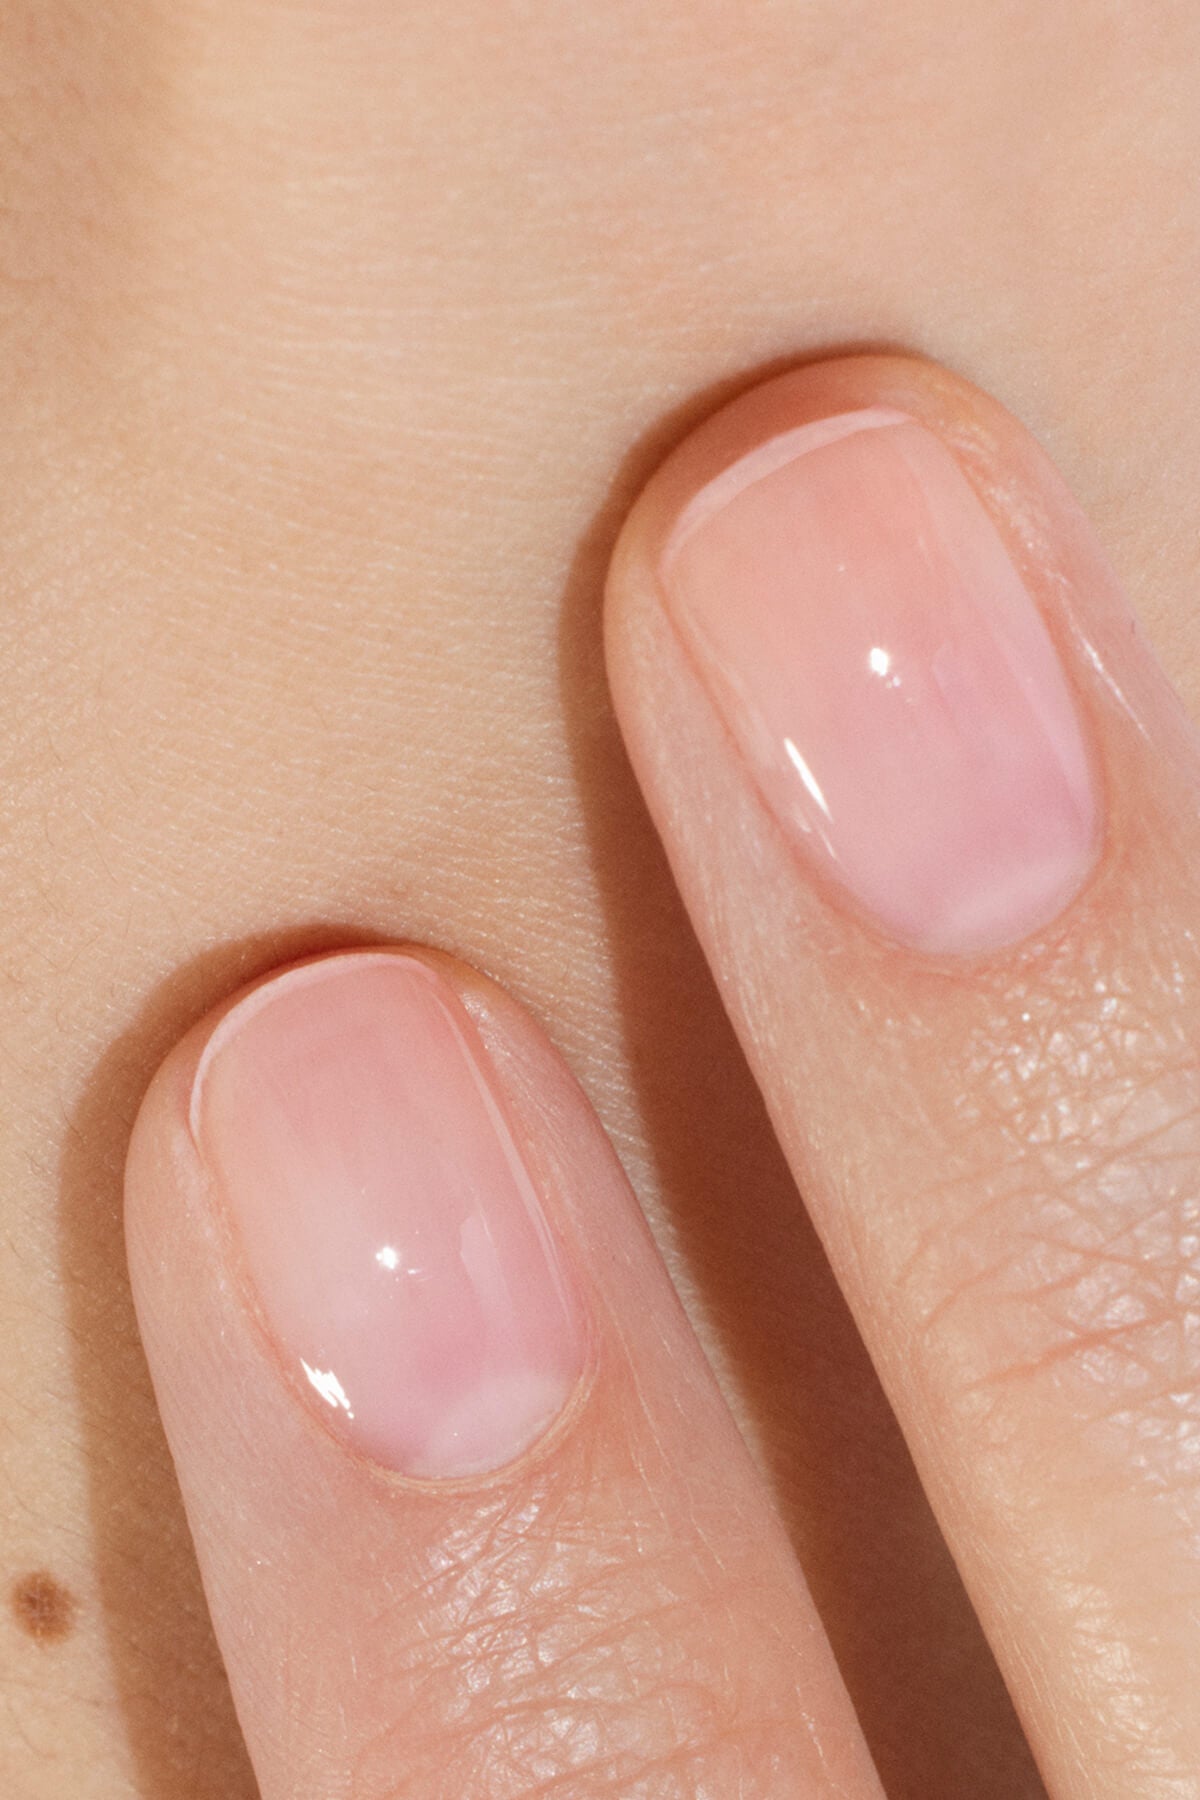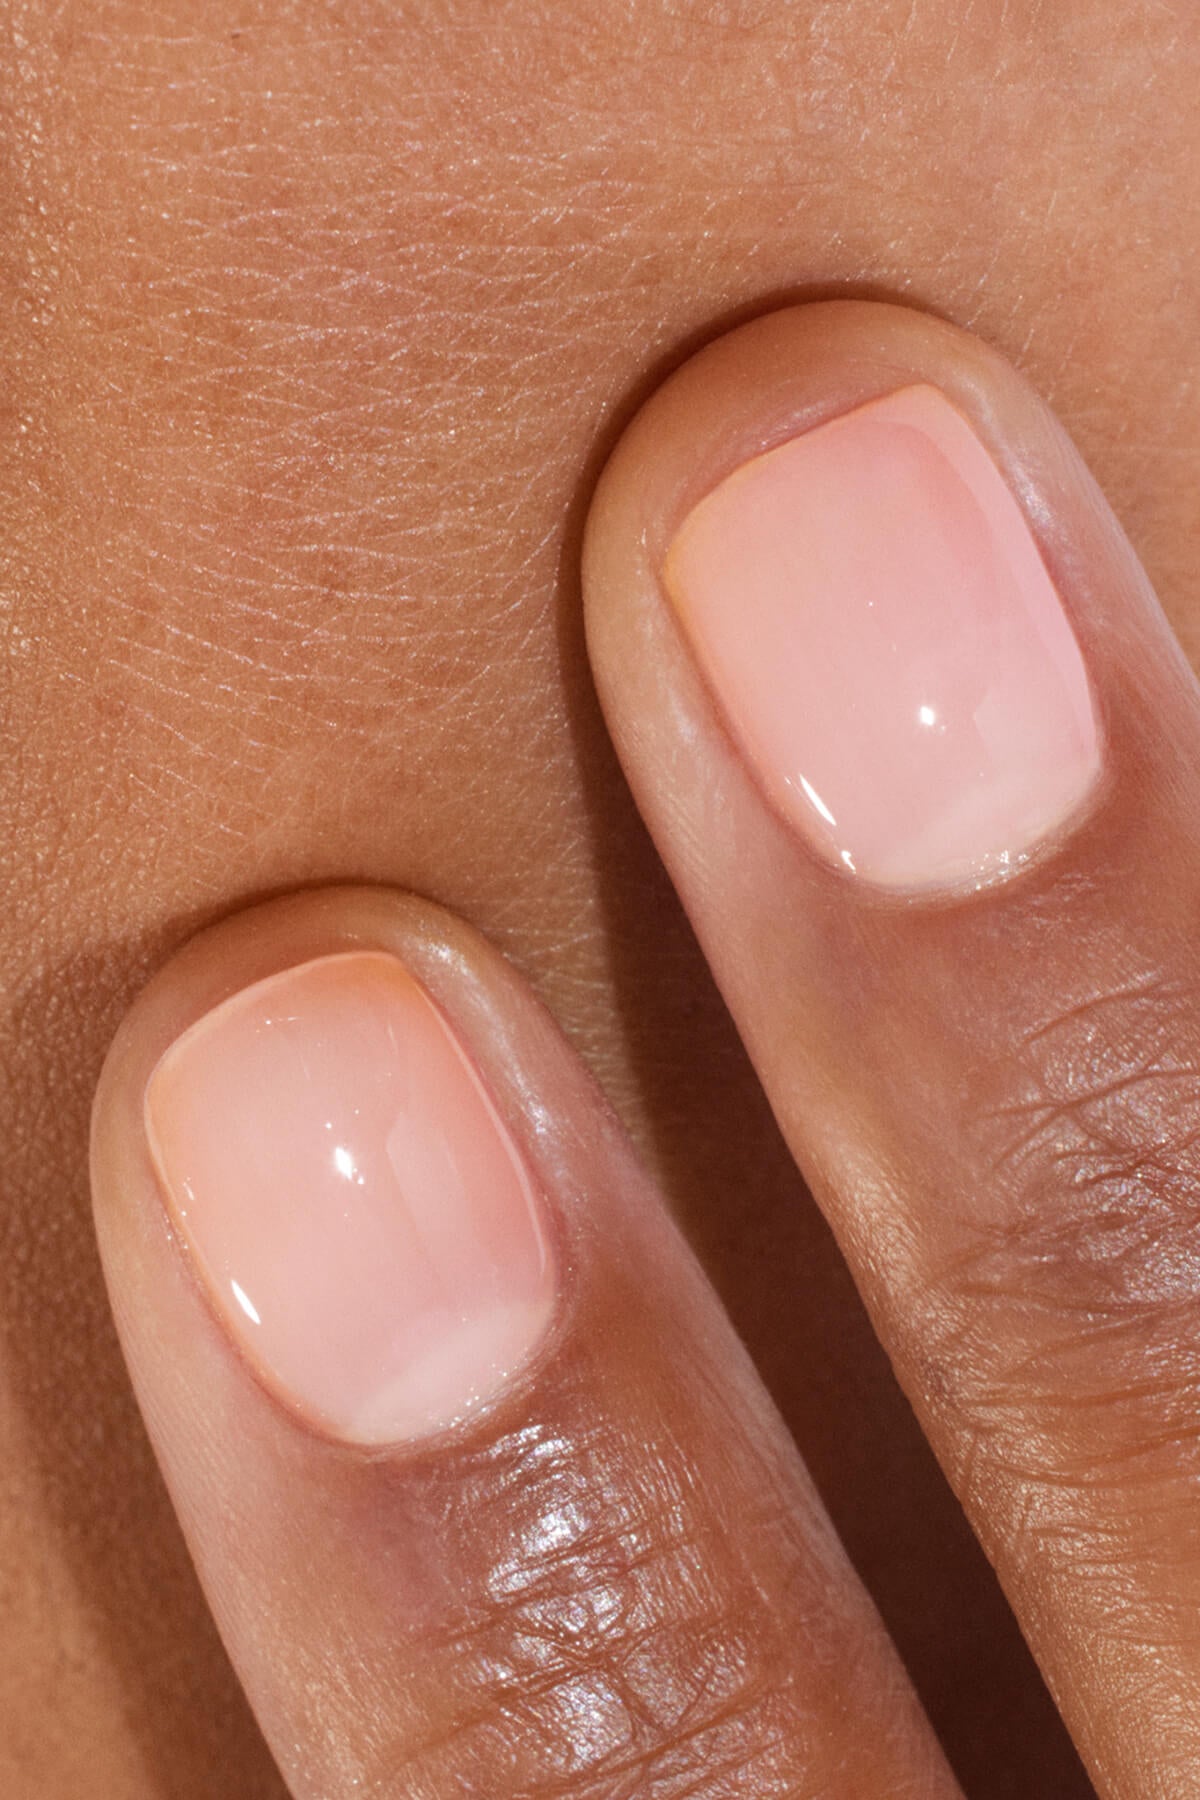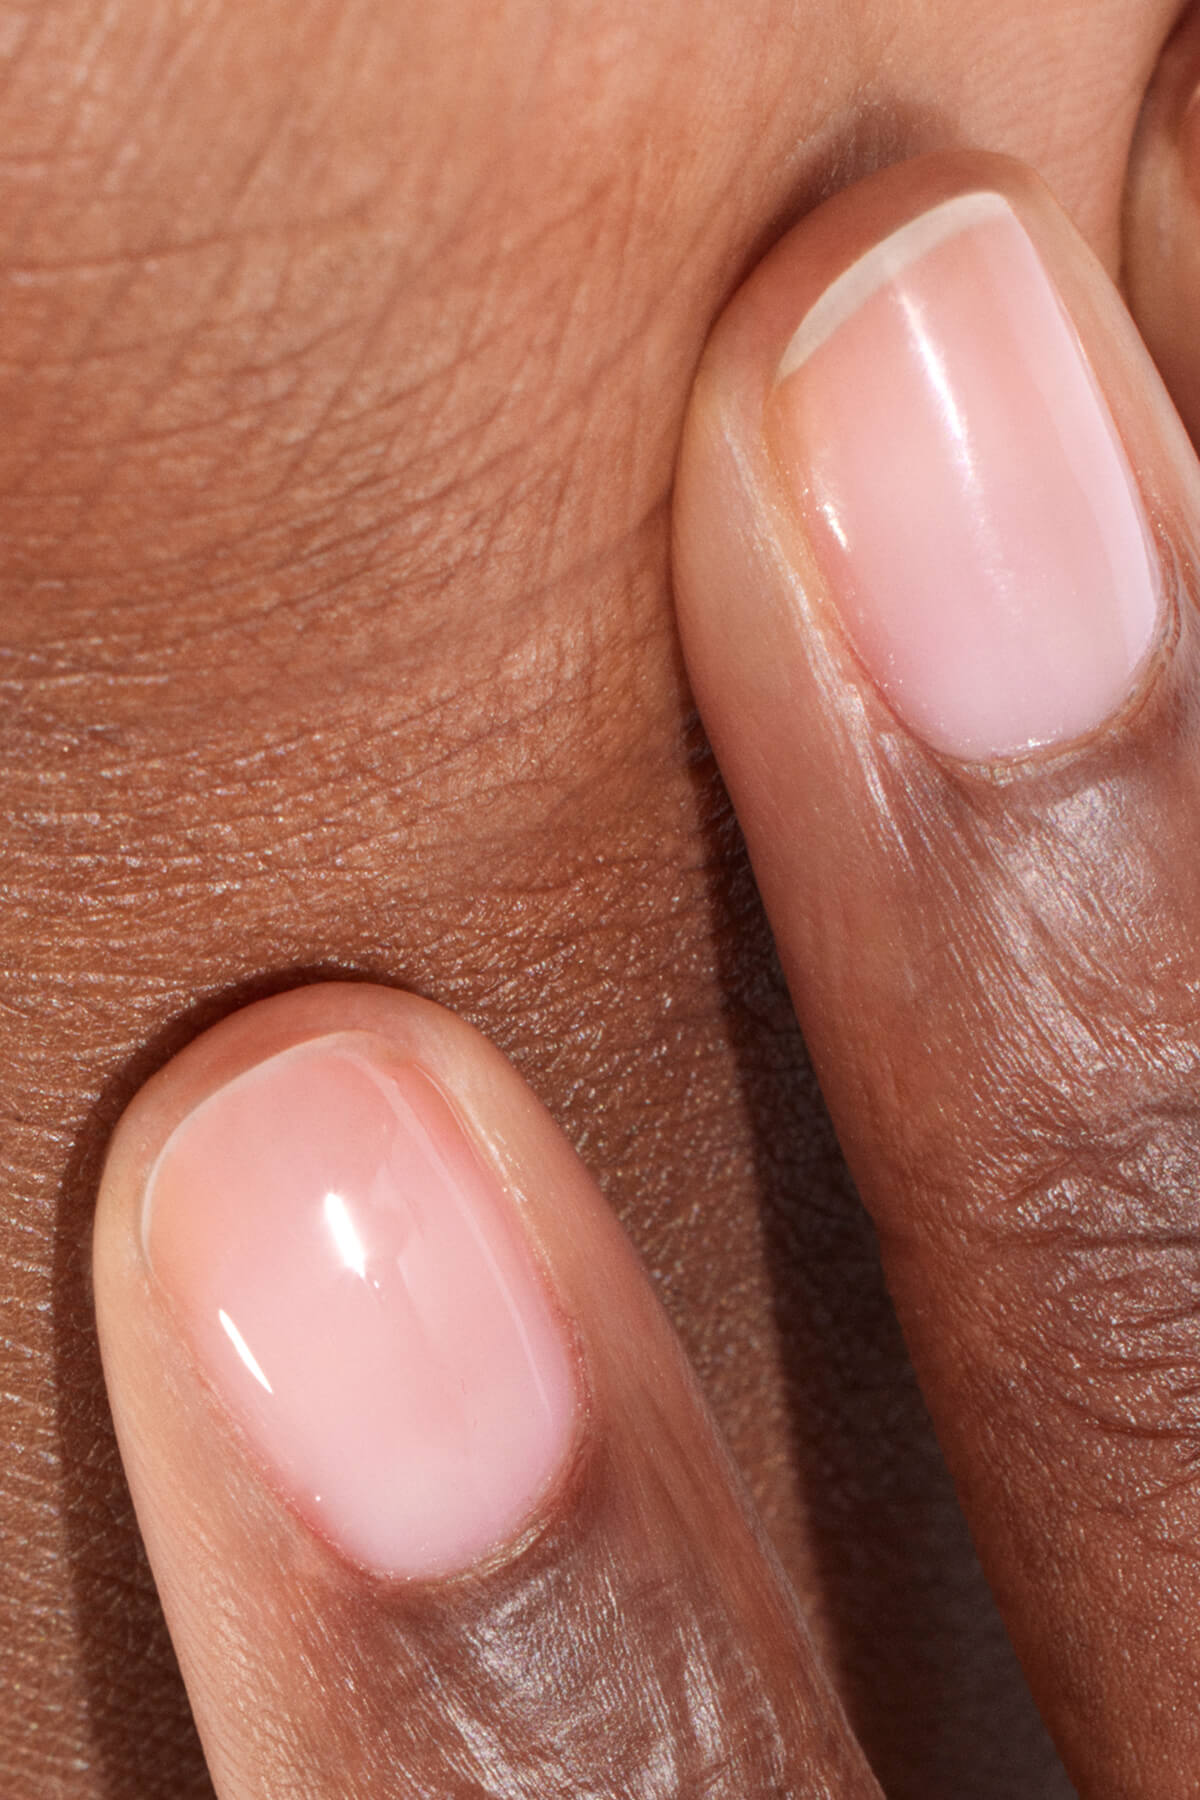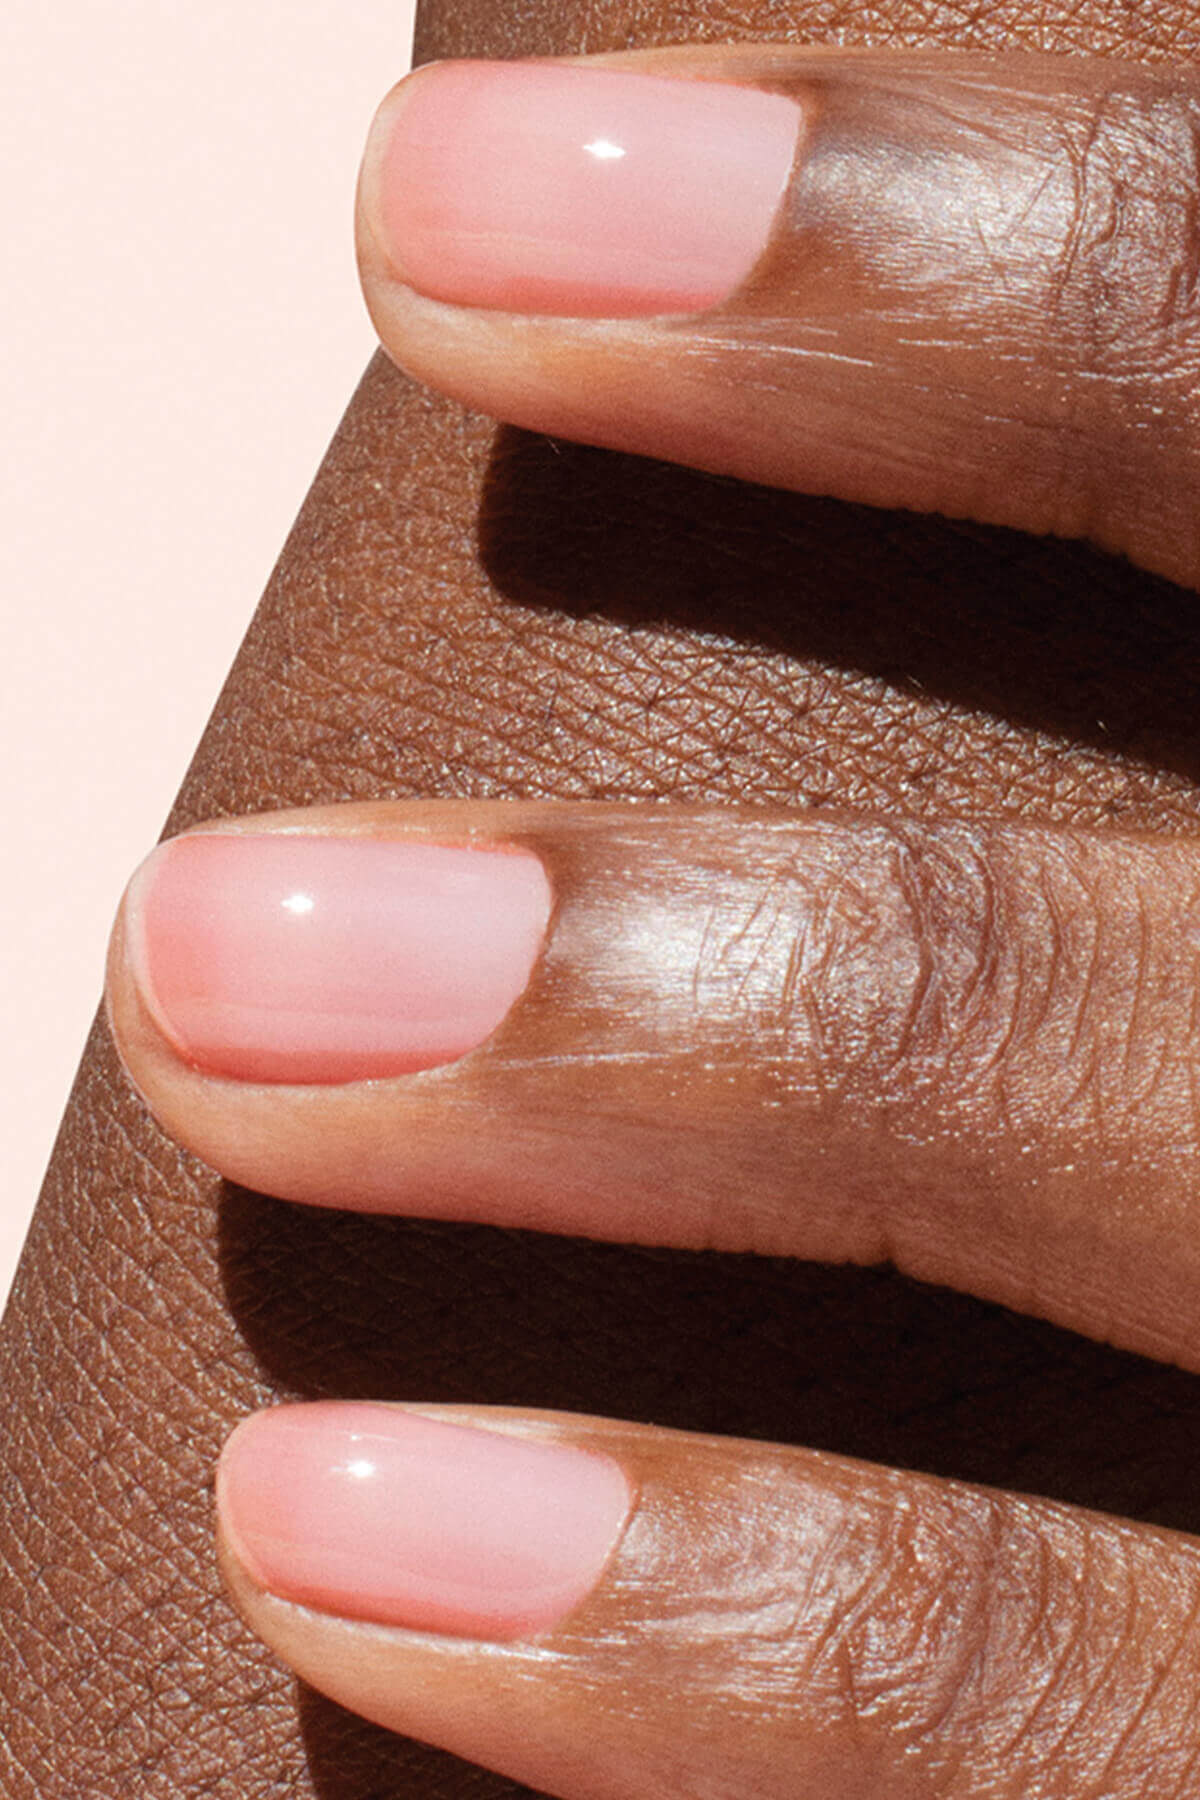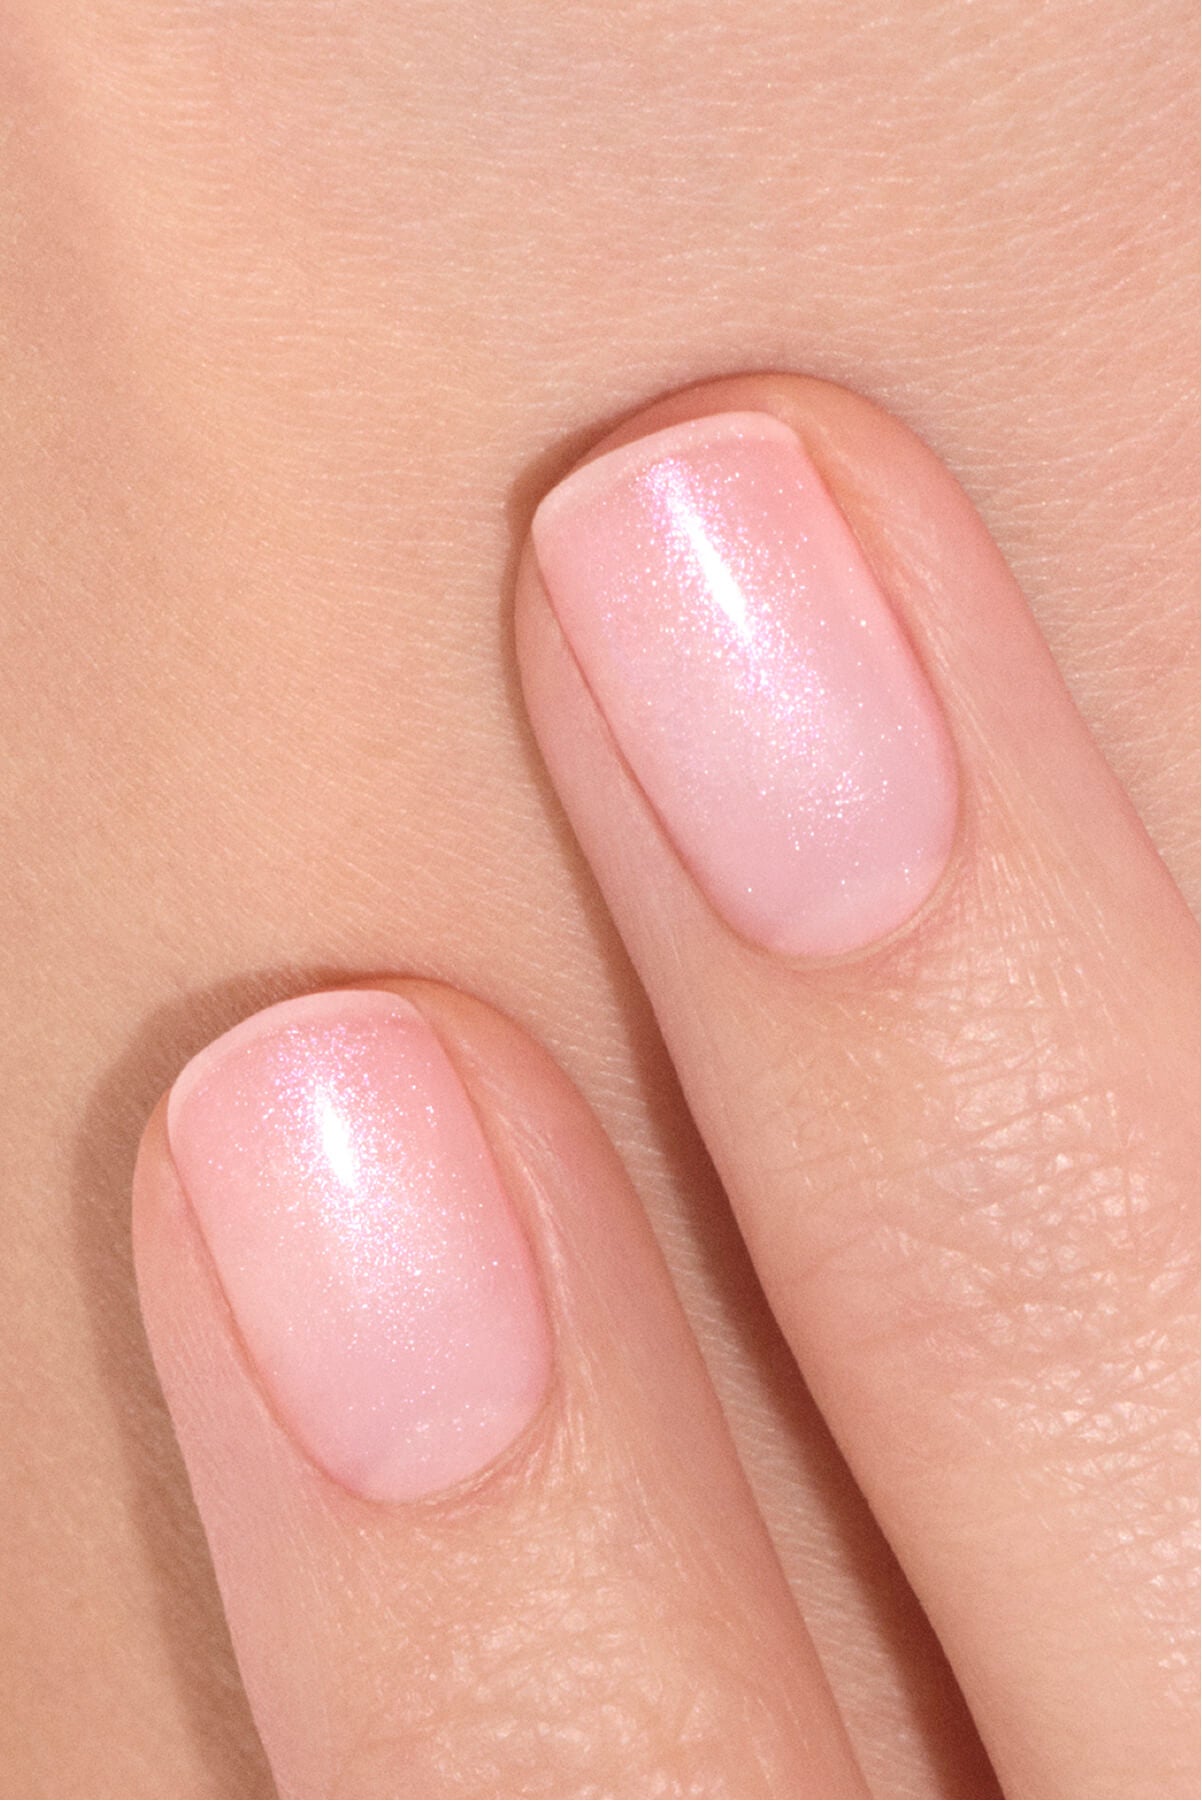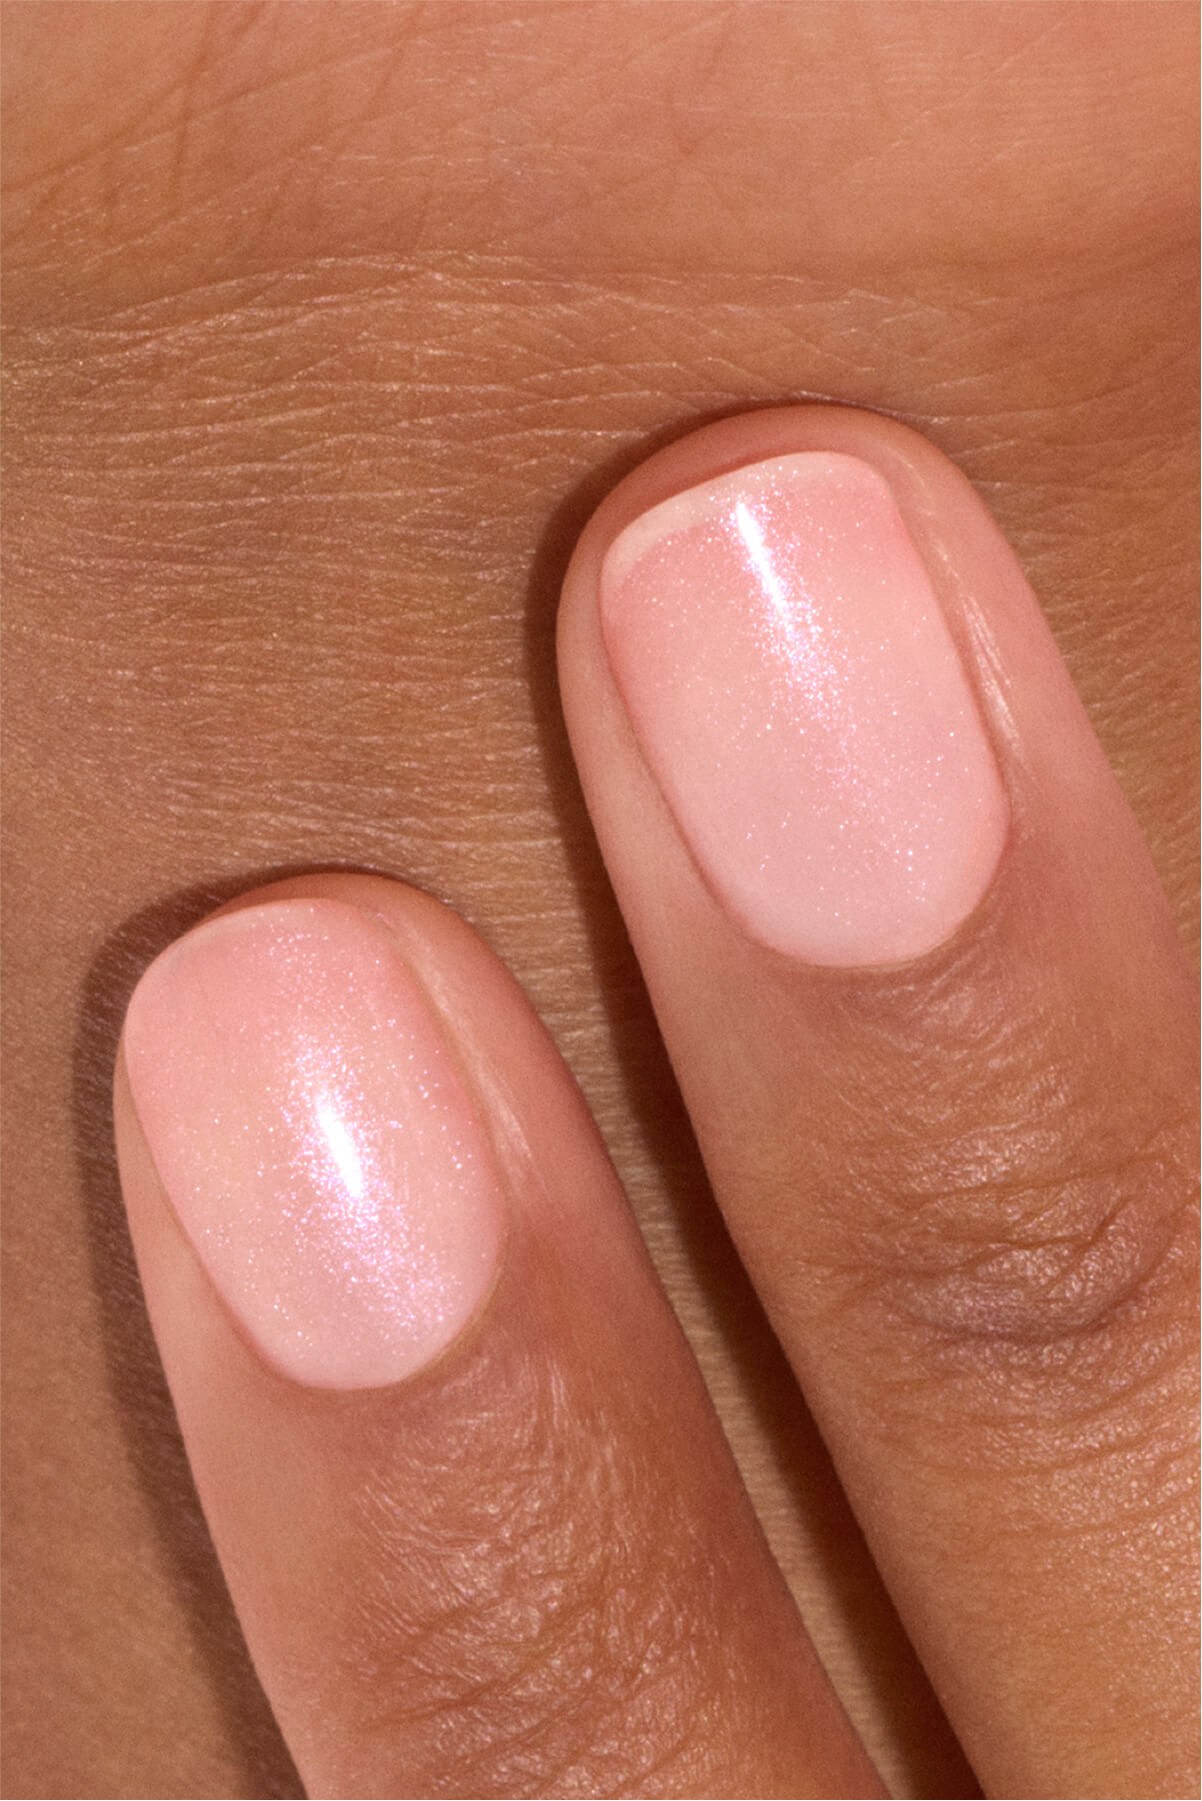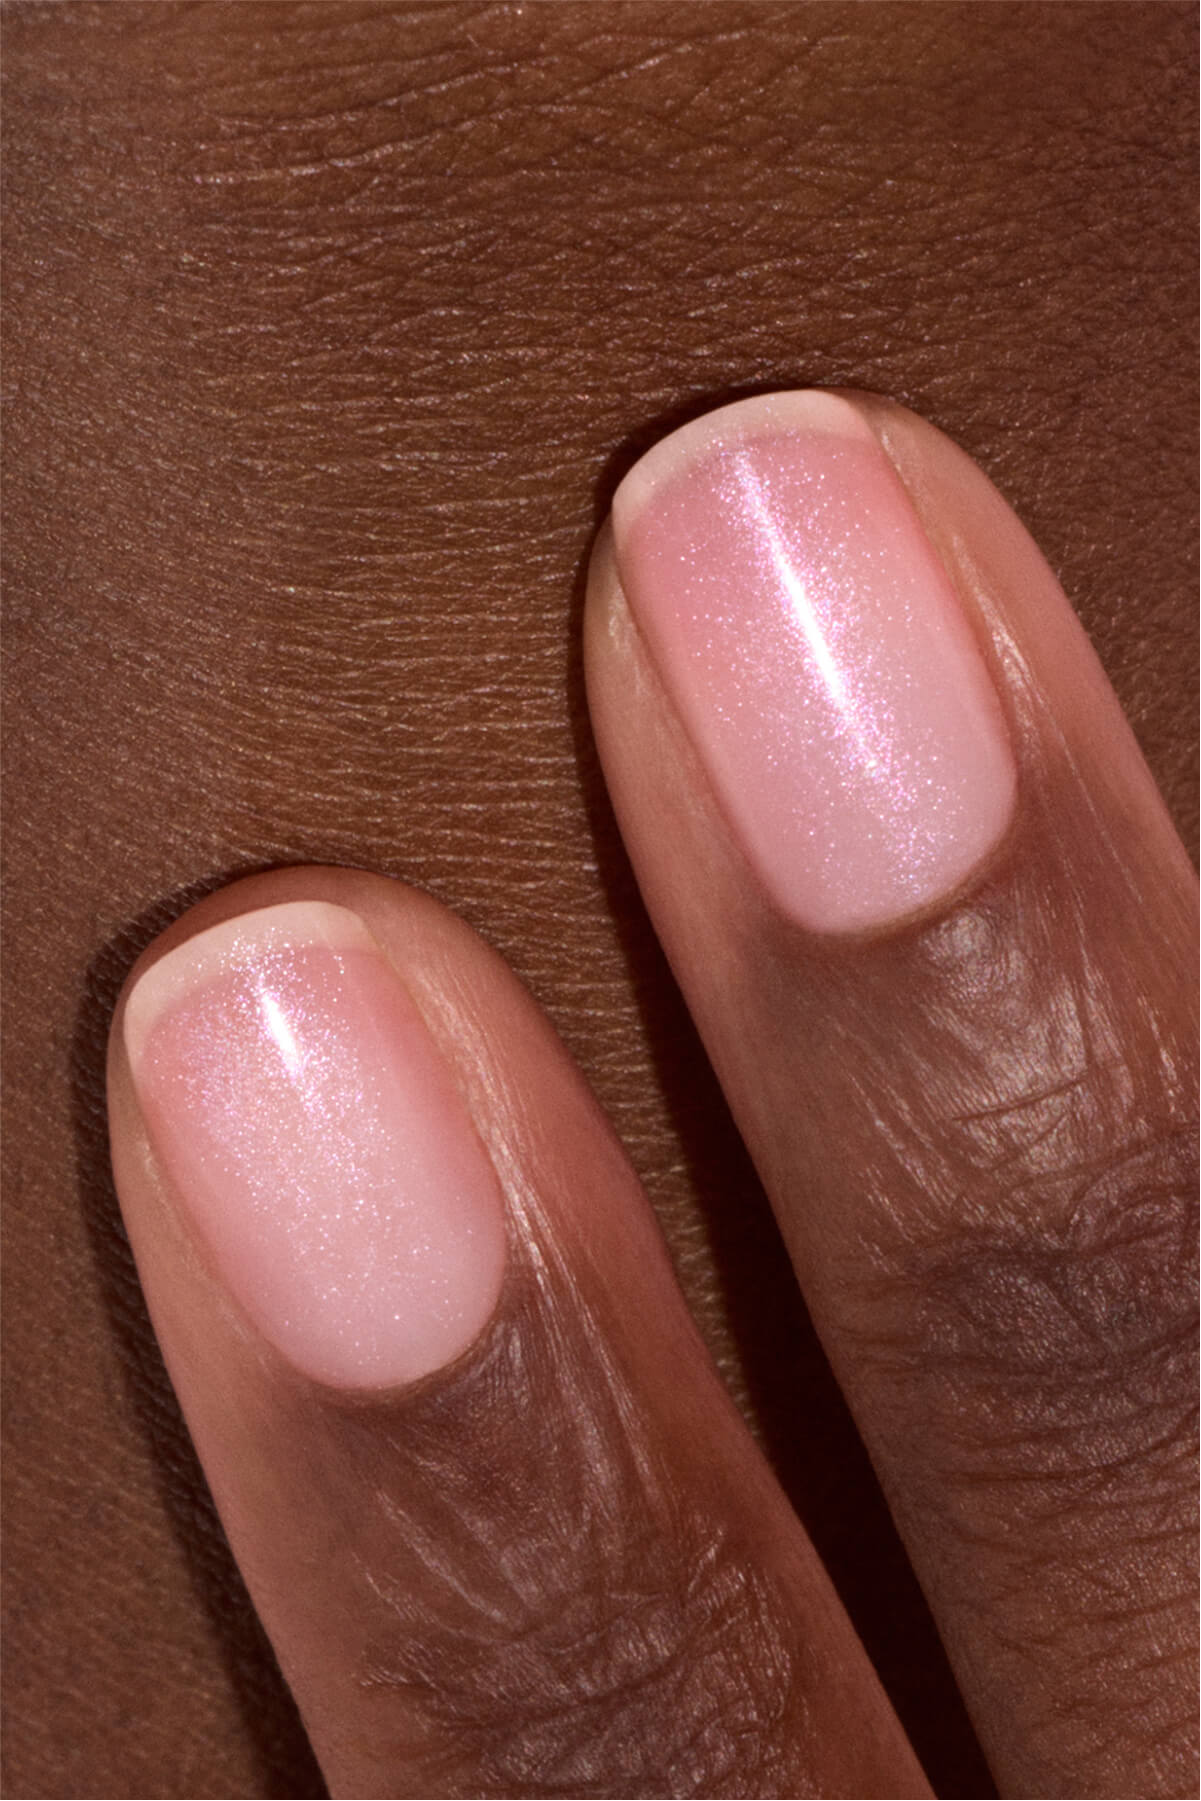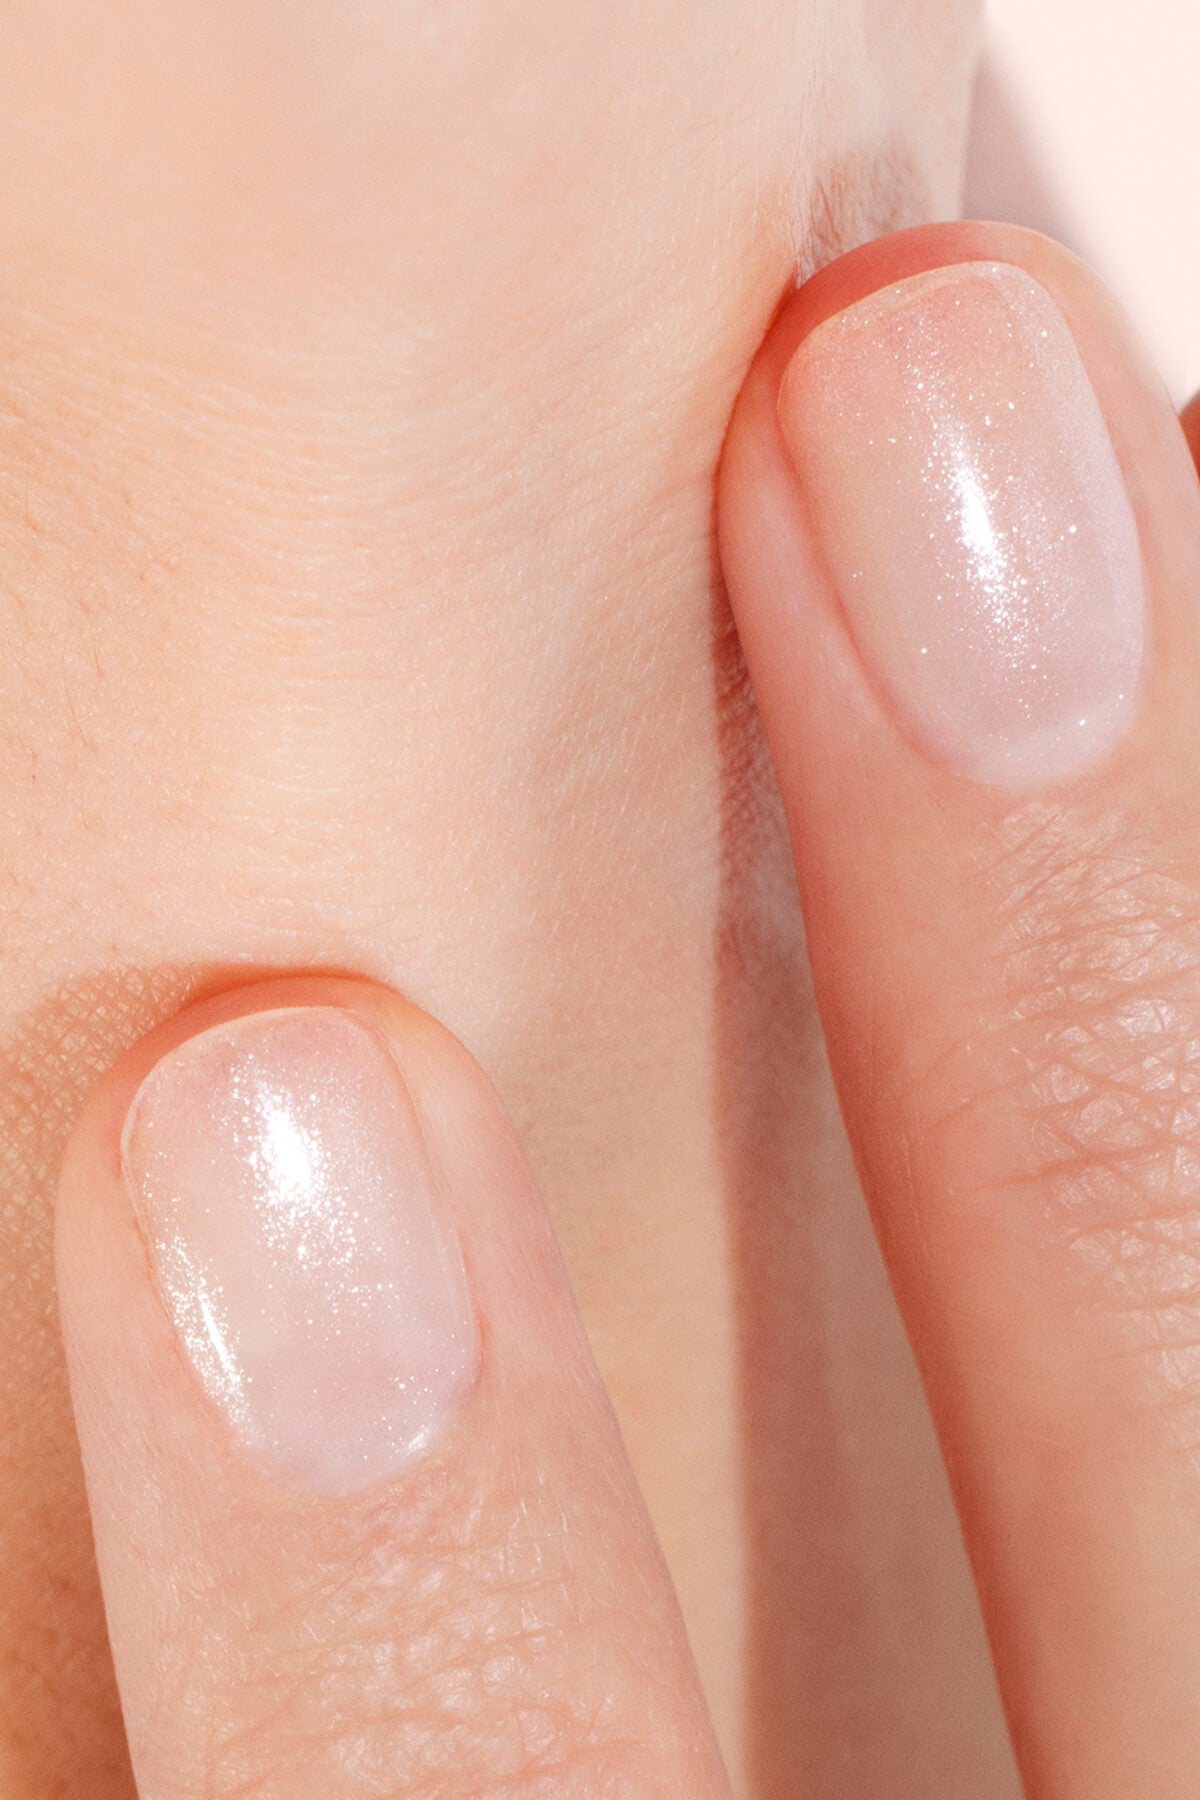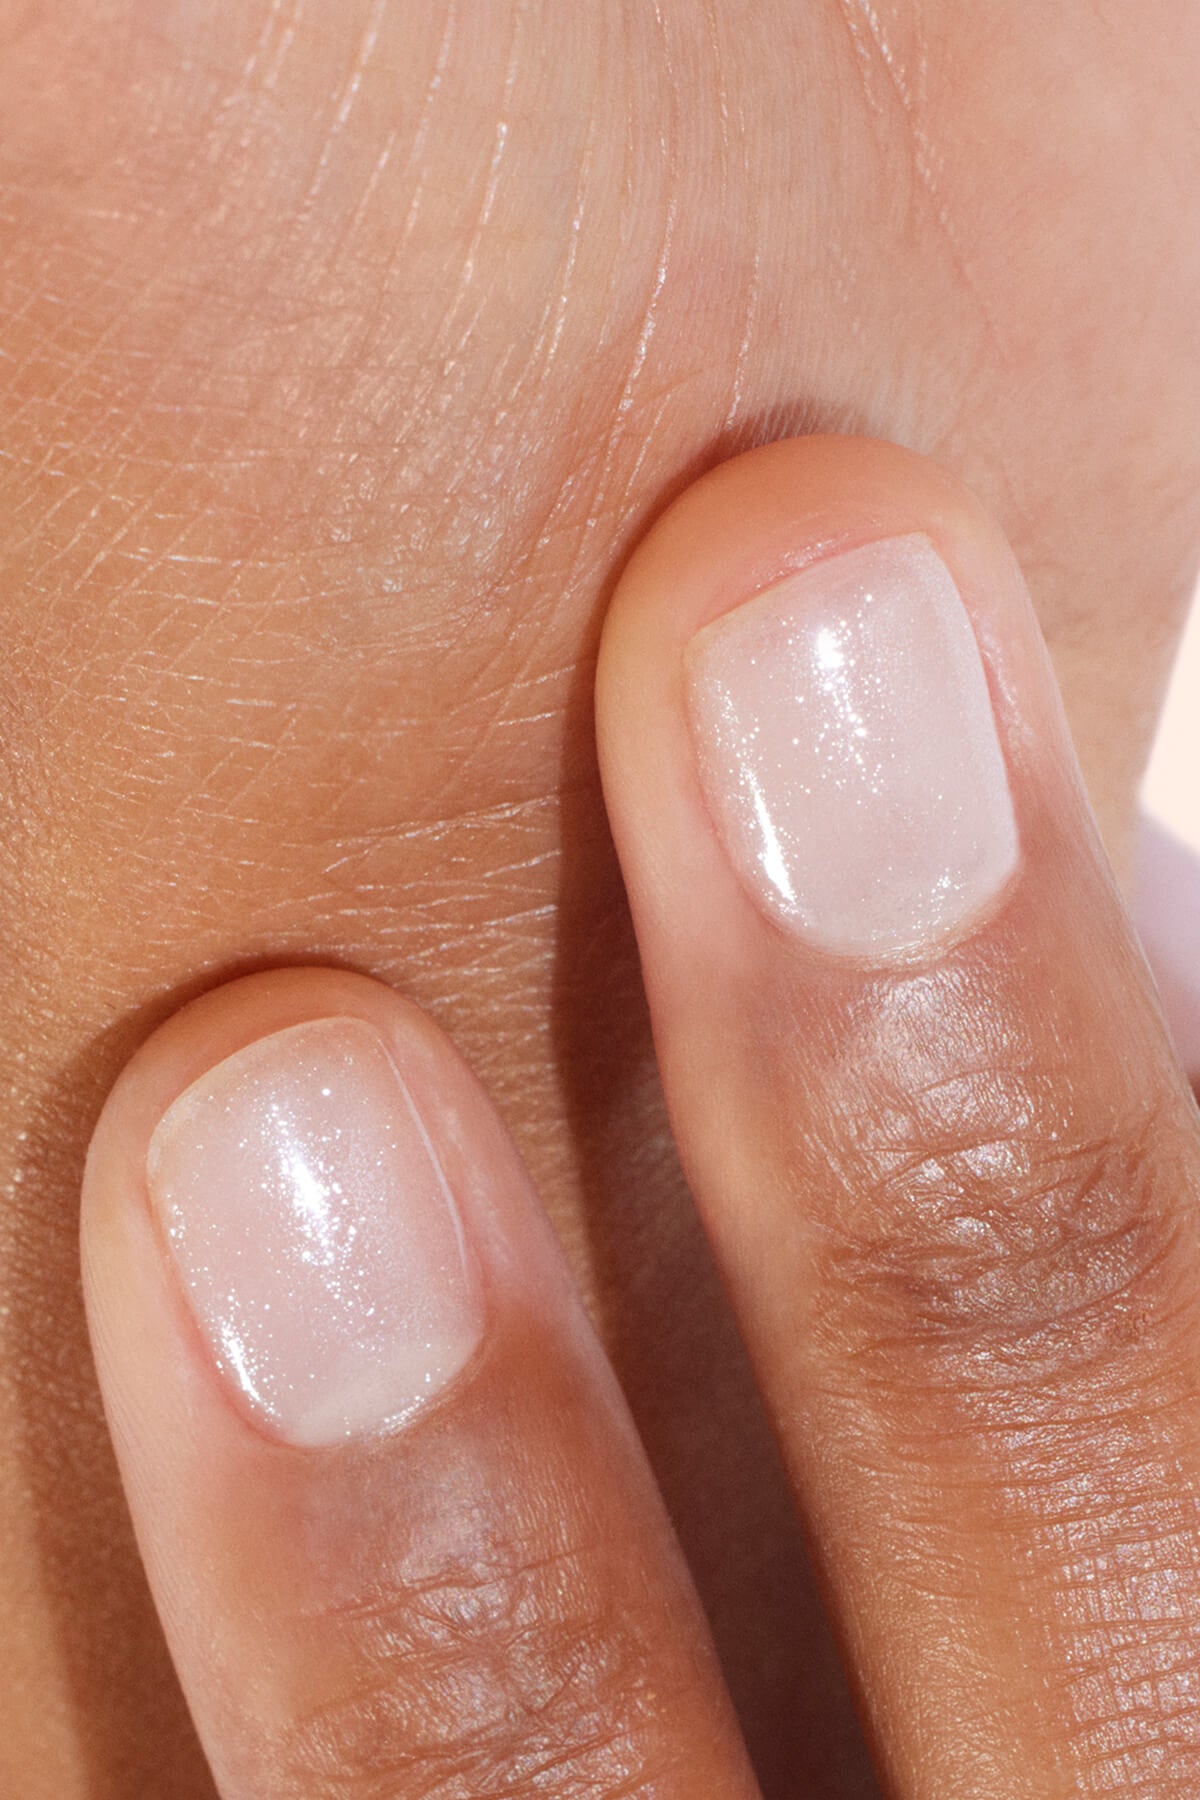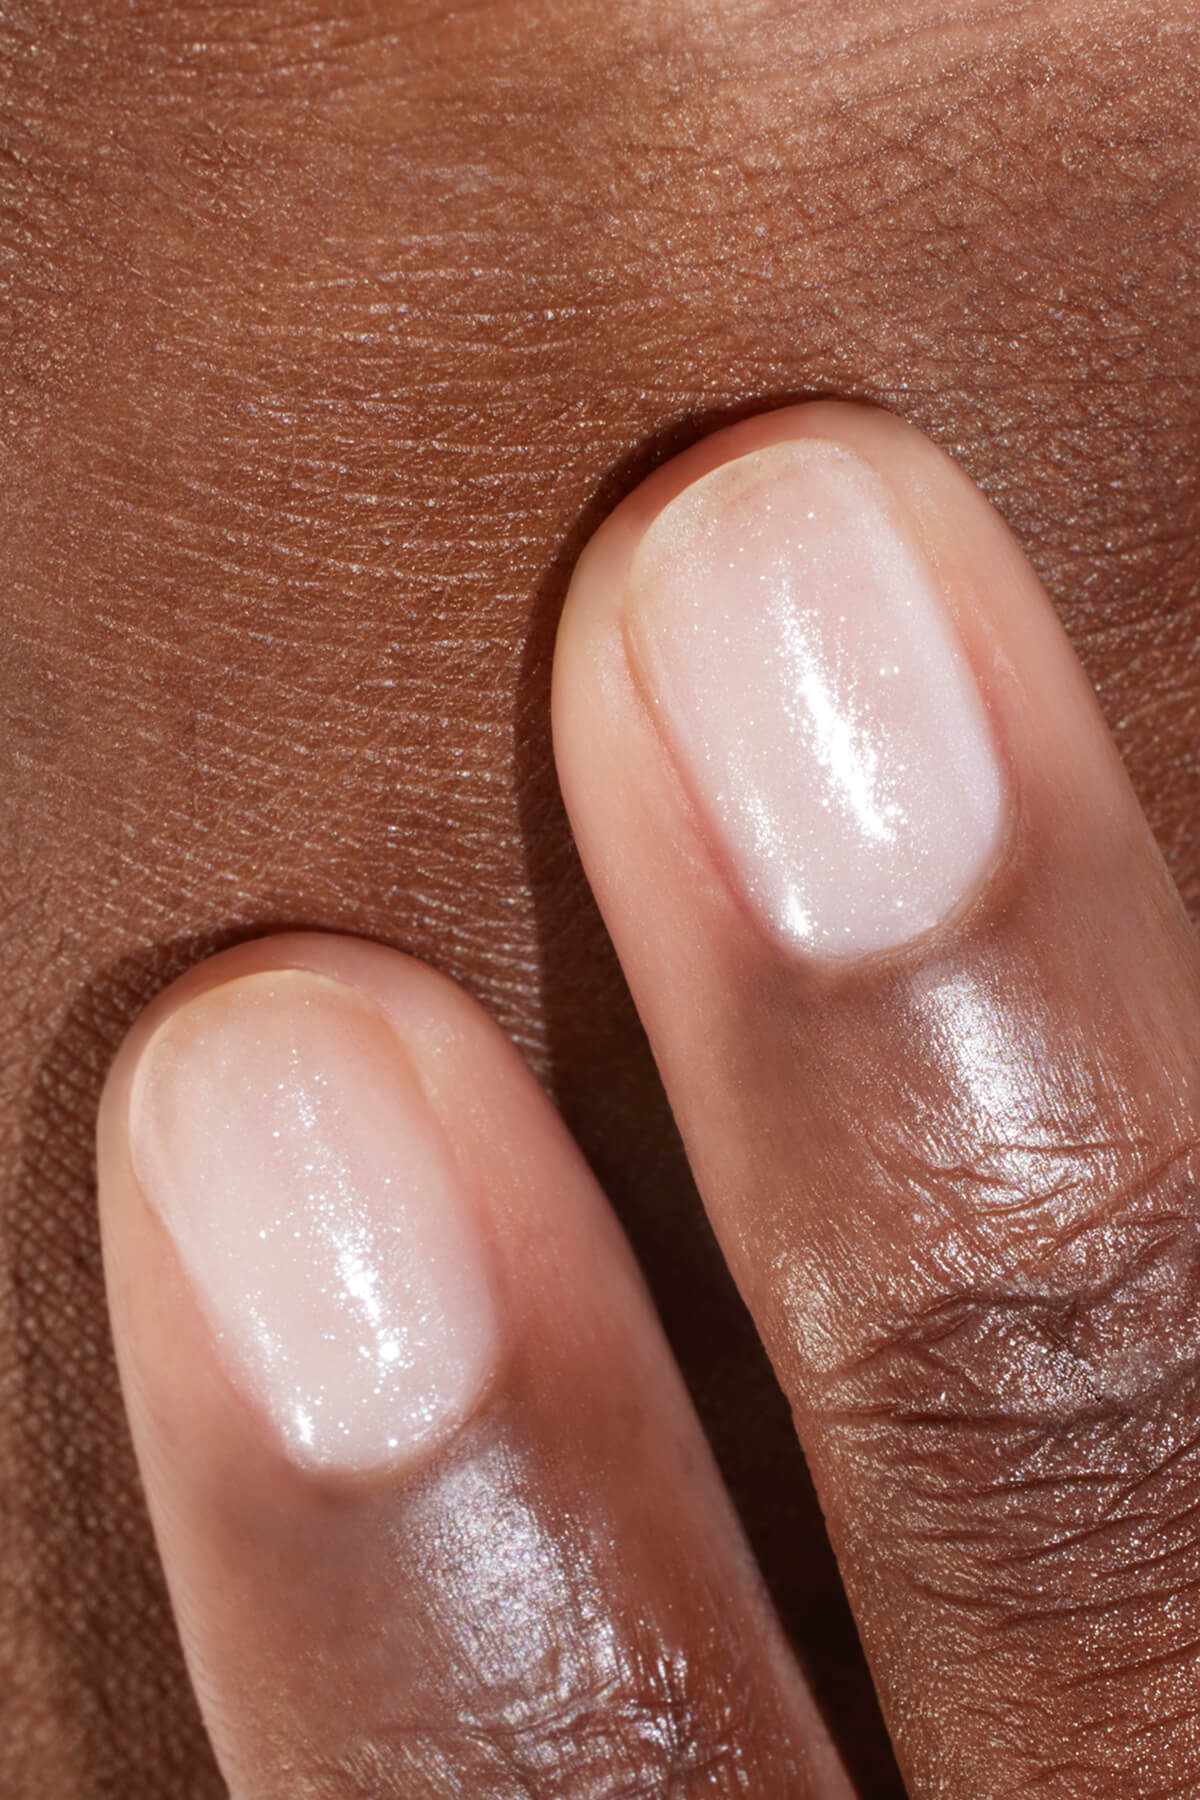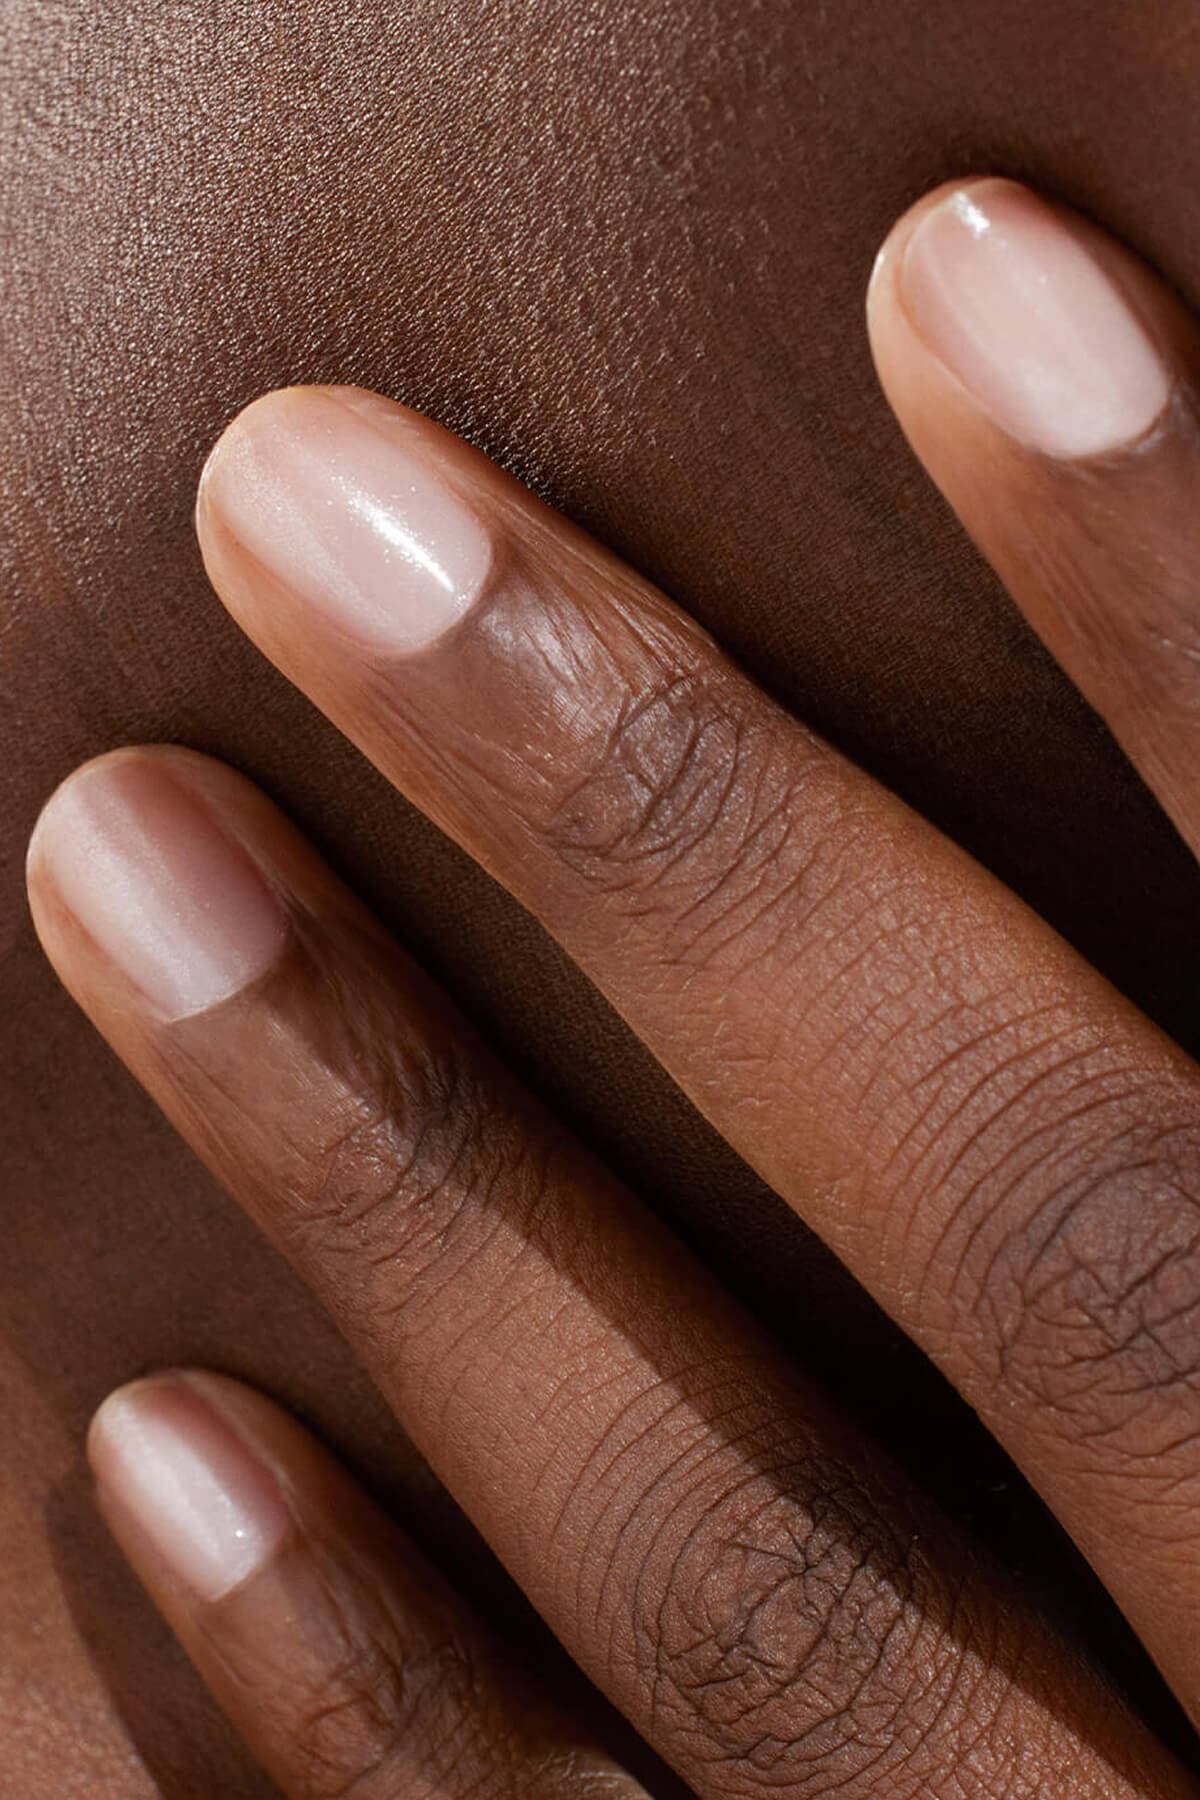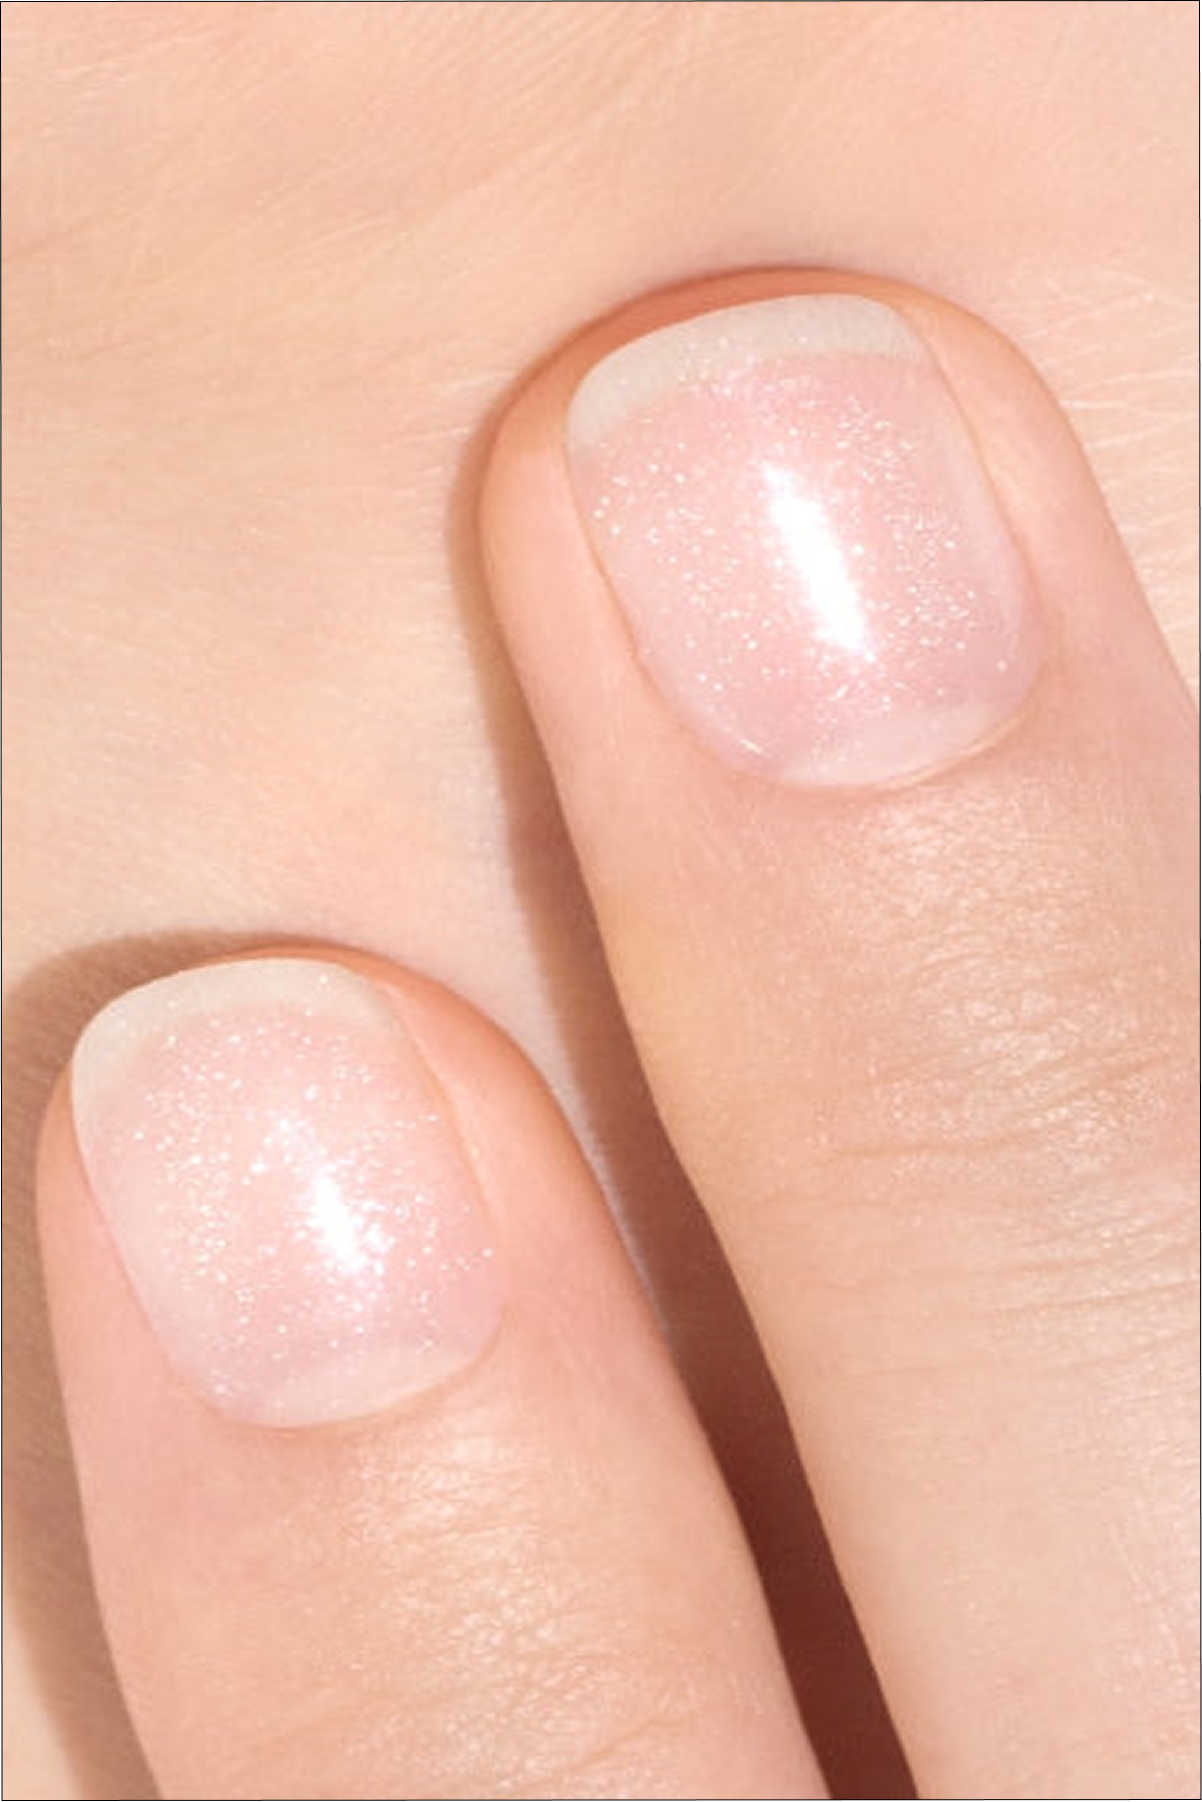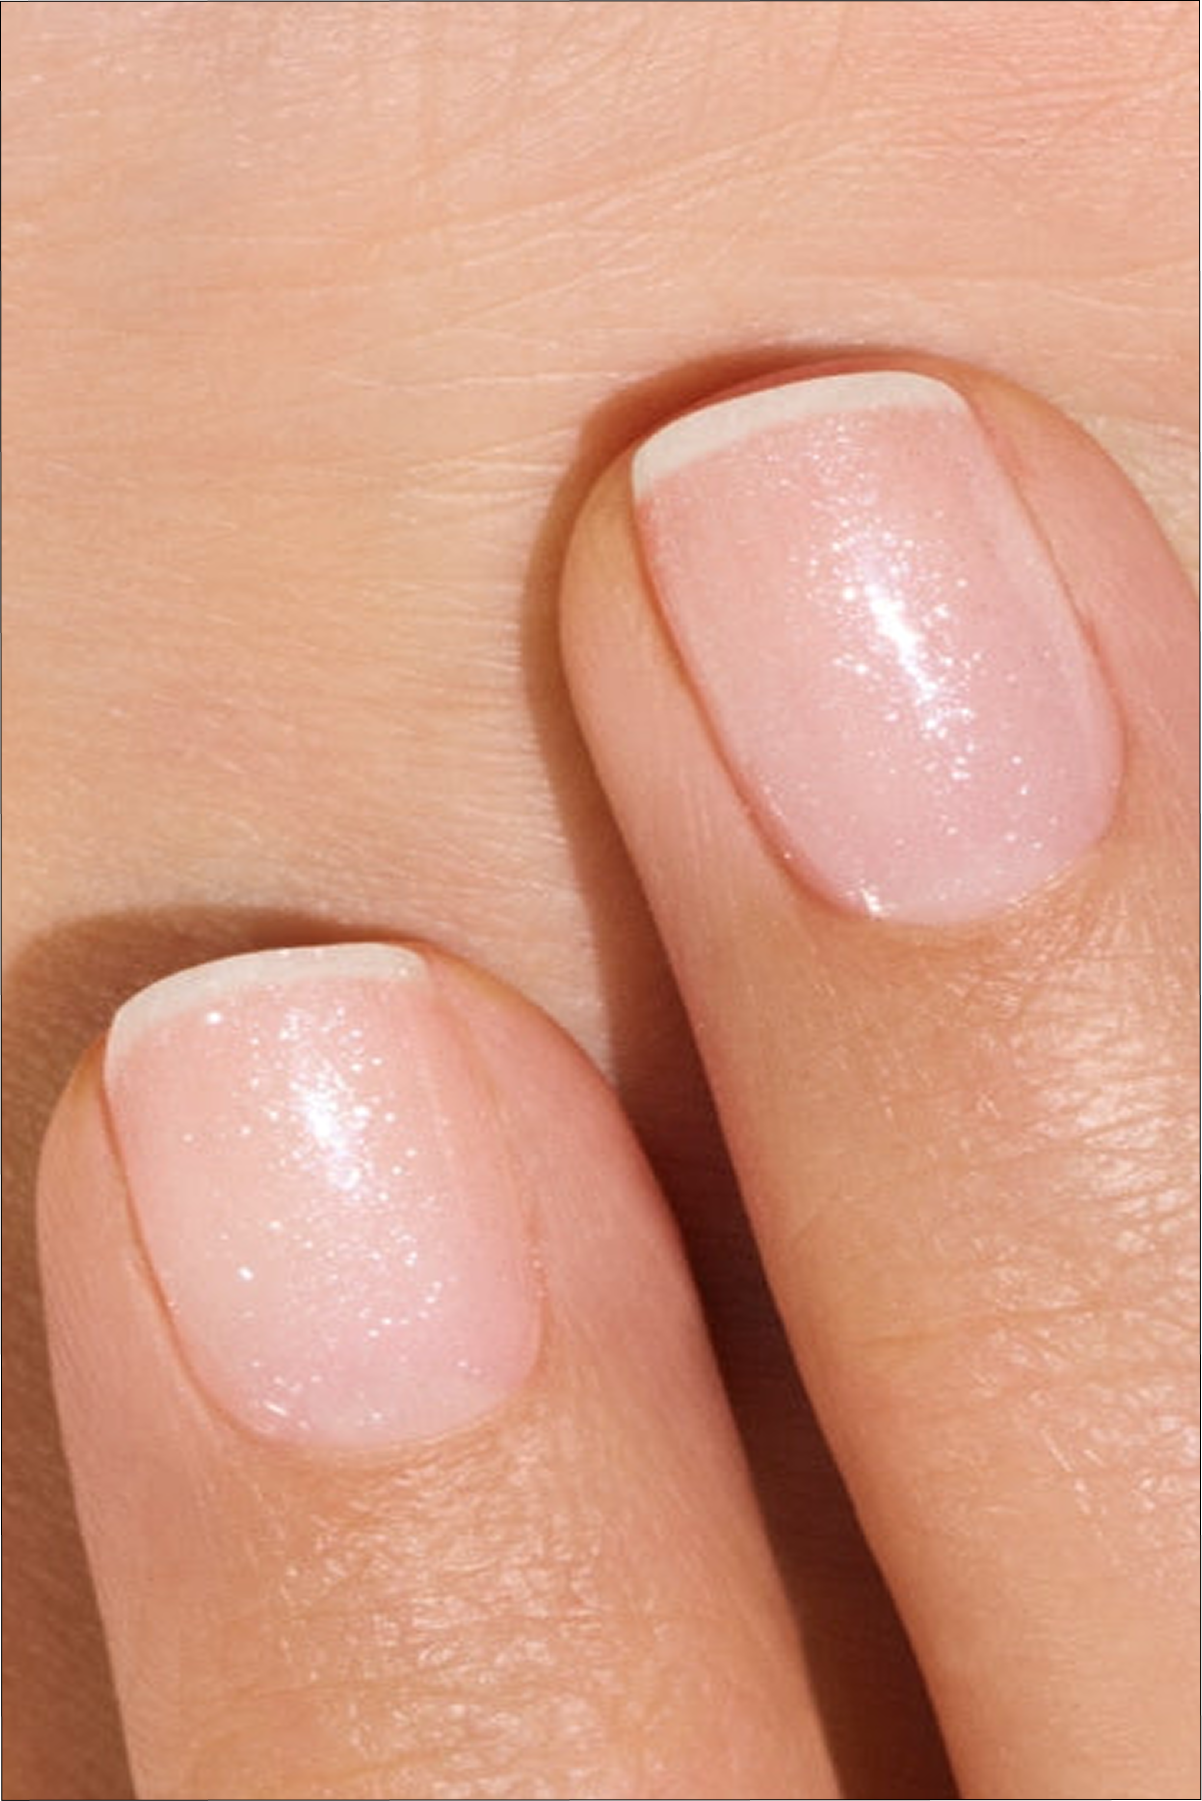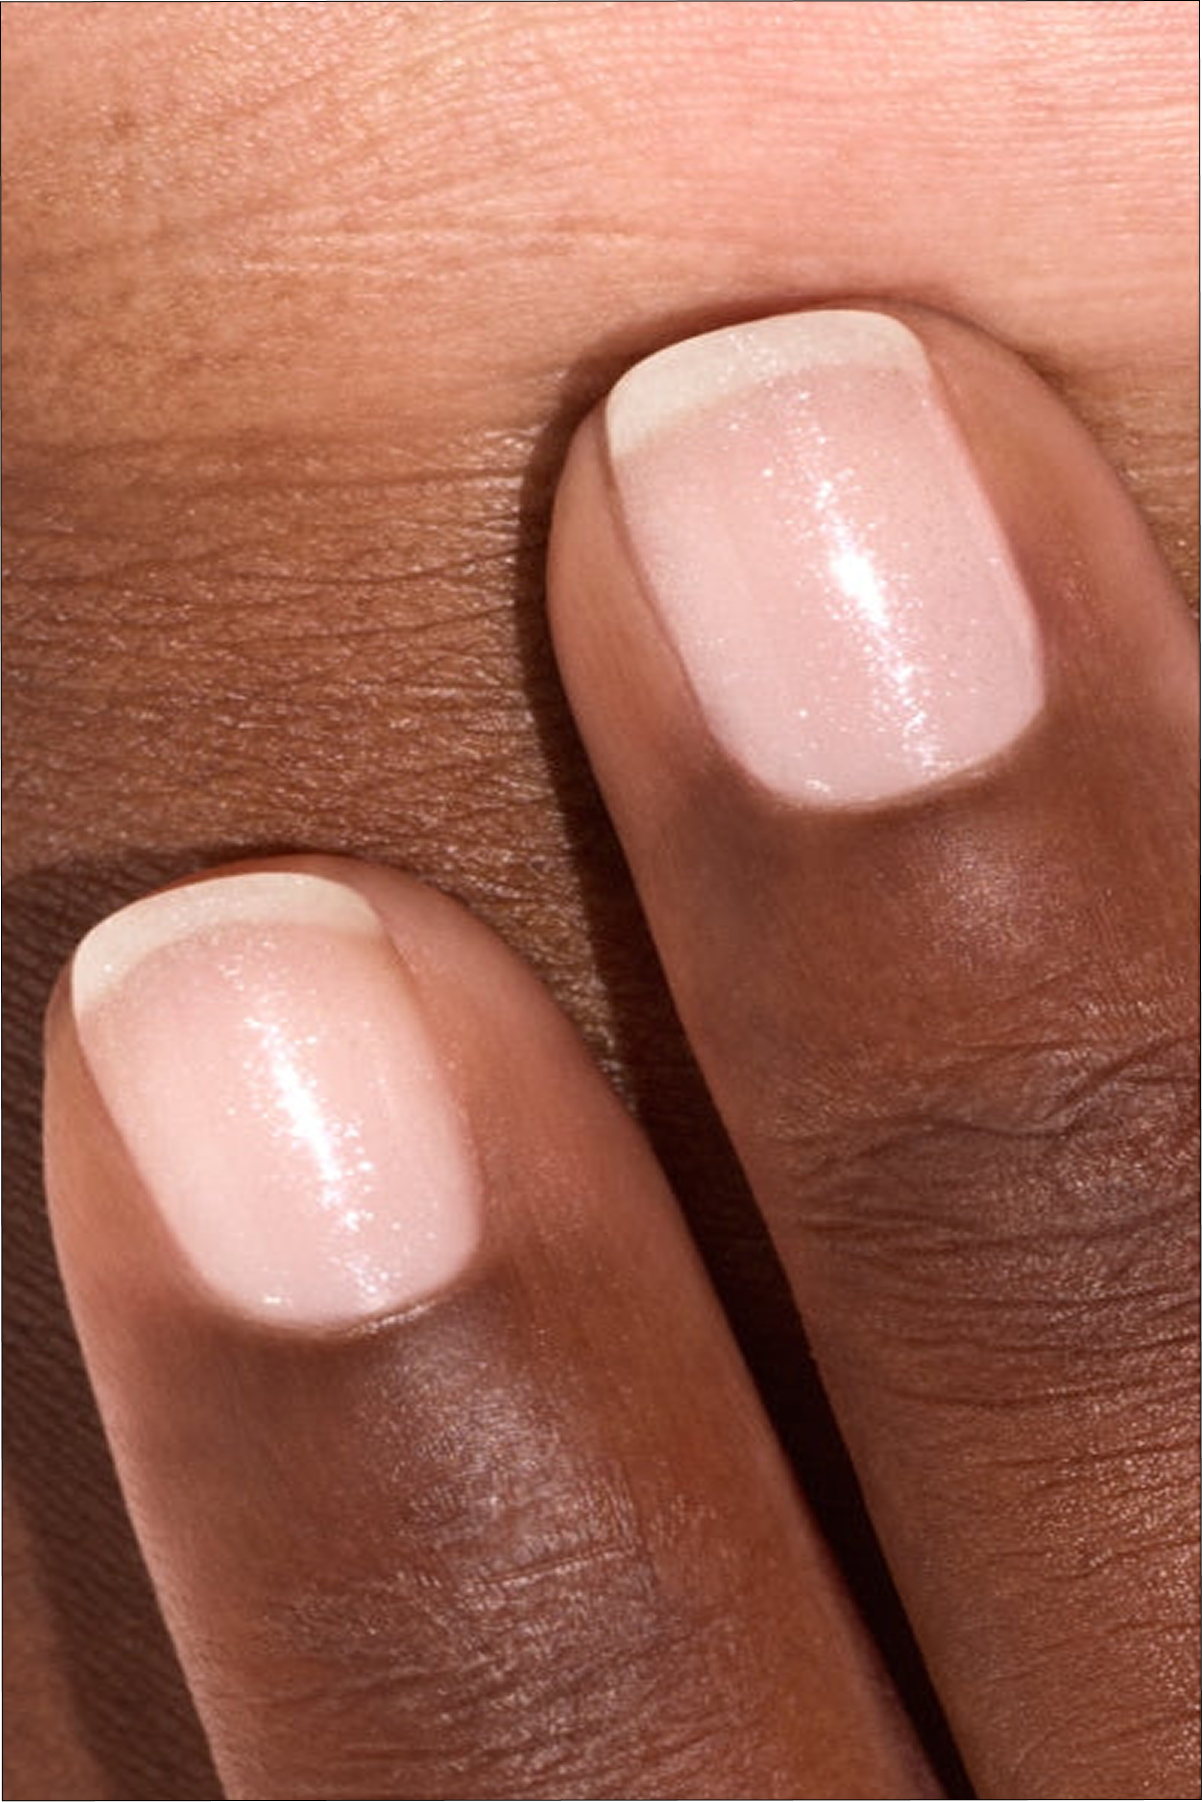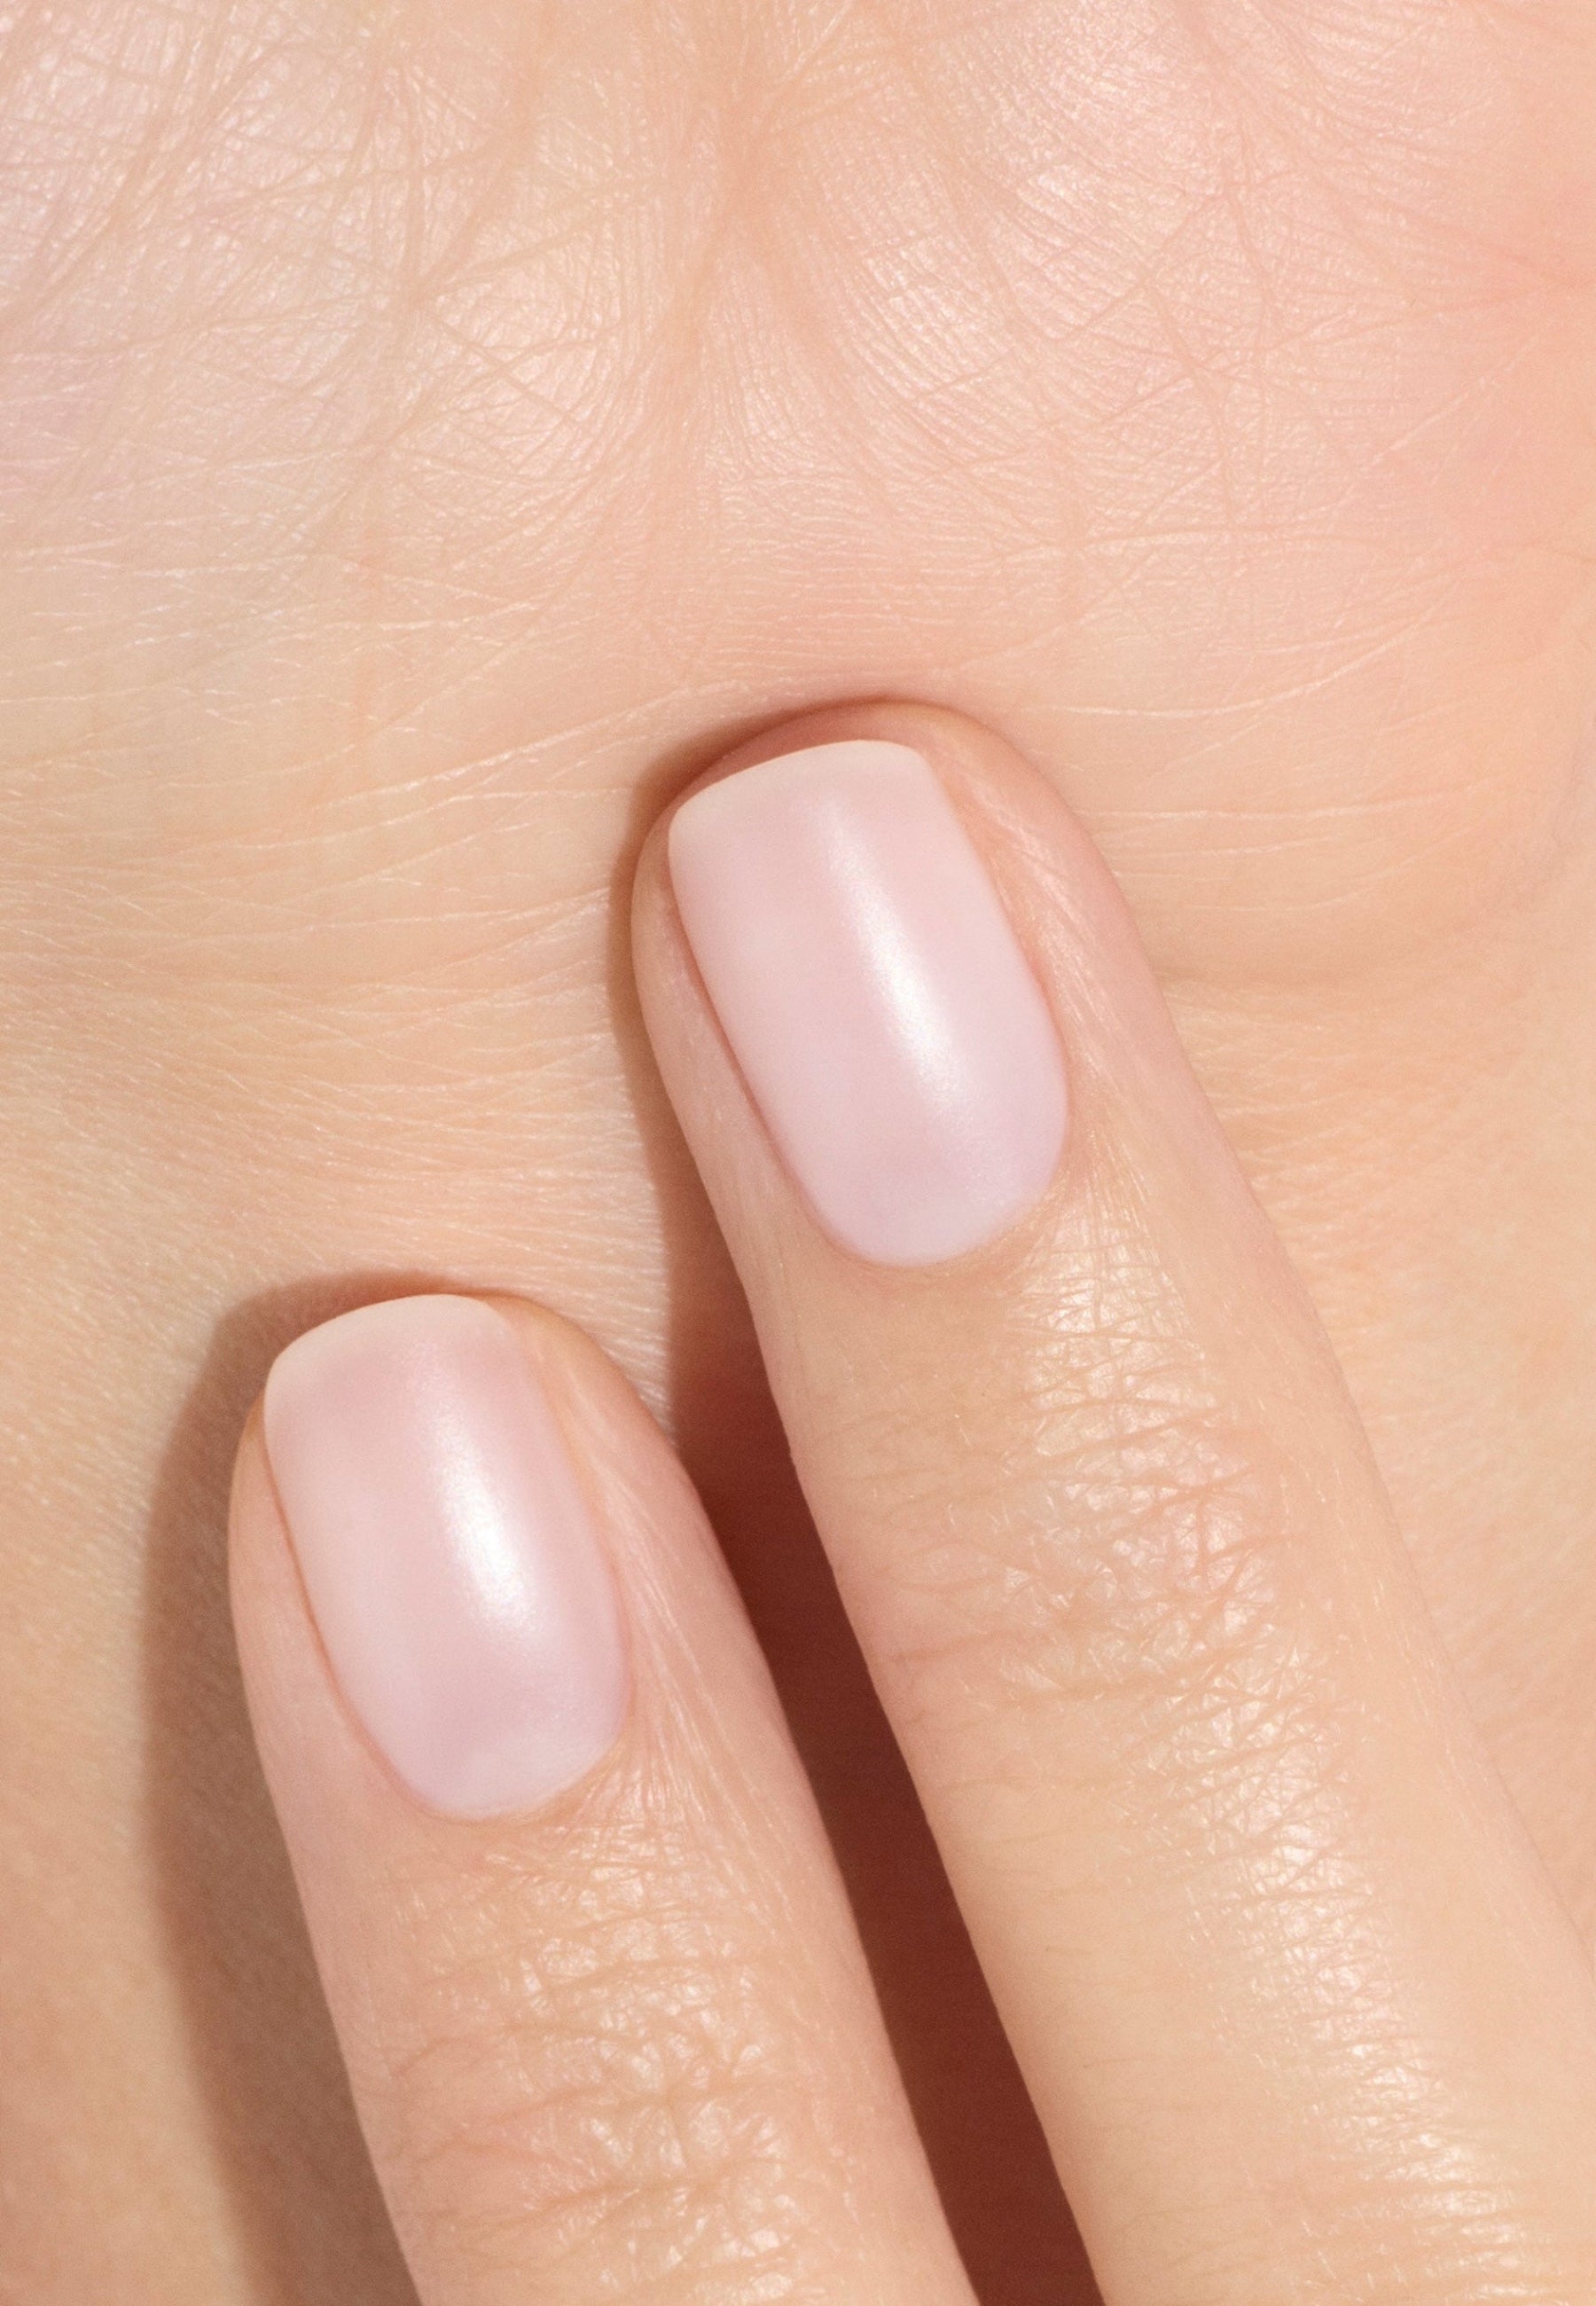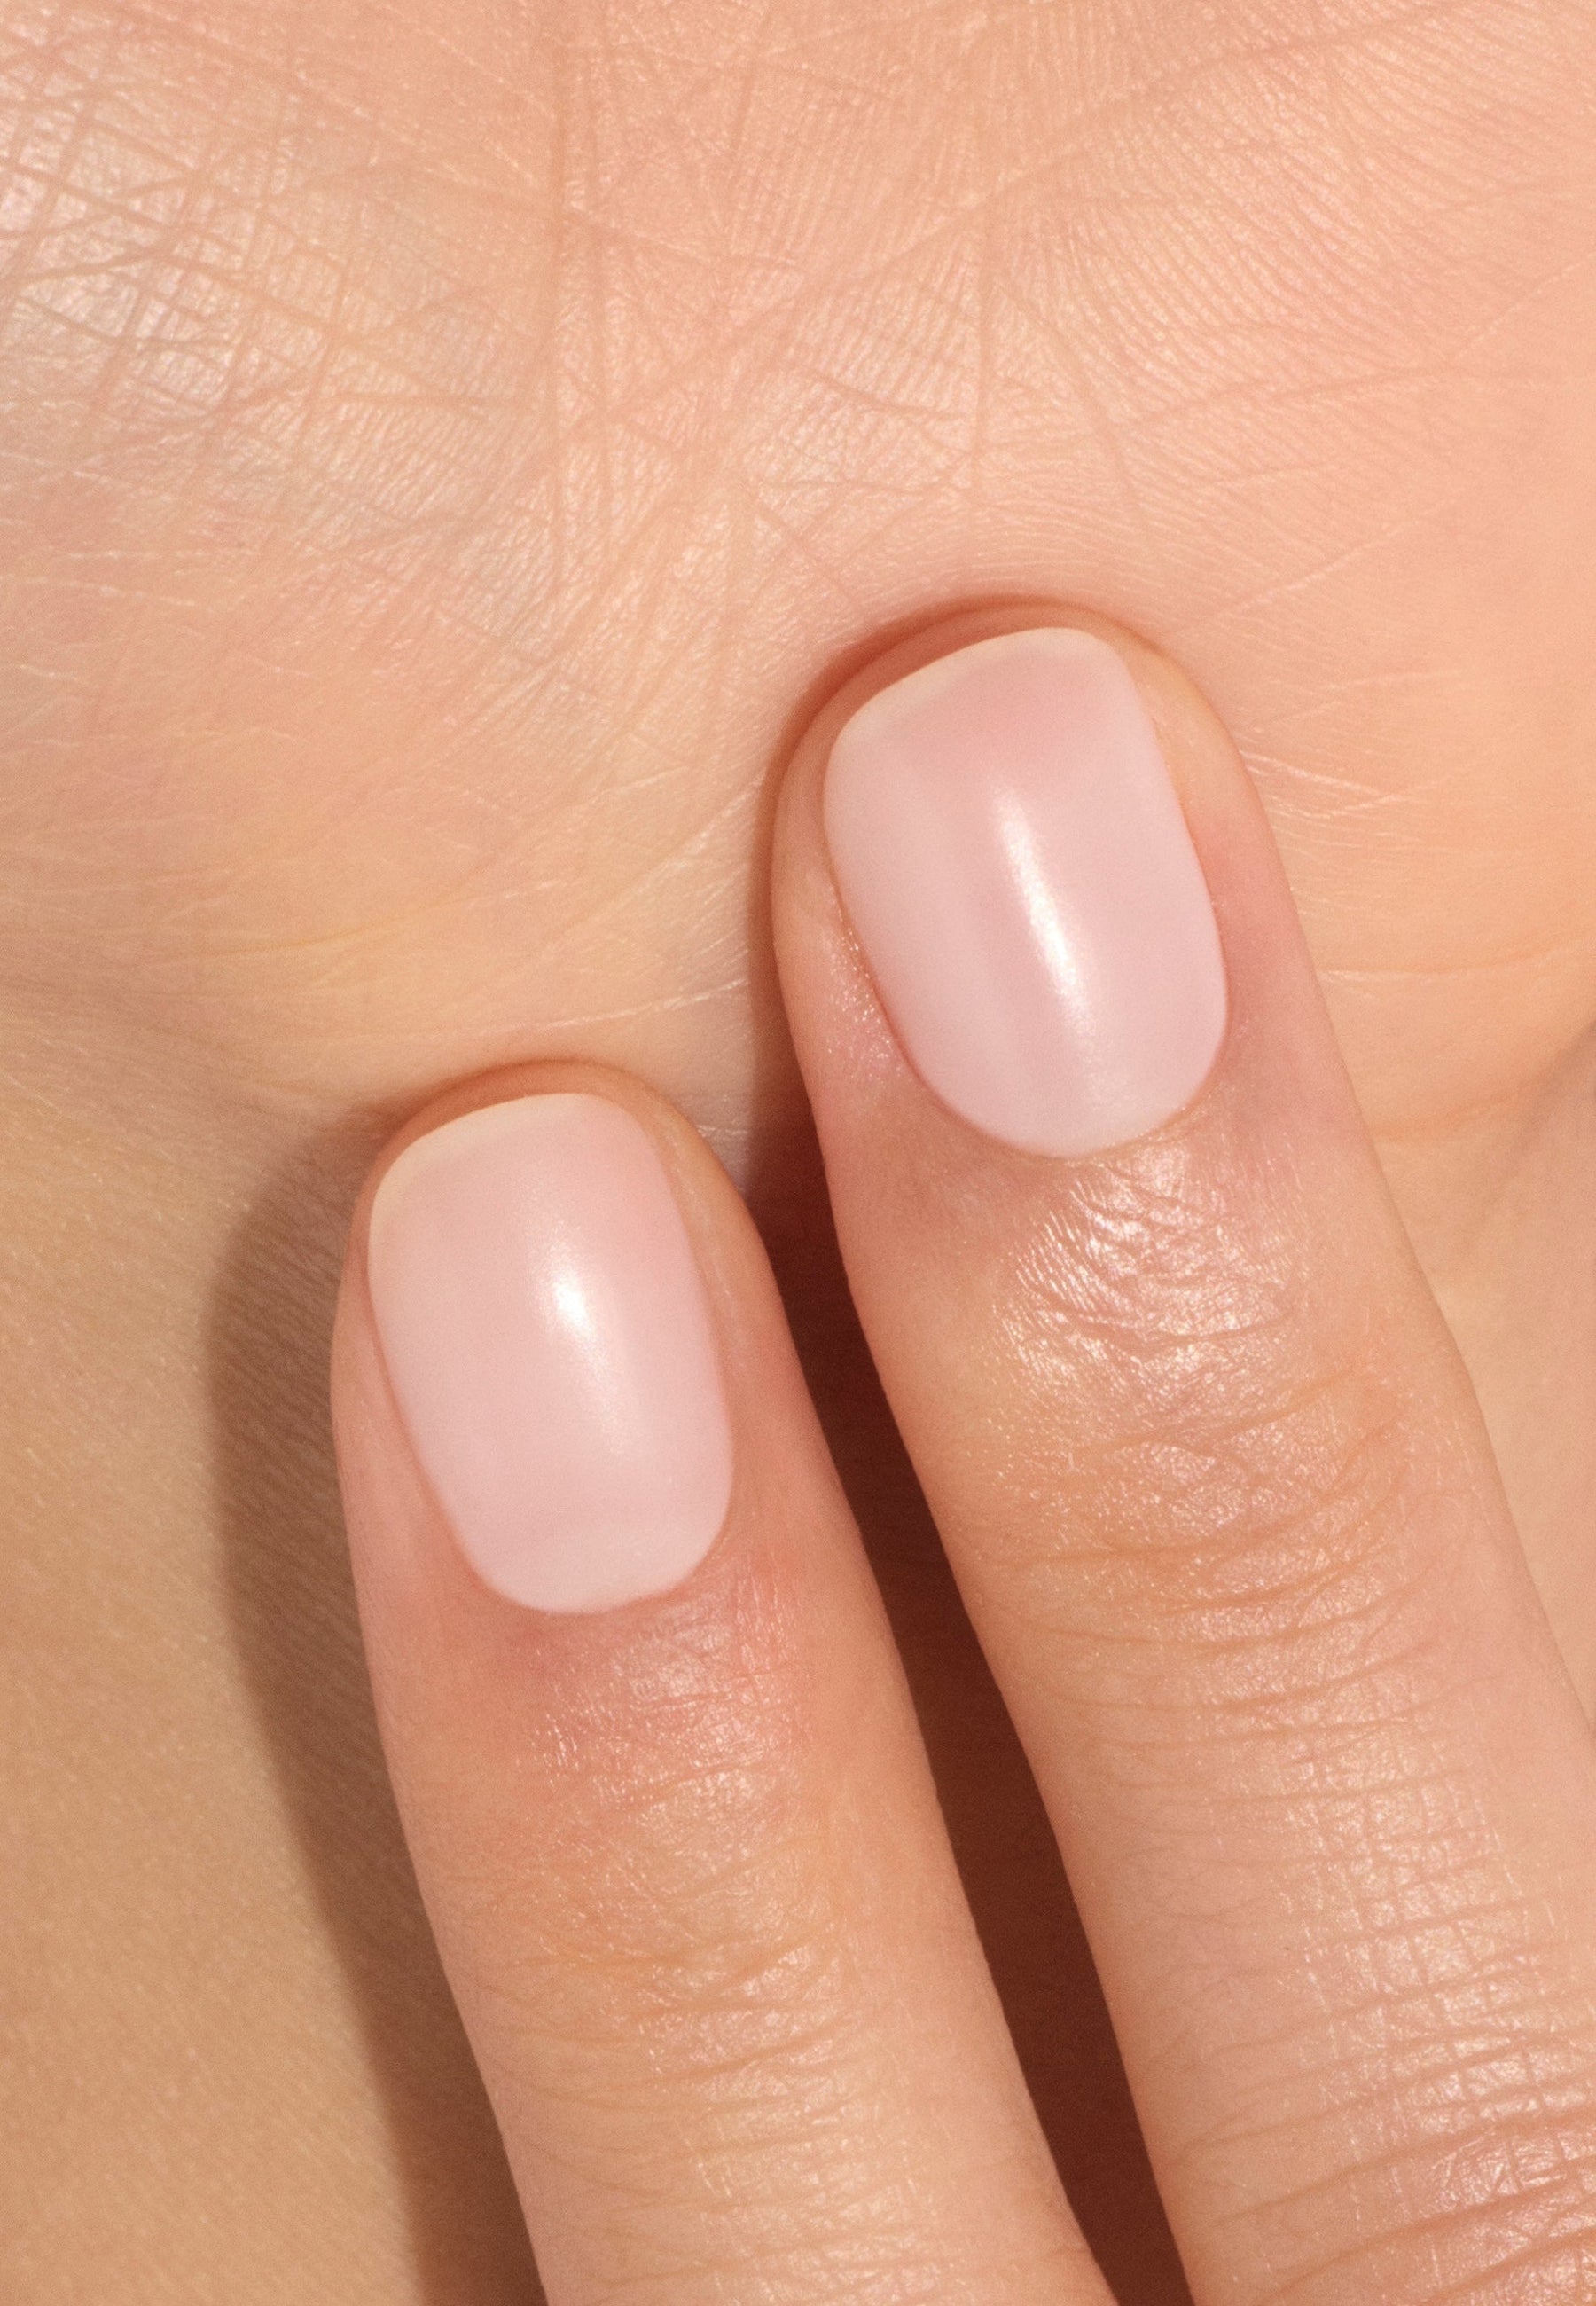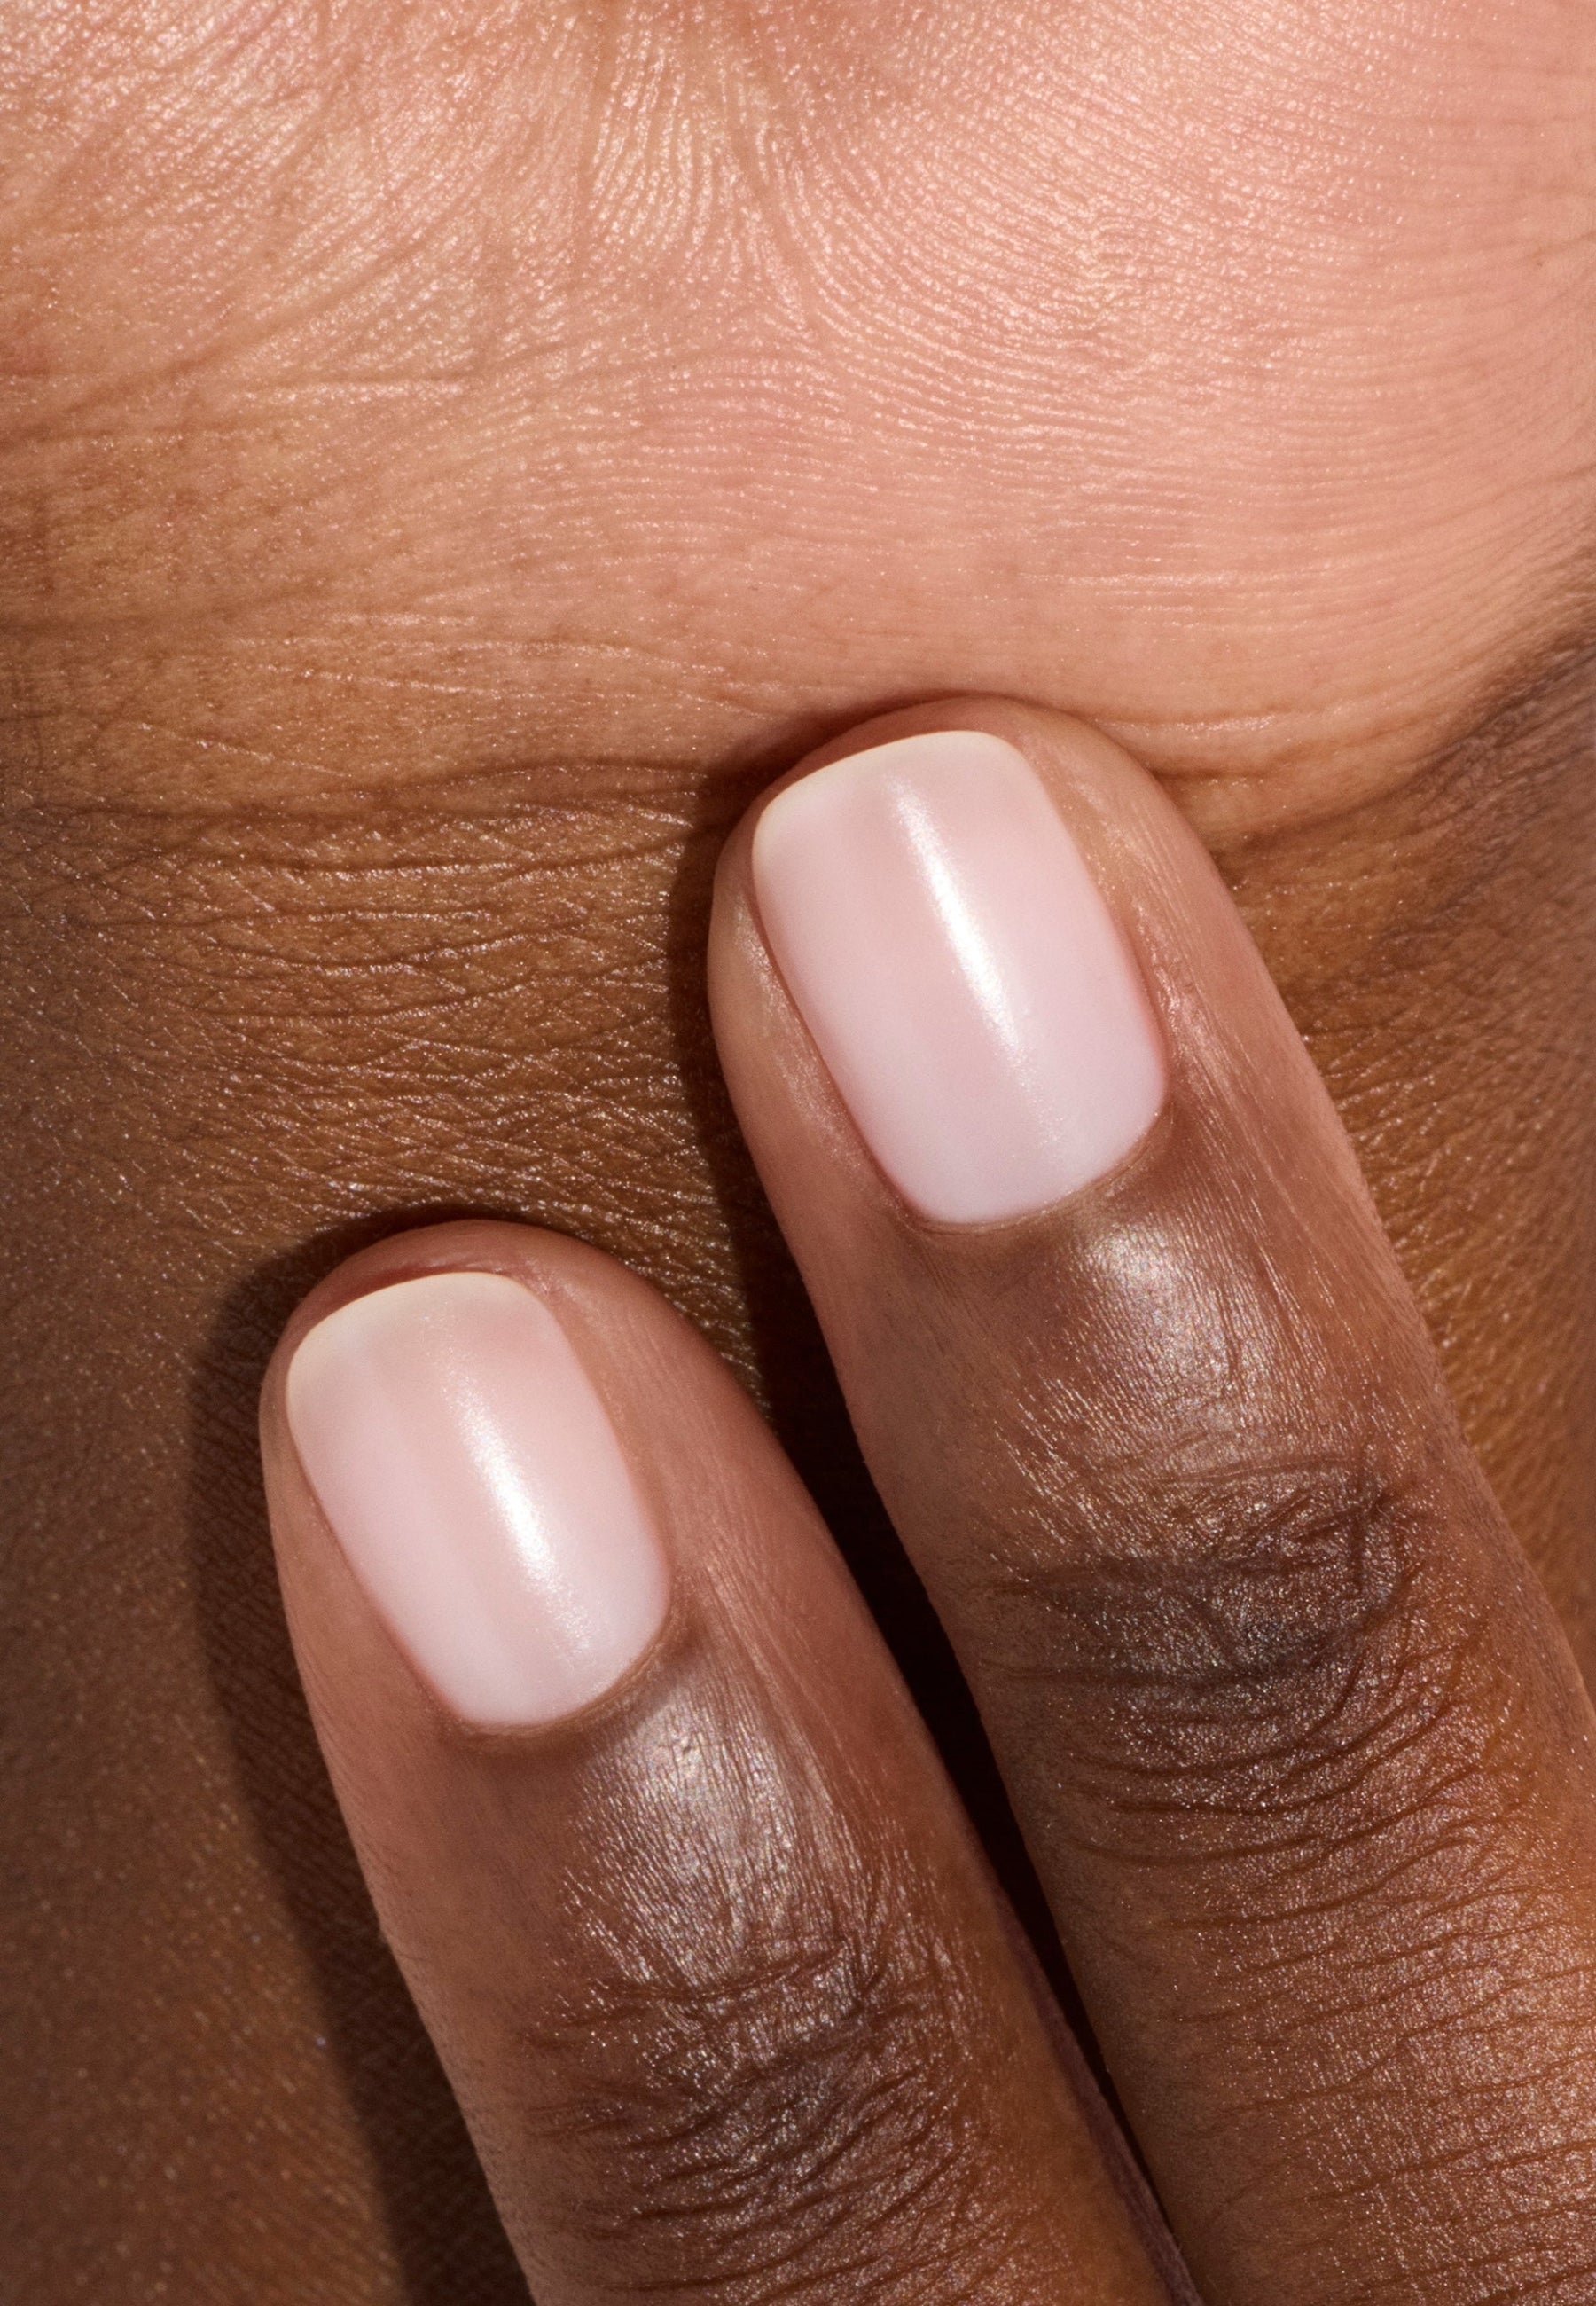


The construction gel, also called builder gel, is one of the most popular options to get an impeccable nail, with a solid and durable structure. Whether you want to strengthen your natural nails, correct a shape or create nail extensions, this technique offers a trendy and long-lasting result. In this guide, discover the different types of construction gel, which distinguishes them from semi-permanent varnishes as well as a step by step tutorial for perfect laying and a stylish manicure.
What is the construction gel?
Definition
The construction gel is a thick gel designed to strengthen, sheath or remodel natural nail. It allows for lengthening nail and correct its form to perfect its aesthetic rendering. Here, the color is passed to the background, although there are colorful construction gels. The main objective is to work on the structure to create nail reinforcements, camouflage defects and bring volume and length.
Composed of polymers, it must be catalyzed under LED or UV lamp to harden and obtain the exceptional resistance that characterizes it.
Finally, it is very multipurpose : it can be placed on natural nails, combined with long extensions or a shablon pose.
The application of the gel is carried out in 3 essential phases:
- The basic phase : installation of a basic gel which will guarantee the adhesion of the construction gel on the nail.
- The construction phase : gel modeling depending on the volume and form you want to obtain.
- The finishing phase : installation of a finish gel which protects the lower layers and defines the final rendering with, at choice, matt, glossy or textured effect.

The builder gel is available on natural nails as well as capsules for long extensions.
(@pinterest, @ongle24)
Different types of gels
There is a wide variety of gels, more or less easy to work. Among the most common are:
- The monophase gel: one gel 3 in 1 which allows to perform the 3 phases of laying with one product. A smoother and simpler application, ideal for beginners who are learning this technique.
- The biphase gel : one gel 2 in 1 combined base and construction, which leaves the possibility to choose its finish.
- The Triphase Gel : it corresponds to the classic system with one product per phase. A technique mainly practised by ungular prosthetists because more complex but that allows greater freedom in the creation of designs according to the level of viscosity of the gel.
- Self-equalizing gel It has the advantage of spreading evenly over the surface of the nail, making the application much easier.
- The colorful construction gel: it allows to obtain a manicure structured and coloured in one gesture, without having to add a layer of nail polish.
The advantages of construction freeze
🛡️ Protection and sheathing : the construction gel is allyed with fragile nails who need reinforcement and structure. Thicker than a semi-permanent classic varnish, it allows to sheathing nail and to protect it from the risks of daily breakage. Ideal if your nails are soft, fragile or subject to duplication. Thus protected, the nail strengthens and can grow regularly without breaking.
More info about nail sheathing in our Article.
💅 Perfect nails at will : it smooths the irregularities and standardizes the surface, creating an ideal base for the laying of a color or nail art. It also allows for the Model any shape or length of nails. Long nails stiletto or short square nails, everything is allowed.
⏱️ Long-lasting maintenance: up to 4 or 6 weeks.
How to apply the construction gel?
We're not gonna lie to each other, the construction freeze requires a excellent mastery use techniques for smooth application and perfect finish. While self-levelling gels make things easier, especially for beginners, the image and modeling remain very complex technical gestures, reserved for the most expert hands. Key steps in this type of manicure include:
Nail preparation
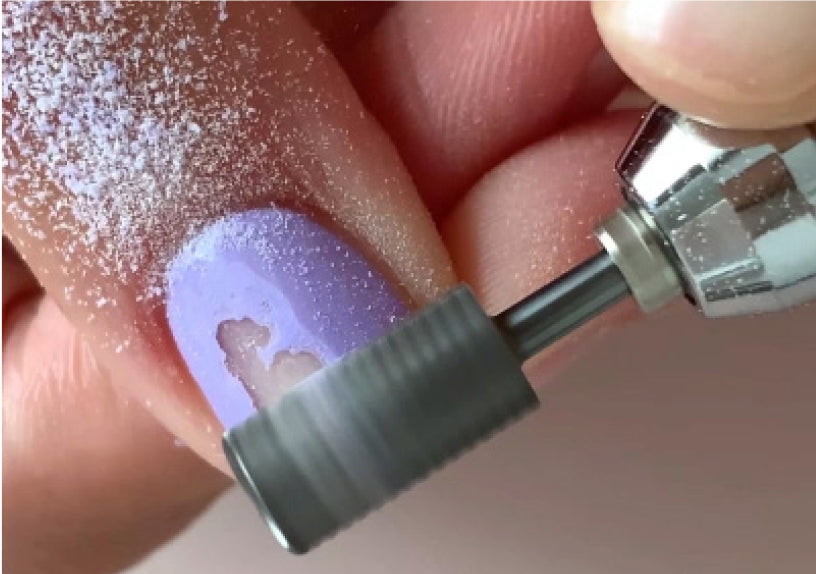
As in any manicure, a preparation of nail careful is essential to optimize the adhesion of the gel and avoid premature detachments. The Commission is therefore proposing to Line nails with a 180 grain file to equalize them and repel cuticles. Next Lightly sand the surface to create micro-stripes that will promote a good grip. Go gently to the plate. Finally, clean and degrease nail before attacking the gel builder.
Application and catalysis
Depending on the system chosen (monophase, biphase or triphase), place the product(s) in thin layer catalyze under UV/LED lamp before applying the next layer. Prefer 48W LED lamp for rapid freeze catalysis.
During the construction phase, the modeling work is done with a brush, playing on the viscosity of the gel which allows to sculpt the desired shape and length. For a short extension (less than 3 mm), opt for a medium viscosity gel. For a medium to long extension (4 to 8 mm), plan a high viscosity that will allow to develop a solid frame.
The gesture must remain accurate and fluid : the gel is applied to the centre of the nail and then stretched towards the free edge without touching the cuticles. Little by little, we create a light curved (apex) in the center to strengthen the structure. Above all, don't rush, you may cause air bubbles or leave brush marks in the material, which would ruin all your efforts.
Finish
Unlike the installation of gel or resin nails, you do not need to be trimmed to refine the rendering. With the exception of monophase gel, the installation ends with a layer of top coat which allows to bring the desired effect and/or texture (mat, glossy, glittery, pearly, chromed...).
Essentials of the installation of the builder gel by @nailsbypaular.
Construction gel vs semi-permanent varnish
We tend to confuse these two types of manicures. Yet each of them performs a very different function: the construction gel acts as a skeleton for nails while the semi-permanent varnish acts as a dressing. The key points that distinguish them are:
The pose
- With a construction gel : the pose is technical and long (more than 1 hour), preferably with an untrained nail prosthetist.
- With semi-permanent varnish Green Flash™ : the Starter kits Green Flash™ allow for quick laying (30 to 45 min) and easy to do yourself Home.
The rendering
- With a construction gel : one ultra structured nail, with perfect sleek, ready to host beautiful extensions for those who love long claws and all your cravings of colors and nail art.
- With semi-permanent varnish Green Flash™ : one intense color, one gloss mirror, endless possibilities of nail art but a length and shape that remain dependent on natural nail.
The outfit
- With a construction gel : the gel can hold 4 weeks and more, according to the repulse.
- With semi-permanent varnish Green Flash™ : of 12 days for varnish Green Flash™ to 21 days with a Top Coat Xtrem Flash™.
Withdrawal
- With a construction gel : except for: Soak off gels which withdraw with a special solvent, the sanding (or limage) is mandatory for the removal of the gel builder. If not properly practiced, this sanding may alter the keratin layers, refine the nail and raise it permanently.
- With semi-permanent varnish Green Flash™ : the varnish is withdrawn in peel-off in minutes, without acetone or sanding.

With Xtrem Flash™ , discover the benefits of a long-term manicure without risk at the time of withdrawal.
The construction gel is therefore the ideal option if you want to structure your nails, bring them an unprecedented length and a solidity to any test. But for this, you will have to learn the technique of laying this singular manicure or go to institute. For a durable manicure that protects your nails and strengthens them under the color, easy laying and safe removal, opt for Green Flash™ , a formula of semi-permanent vegan and bio-soured varnish up to 84%. You have the solid nails, the perfect manicure and long-lasting, with confidence!