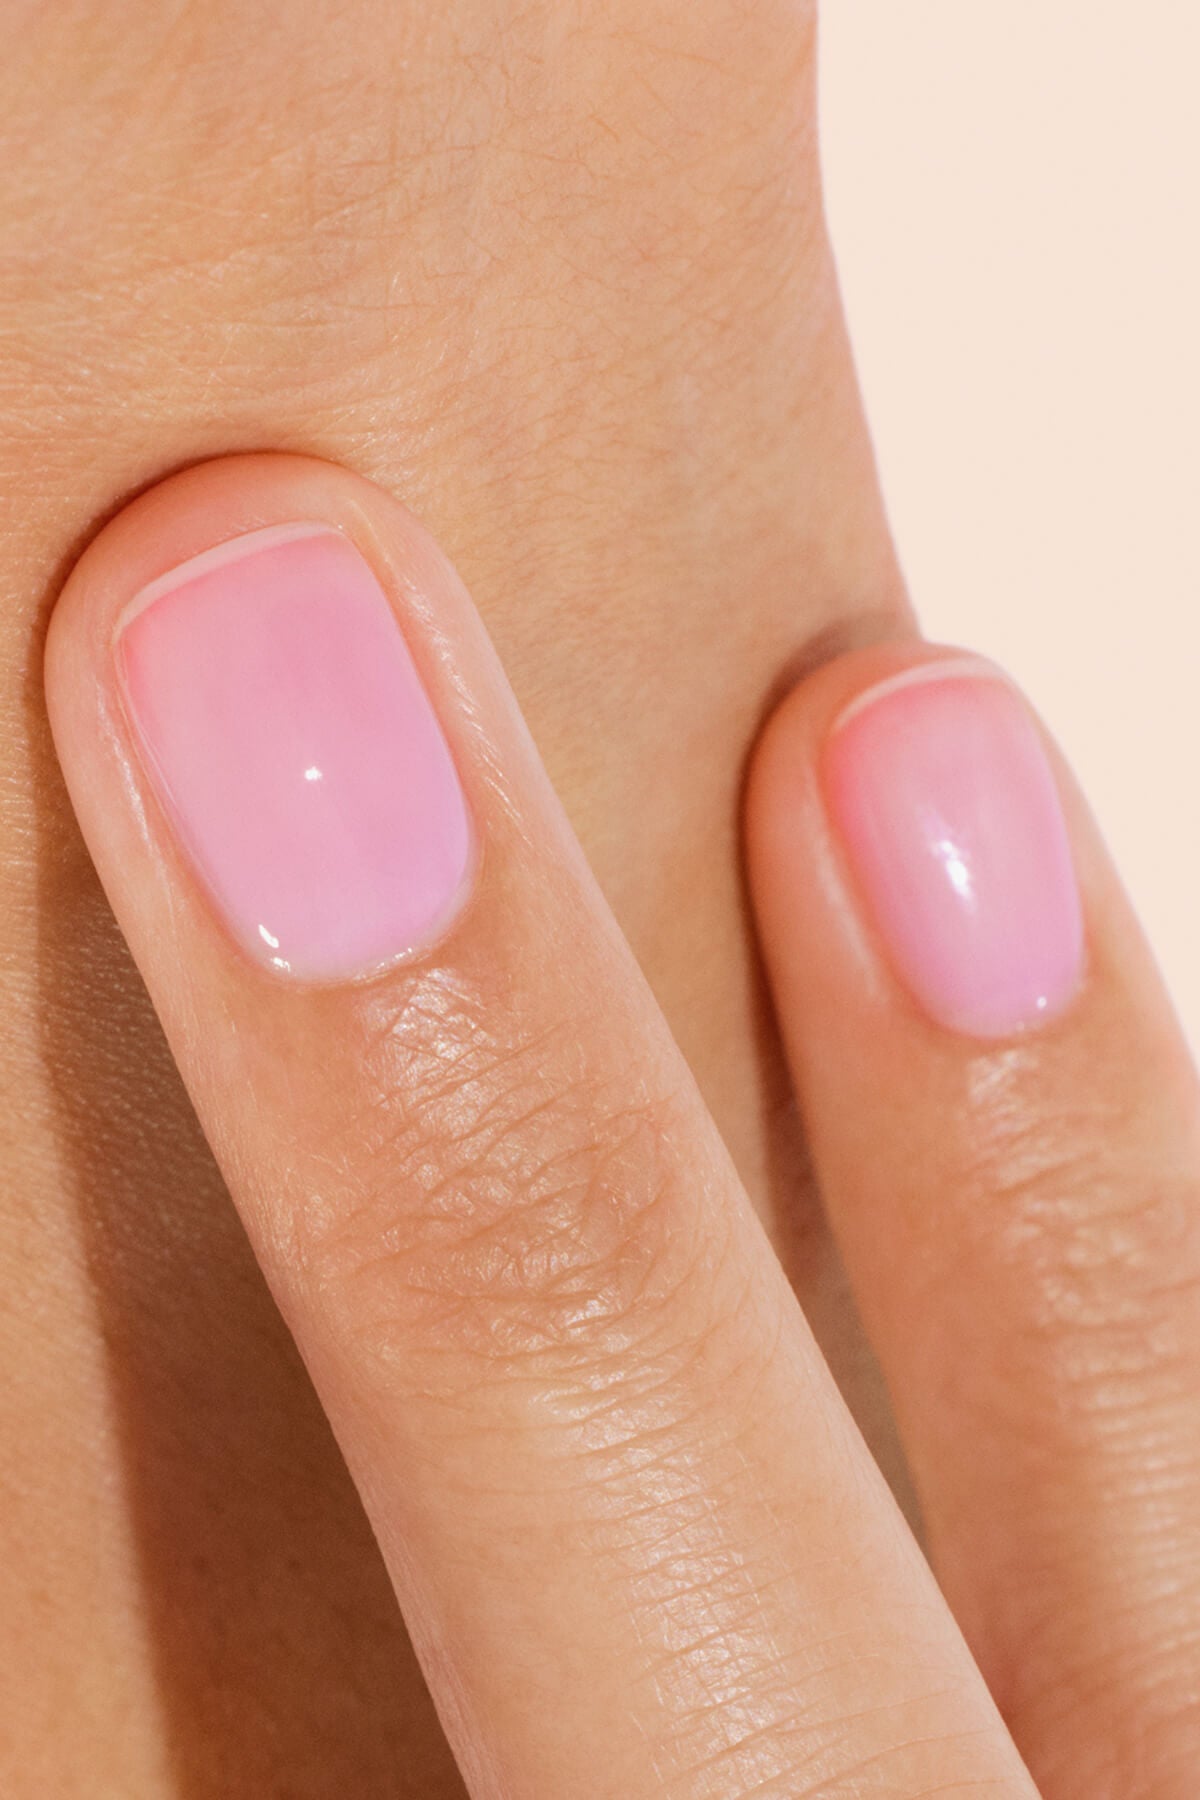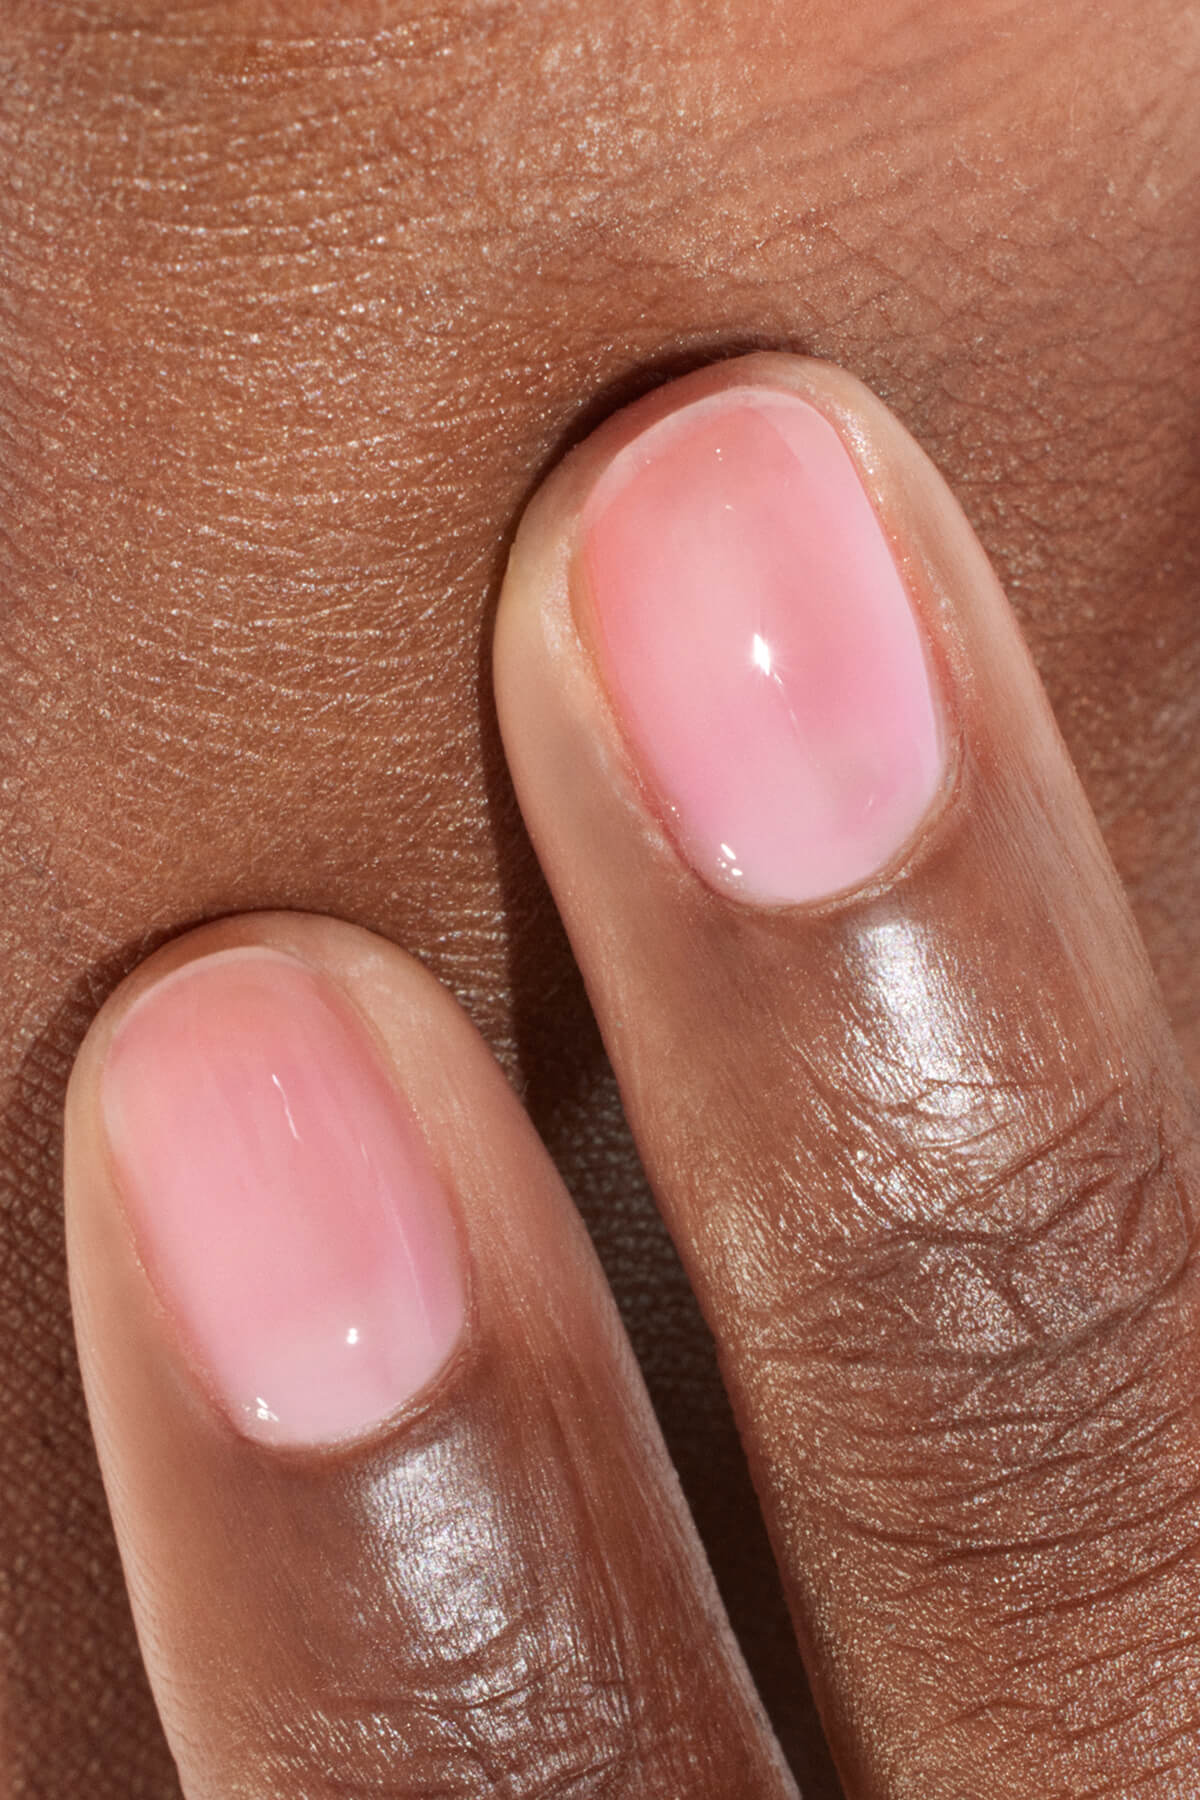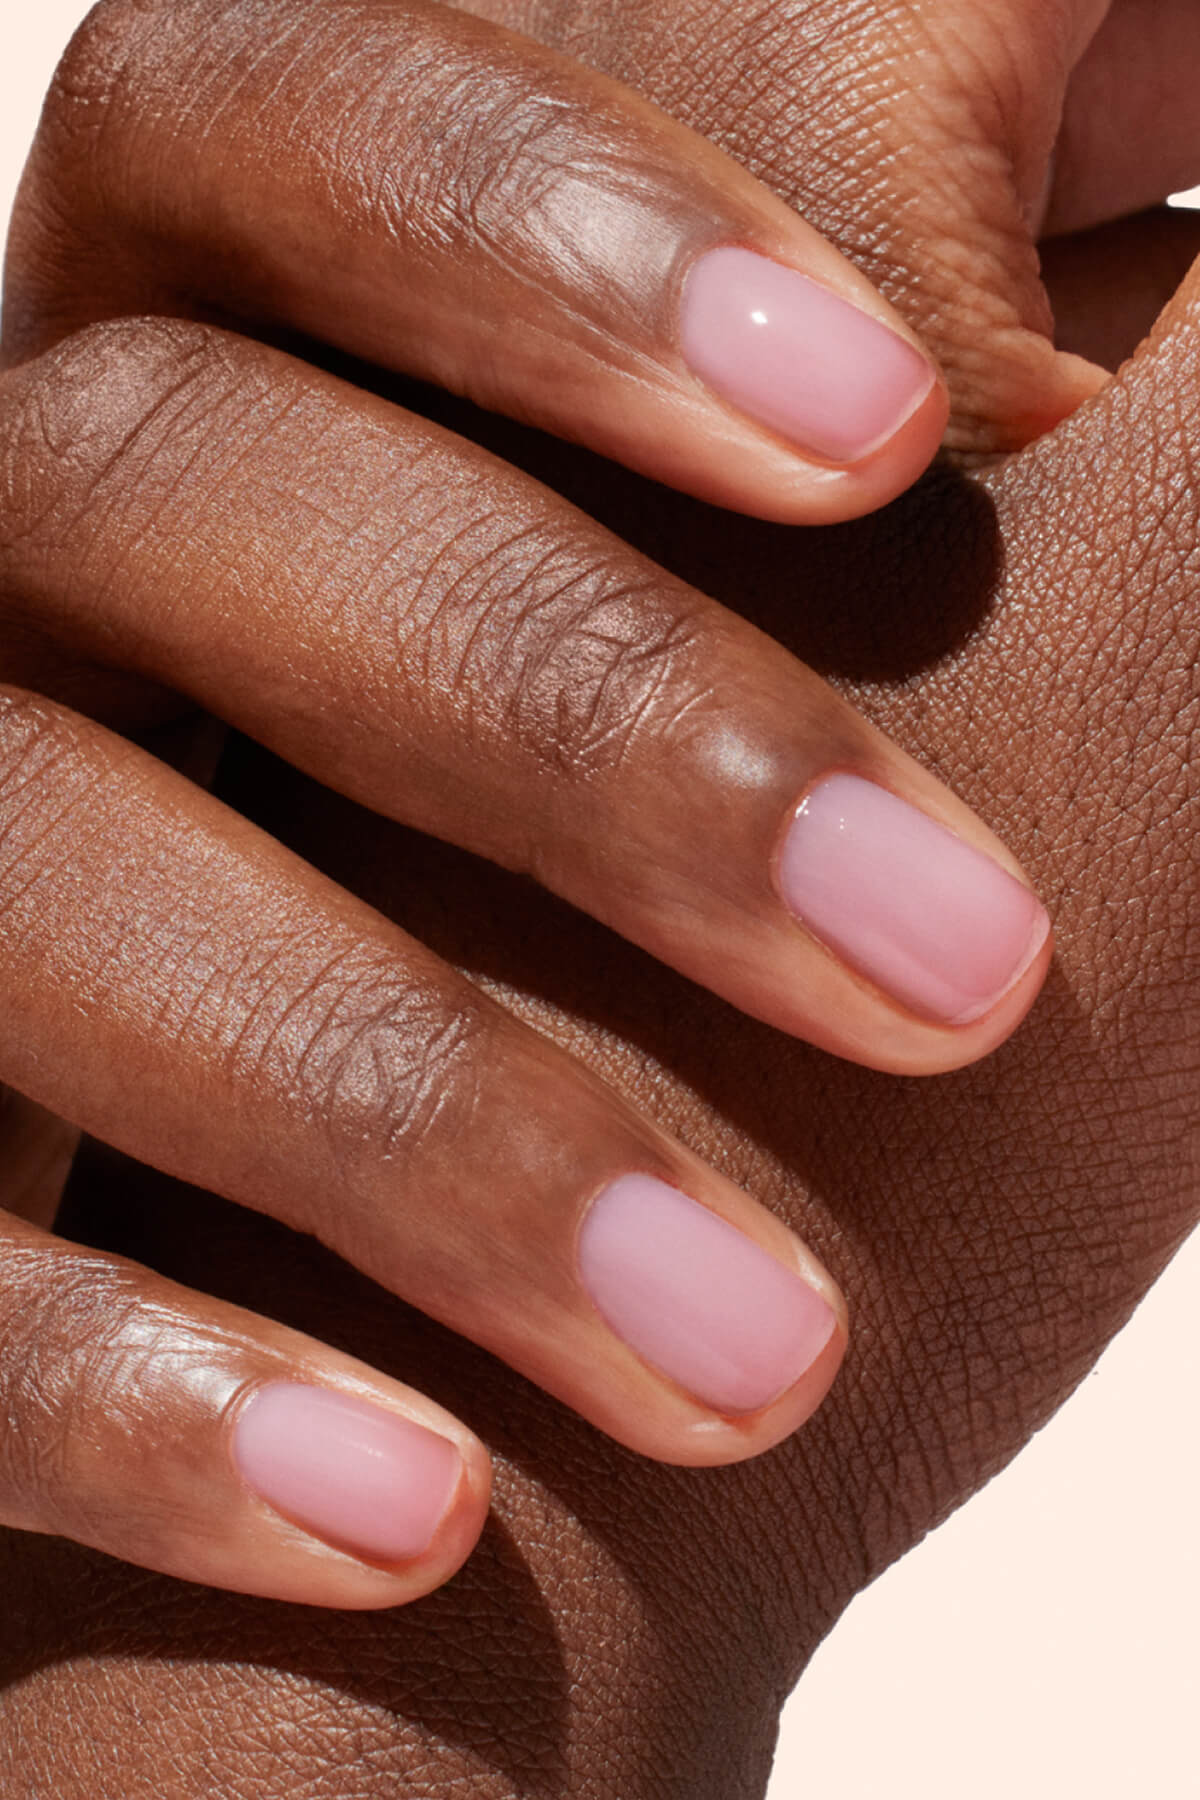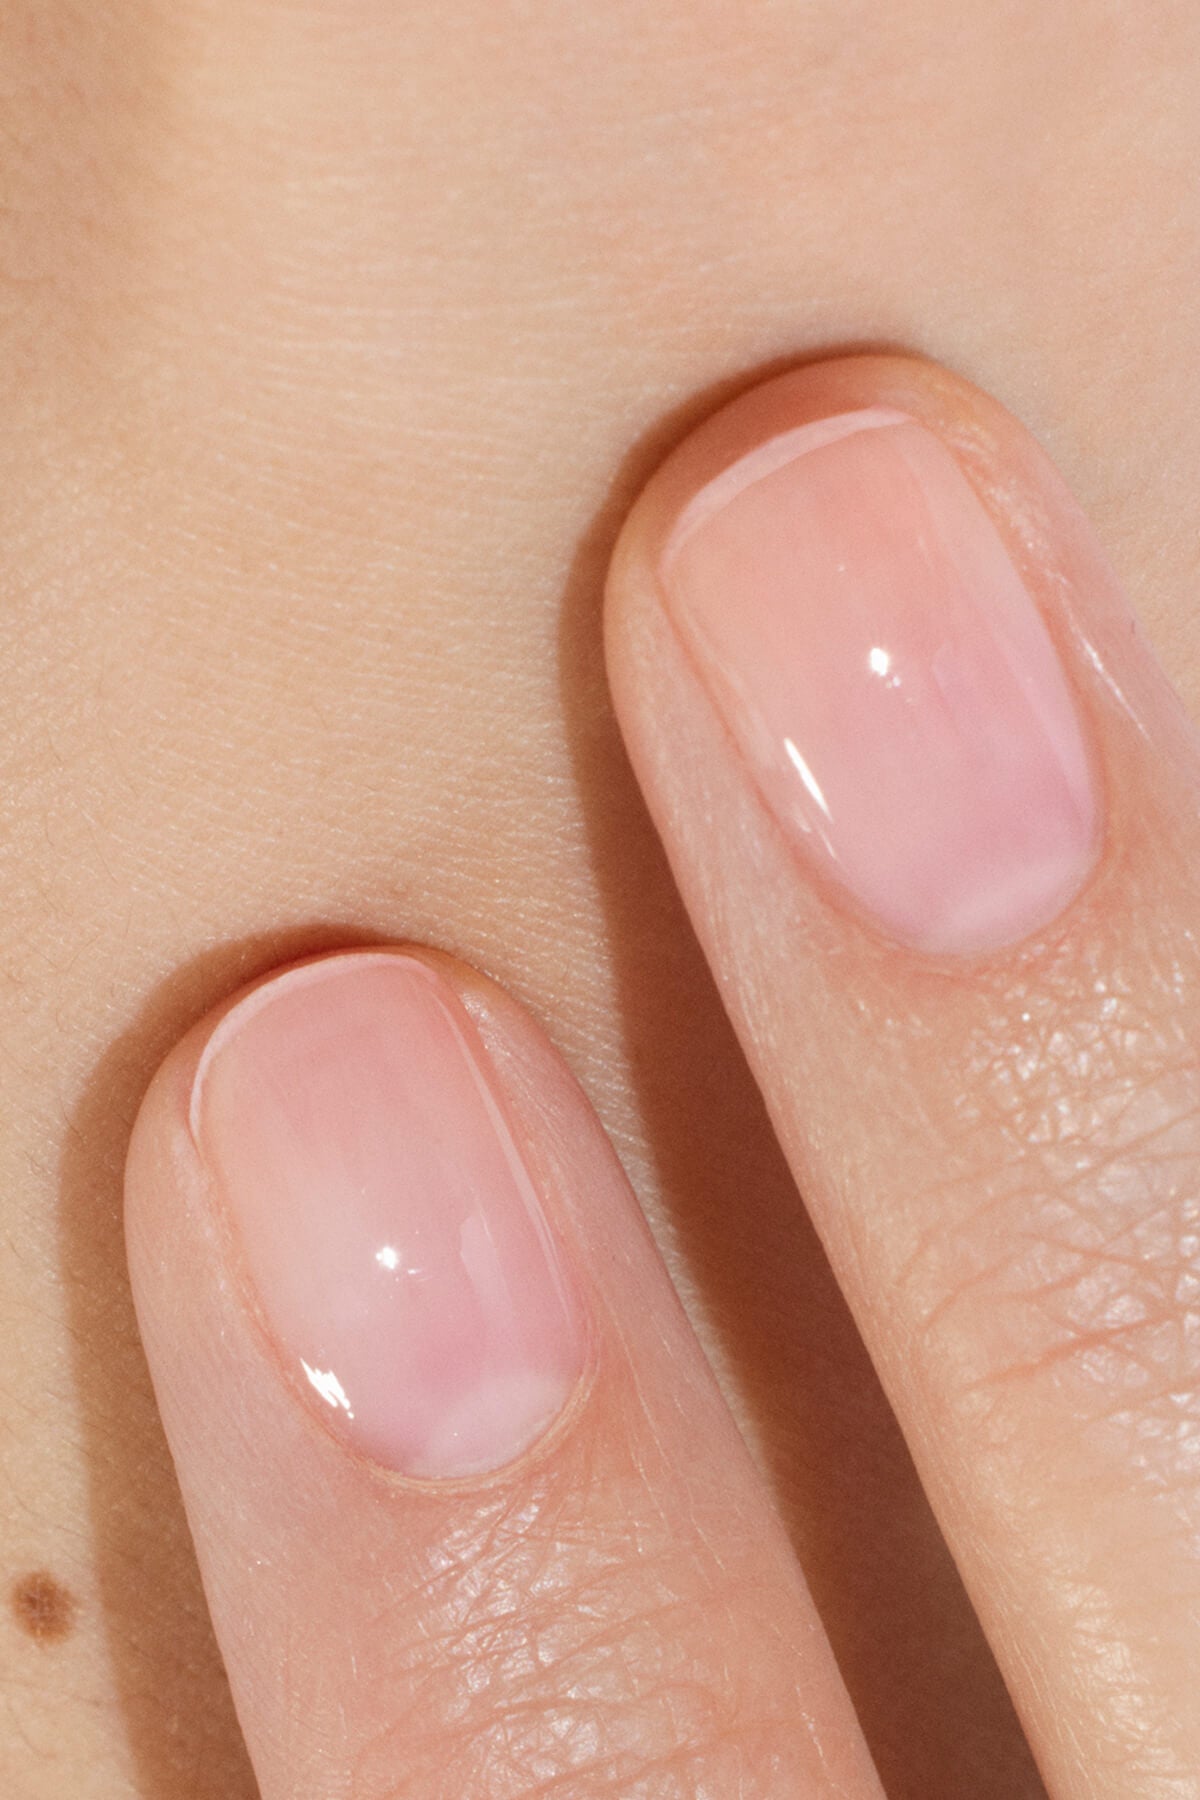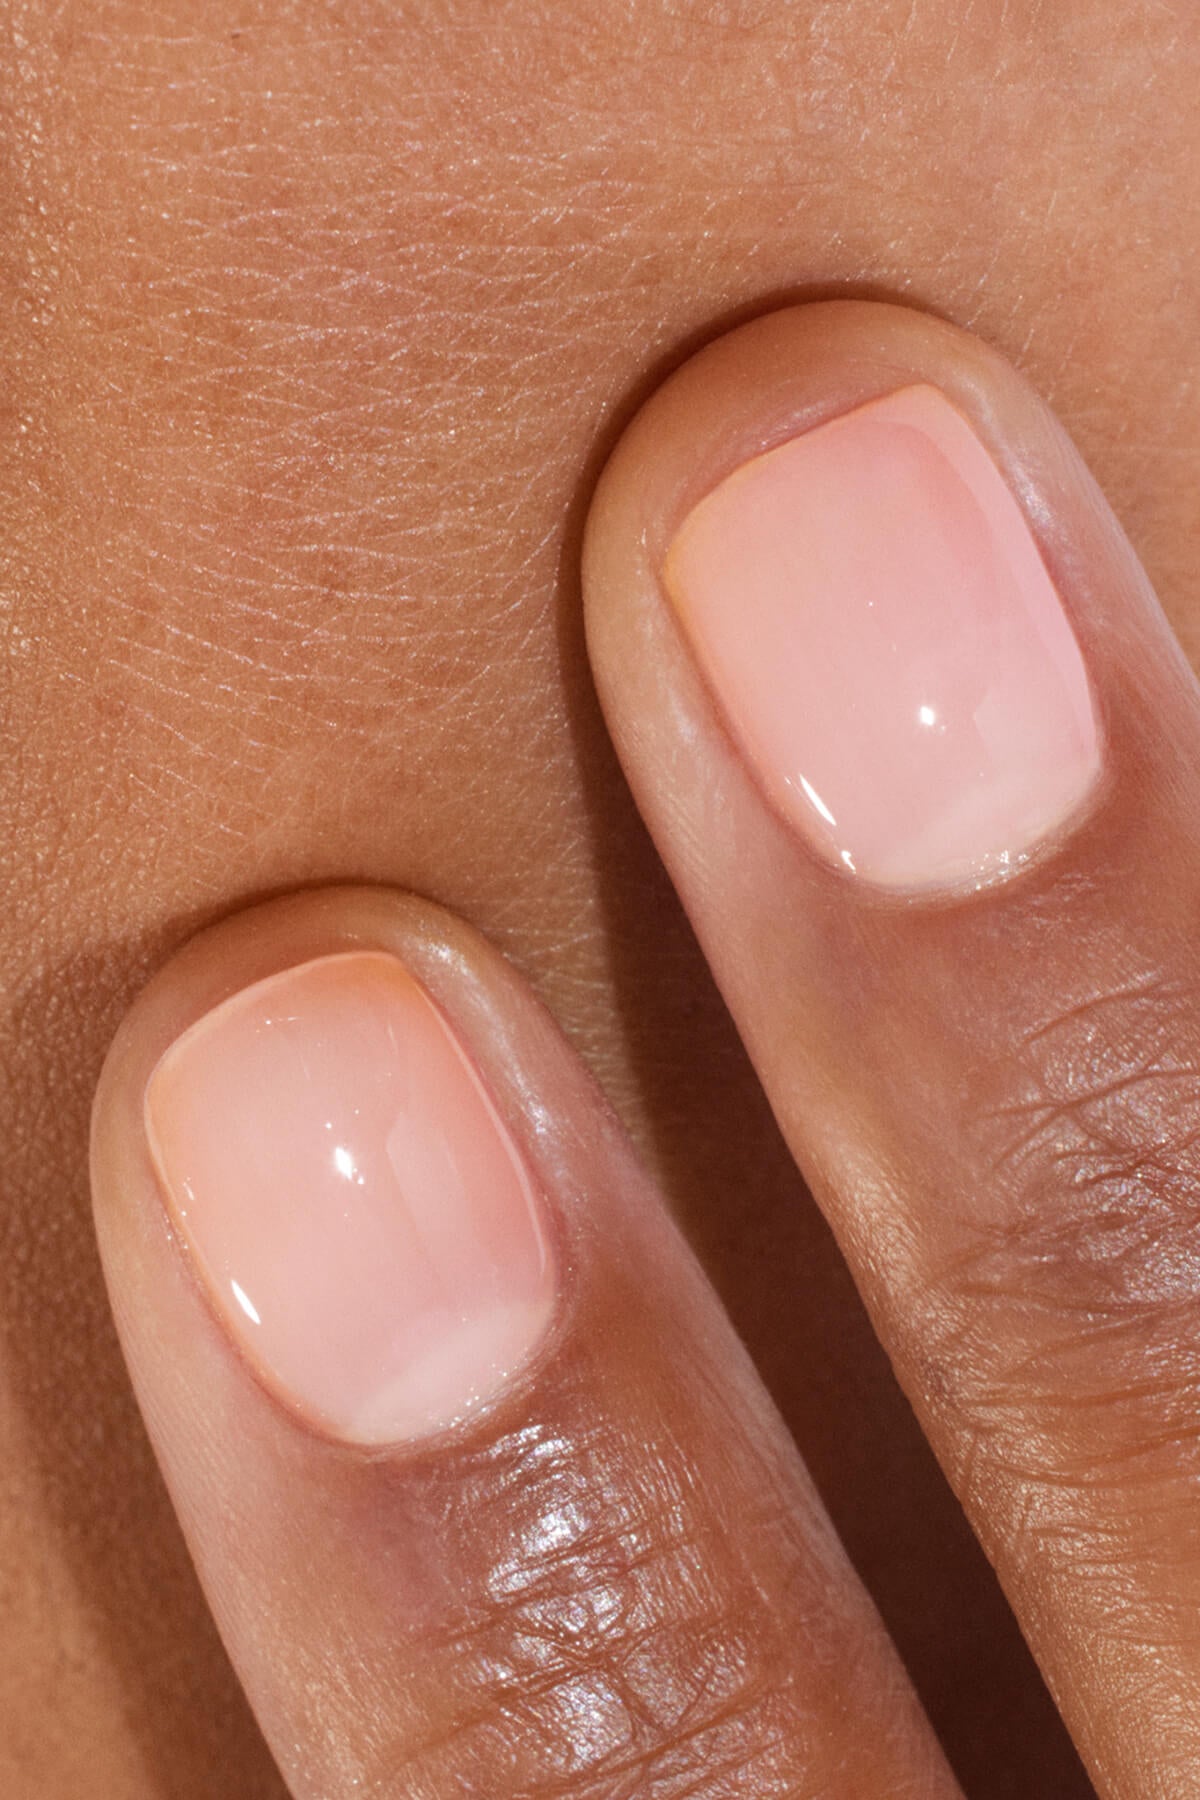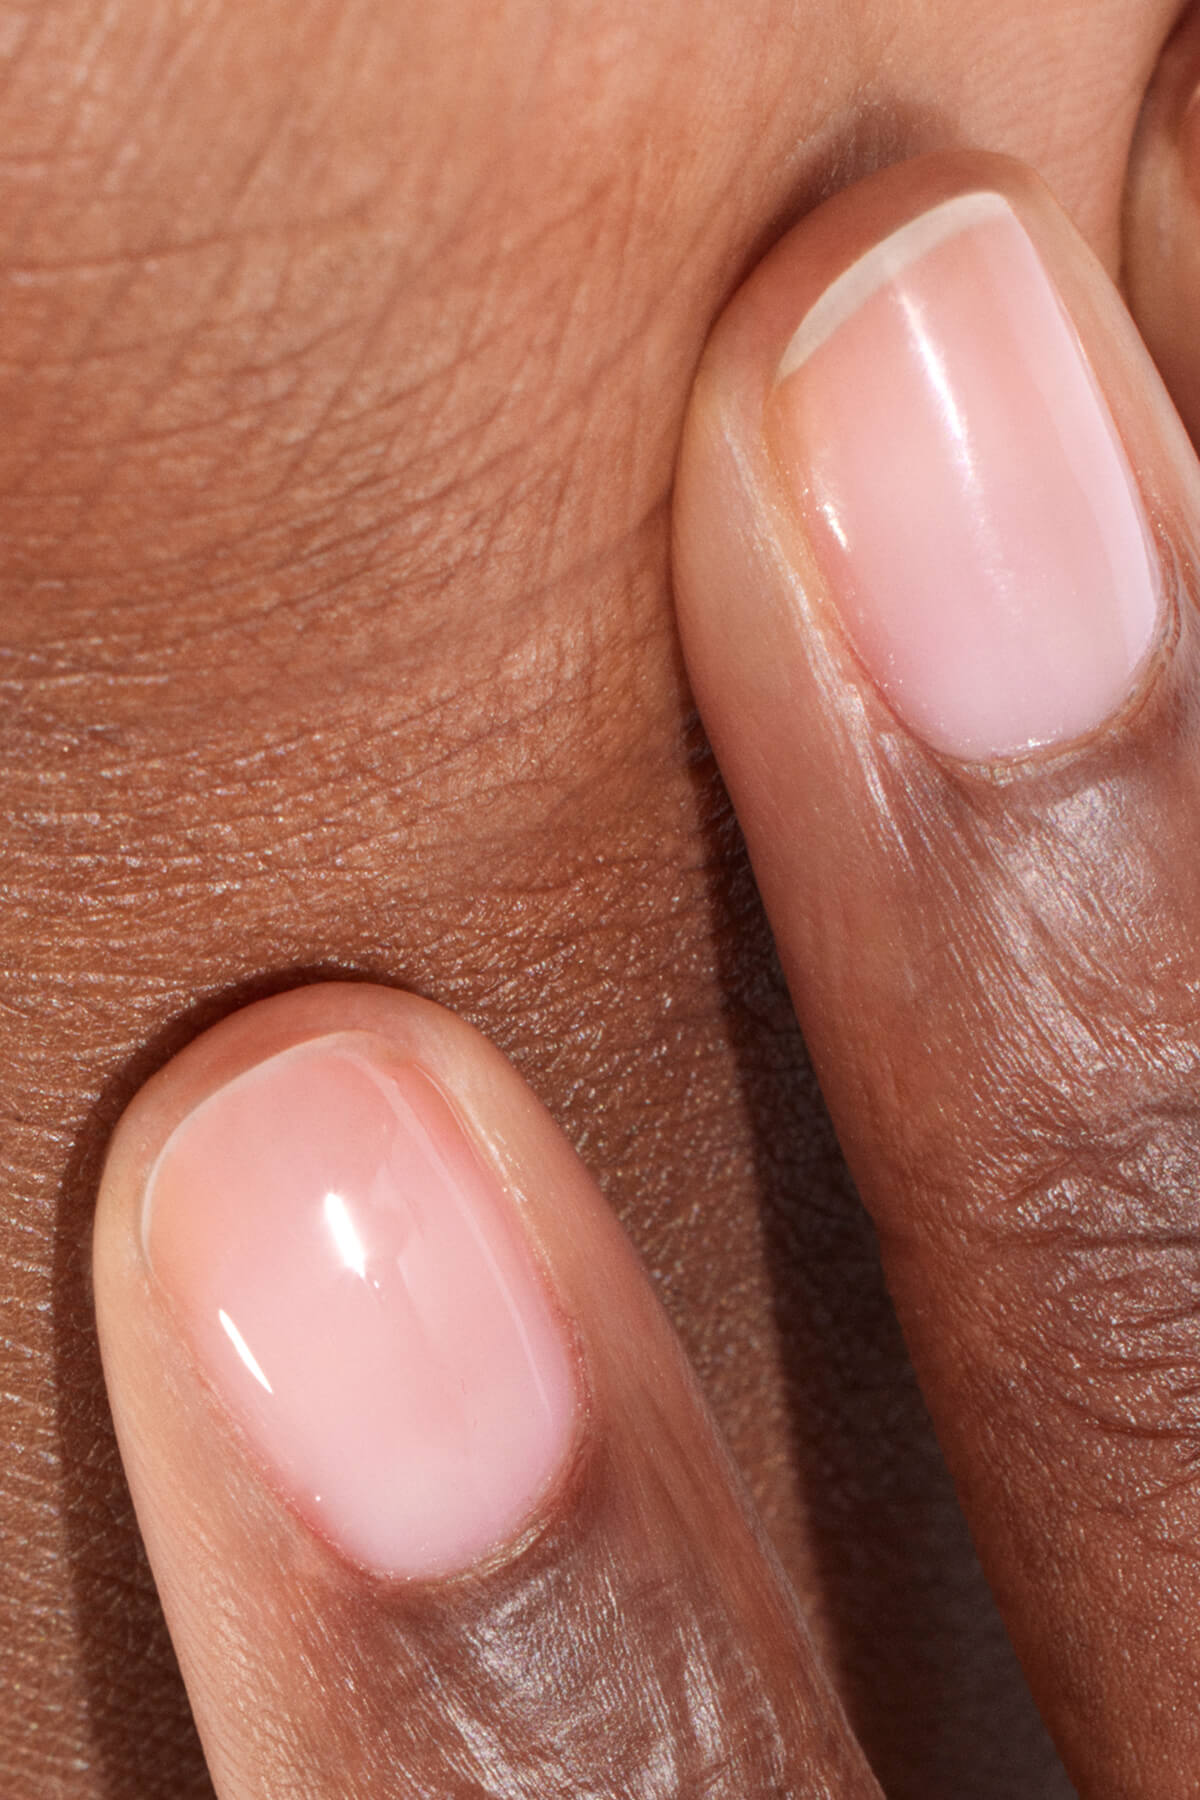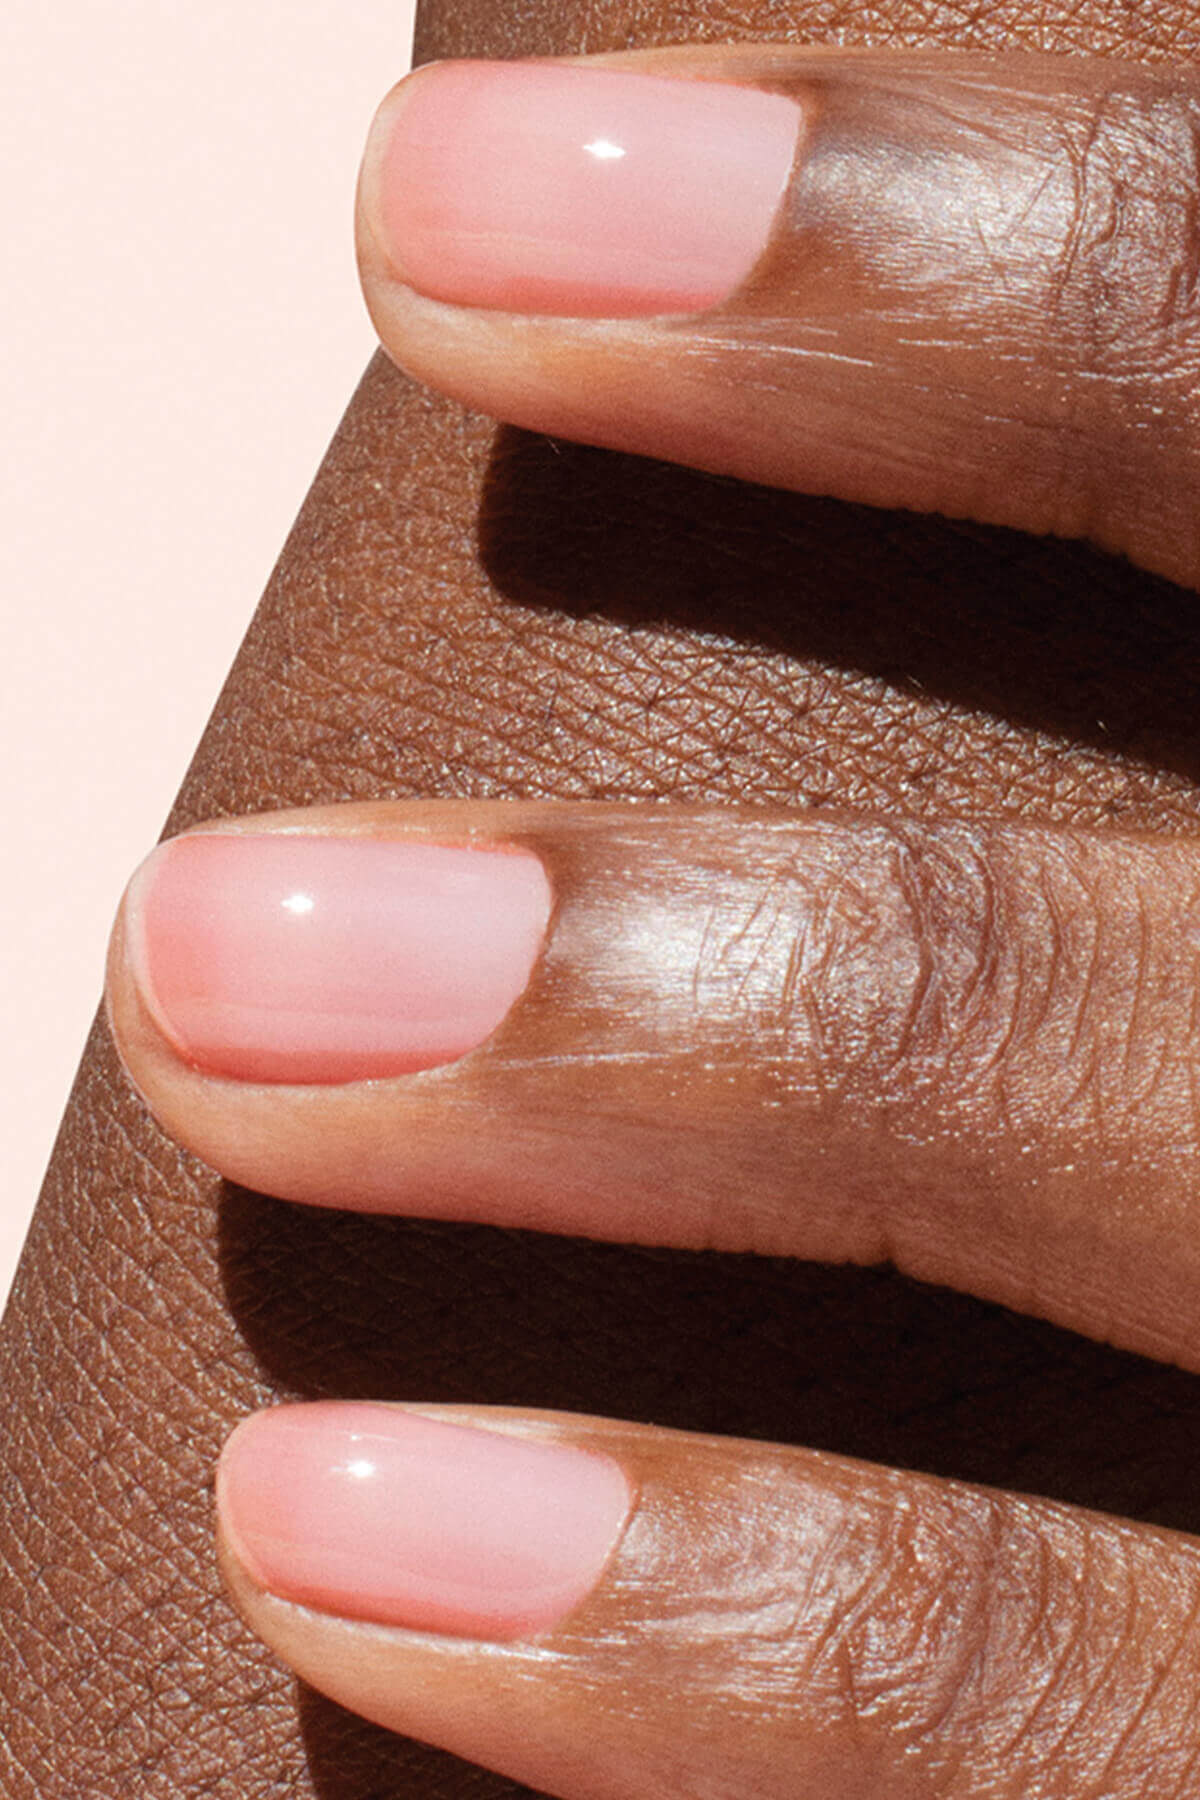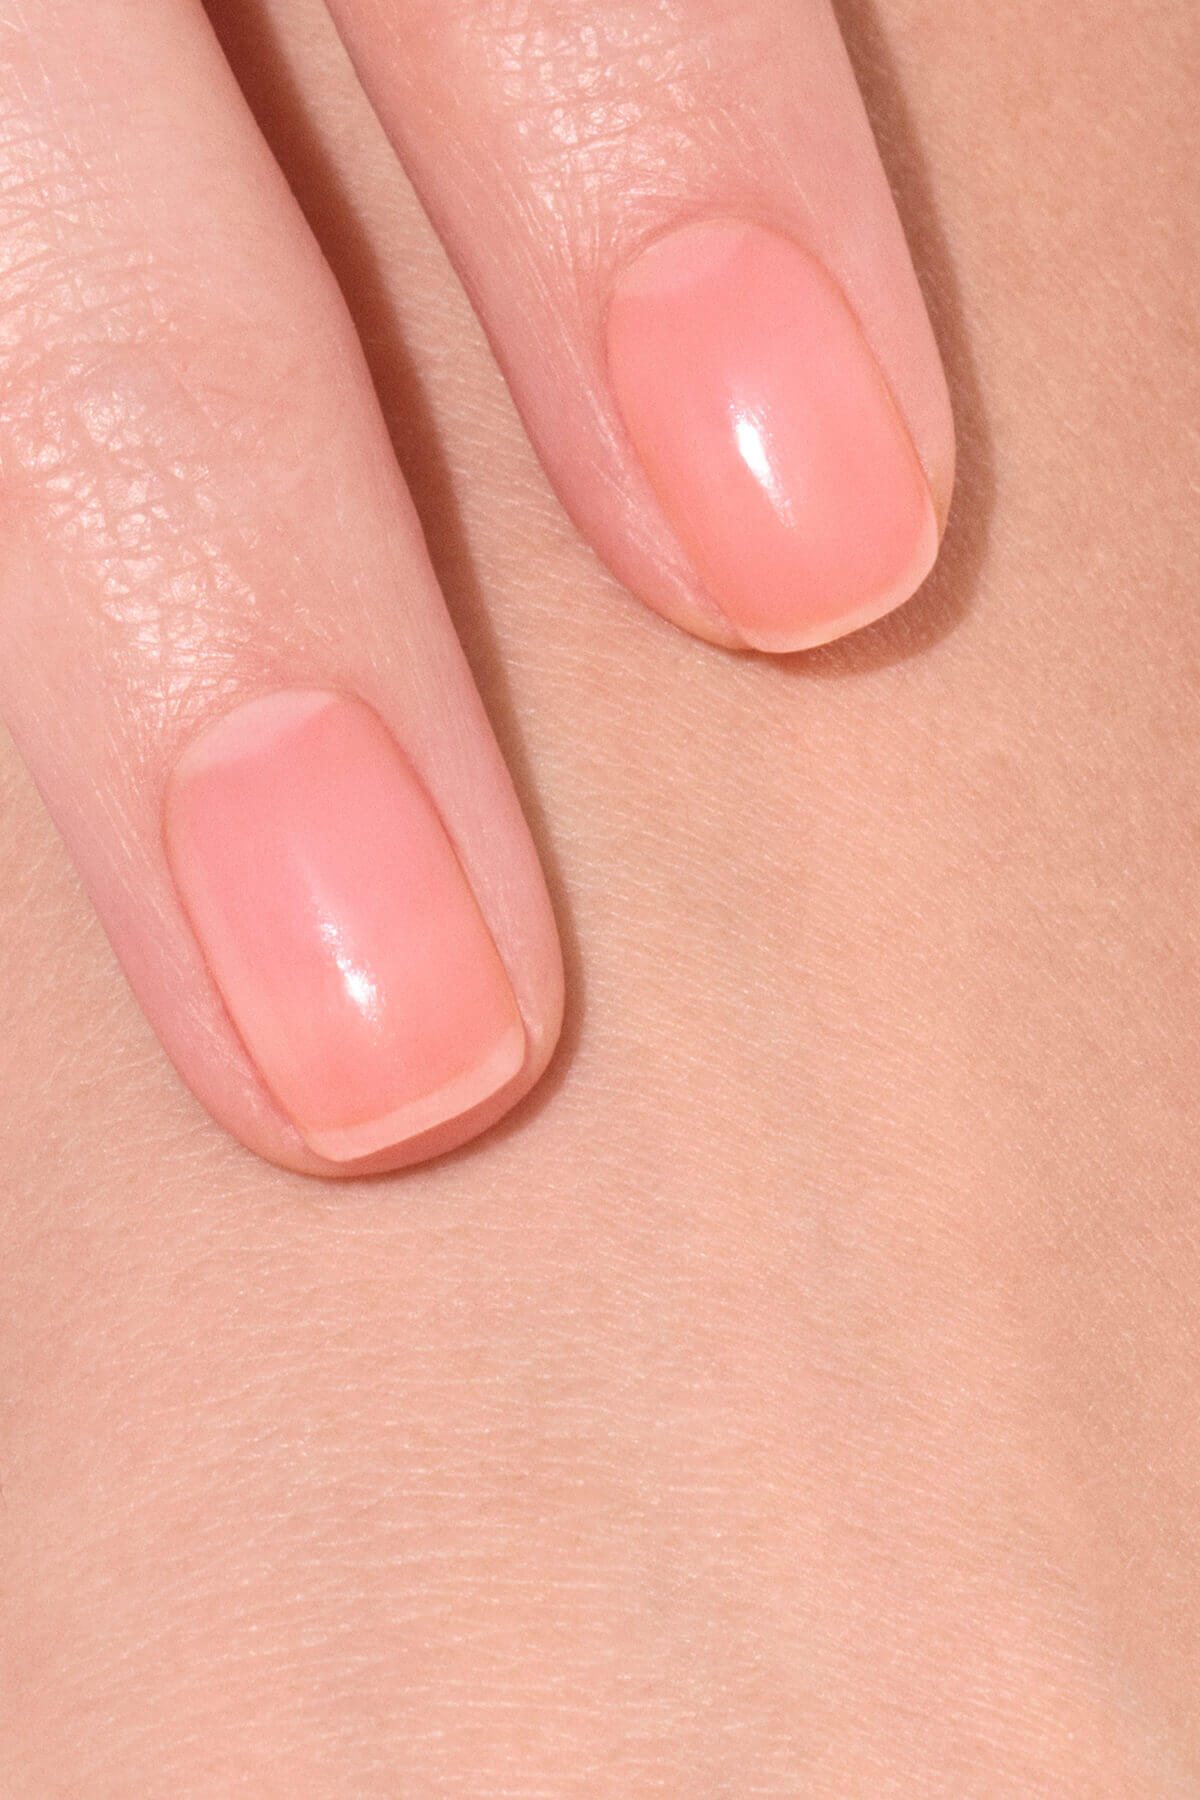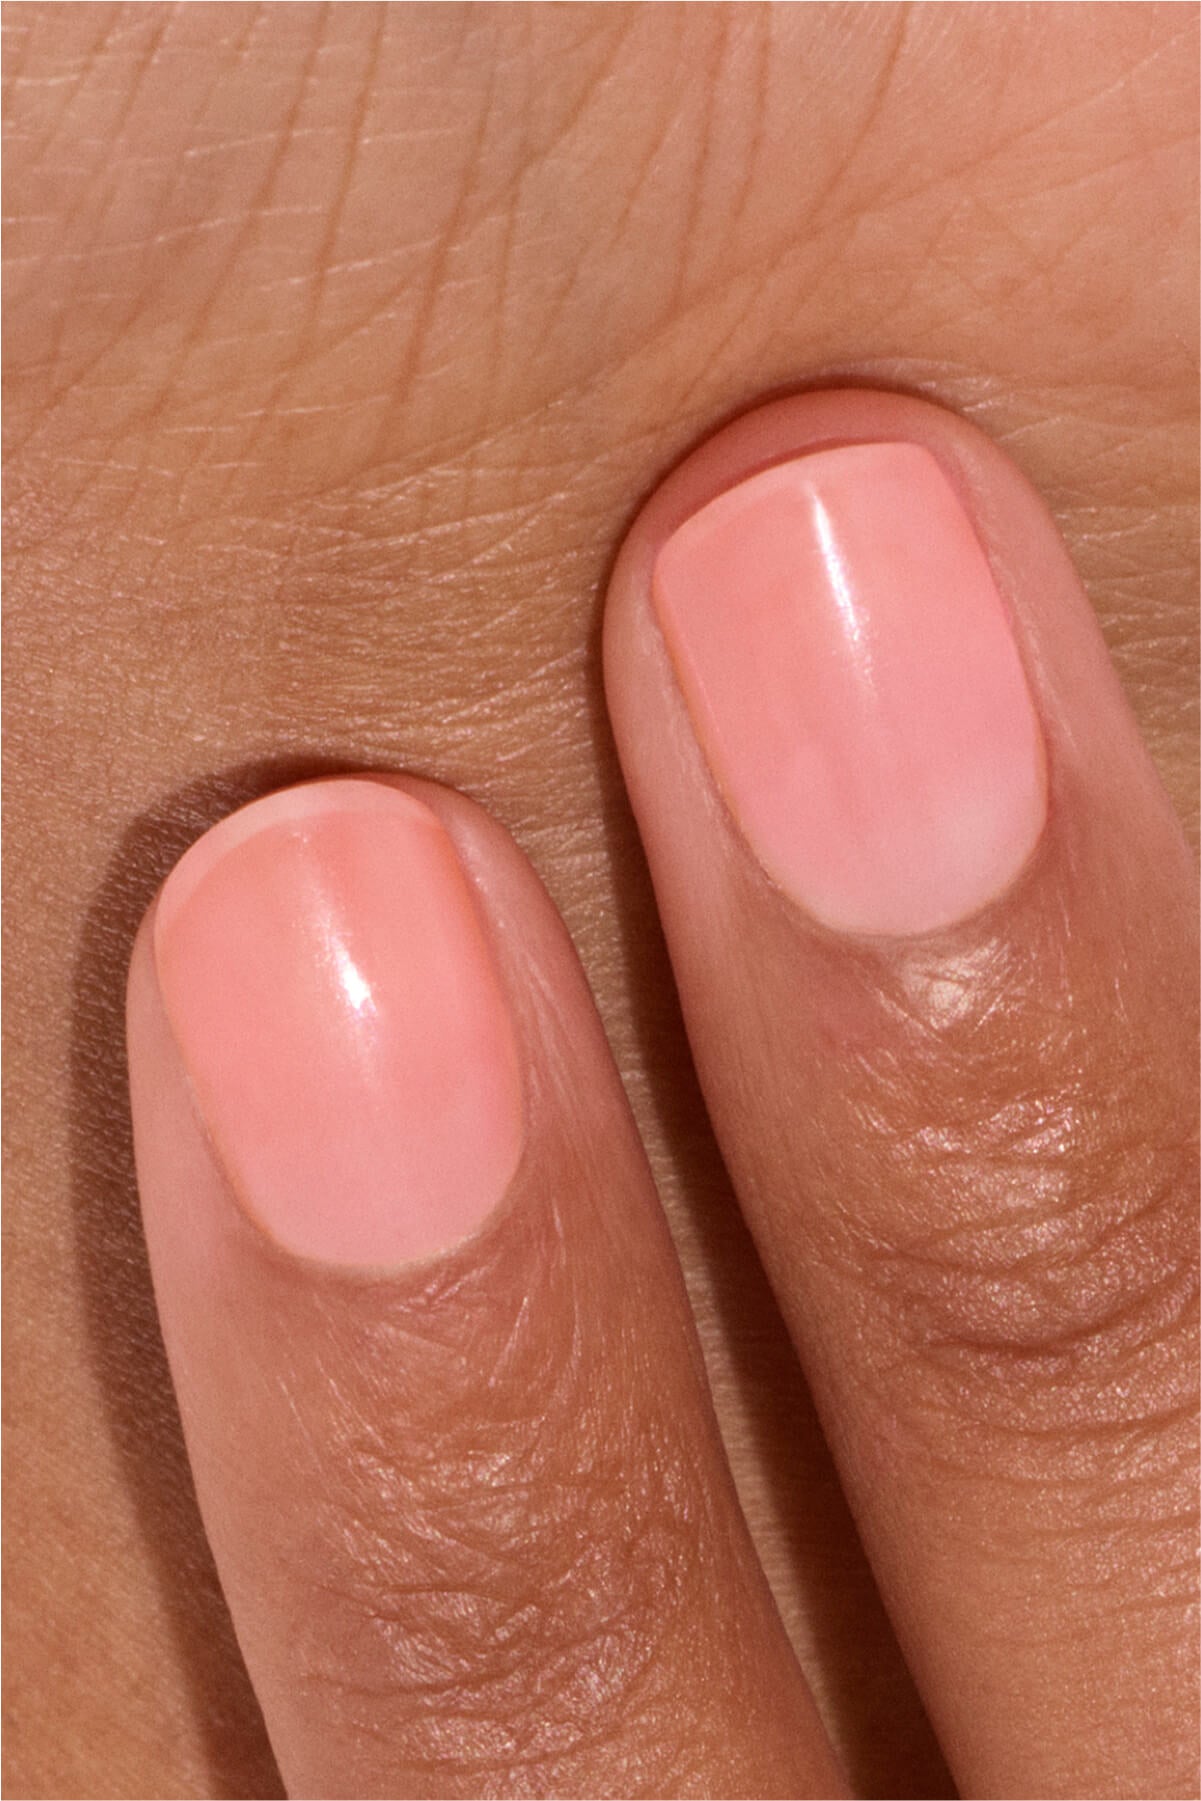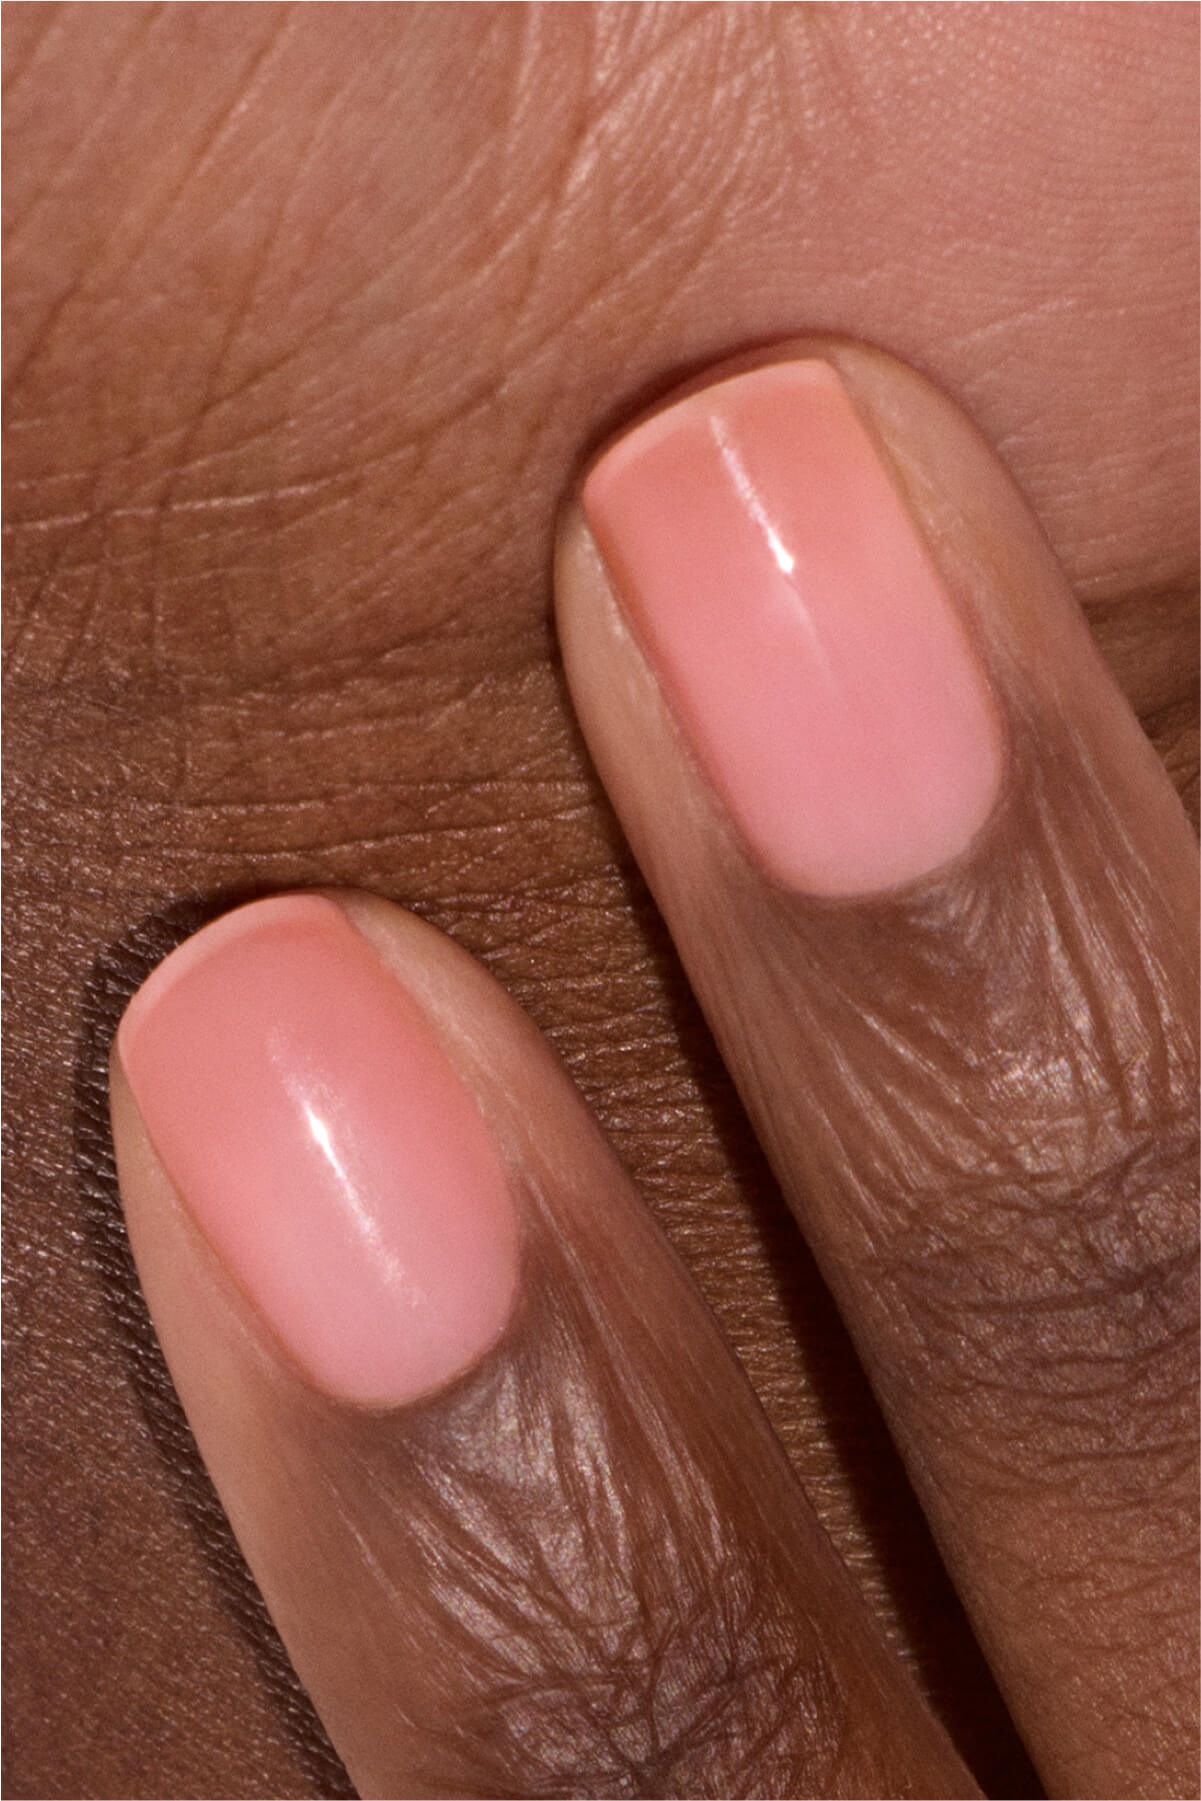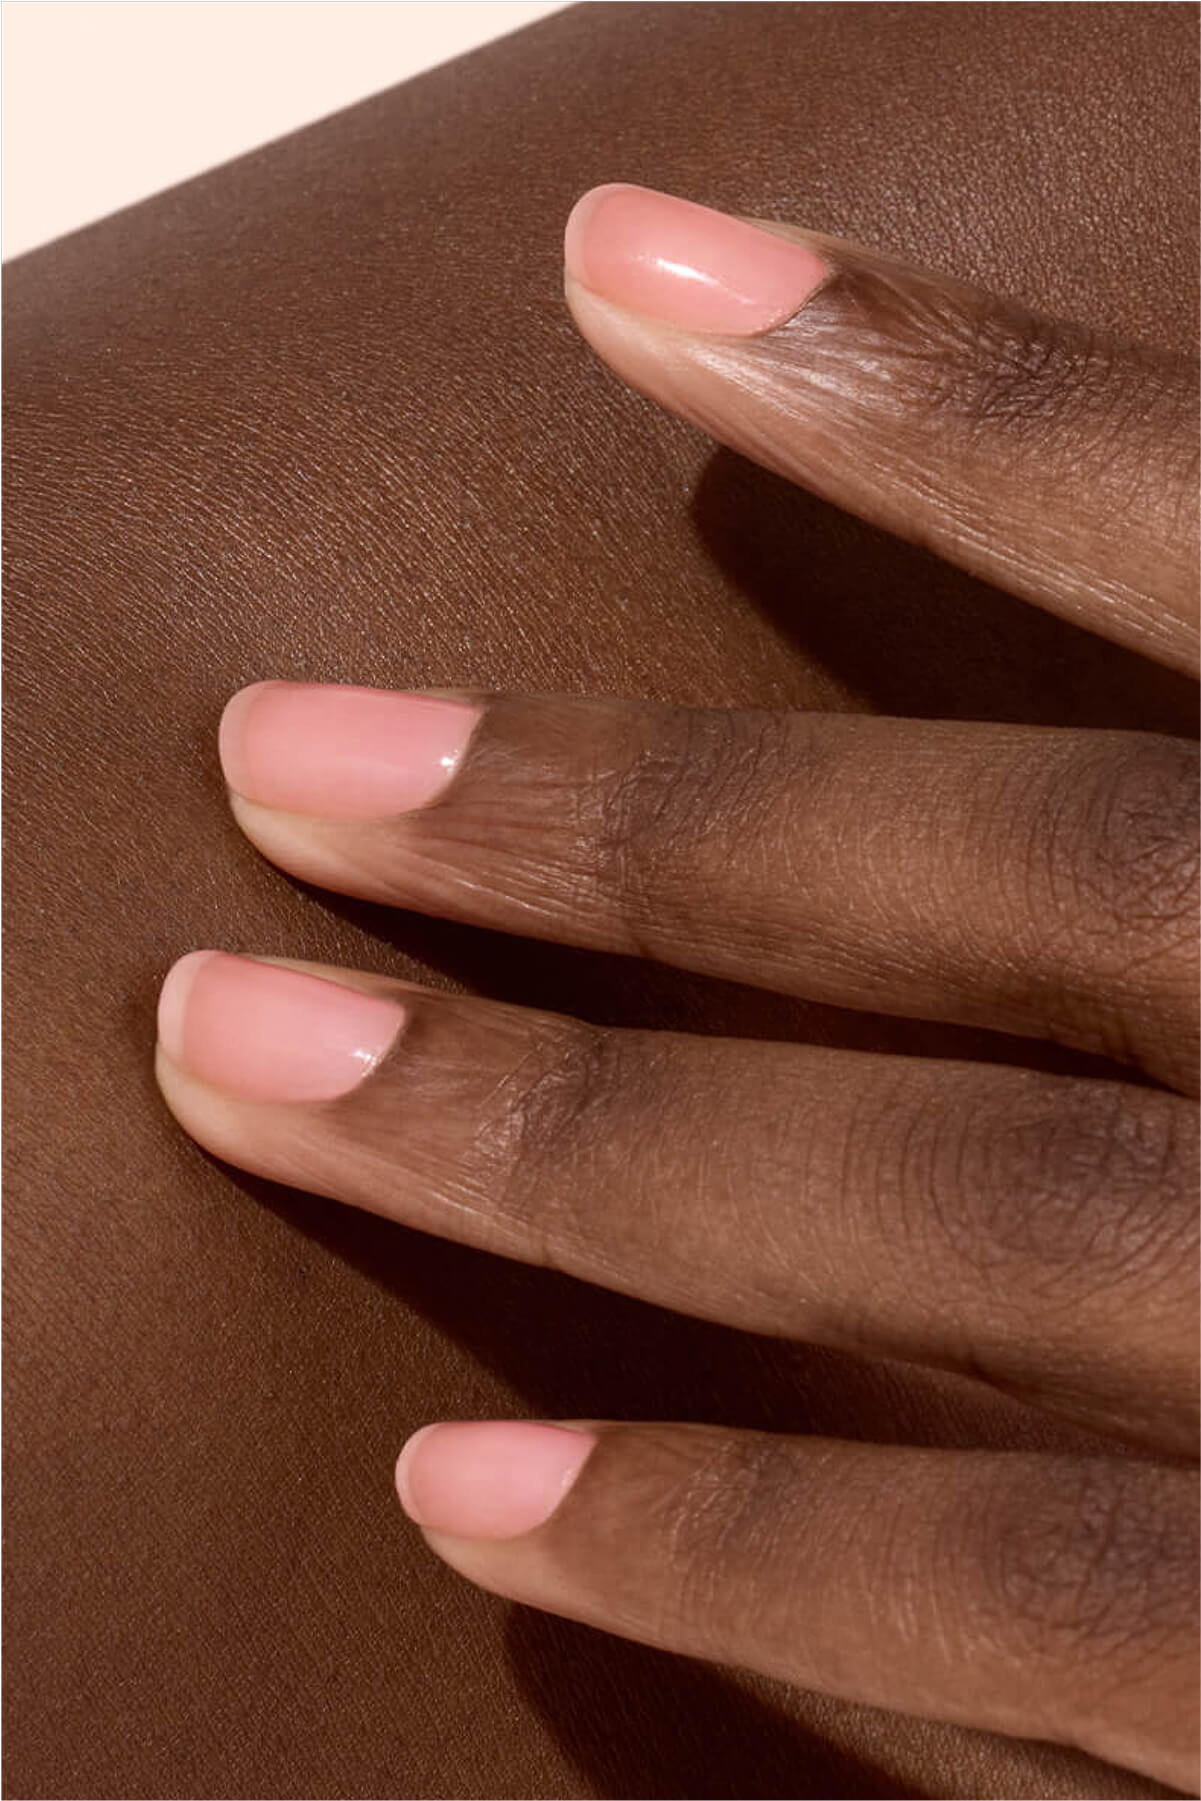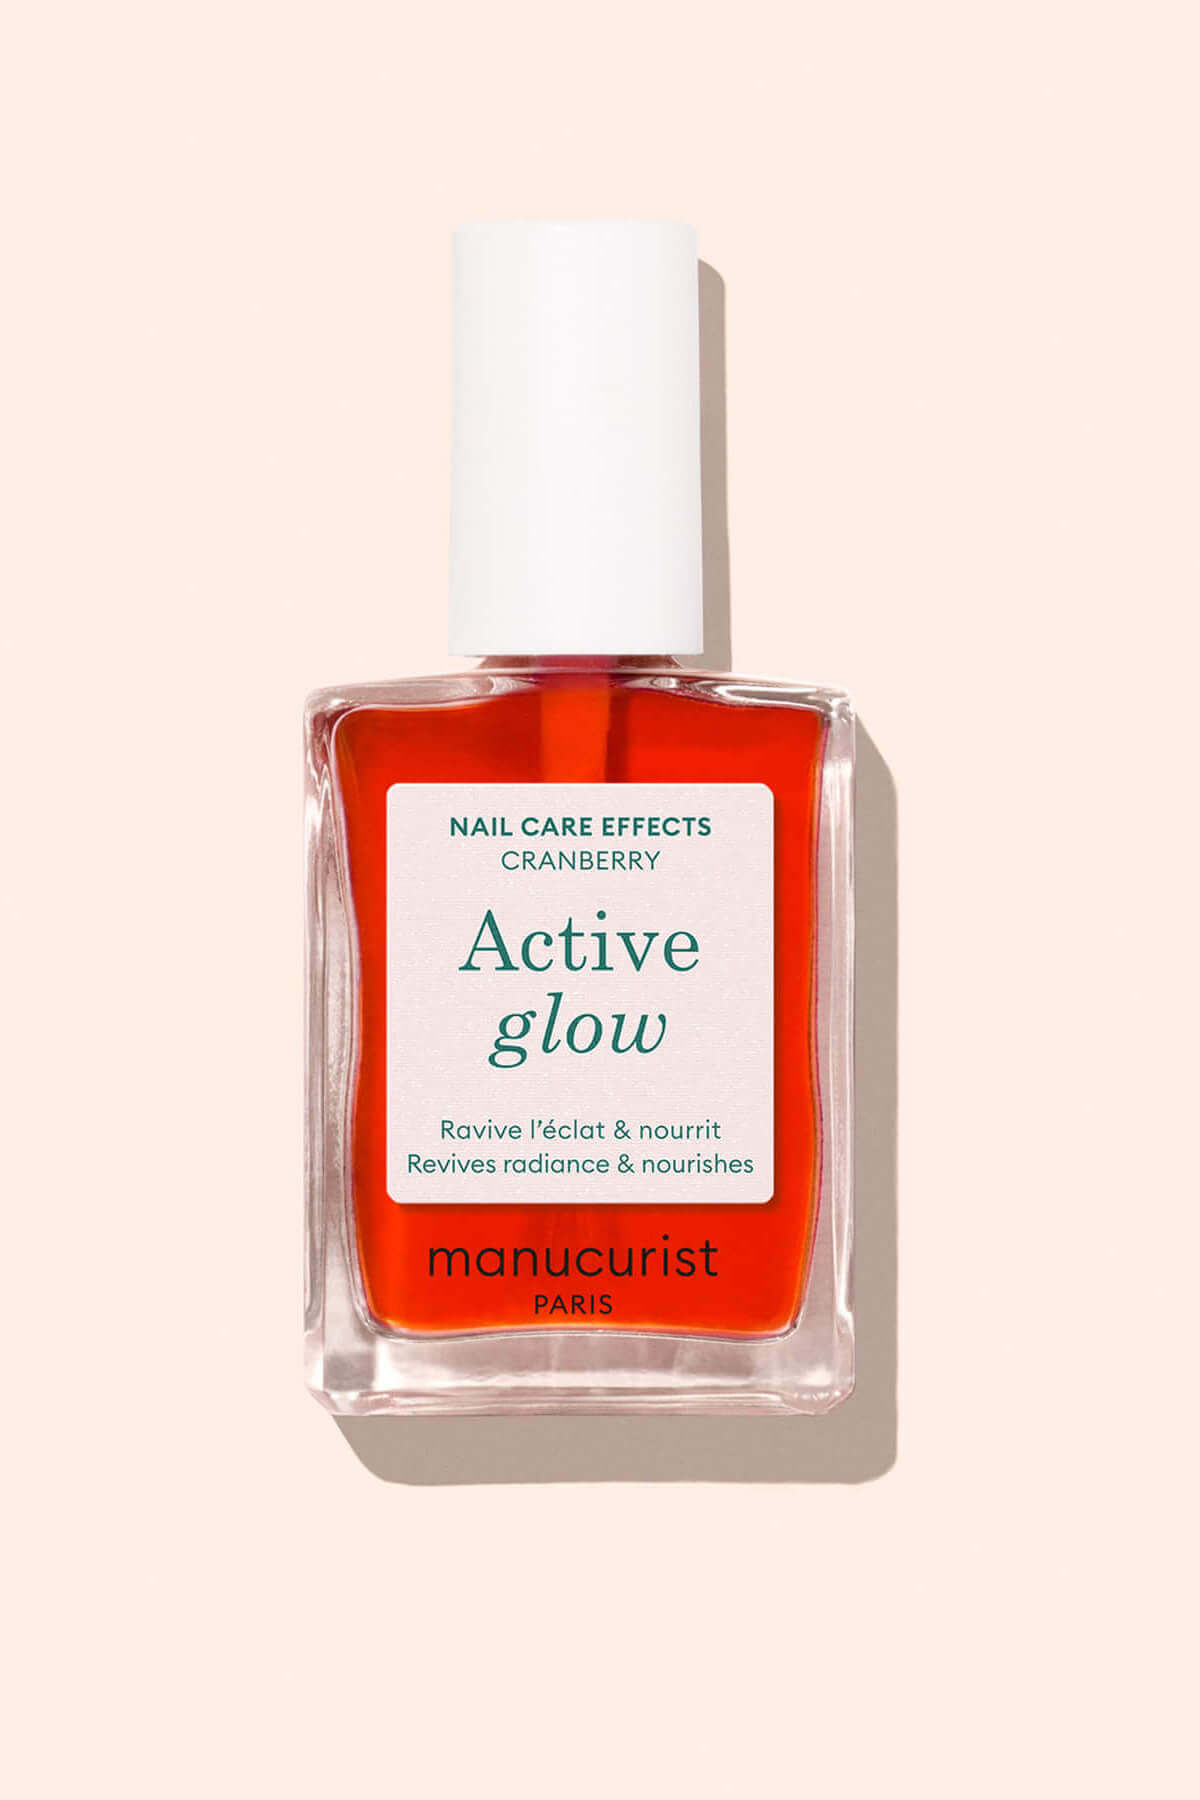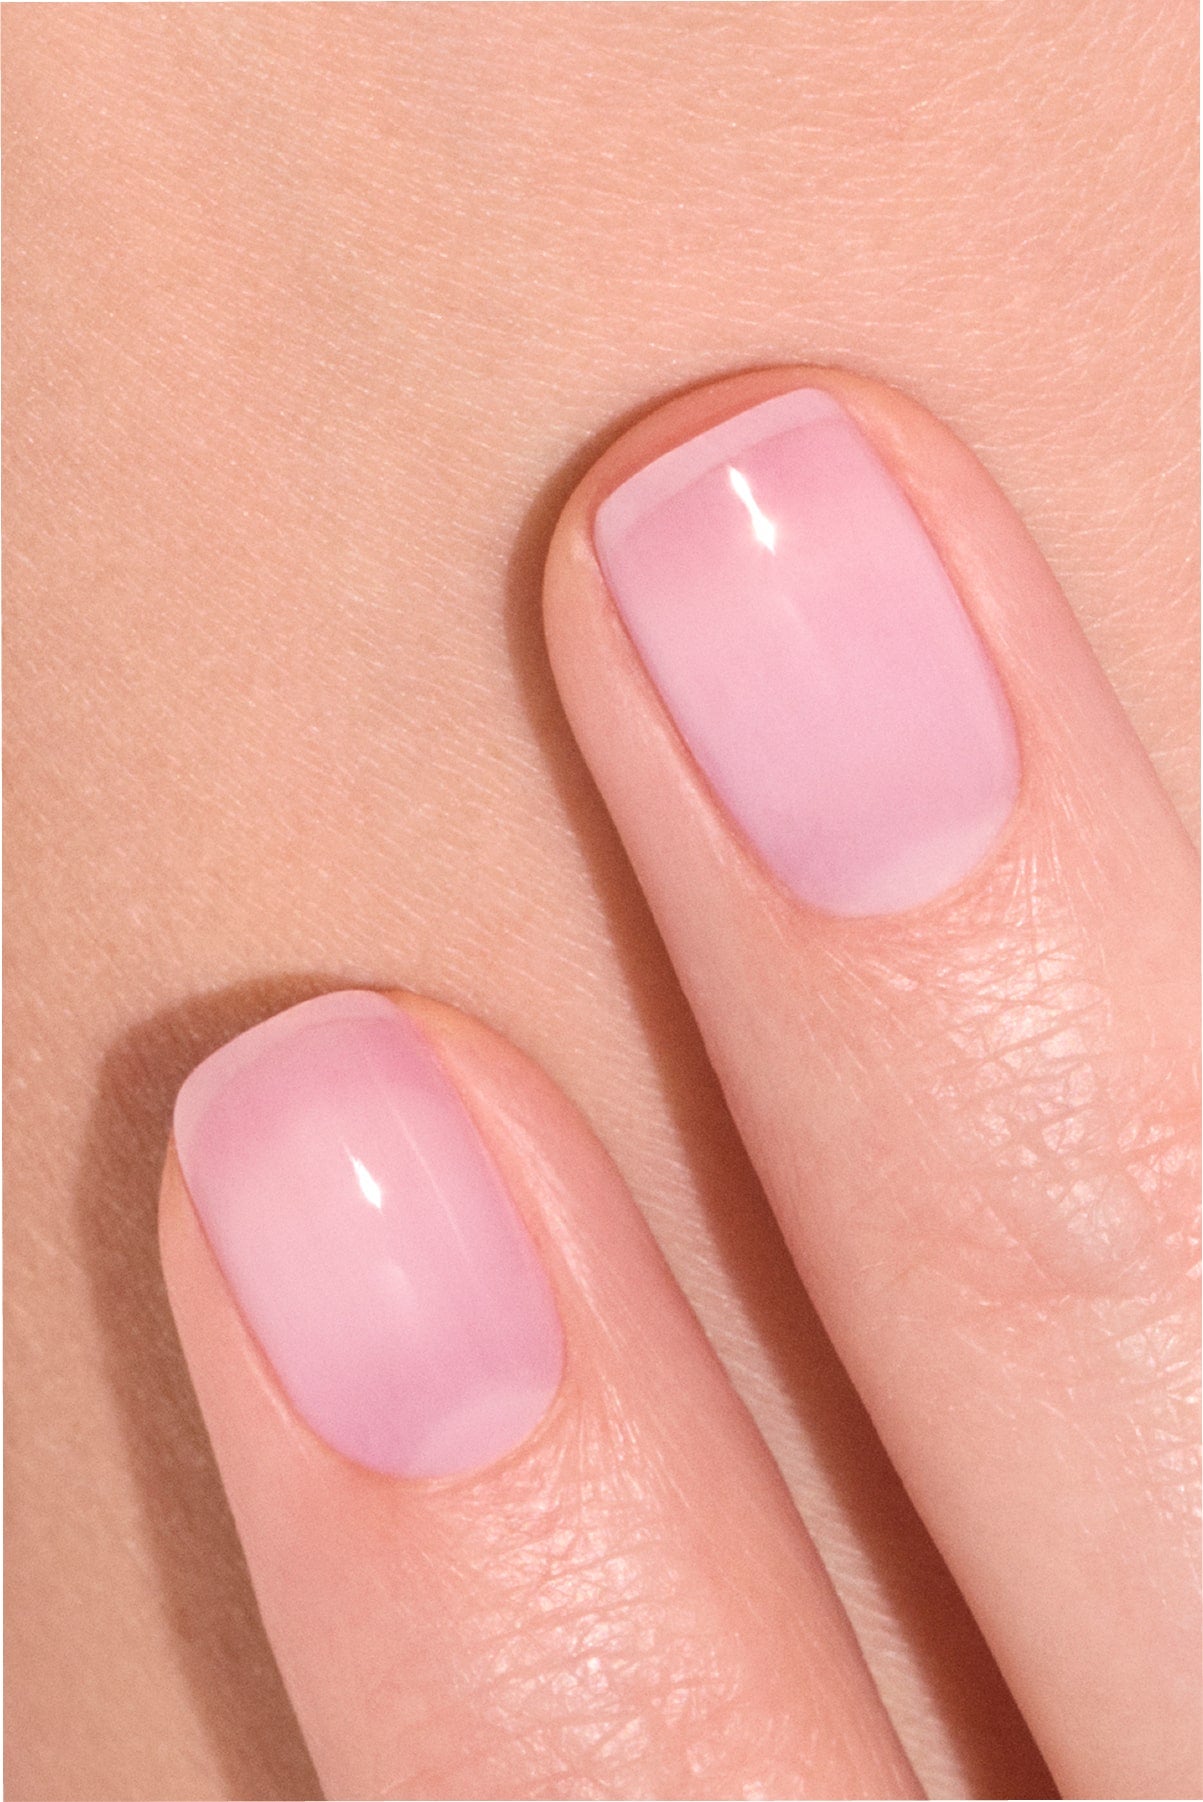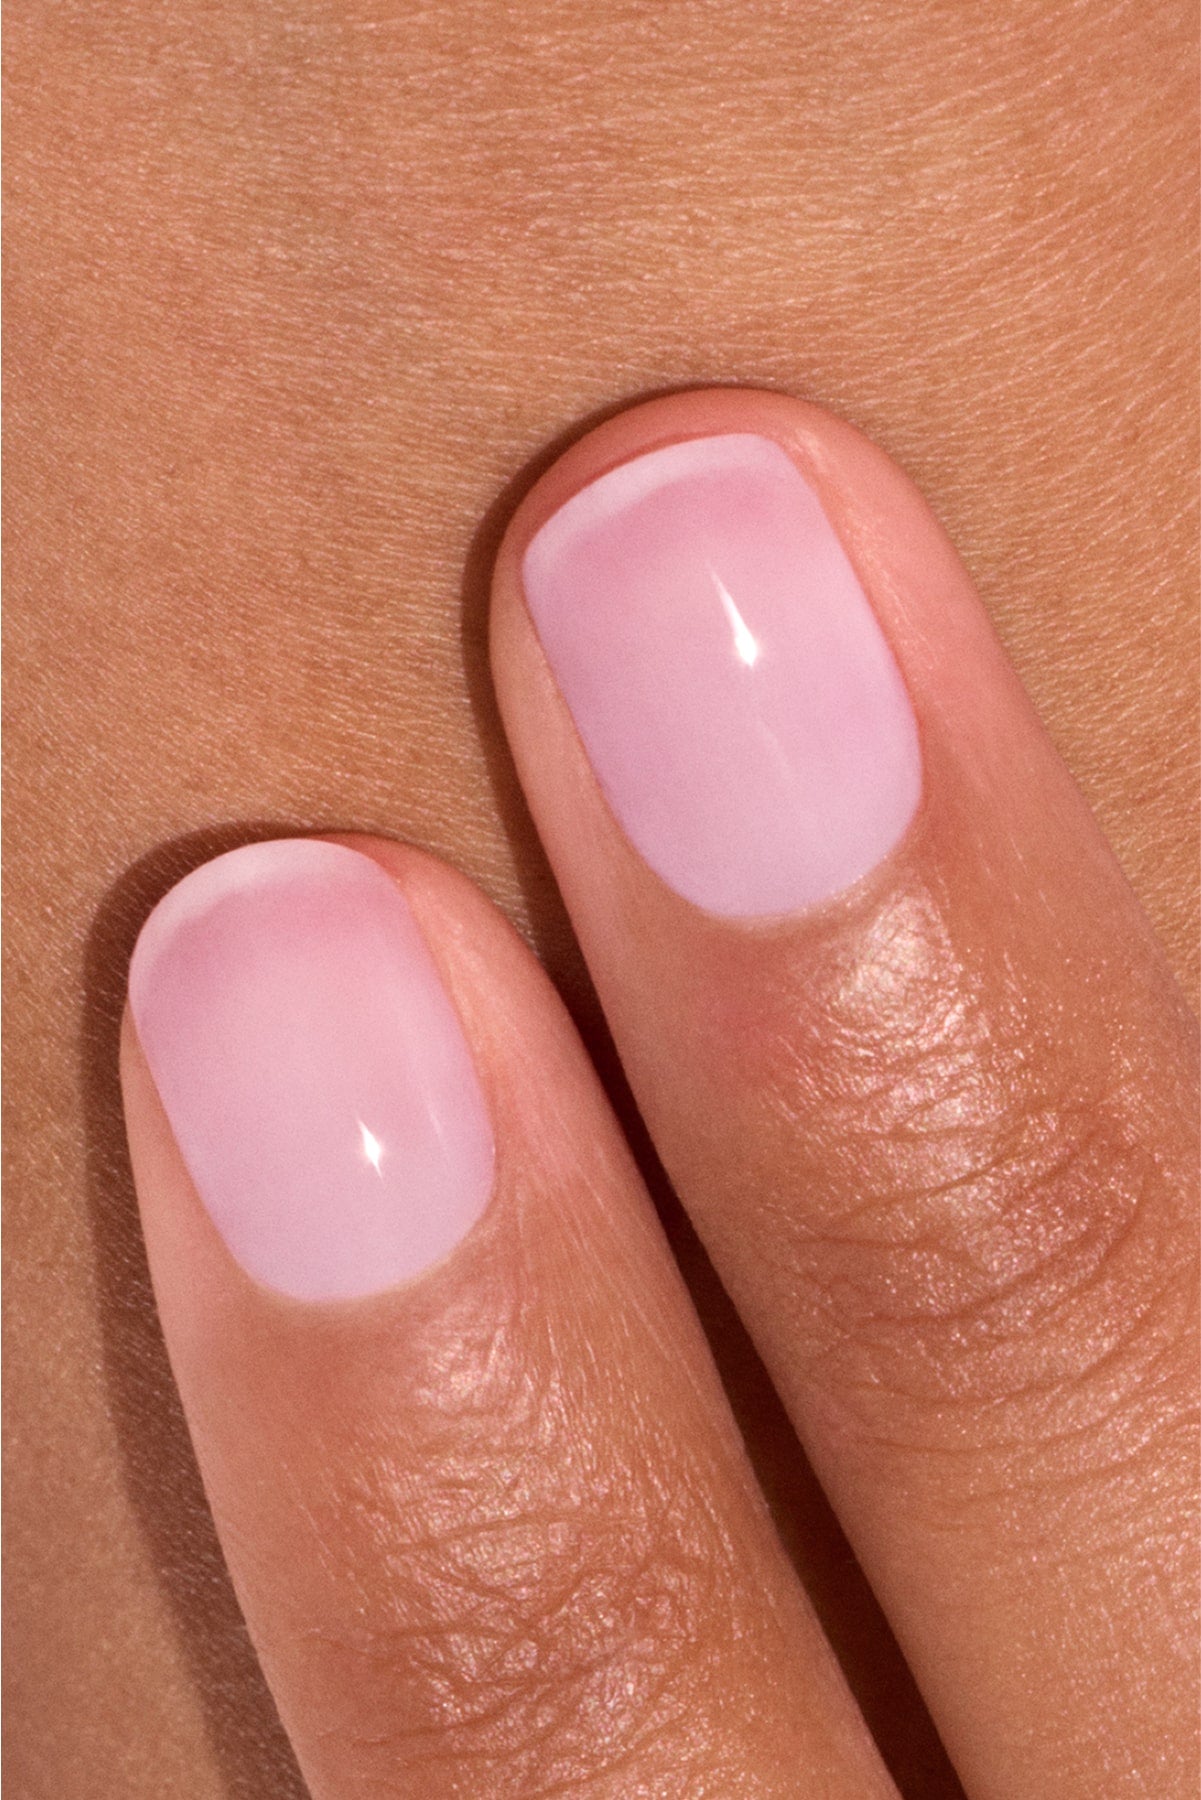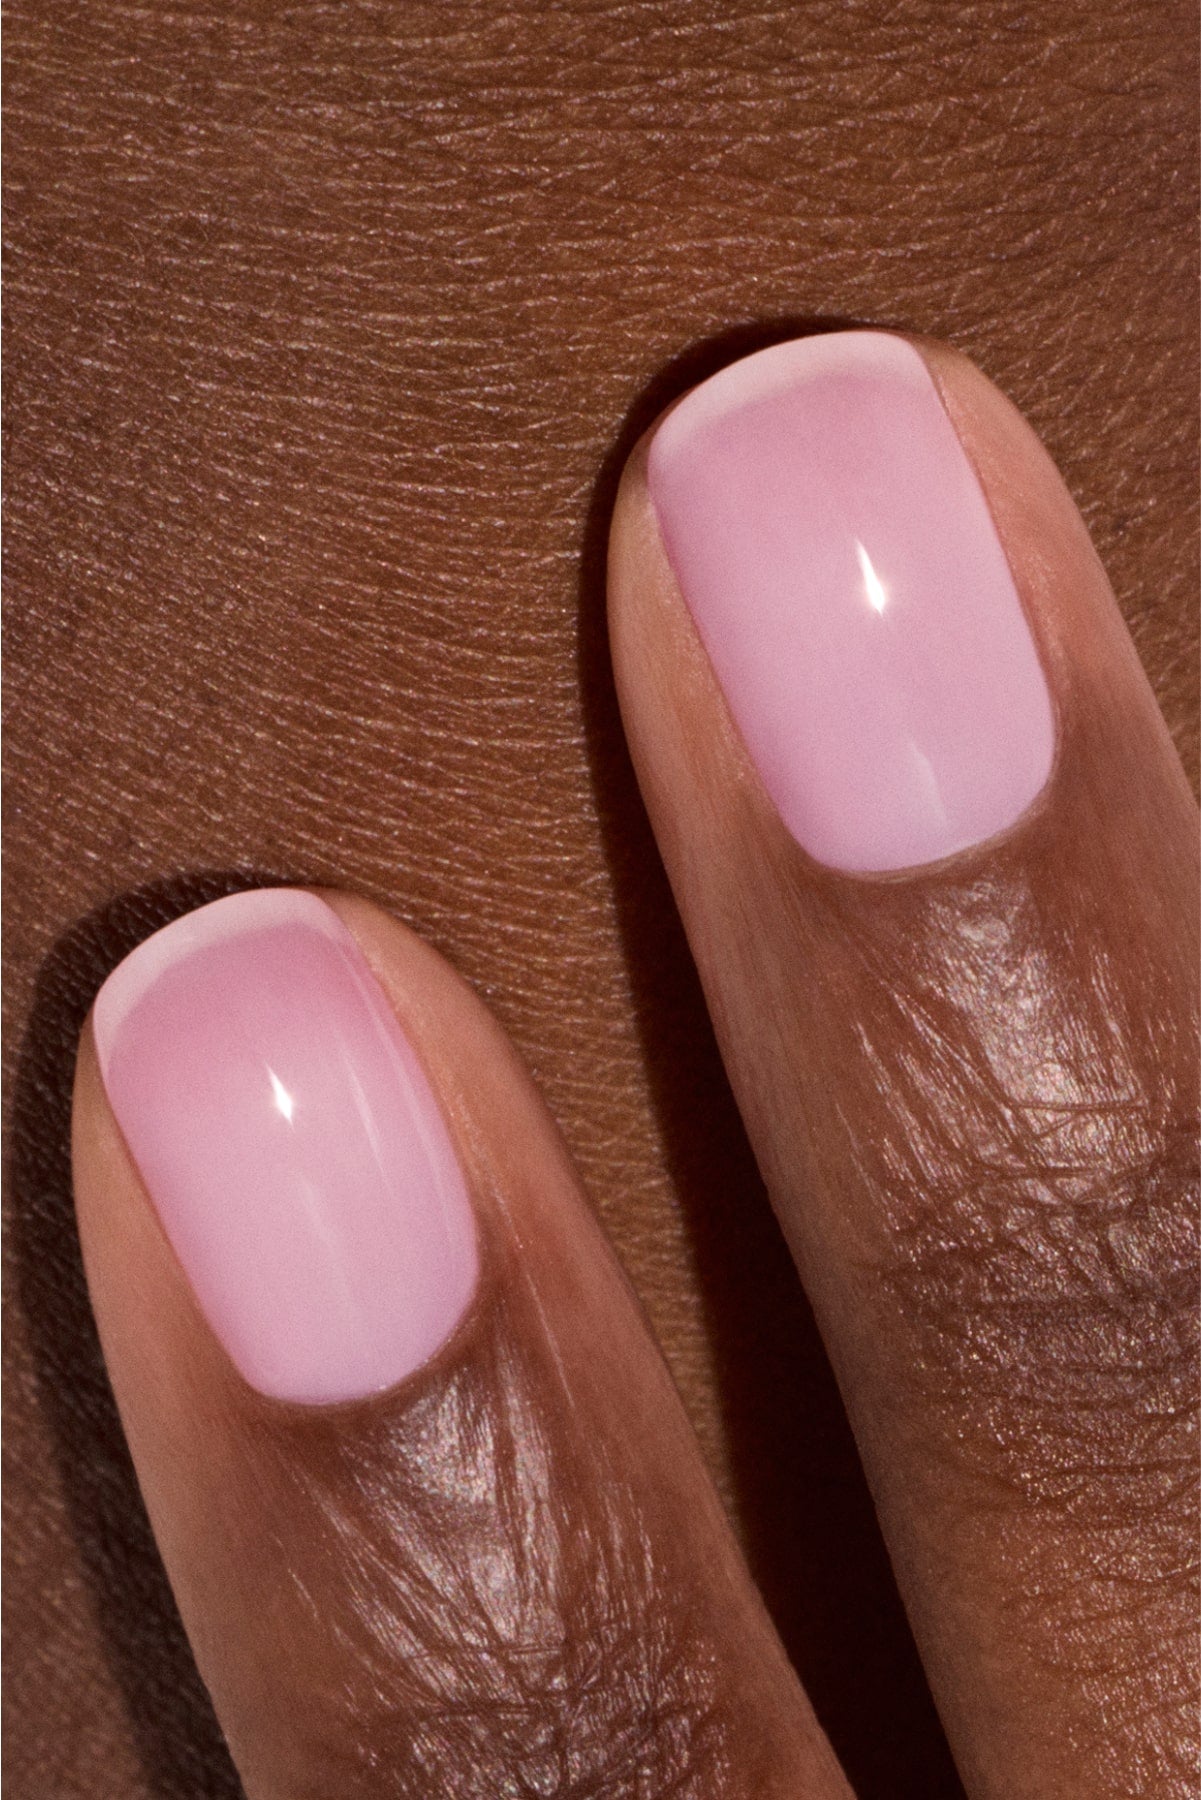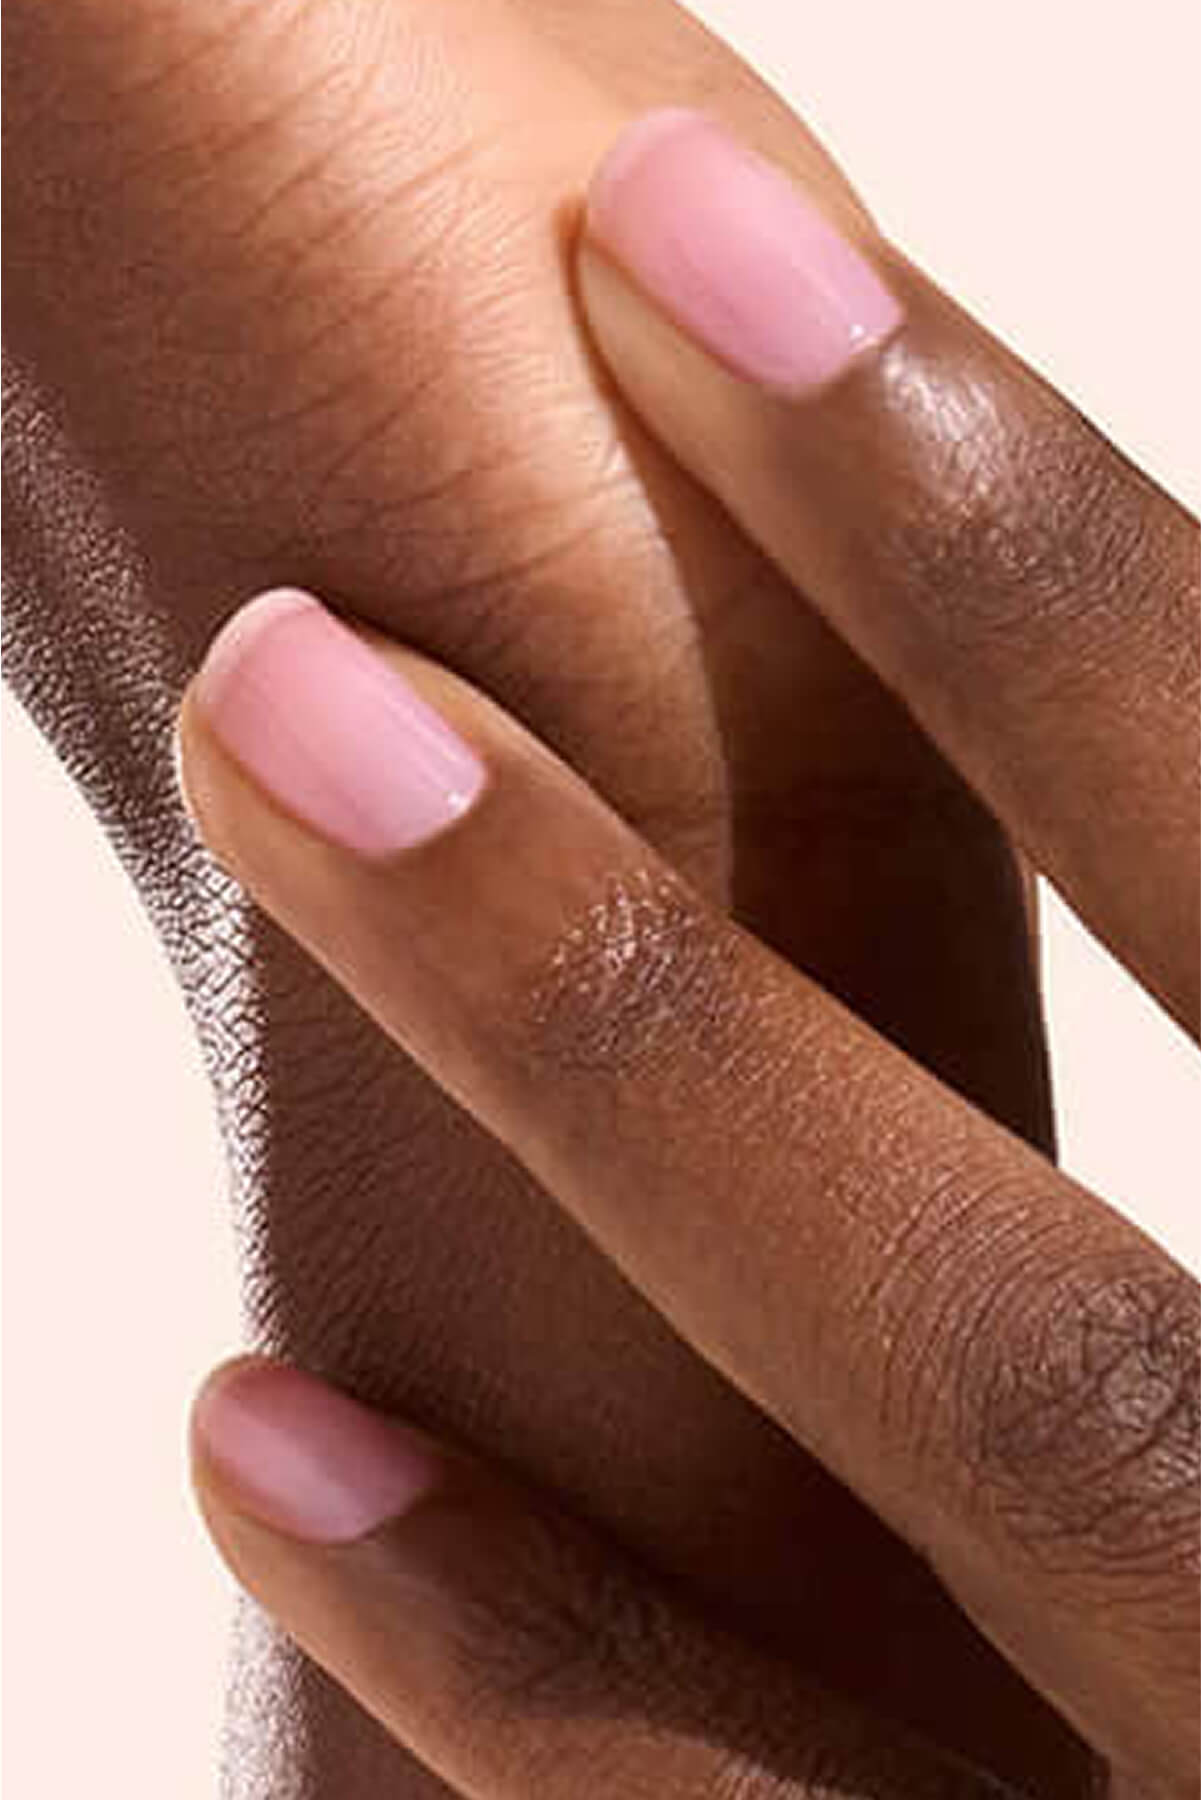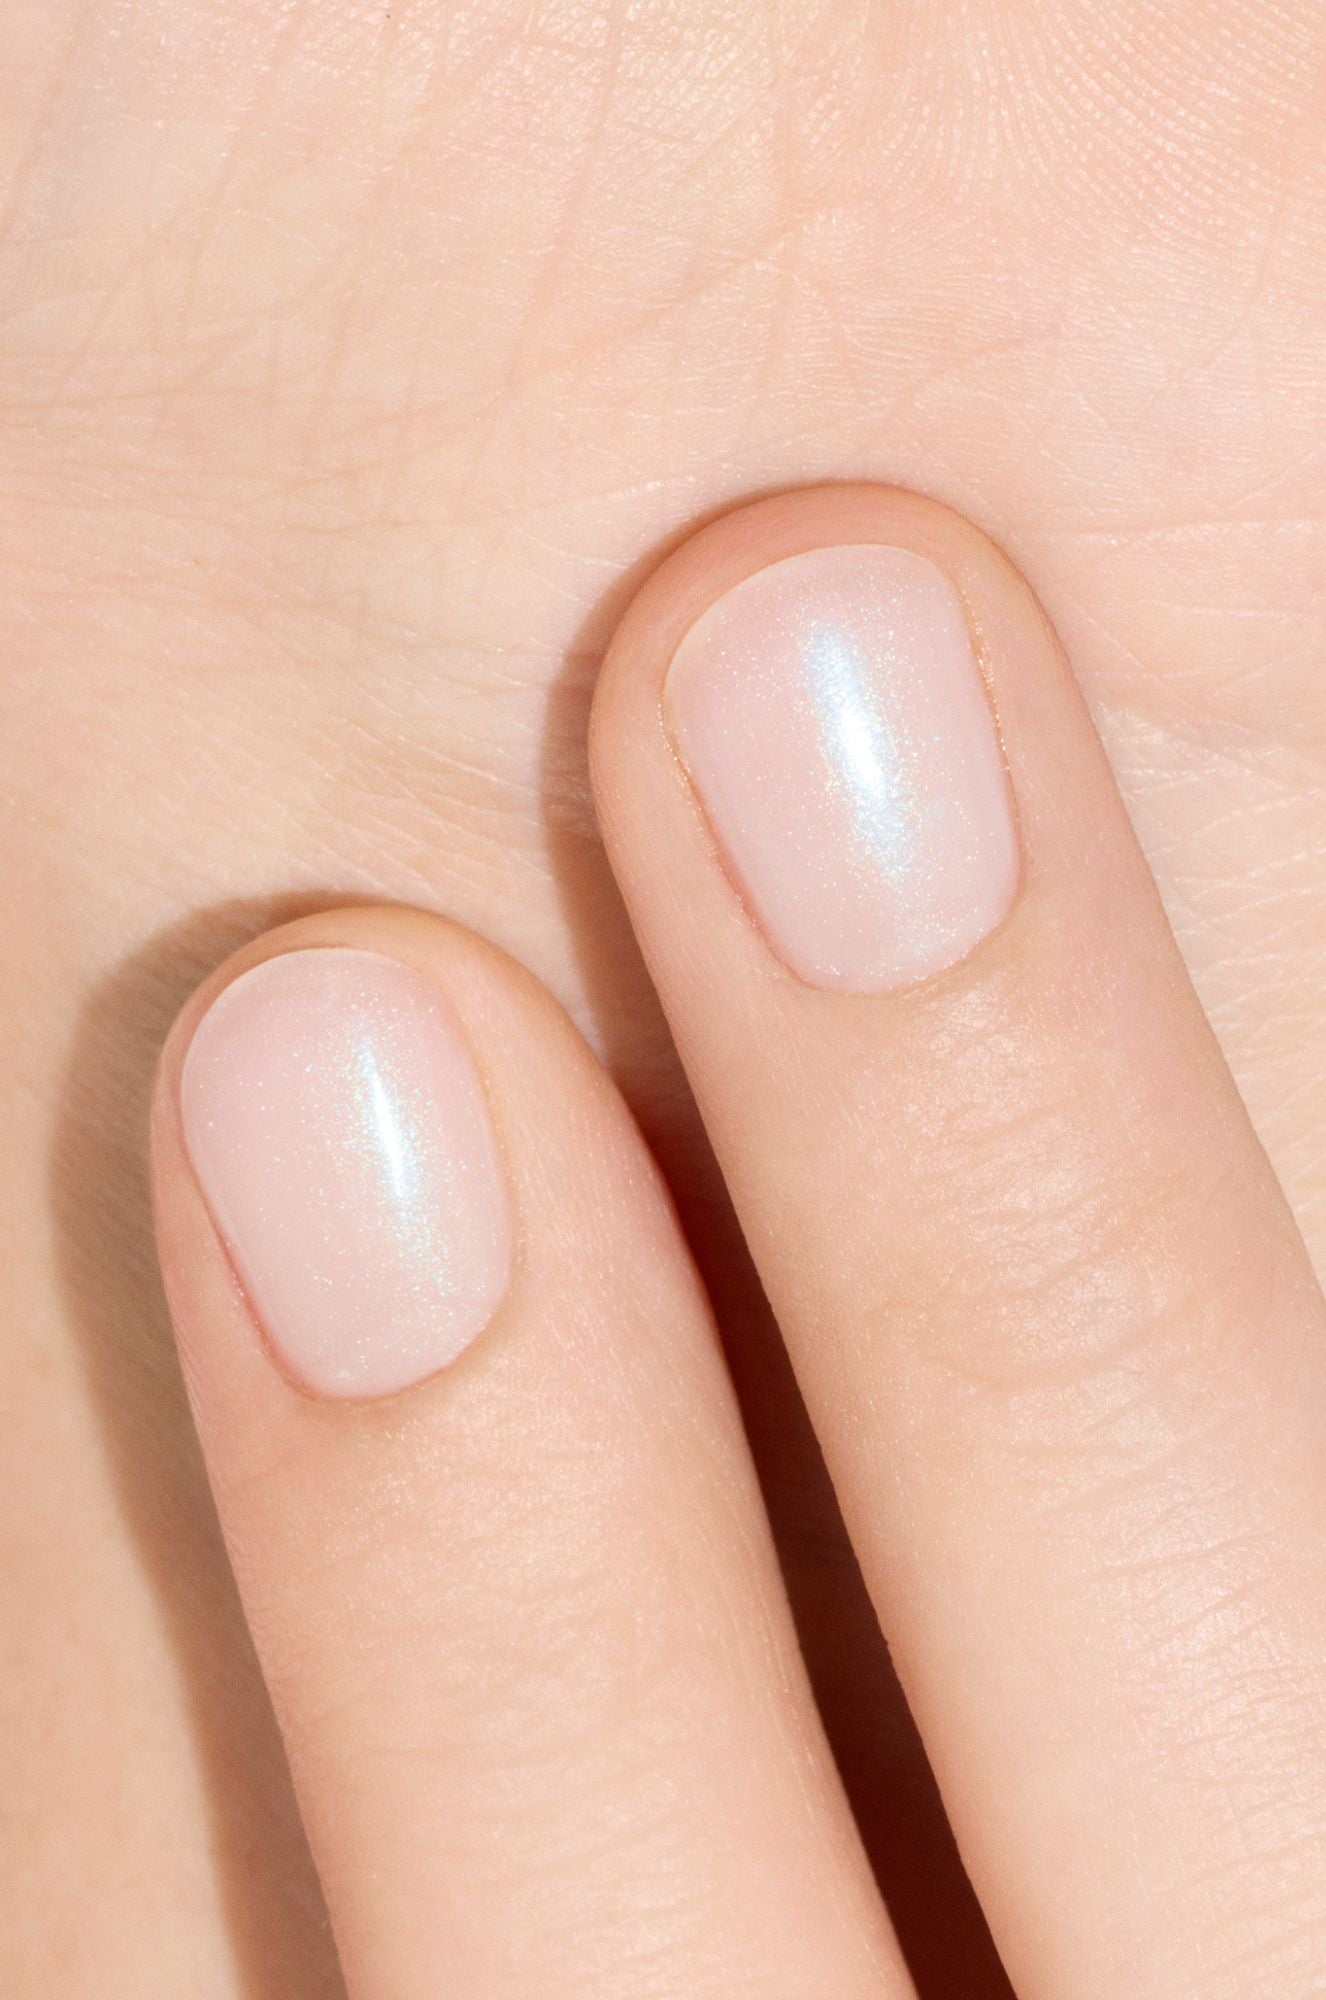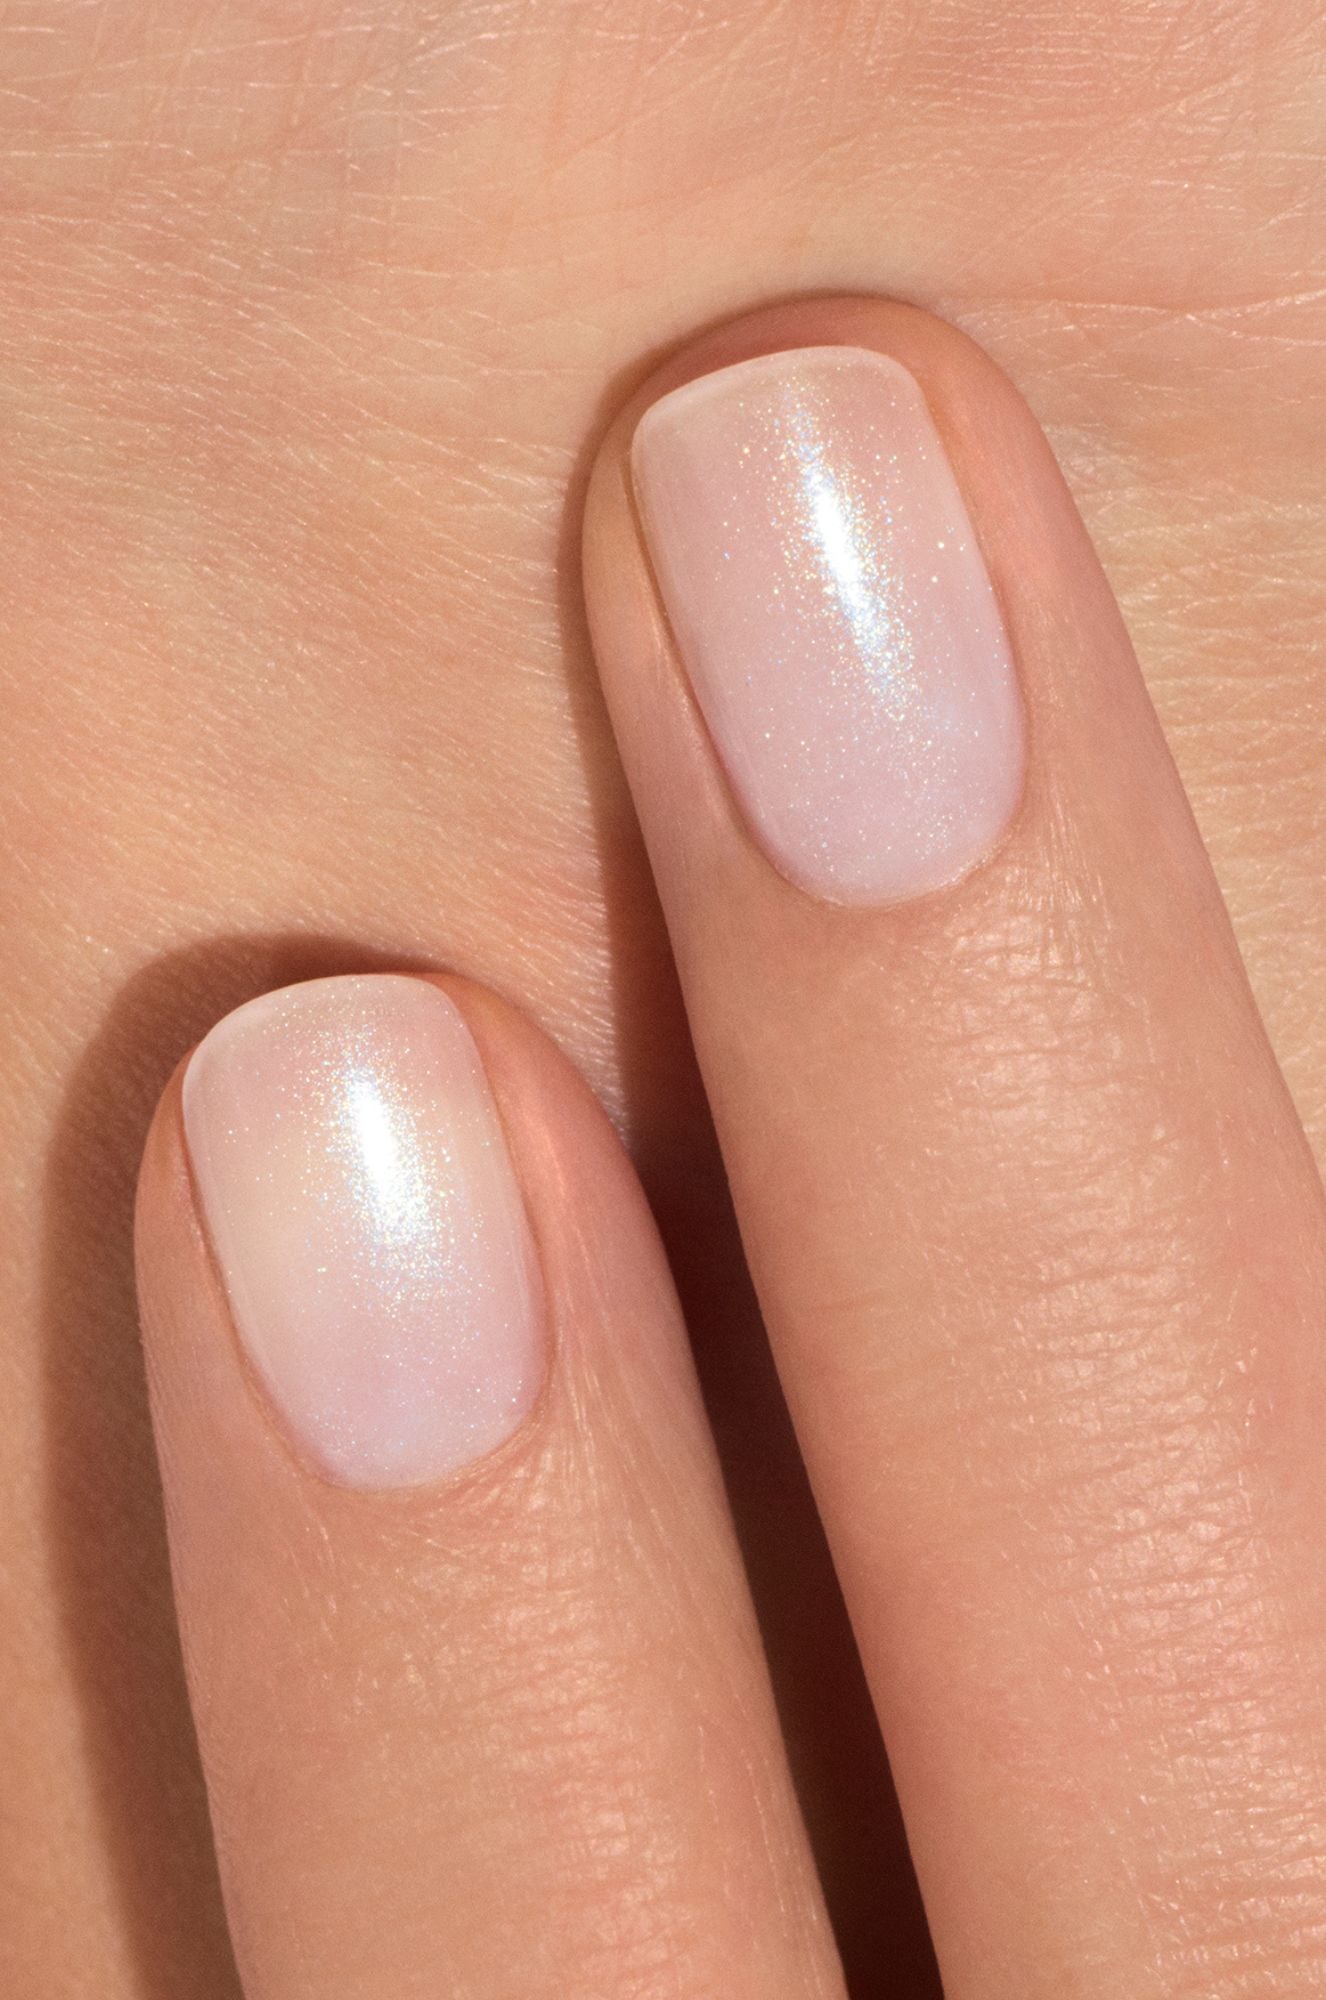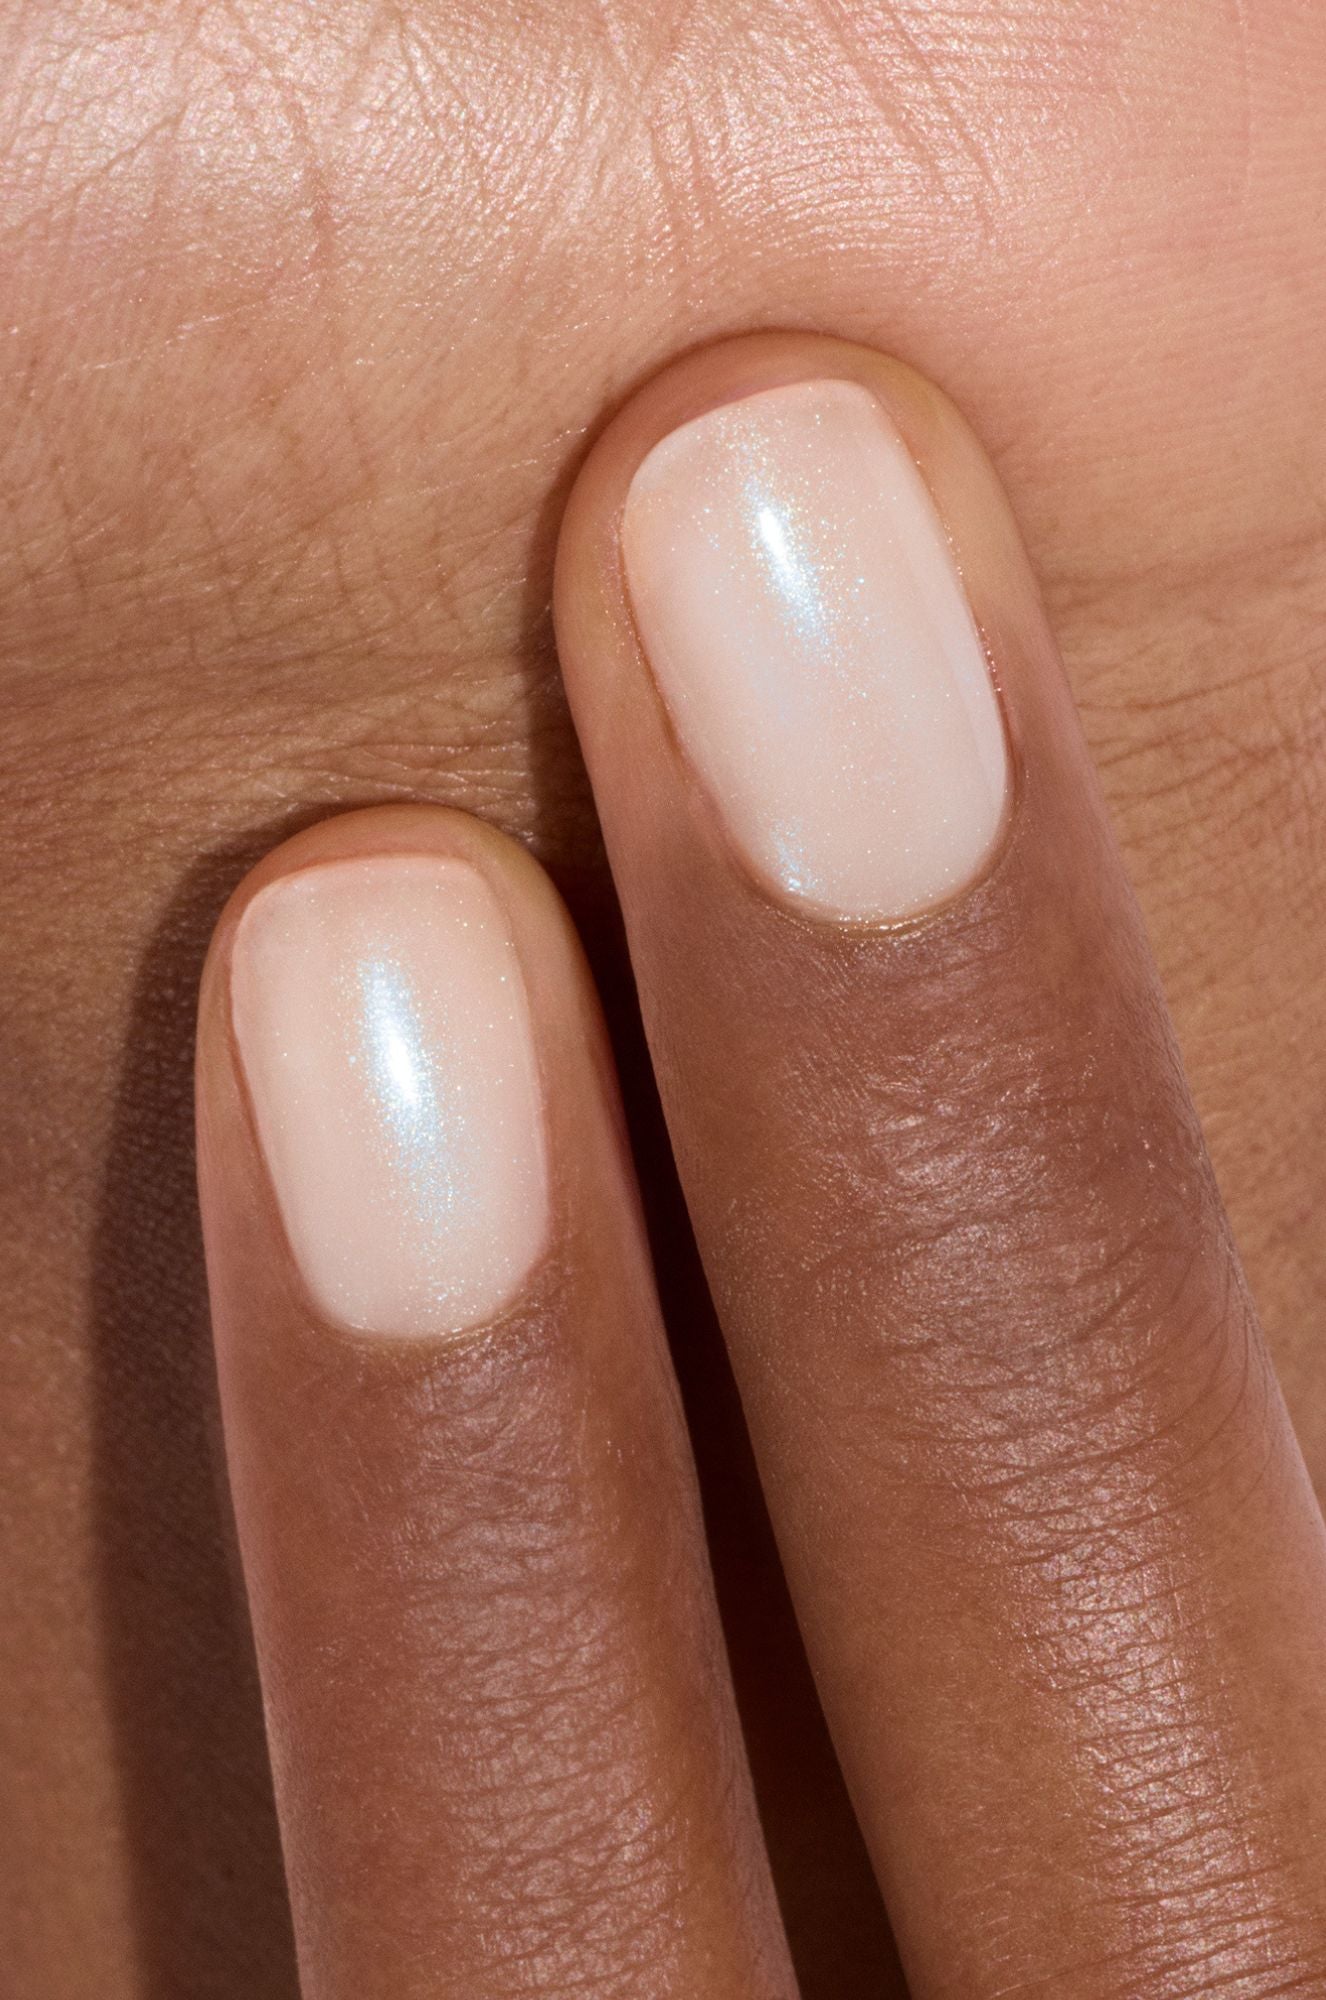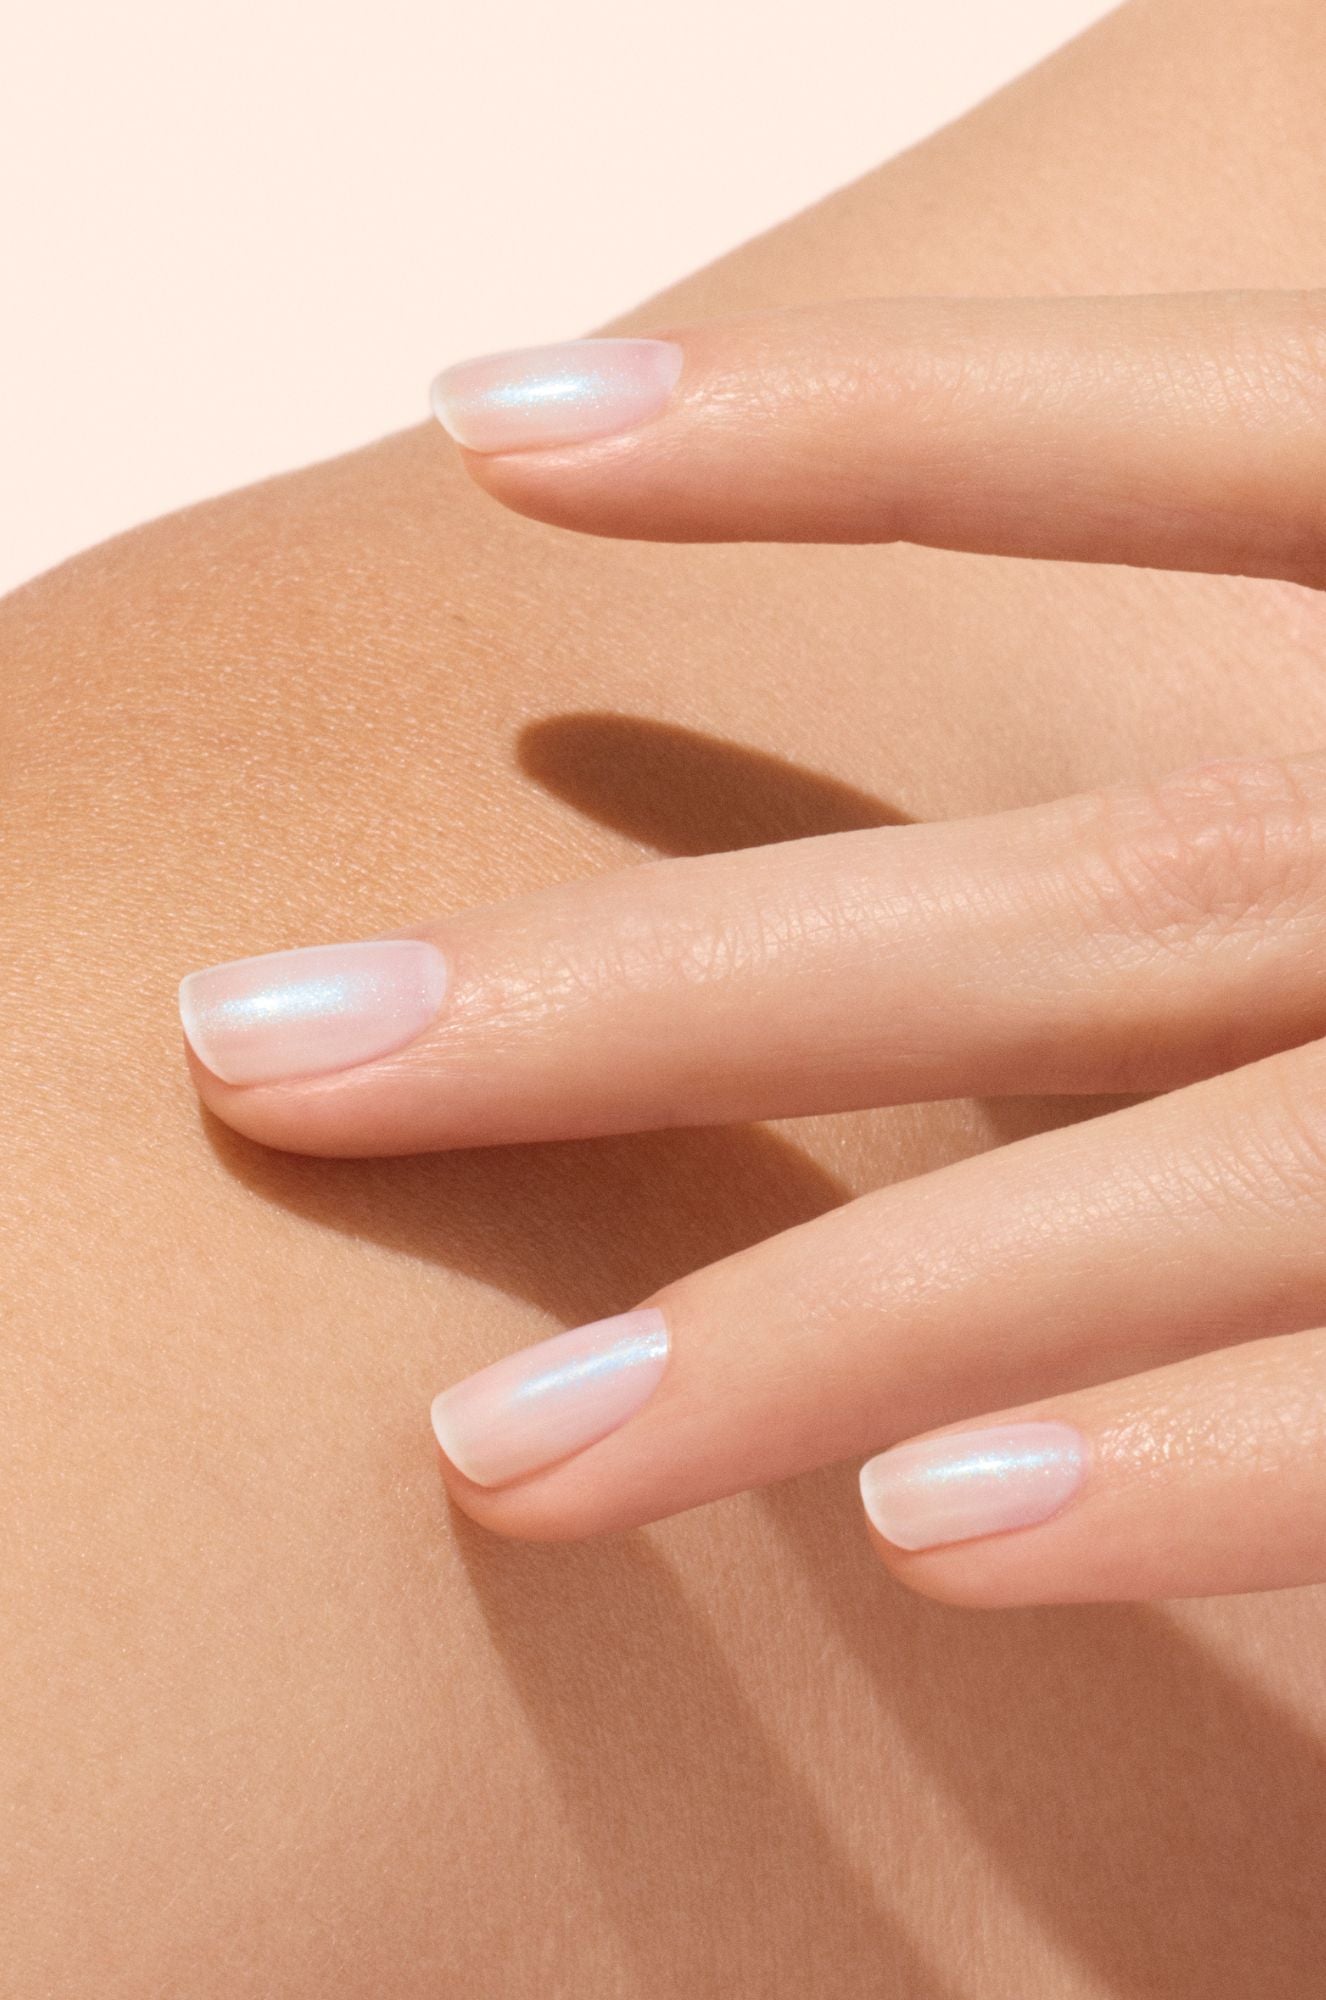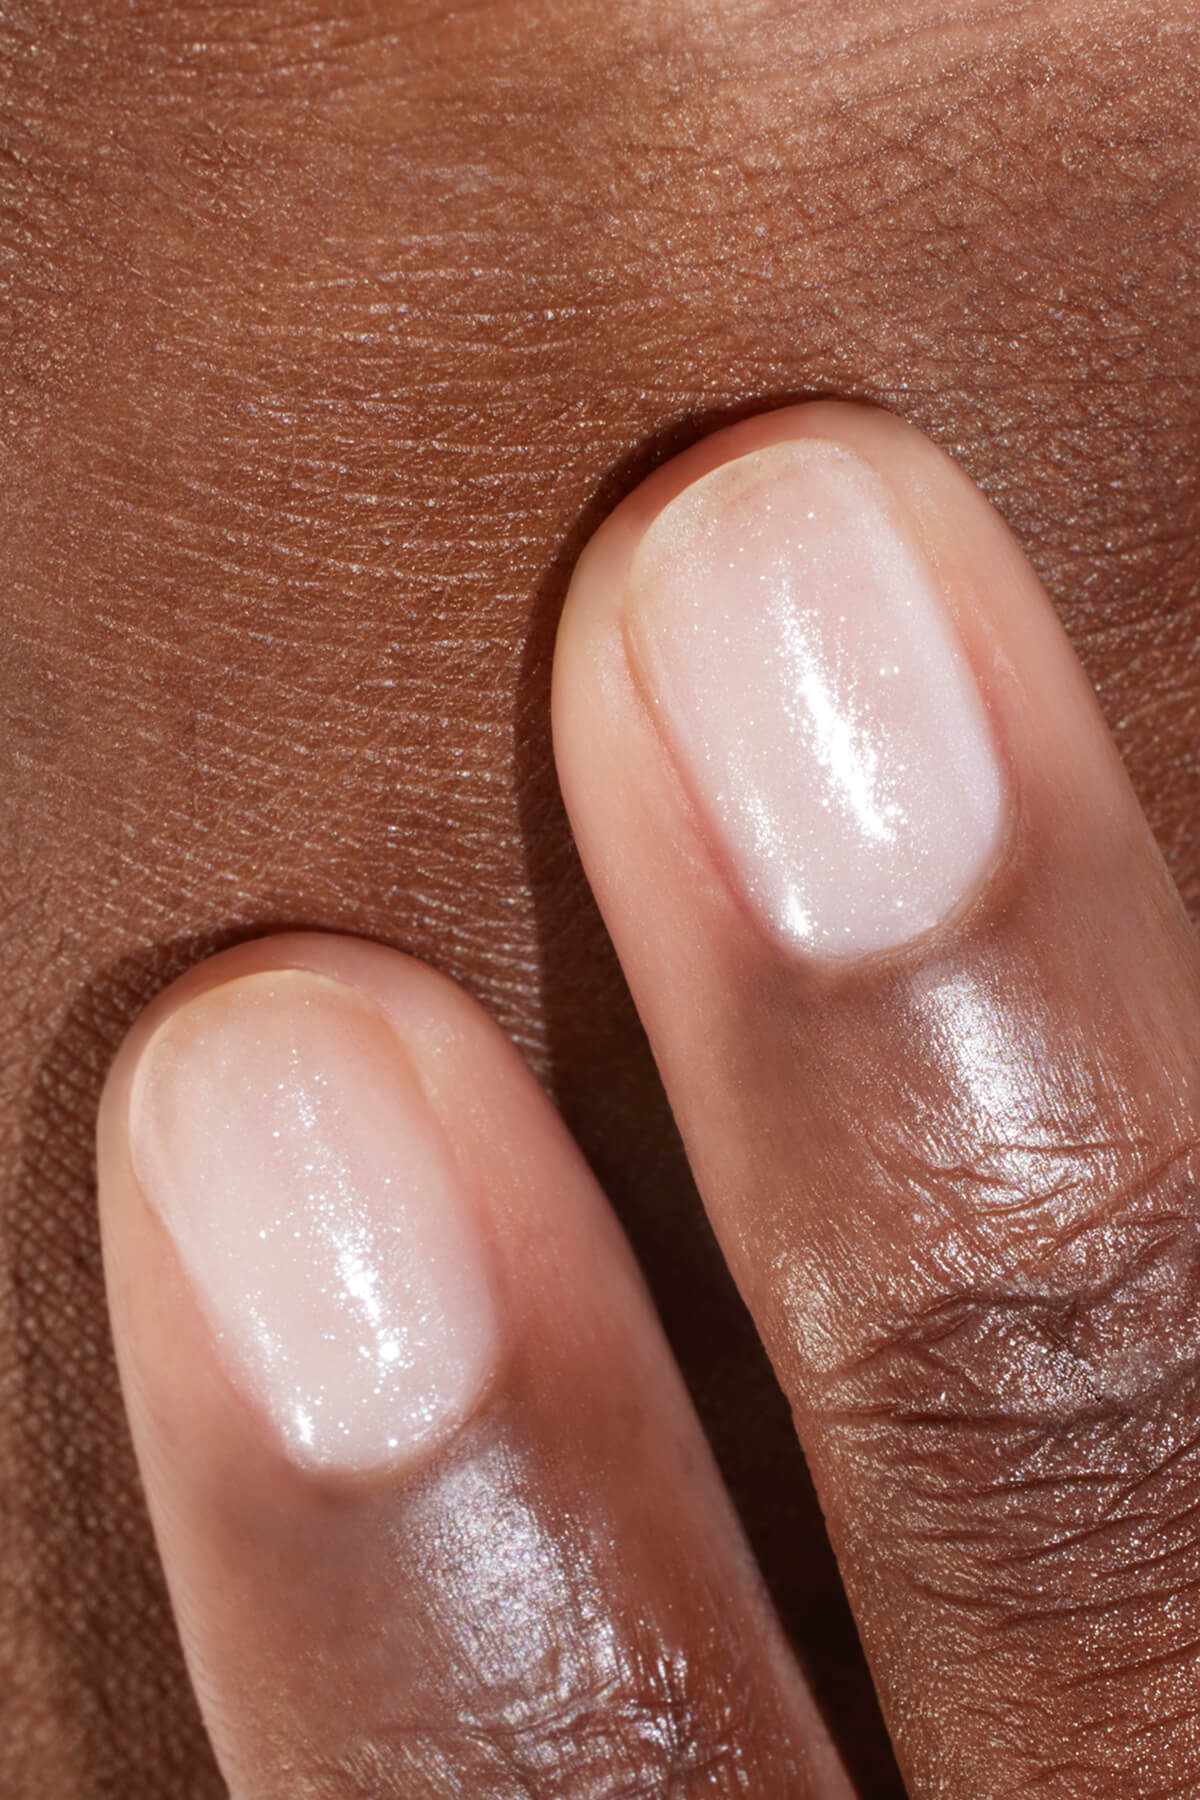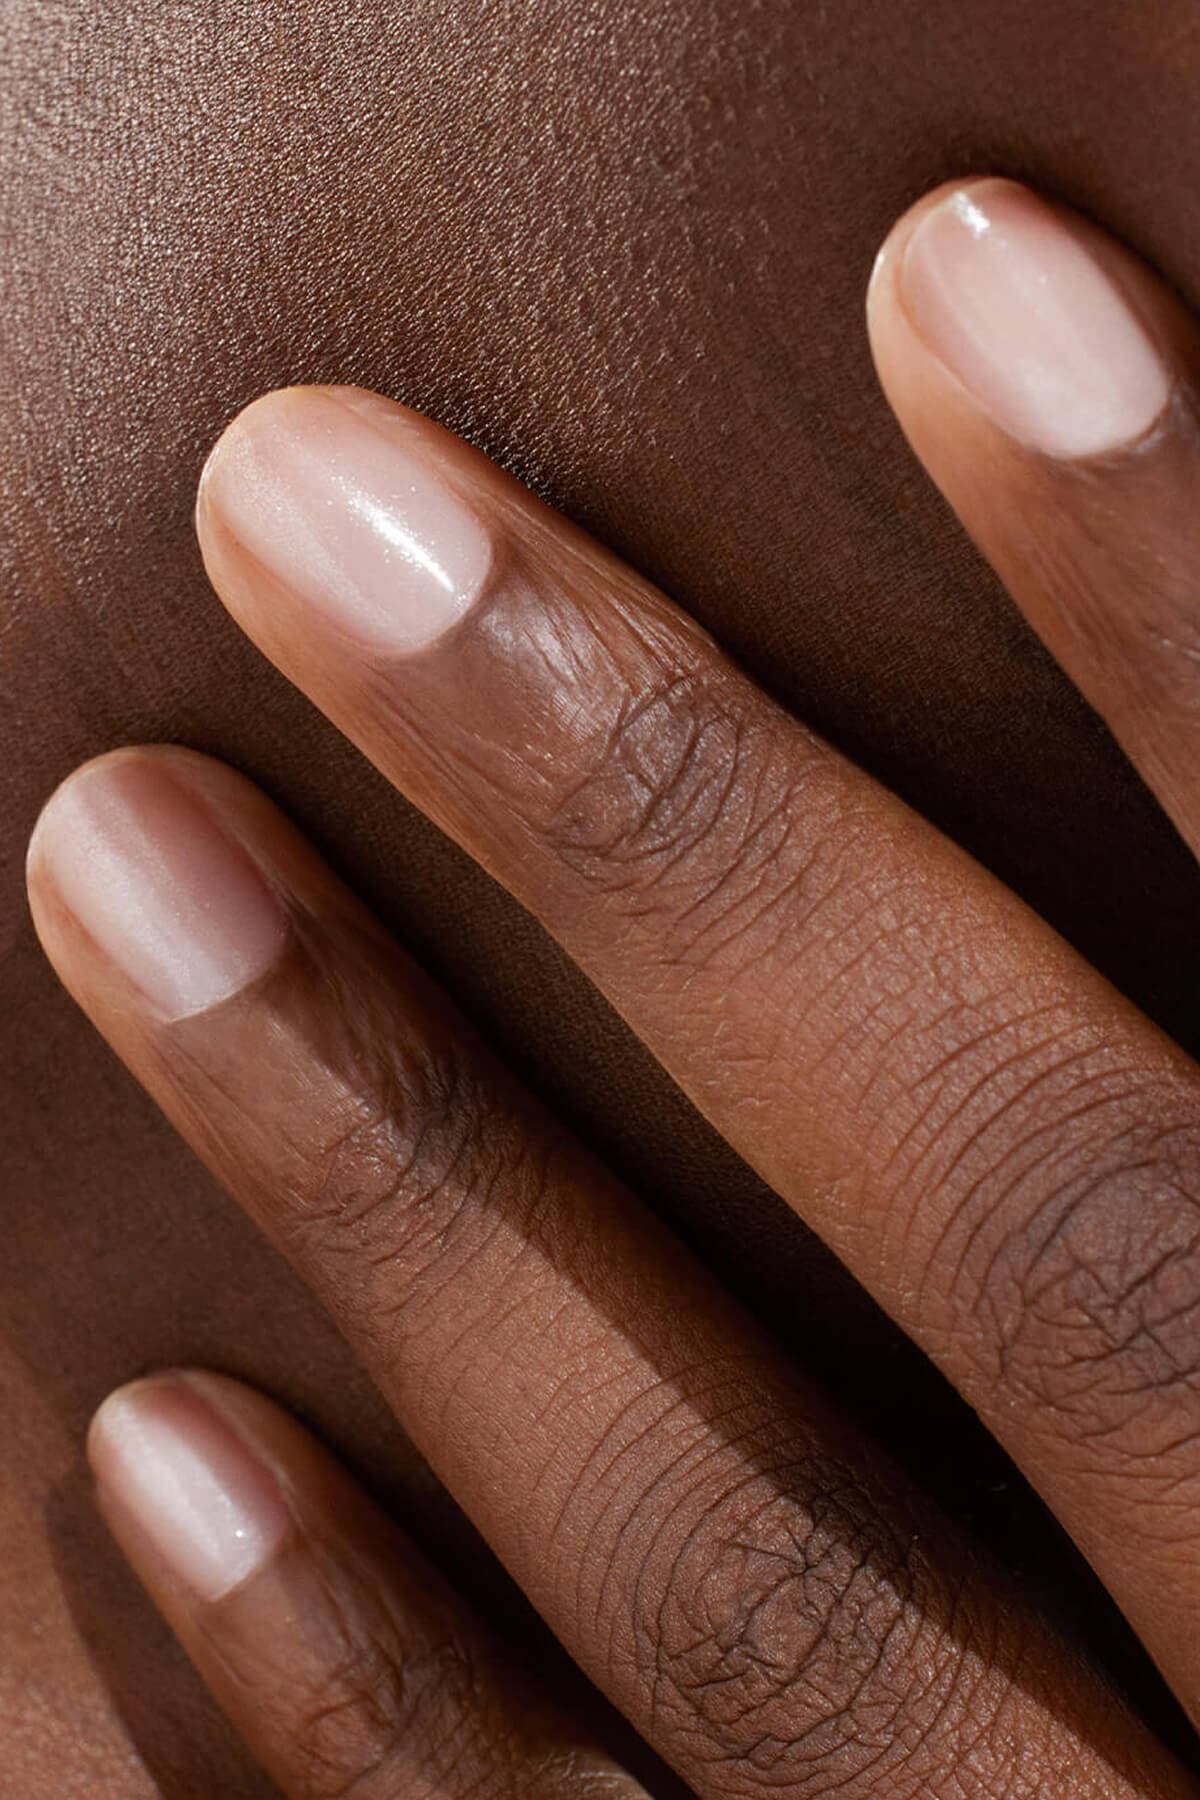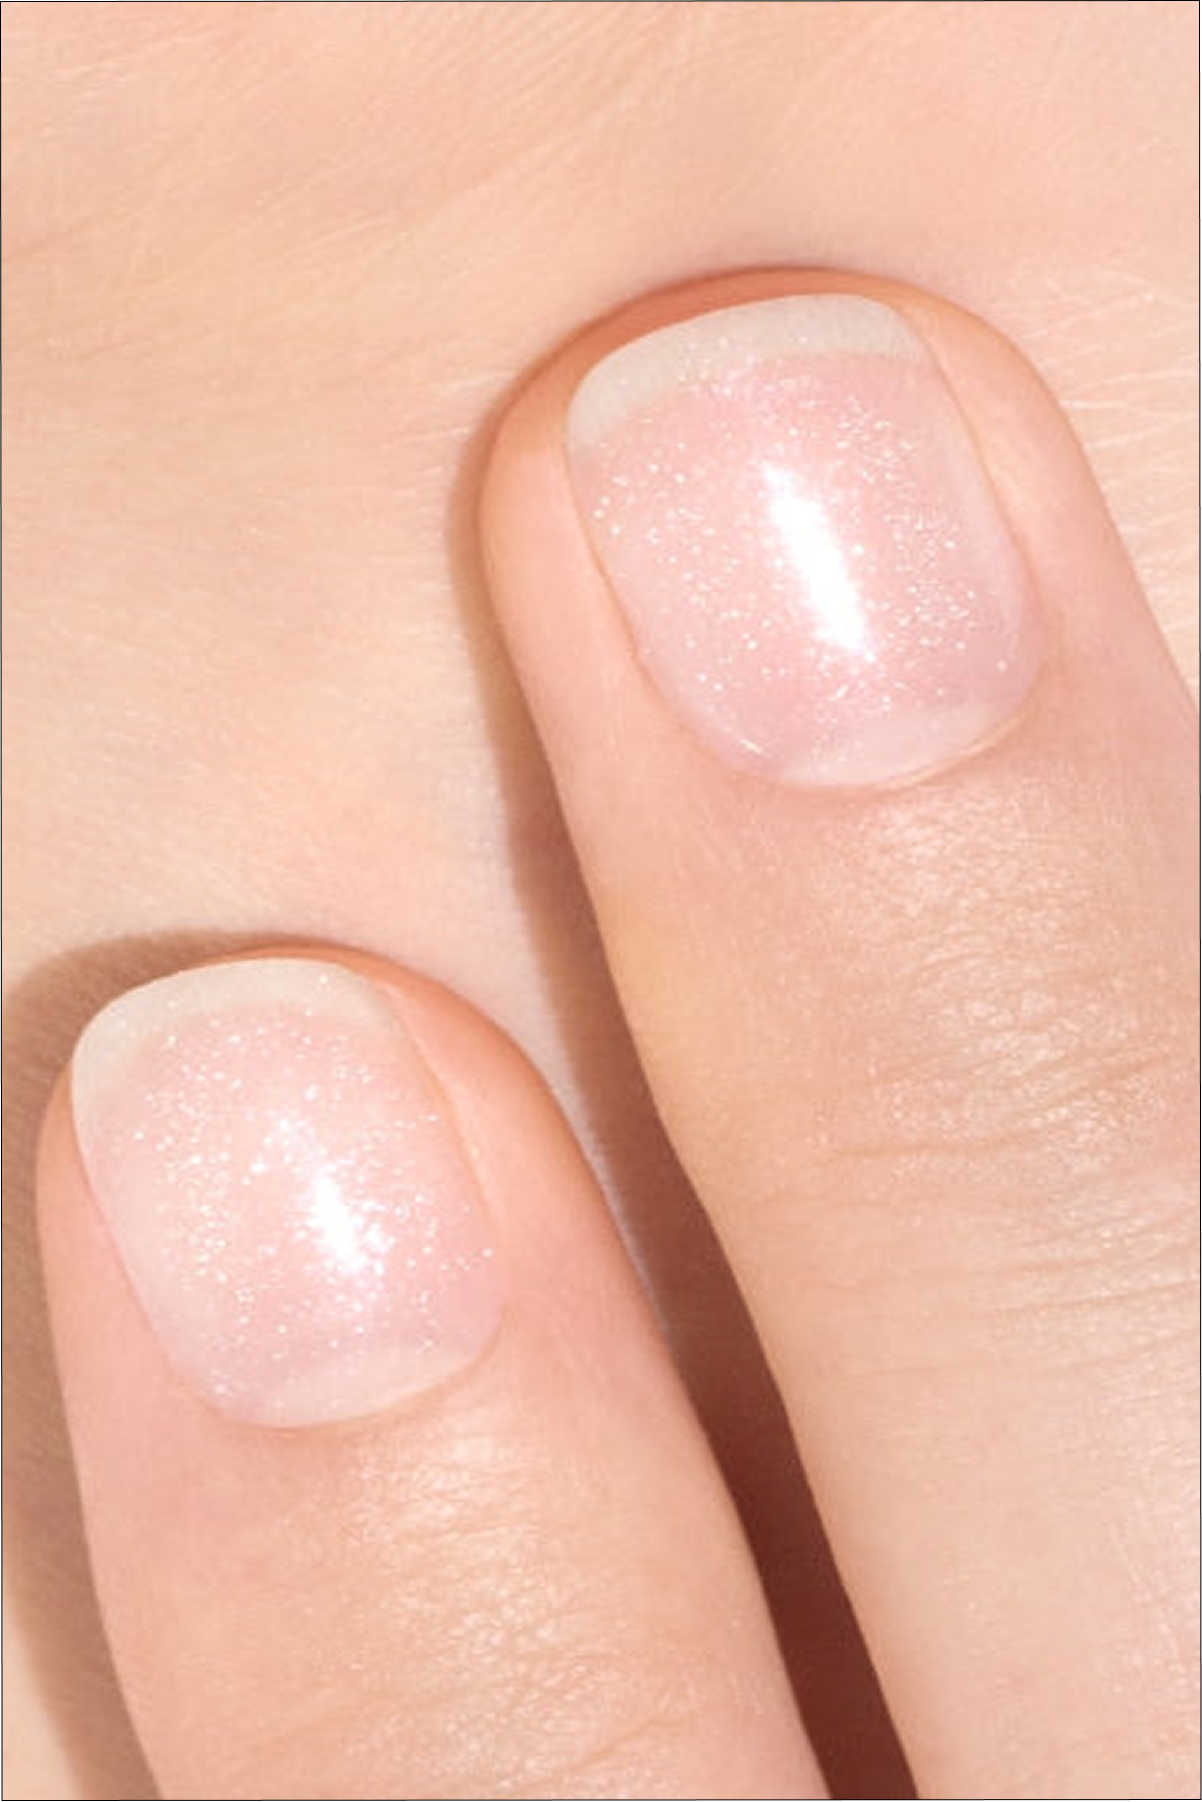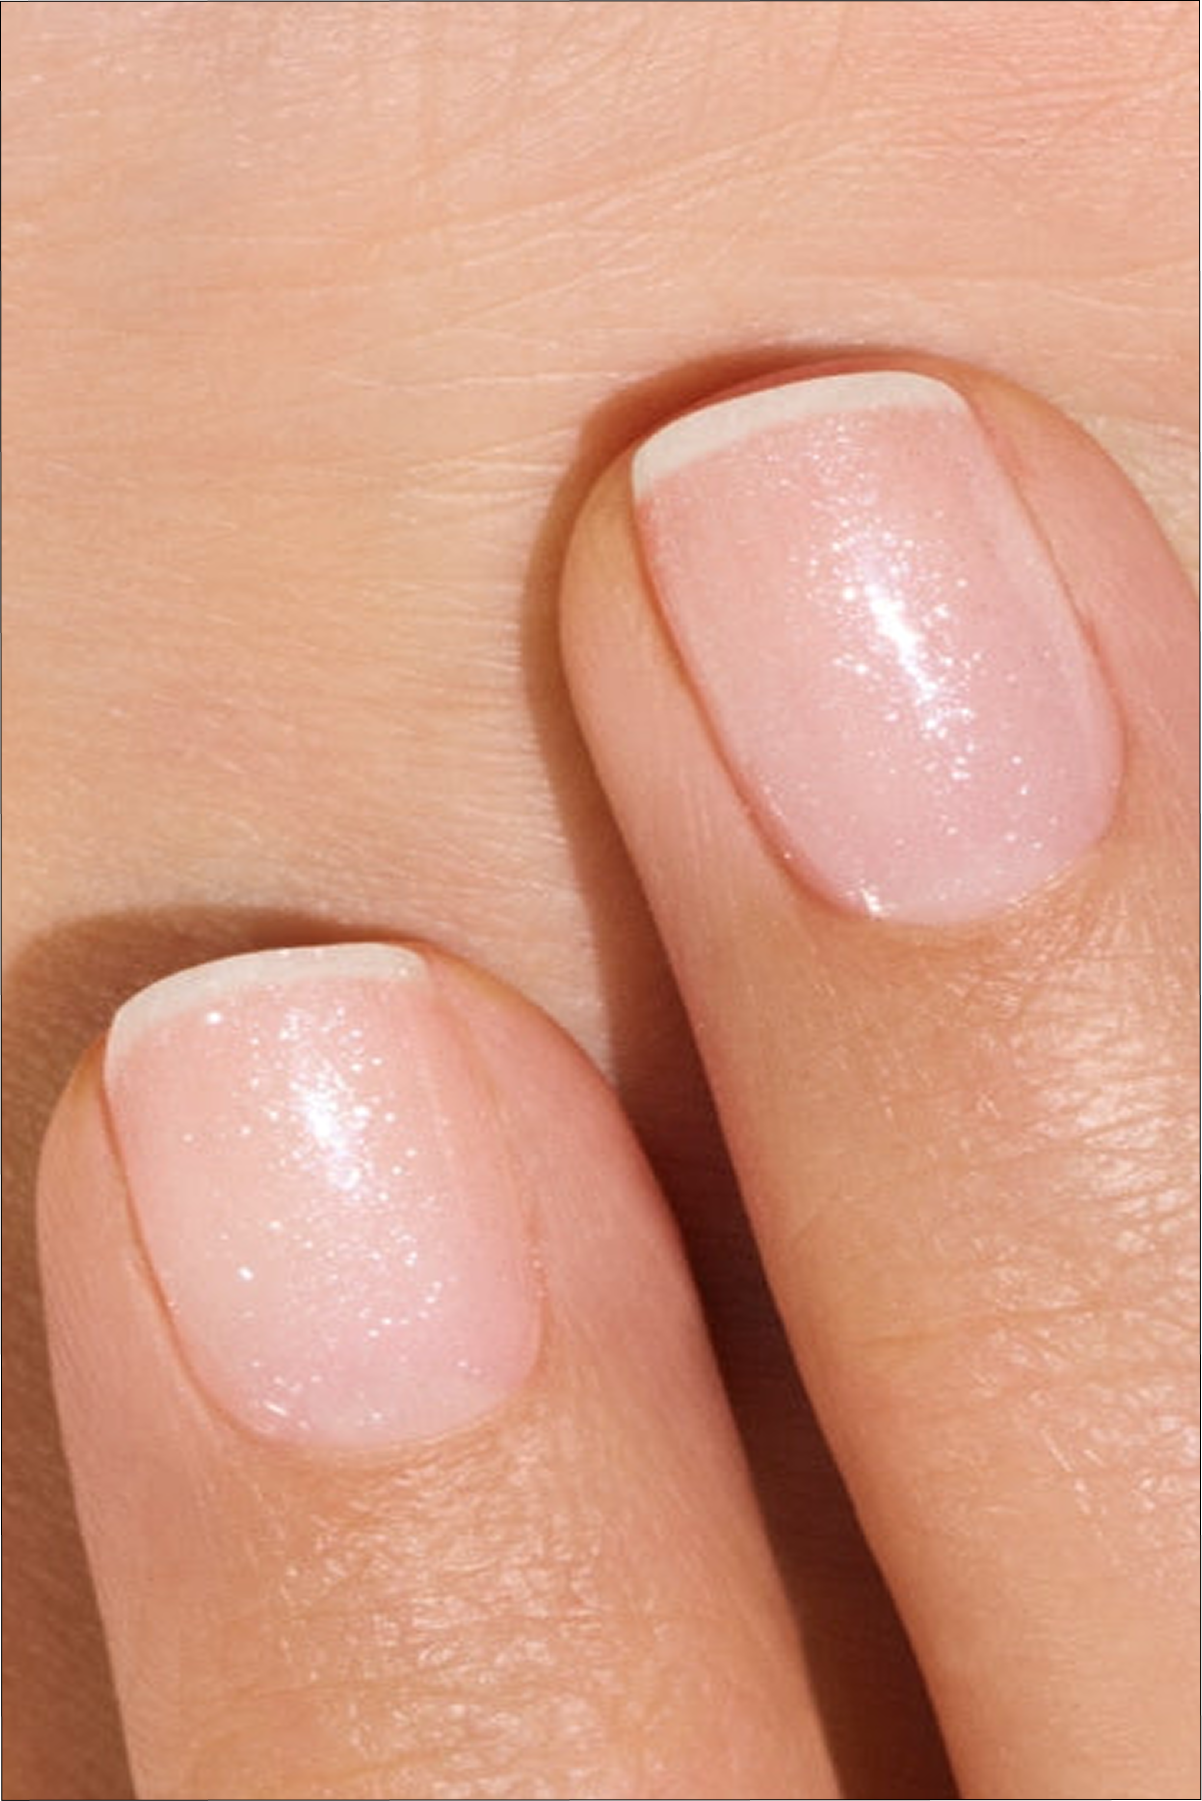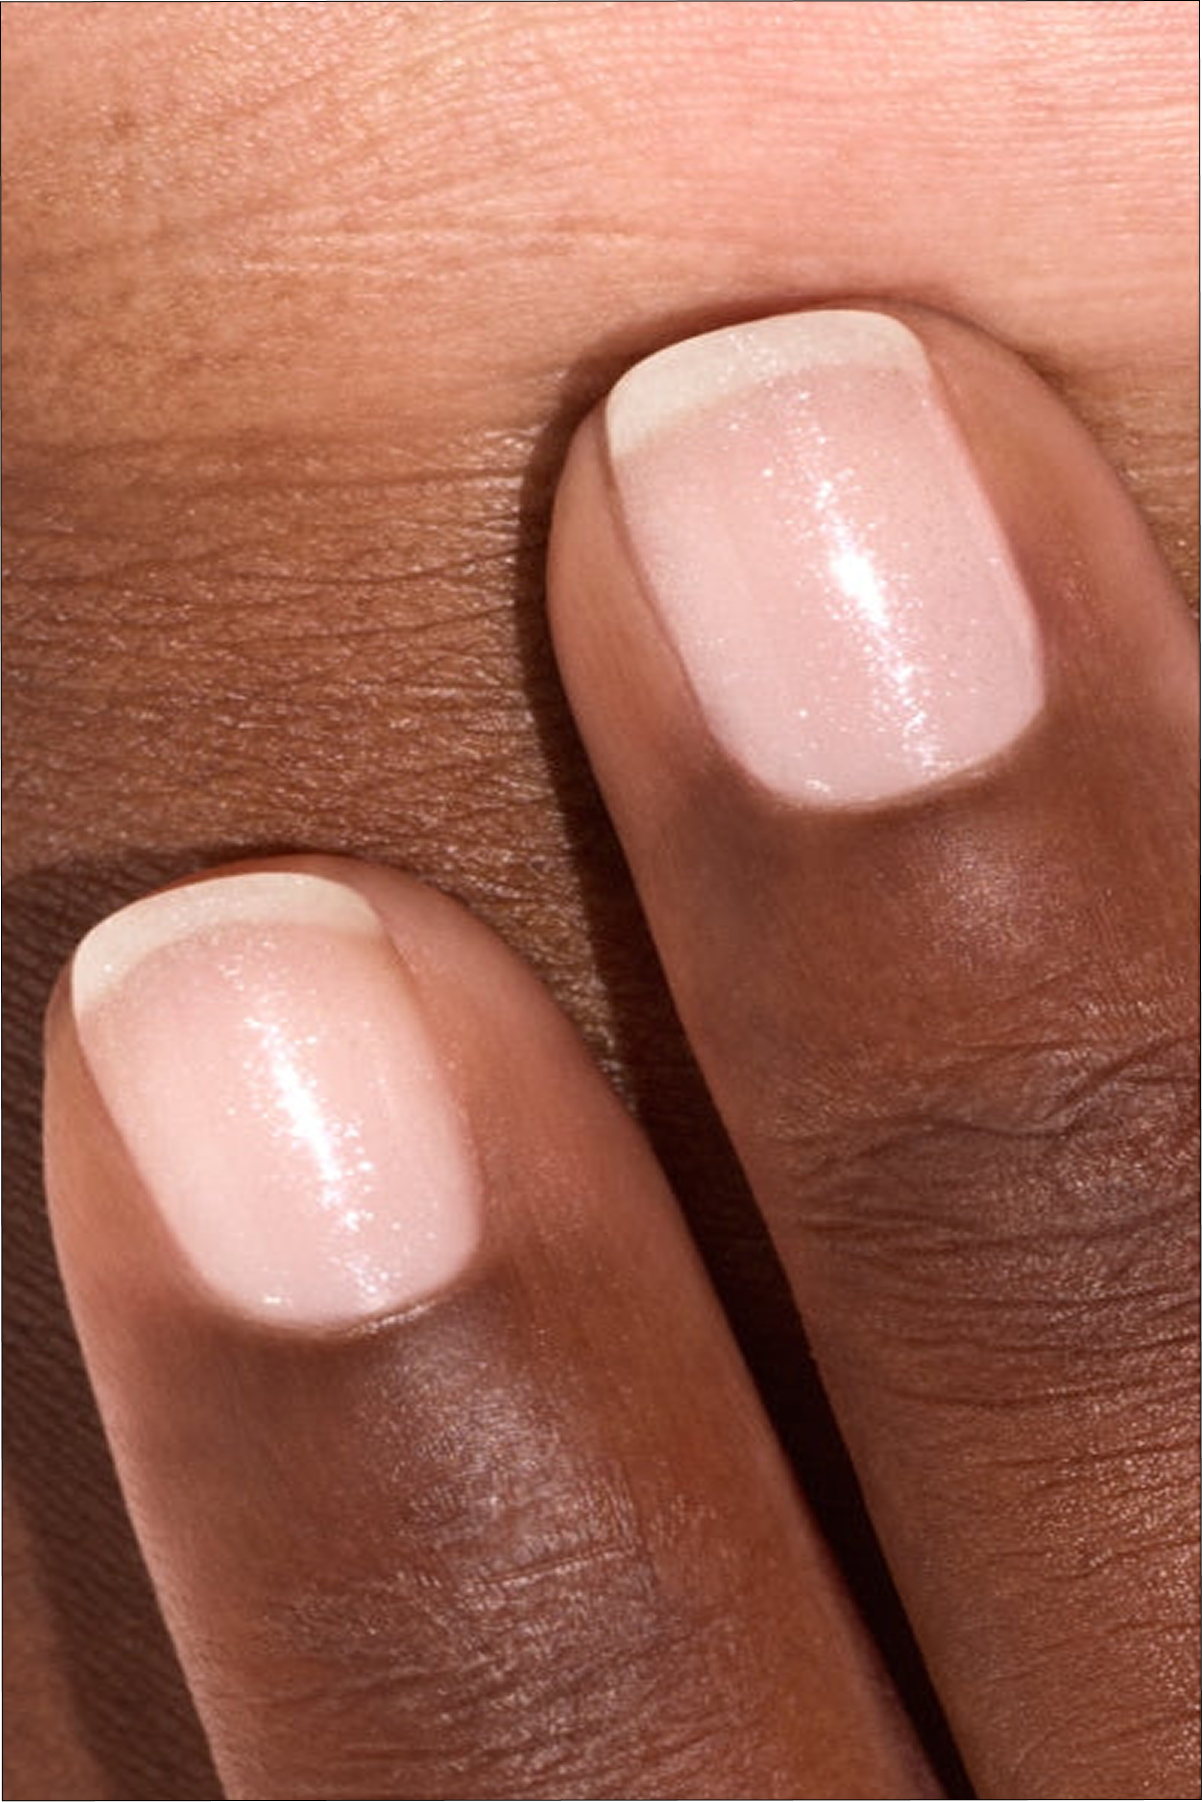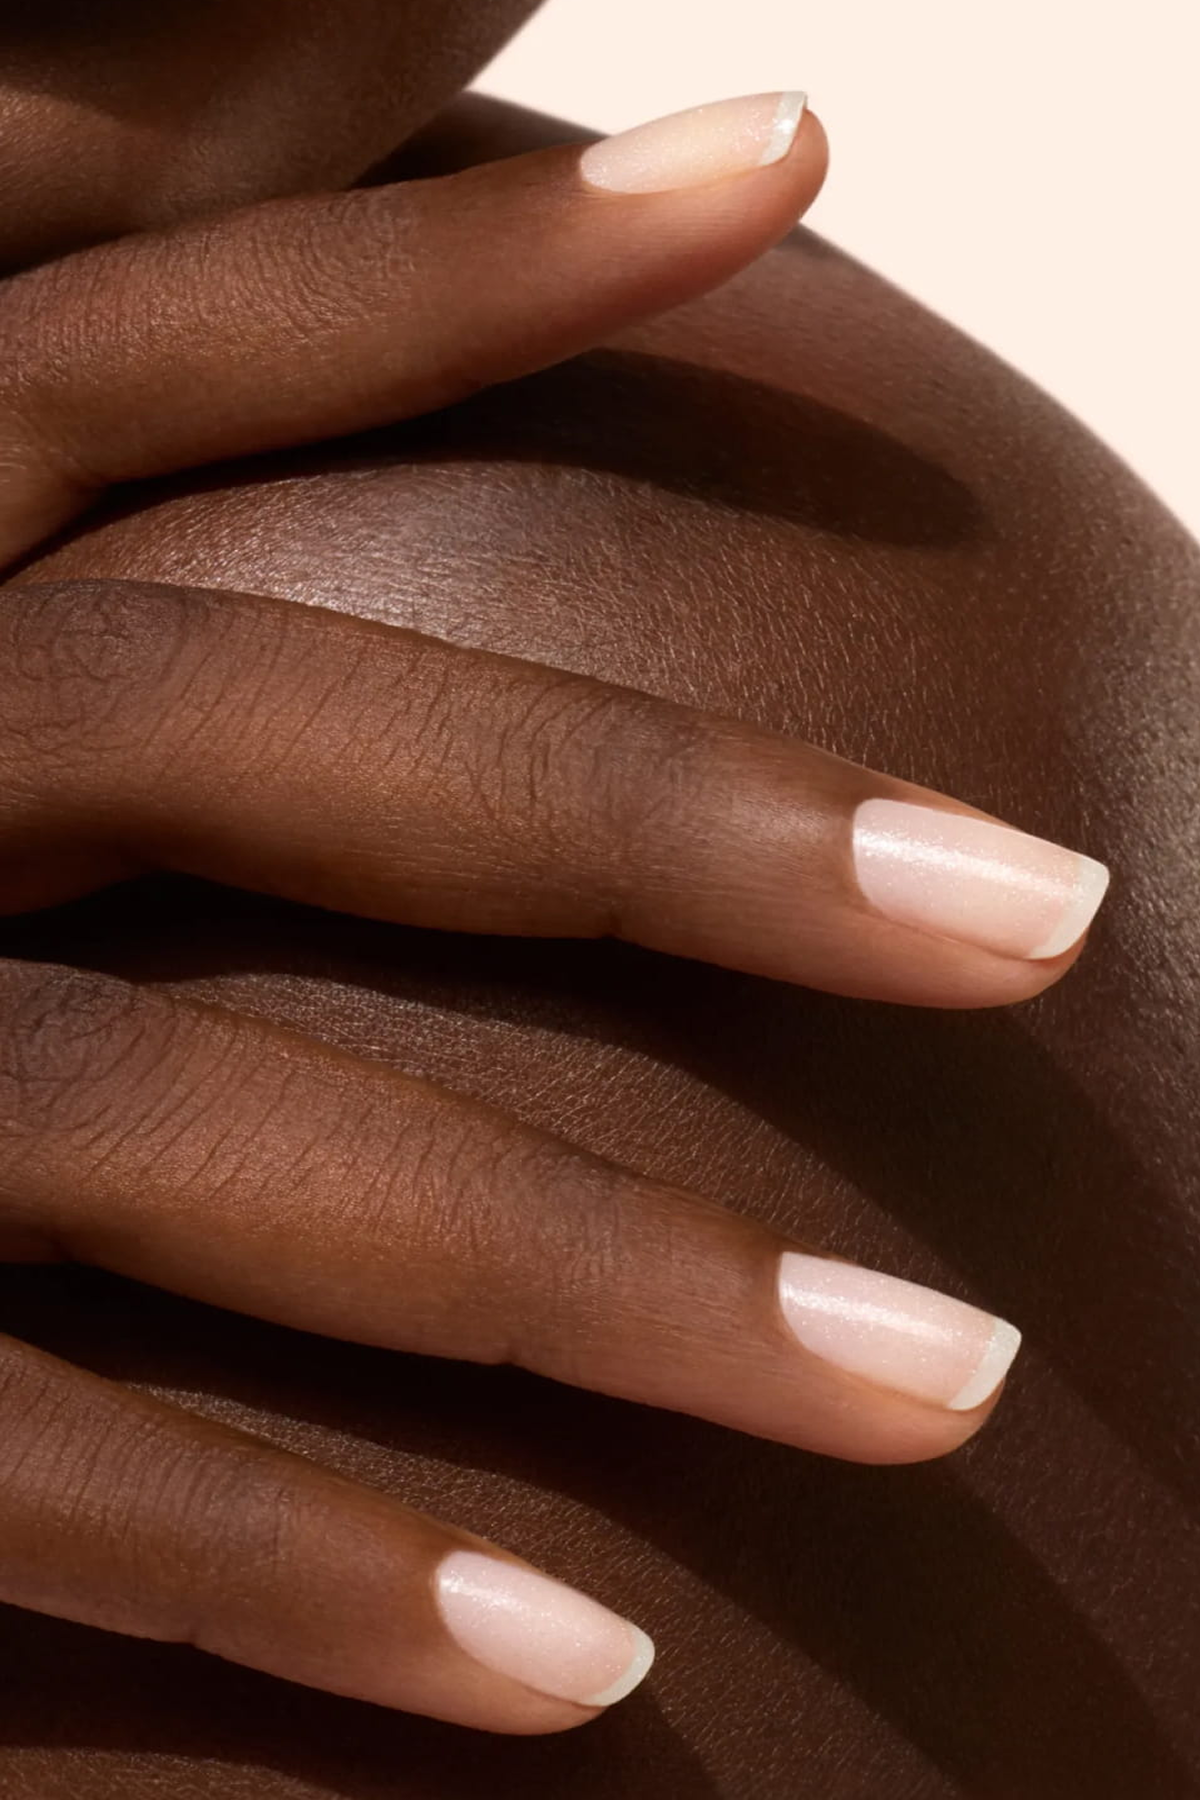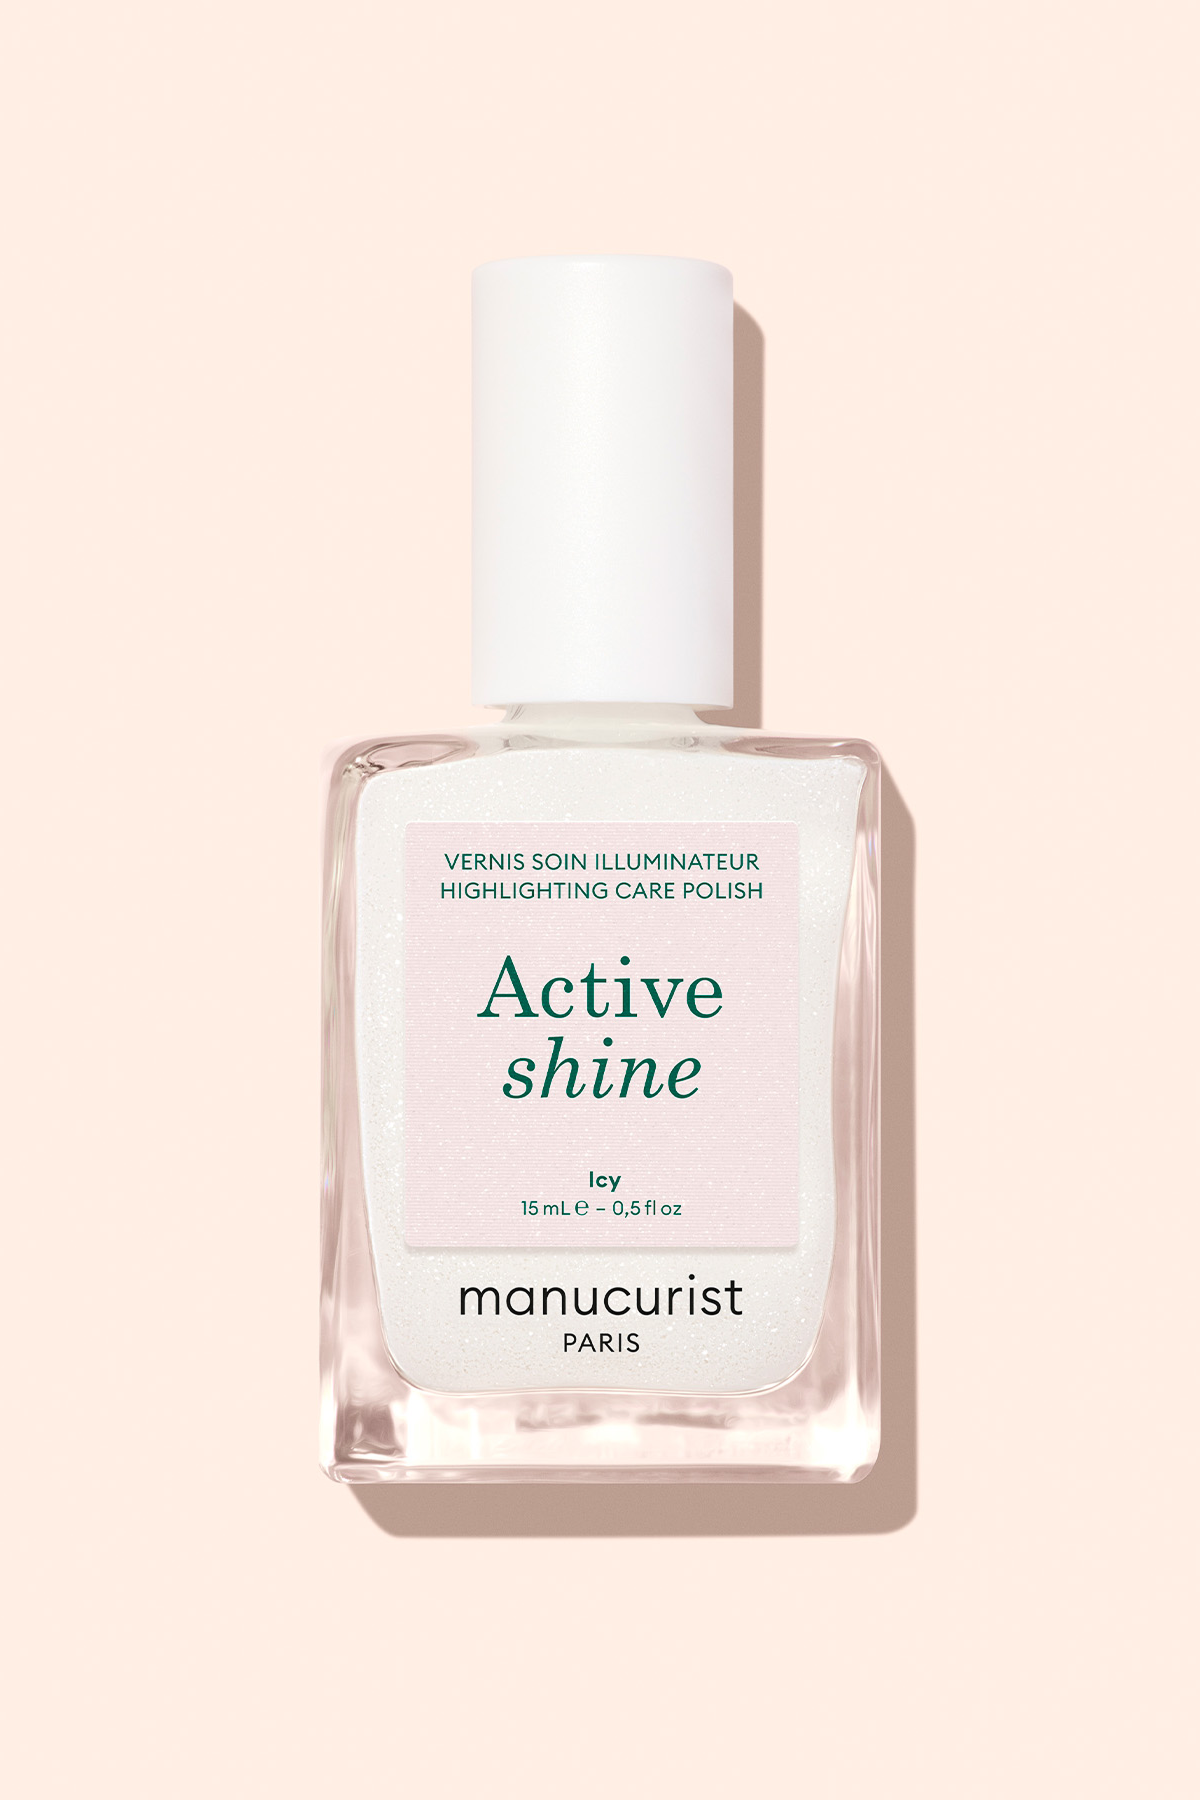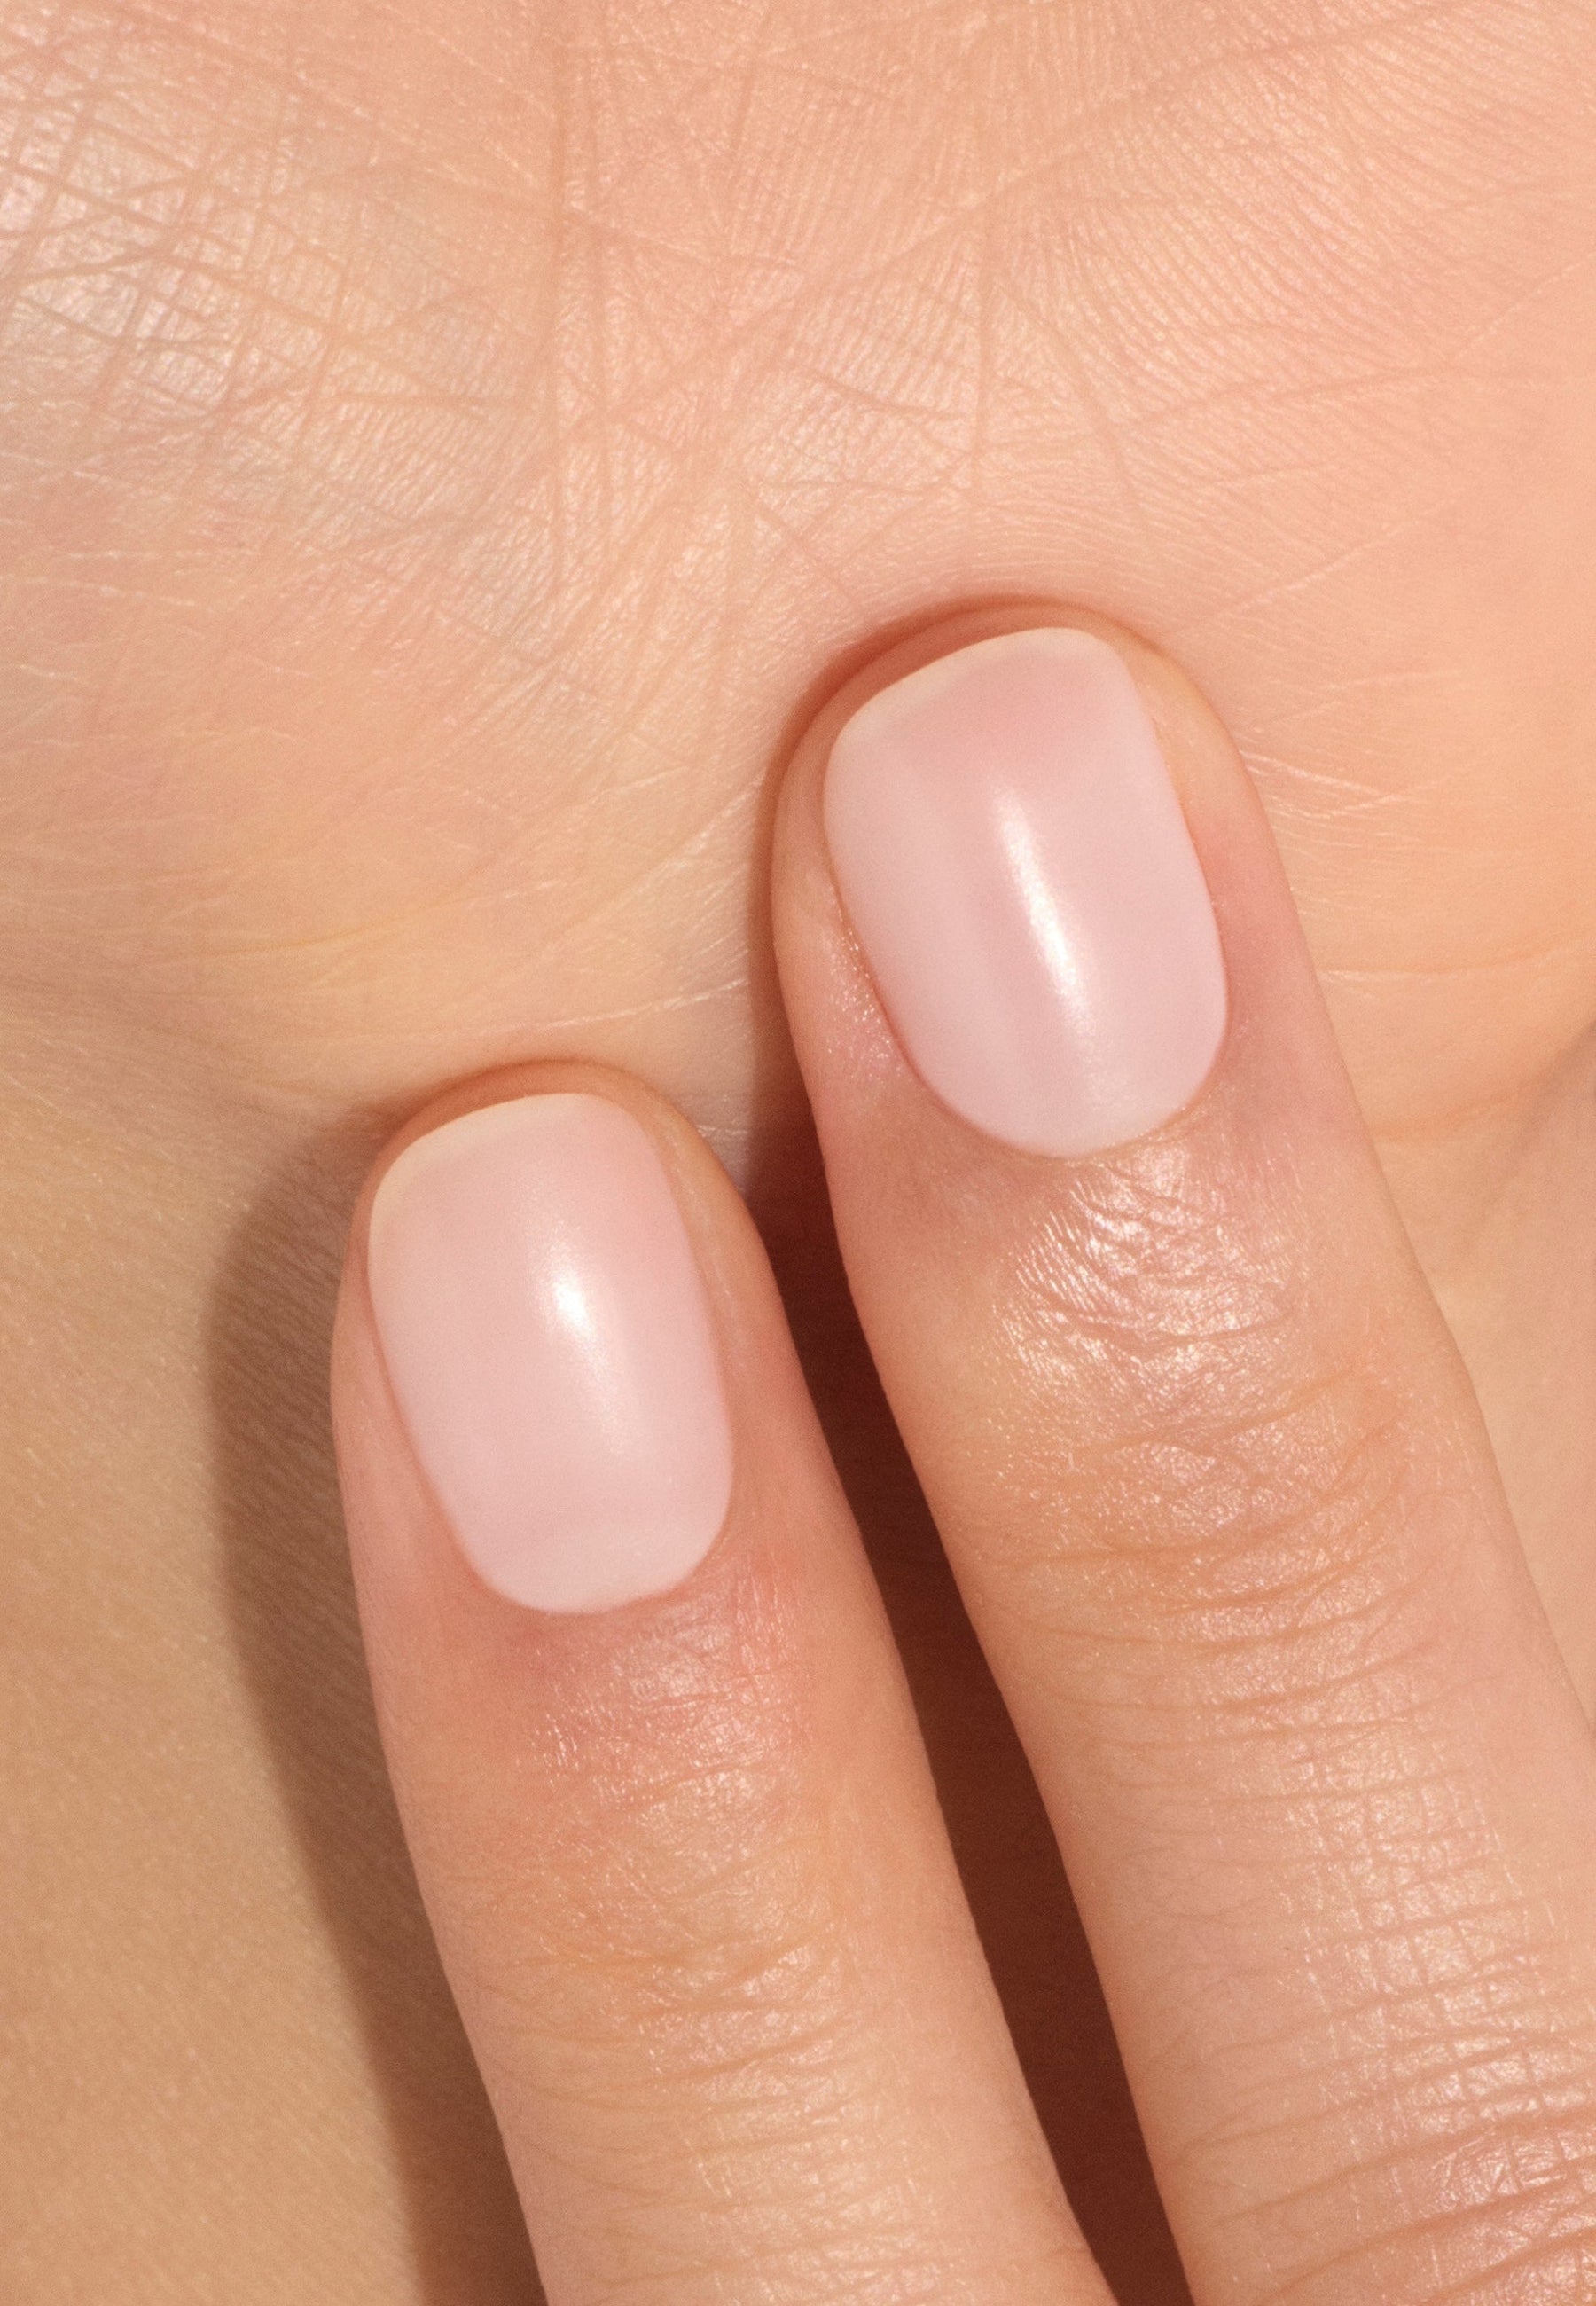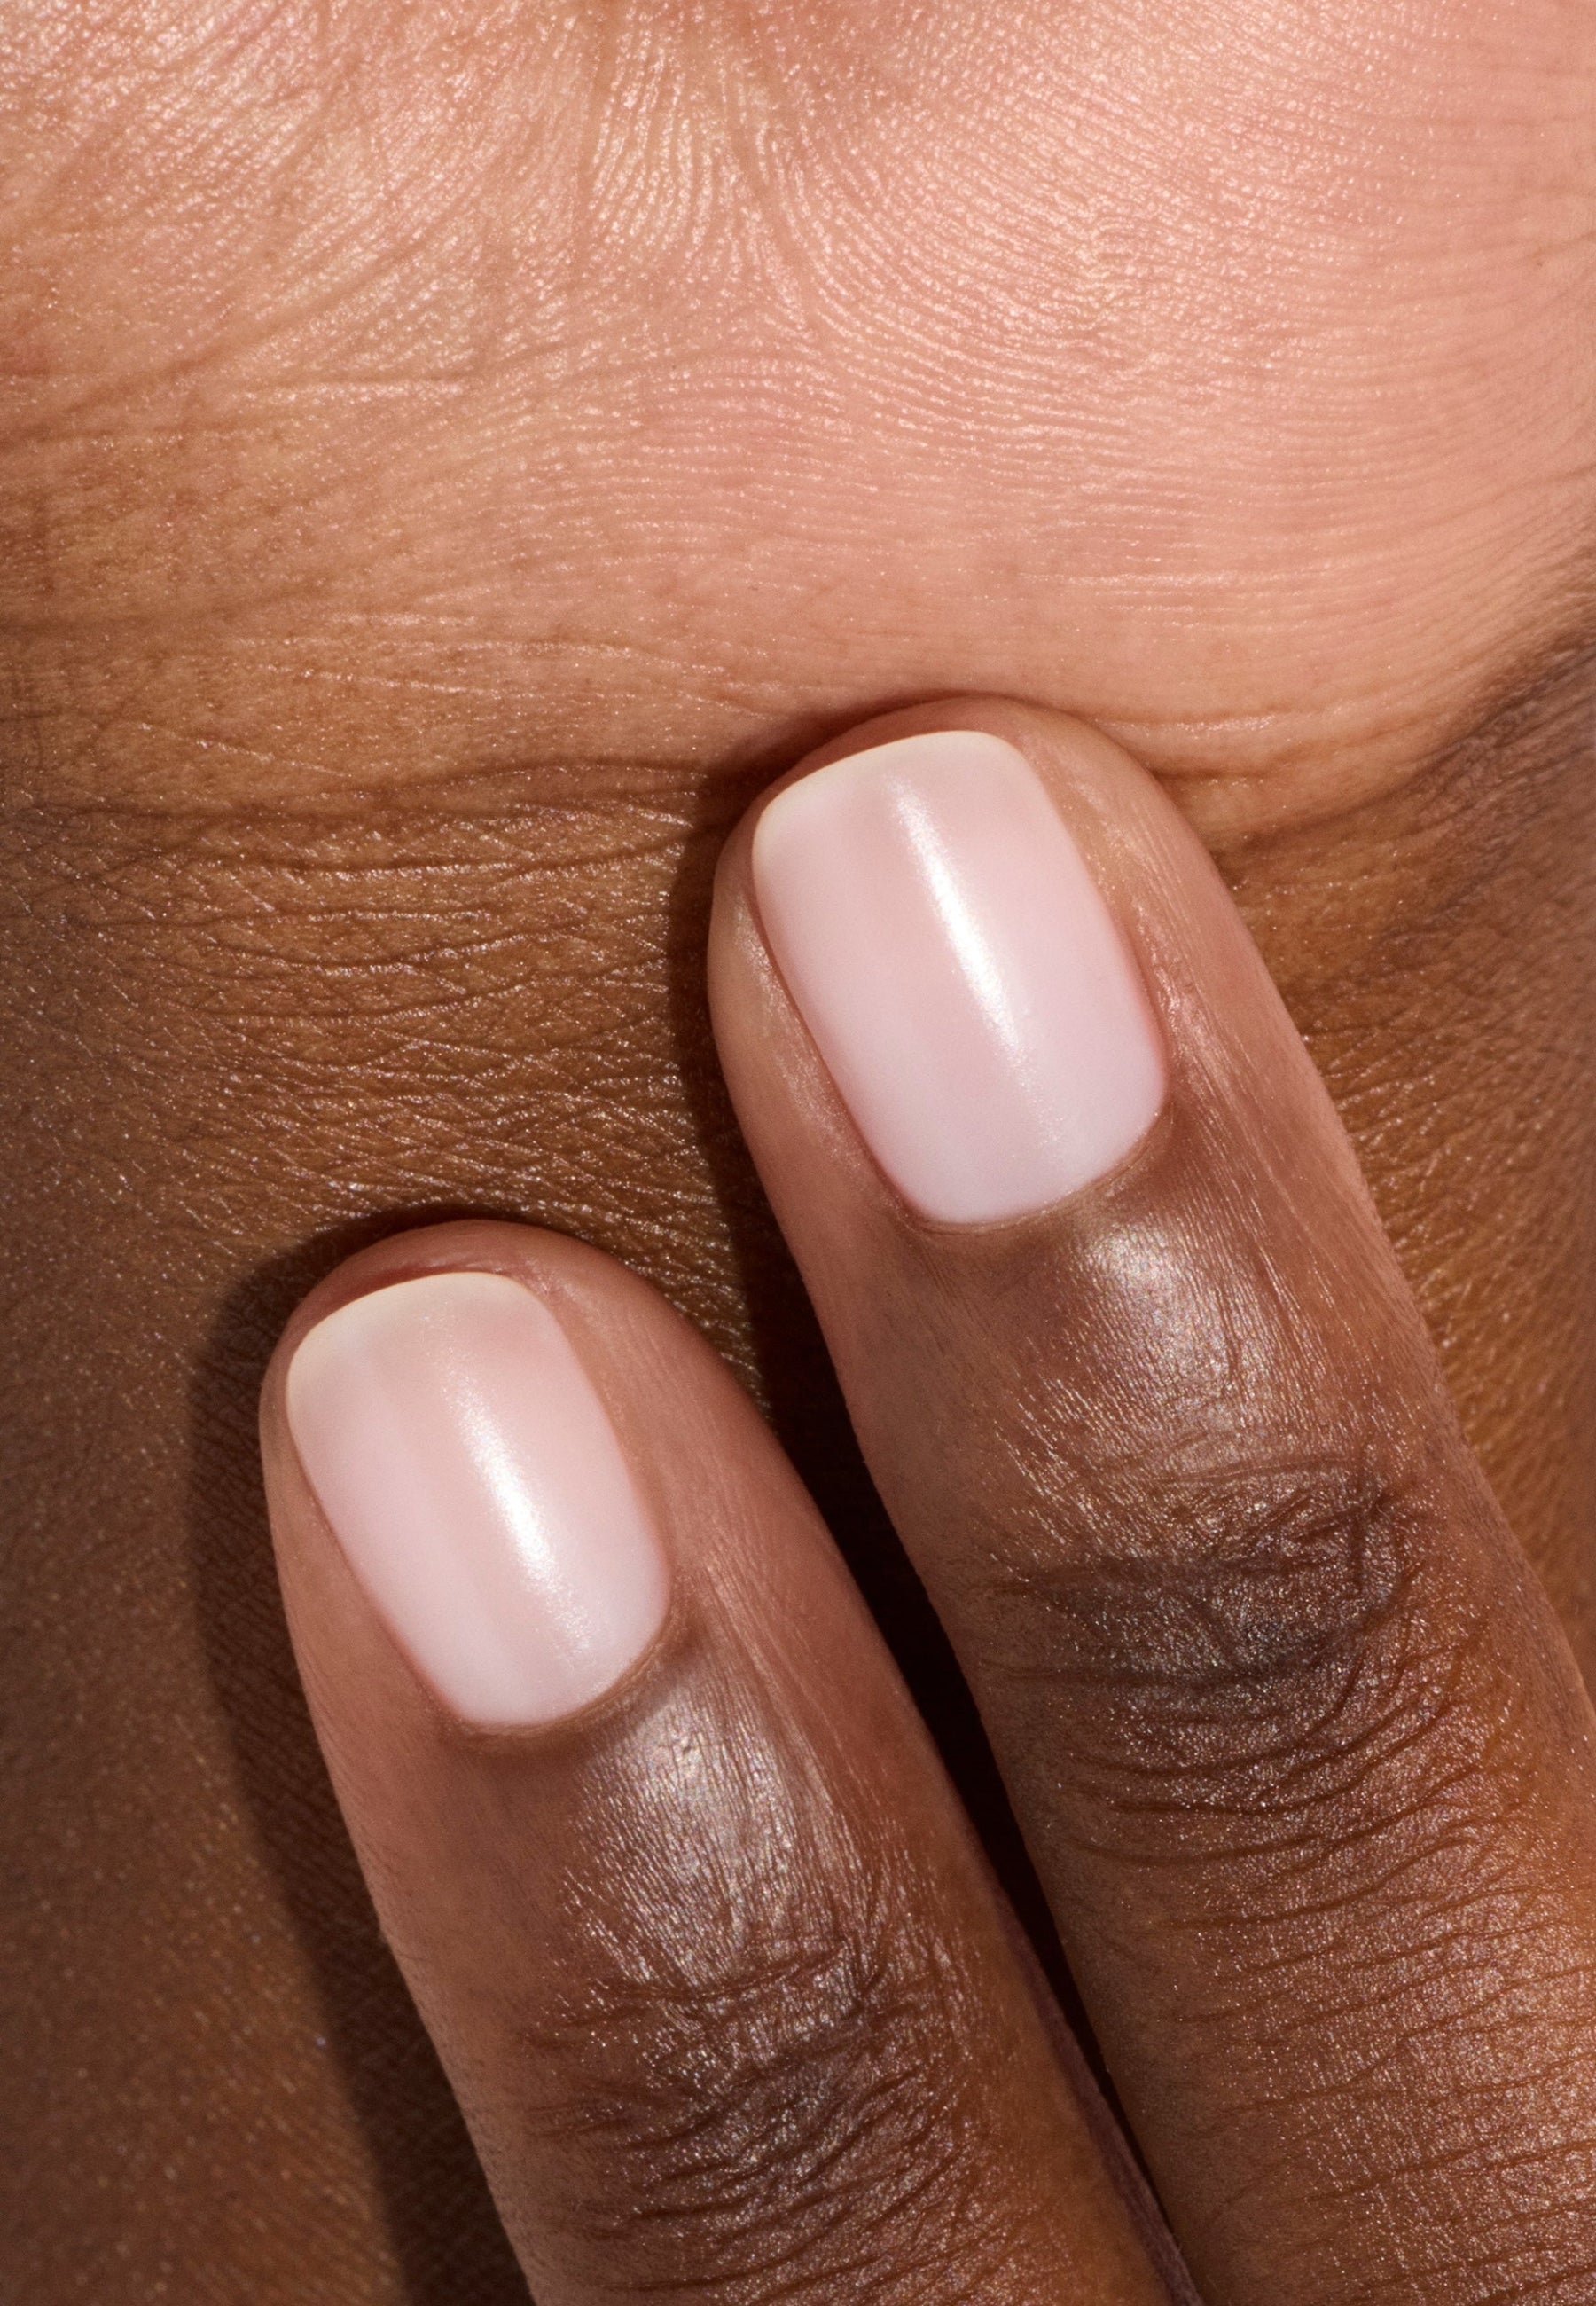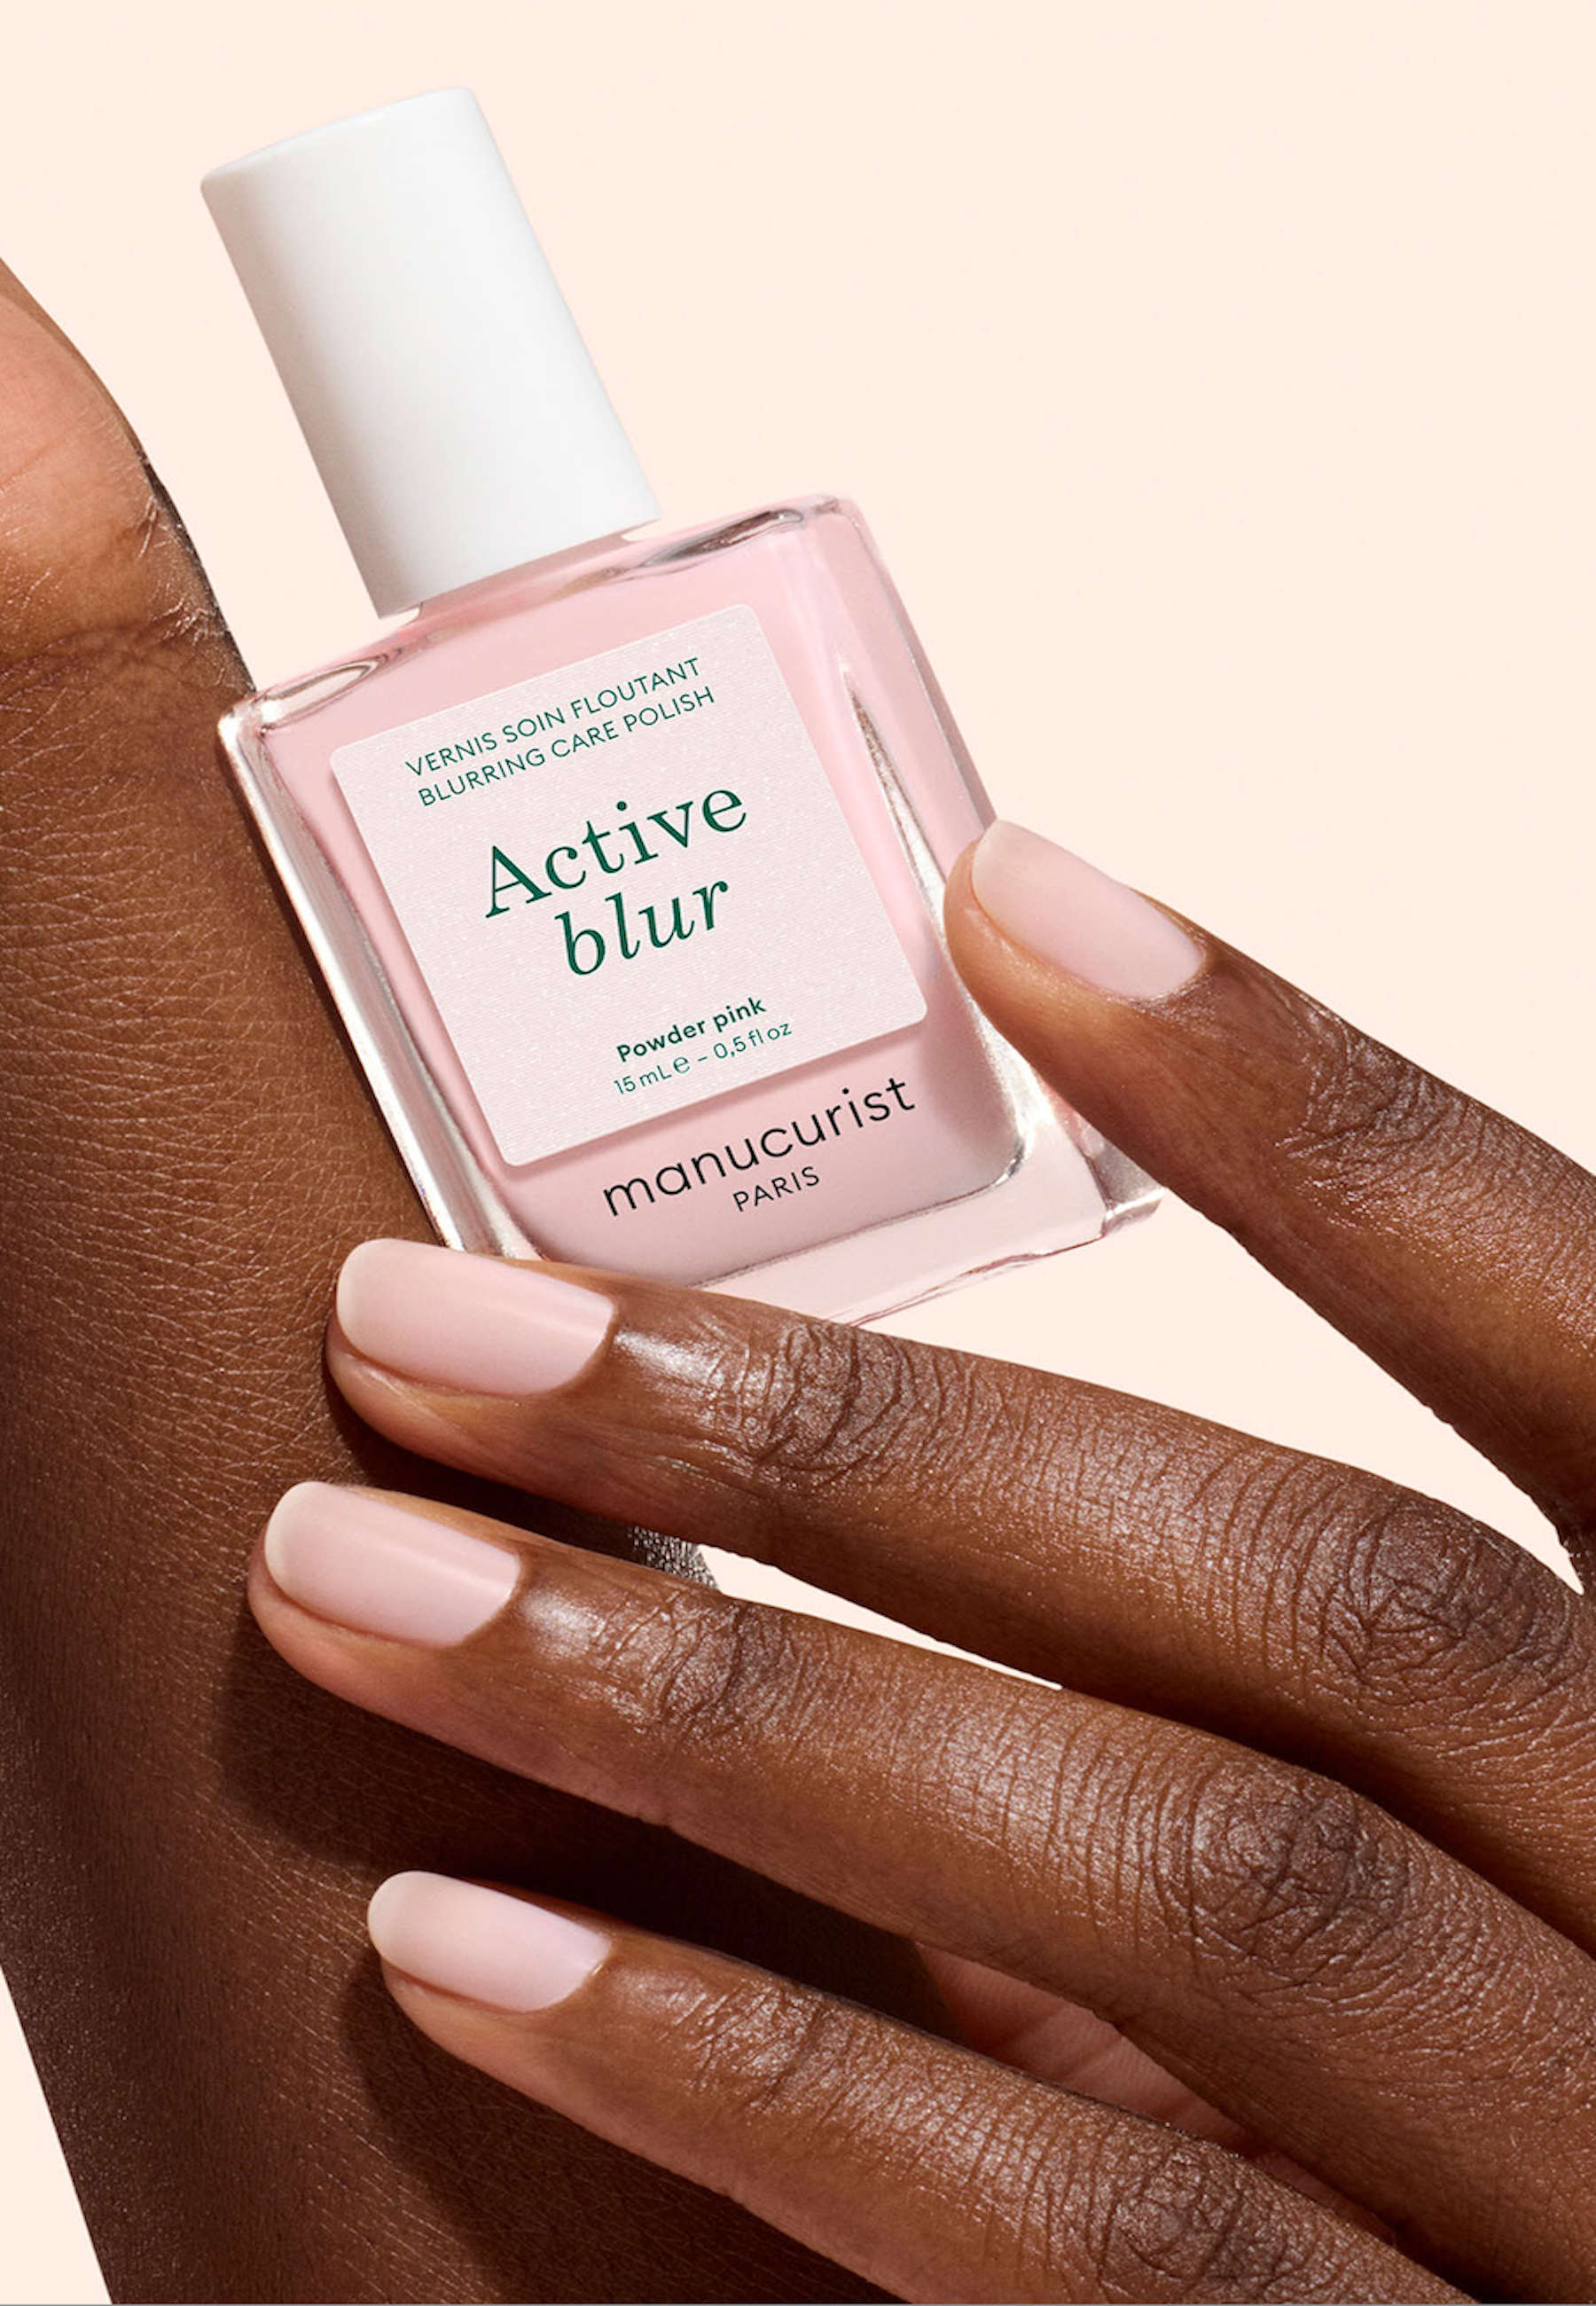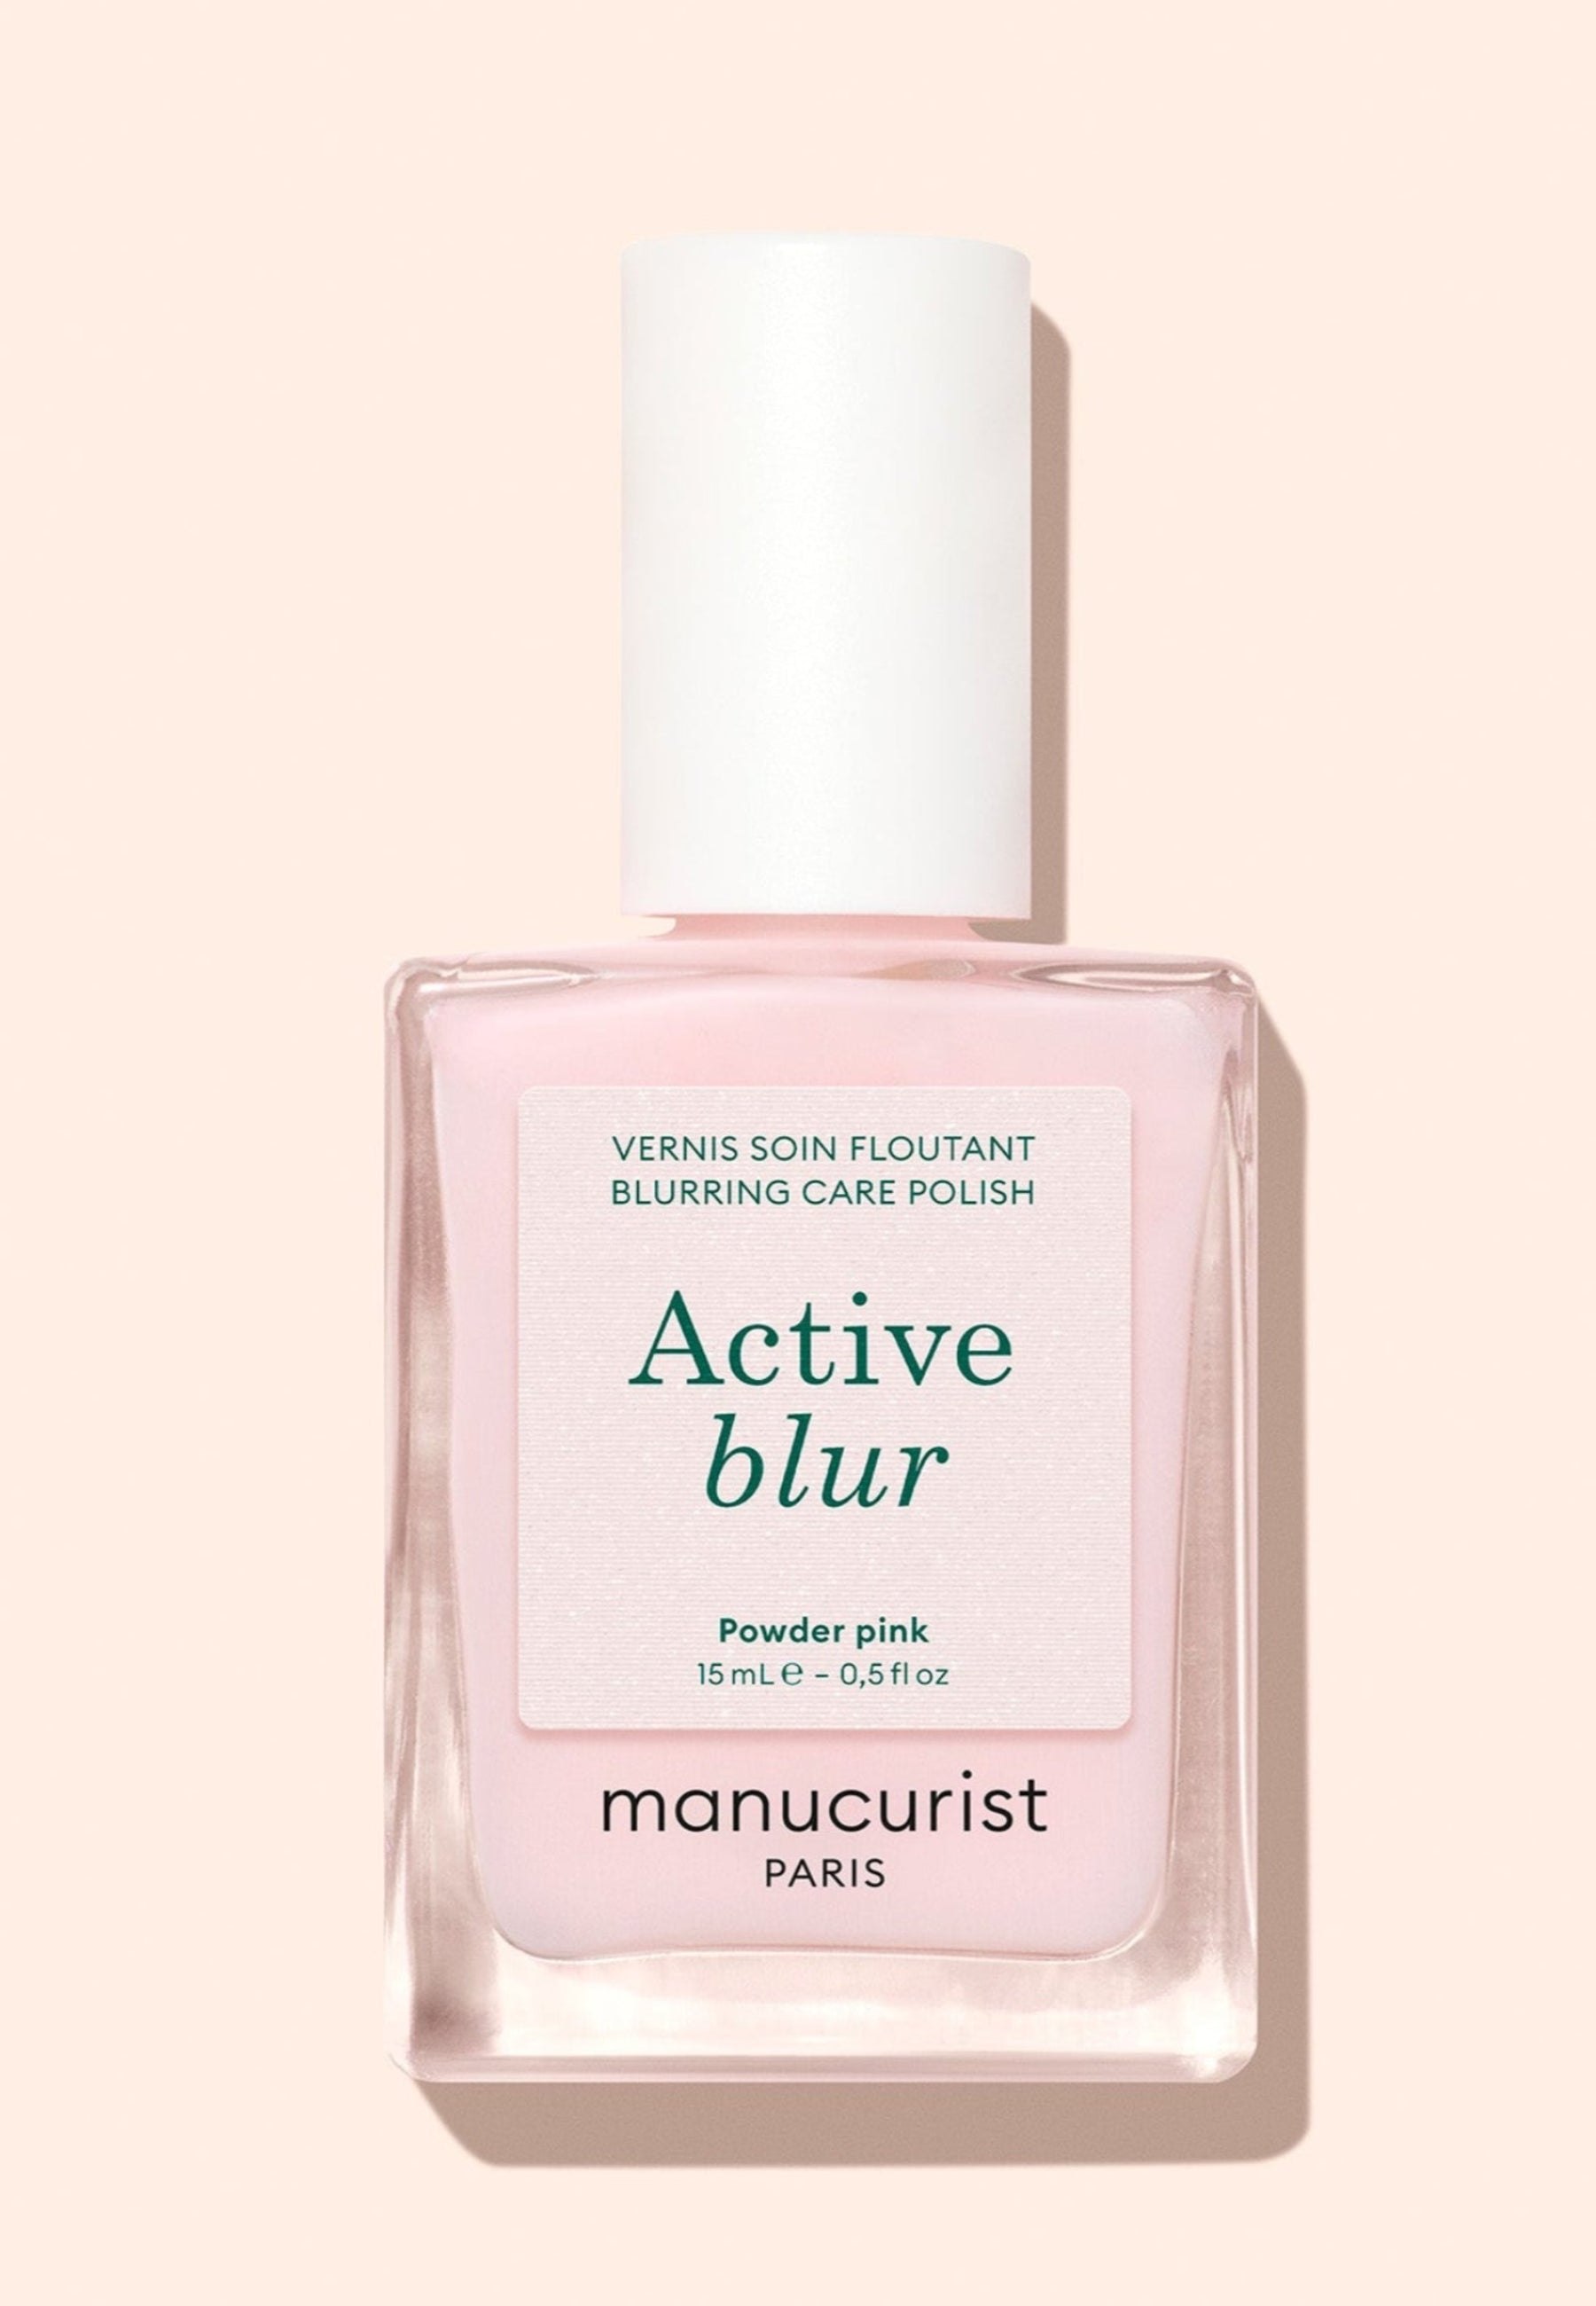


Pink blush, blue orange, deep purple or green switchy, they will bet on the color and originality to give character to your nails. Discover this version of degraded nail art, our inspirations and technique to easily realize your aura nails at home. You're up to playing to create the aura that looks like you!
What's the aura nails?
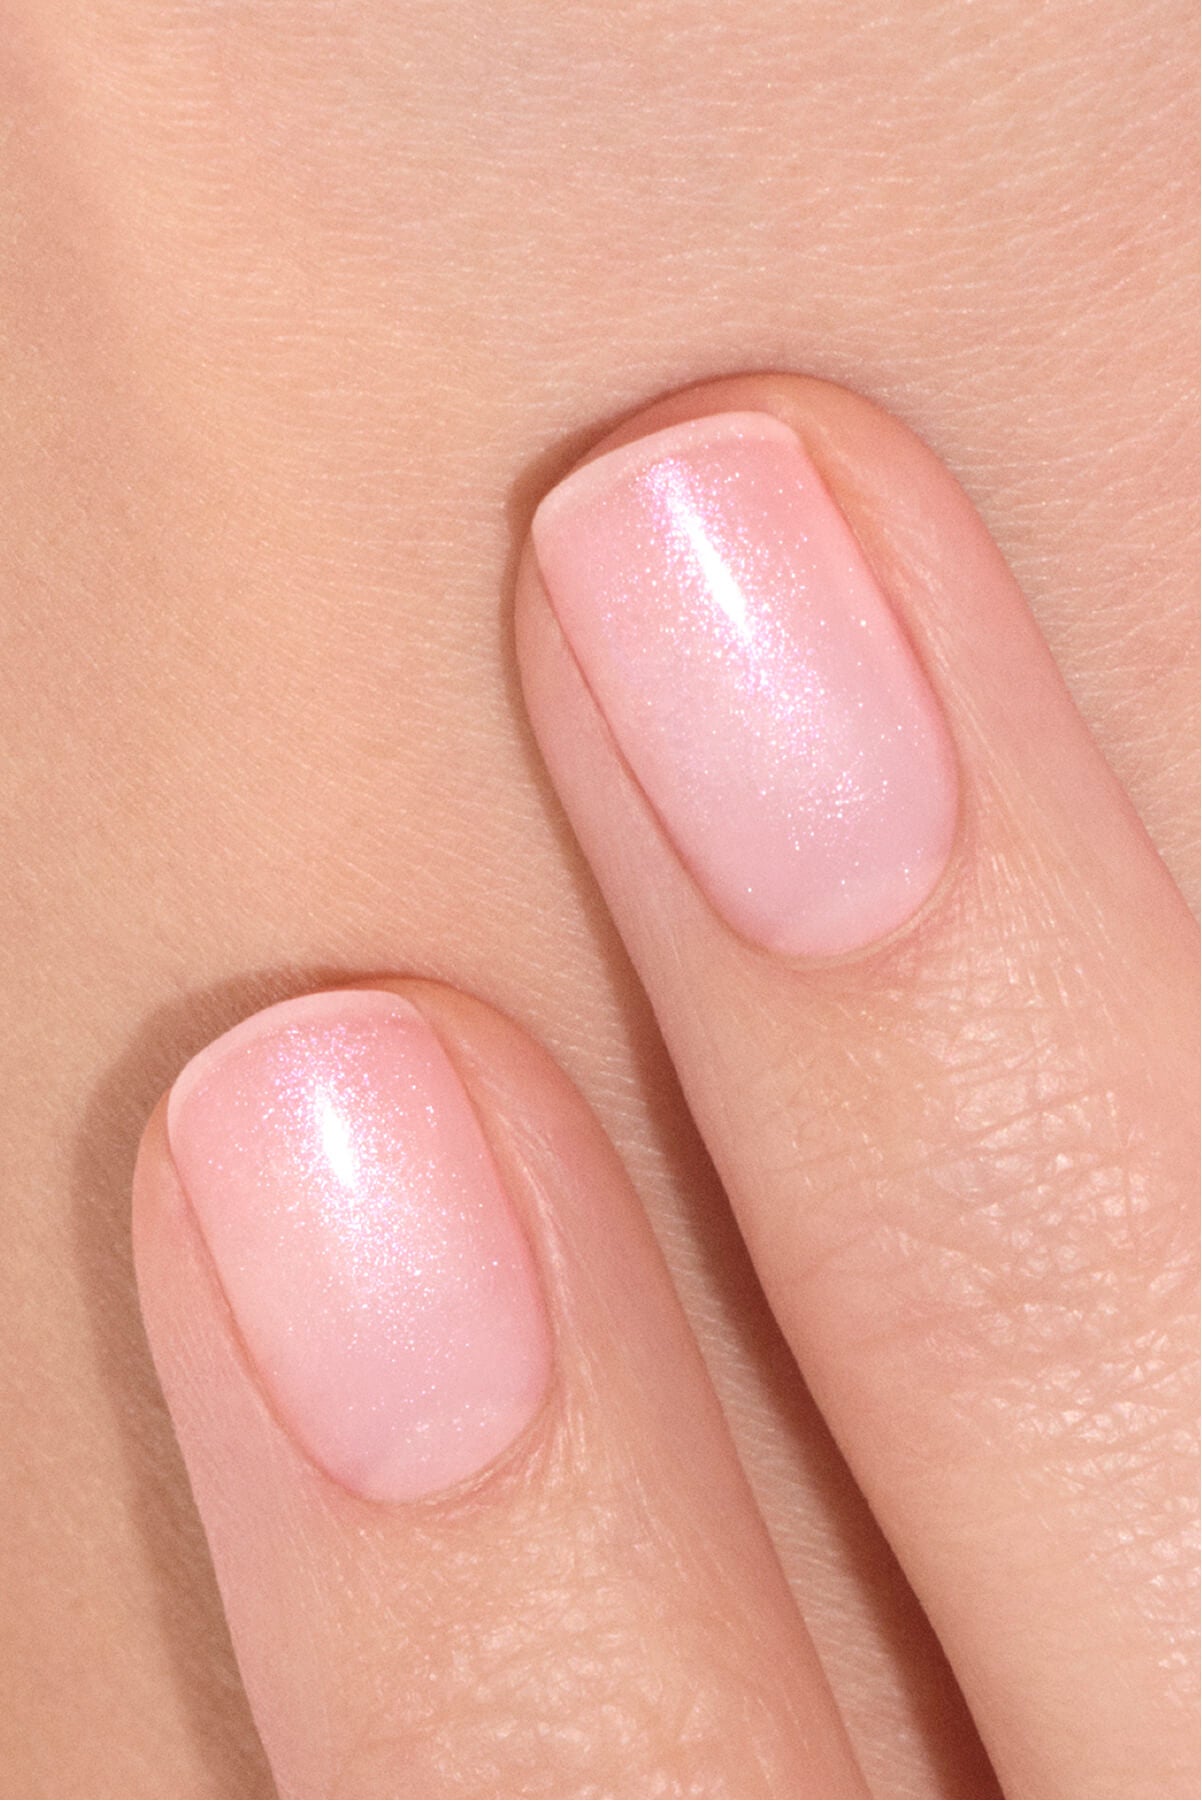
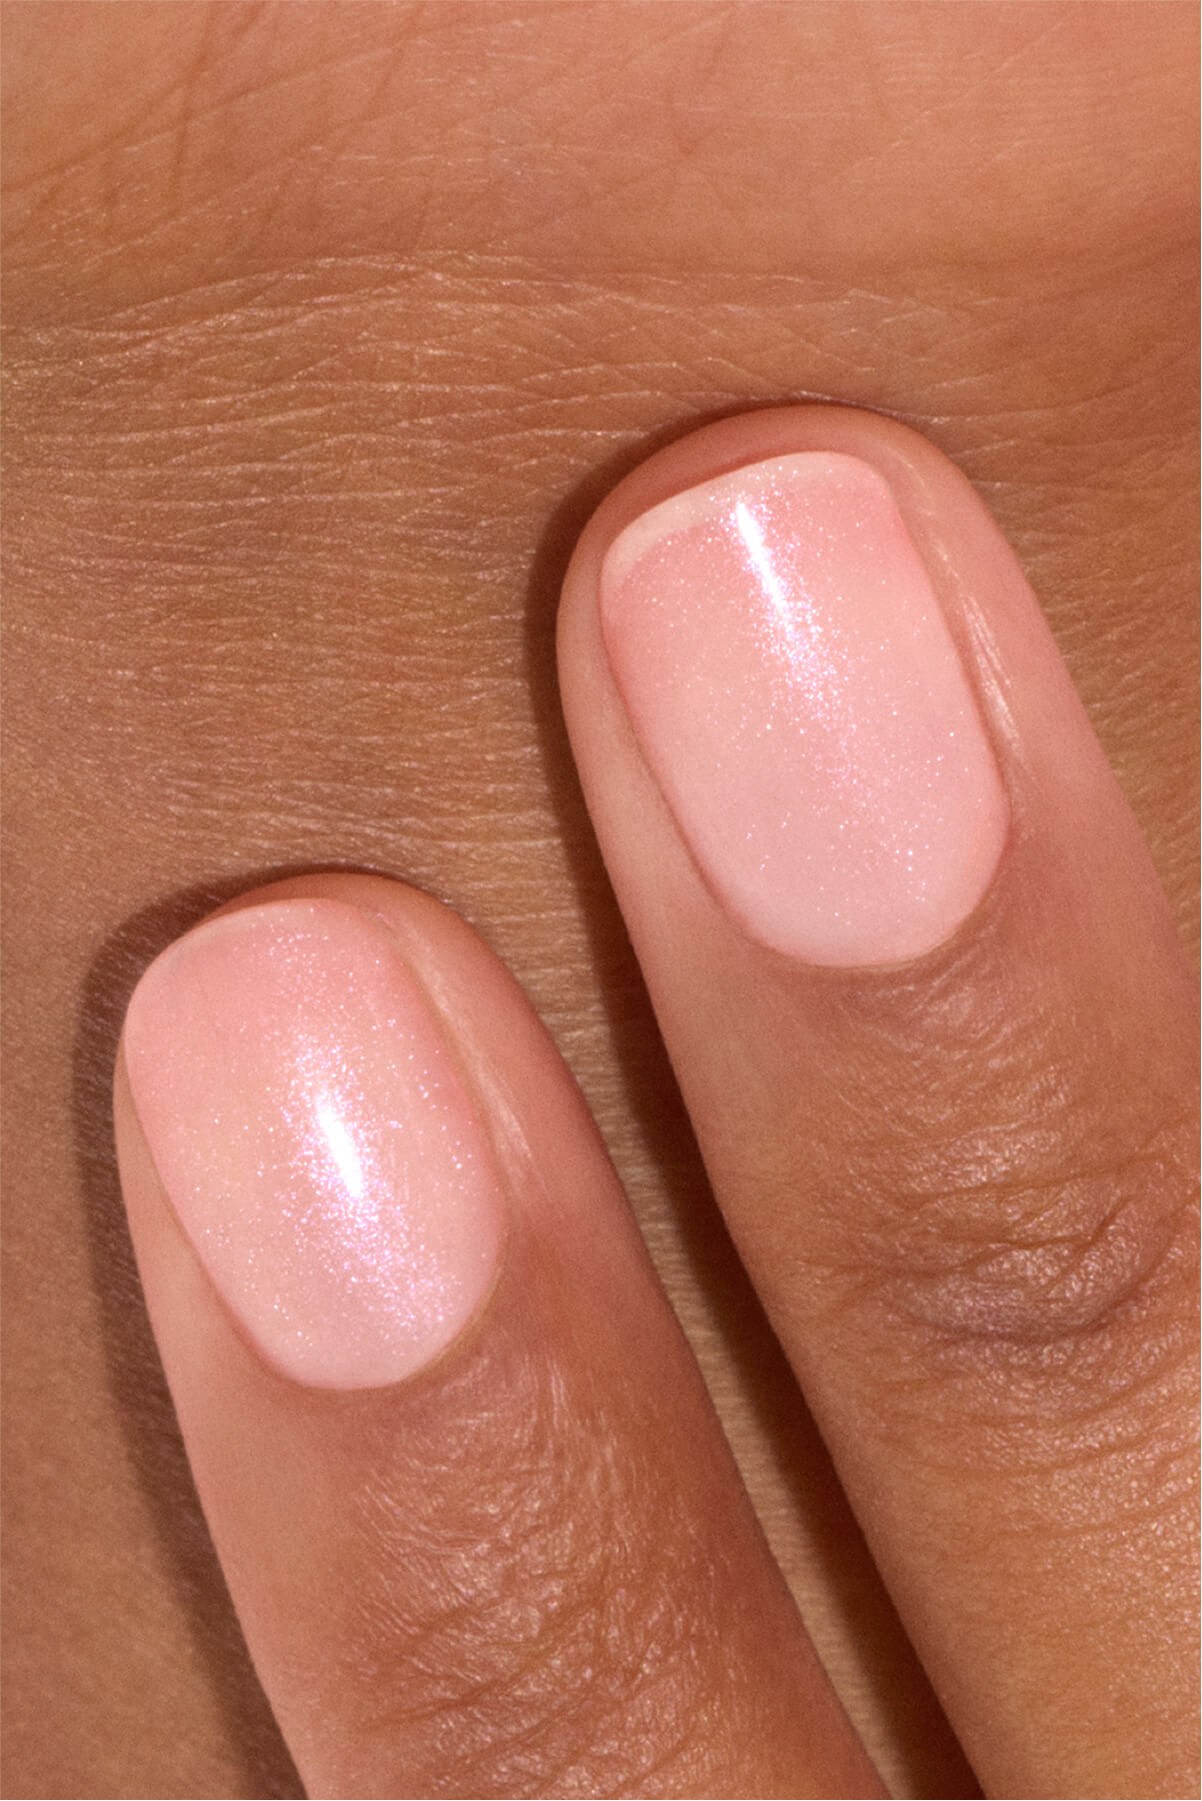
After a few seasons dominated by minimalist manicures, the nails again panicle the nail bars and put the color back at the center of the game. What's their particularity? One diffused color halo in the heart of the nail, which gives the impression that a luminous aura is unfolding on the surface.
The principle is simple: a tint serves as the basis and then one or more varnish colours are melted in the centre of the nail thanks to a progressive gradient. The result can be very soft or, on the contrary, quite graphic. This is precisely what makes the whole point of nails will have The technique remains the same but the possibilities of nail designs are endless.
The auras are part of the great family of the Nail art degraded but should not be confused with a simple colour gradient. In a classic shaded manicure, the colours usually follow one edge to the other of the nail. With the nails effect will, color comes create a luminous halo in the centre of the nail giving a depth illusion then gradually fades outwards.
The advantage is that you can play with two, three or four colors, depending on the intensity you want.

Delicate pastels, flashy colors, deep hues or combined with nail art motifs: every one will have its mood! (@look8thenails, @matejanova, @cristinaccalvo)
The auras soft to wear every day
Do you like this nail design but want an easy to wear version? Start with close or slightly contrasting colour combinations. The result will be effective without being too demonstrative.
Aura pastel : Pink Aura
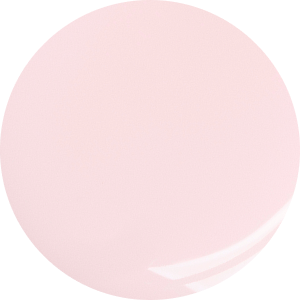
For pink nails to whom we would have given a nice blow of blush, bet on Hortencia as the base then create a halo by associating Hortencia and Neon Pink. The secret to keeping that vaporous effect? Do not overload the sponge in color. Several light passages allow the halo to be built gradually and a nicely controlled melt can be preserved.
Orange Aura : Mango Aura
Sunlight with Abricot base and a duo Apricot and Sunset for the halo. This combination works particularly well on short or rounded nails: the color immediately brings relief to the manicure, without needing to add a pattern.
Aura blue : Ocean Glow Aura
Want aura siren? Apply Bubble as a base and play with Bubble and Pop to create the aura. The ideal combination for an ultra cool & trendy result. The shades of blue are particularly interesting to play with depth.

On a pastel basis, opt for a sustained tint in the center that will accentuate the depth effect. (@m.o.n.a.j, @cristinaccalvo, @look8thenails)
The audacious nails
You prefer the manicures that notice? Good news: the aura nails are prodigiously suitable for associations of frank colours.
Sunset: Aura Red Orange
Why choose one color when you can create a flamboyant sunset at the tip of your fingers? Alternate Capucine, Coral Reef, Abricot and Spicy base and aura to compose a warm gradient inspired by the changing shades of a sunset. Here, each nail can have its own combination. No need to look for perfect symmetry: it is precisely the mixture of nuances that creates this nice effect.
Aura bordeaux : Deep Purple Aura
Purple tints bring a more sophisticated dimension to aura nails. Use Grenat as a base, then Grenat and Rosewood to create a gradient as deep and intoxicating as a great vintage vintage.
Aura Halloween
As Halloween approaches, the aura nails are partying. Here are two variants:
- Bloody Aura: for a dark and romantic result, opt for Licorice base and mix this varnish color with Red Velvet in the center.
- Witchy Aura : for a magic potion aura, put Poison as a base and create a halo effect with Poison andMint to create an unexpected contrast... and bewitching!

Notice to color addicts: the aura is the perfect nail art to experiment with contrast effects and bold colour combinations. (@look8thenails, @m.o.n.a.j,@shanivynails, @mani.minimalist)
The Twisted Nails
The advantage of the aura nails is that they don't stop at the simple color halo. Once the technique is mastered, you can marry your aura nails with a French manicure, graphic patterns or details. Everything is allowed!
Aura & French : Guava Aura
Take the duo back Hortencia & Neon Pink which creates this nice Pink effect will have and add Lime on the free edge of nails to obtain a French manicure green anis Definitely punchy. The result retains the halo characteristic of the aura nails, adding a small graphic touch. A great option for those who want to test the Aura trend without giving up the structure of a French.
Fruity Aura: Passion Fruit Aura
For a vitamin manicure, go on Candy base, then Candy and Neon Pink in the center. Then come and draw over a few small "peins" with Mimosa and Clove. Result? A fruit of passion version nail art! A playful idea that proves that the auras can be the starting point for a little more elaborate patterns.
Aura & hearts : Valentine's Day
What if we add a touch of fantasy to the effect will? The duo Hortencia and Rose here is adorned with small hearts drawn with Snow for manicure So romantic, ideal for Valentine's nails - I'm not. The pattern can be placed in the centre of the nail, slightly shifted or declined on only a few fingers. You choose the level of detail!

Let's play with colors! Mix your auras at will with other nail art motifs. (@look8thenails, @cristinaccalvo)
How can we make nail auras at home?
Good news: the aura is a completely accessible nail design and easy to achieve at home, with classic nail polish or semi-permanent varnish.
The magic tool to get there is Sponge nail art. It allows you to gradually place the color and create this famous diffuse halo for a perfect gradient without demarcation between the colors. The nail sponge art Manucurist is made of an ultra-fine foam that ensures a uniform blending for a result worthy of manicure salons.
Let's go to practice with our tutorial step by step:
#1 Prep your nails This is the step not to be neglected to ensure the success of your auras. Line your nails to give them a nice shape. Push delicately your cuticles. Then matify the surface to open the keratin scales and optimize the adhesion of the varnish. Finally, clean and degrease nails to remove sebum and dust.
#2 Put your varnish on: start by applying a layer of Base Coat Green™ or Green Flash™ and allow to dry in the open air or under LED lamp depending on the type of varnish chosen. Then put it down. color Green™ or Green Flash™ which will serve as the basis and let it dry.
#3 Realize Halo : on the nail nail art sponge, place with the brush tip a touch of your central varnish colour (often the clearest). Surround it with a circular brush stroke with the secondary colour (often the colour of varnish used at the base), without leaving any space between them. Gently stamp the center of the nail to create the halo, without seeking to immediately get an intense color. Repeat the operation several times to control the intensity and obtain a homogeneous gradient.
#4 Clean the overflows left by the sponge with a corrector pen or a soft-dissolvent cotton swab.
#5 Finish the manicure implementing a layer of top coat to protect your nail art and bring a touch of shine. Use the top coat suitable for your nail polish : Top Coat Sunshine (duration 7 days) on varnish Green™, Top Coat Green Flash™ (duration 12 days) or Xtrem Flash™ (duration 21 days) on semi-permanent varnish Green Flash™.


Choose your colors according to your aura
To succeed his nails will, the choice of colors counts as much as the technique. For a discreet result, prefer two shades close to : pink and bright pink, light blue and stronger blue, orange and coral. For a more contrasting effect, pair two different colour families.
If you're new, start with two colors. Once the technique is mastered, gradually add a third shade, then patterns or a French.
You can also start froma color you like and build your palette around it : a light tint at the base, a more intense color at the centre, then a third shade to enrich the halo.
Attention : do not try to reproduce exactly an inspiration. The same colour duo can give a completely different result depending on the amount of varnish deposited, the size of the halo or the number of sponge passages. The auras are made to be customized!
You will understand, the aura nails offer a multitude of possibilities: pastel and delicate, vitamin and coloured, more intense or twisted with a French. As such, the same technique can give rise to completely different manicures. To get started, choose two colors that please and inspire you, bring your nail sponge art and let yourself be guided by the magic of colours.